It took me the longest time to get comfortable using lights in Blender. I was only satisfied with my render results after a decent amount of hours spent following tutorials and testing out the light and render settings on my own. In this article, I will be going over my favorite lighting and render settings.
The easiest way to get decent lighting in your scene is with HDRIs. I have an article that covers using HDRIs in Blender. You can read it here.
Once you have your basic HDRI, you can add more lights that highlight your object in the scene.
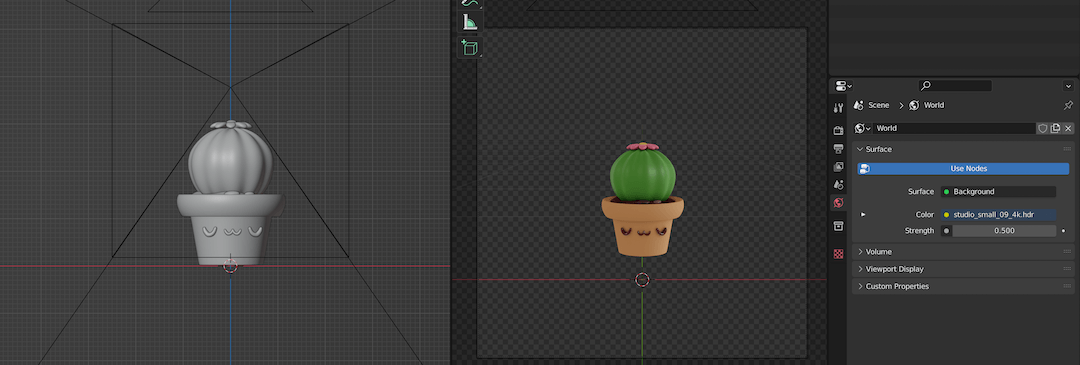
I am using the cactus model from another previous article, linked here.
Three-point lighting
Three-point lighting is extremely useful when you only have a single object in your scene. This lighting method imitates a real studio light setup used for taking portrait shots.
As the name suggests, you need to have three point-lights in your scene. You can go ahead and add three individual area lights to your scene and then point them towards your object in the scene.
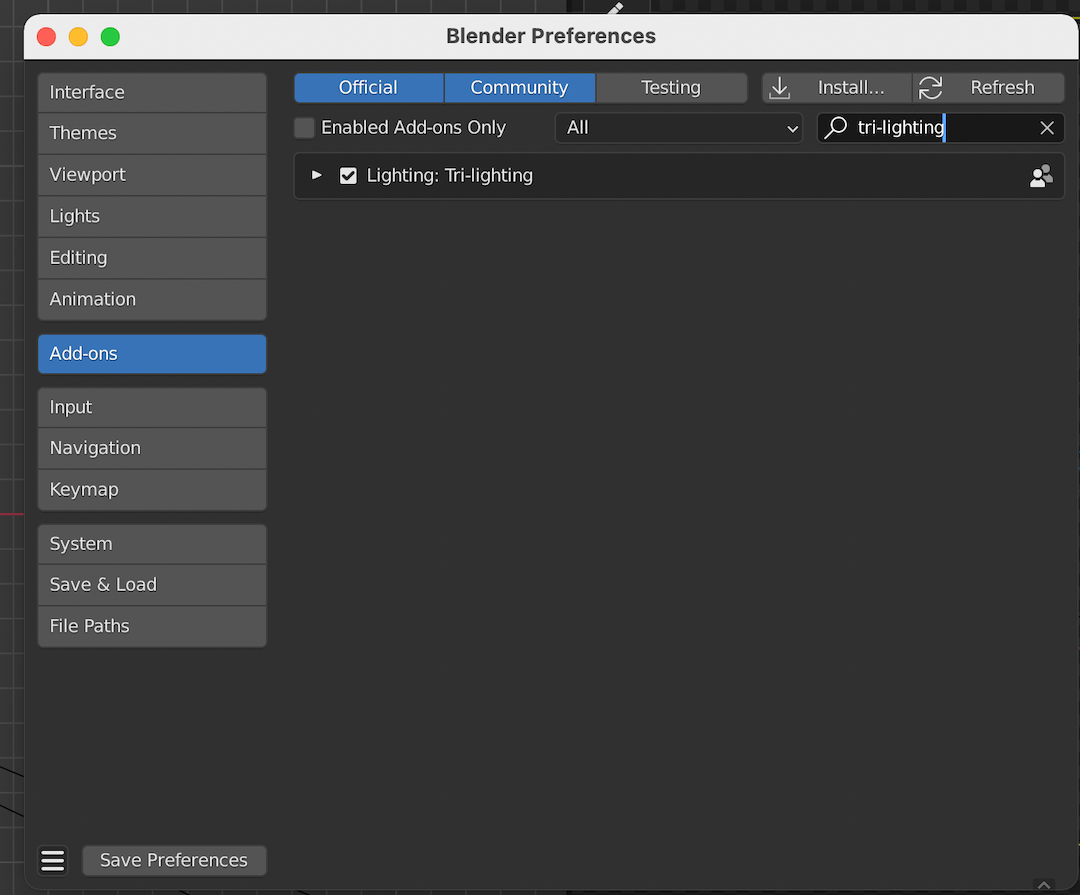
Conversely, Blender allows you to automatically generate three point-lights focusing on an object with a single click. To do that, you need to enable Tri-lighting Add-on in Blender's preferences.
- Edit > Preference > Add-ons
- Search for "Tri-lighting"
- Enable "Tri-lighting" and save your preferences.
You can now add three point-light set up with one click.
- Select the object that you want the lights to be focused on (make sure it is the active object; active objects have an orange outline)
- Shift + A > Lights > 3 Point Lights
The lights will be arranged to focus on the active object from 3 sides.

- Select all the lights to scale and reposition them so that they are near your object.
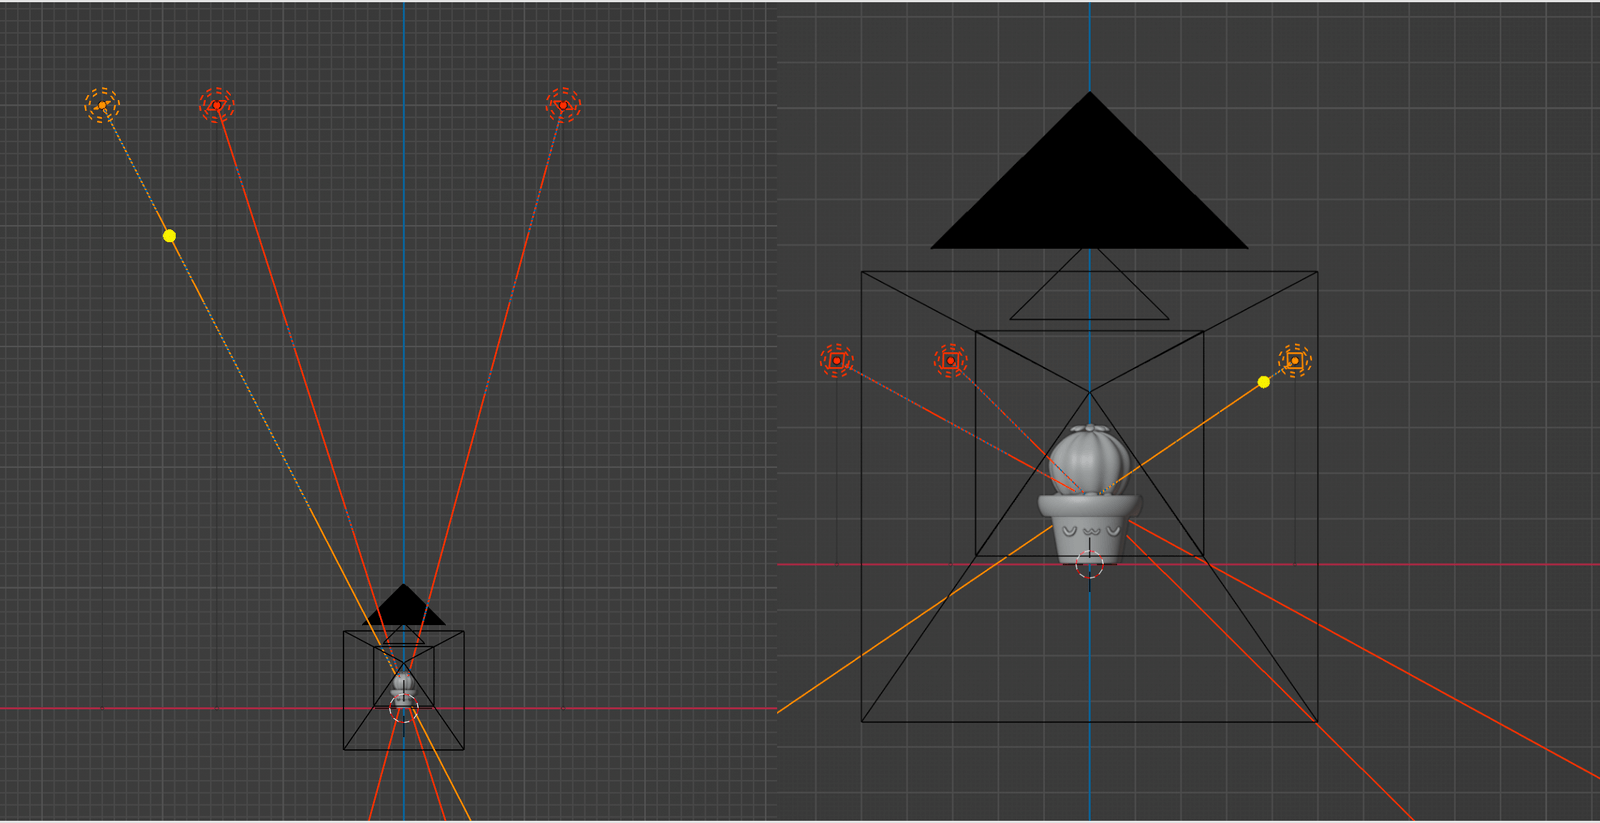
- Now you can change the power of the lights and test different outcomes.
Render Settings
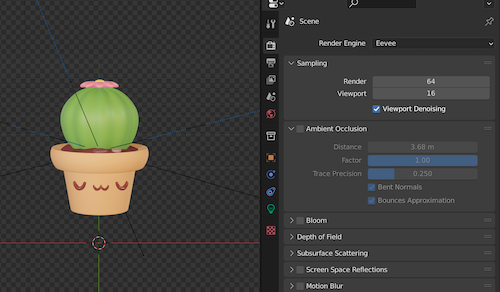
Now we move on to rendering the image, where everyone has their own preferences and tricks. You can change the render settings on the Render Properties tab on the bottom right. This article only covers a few render settings that I often like using. Feel free to experiment and test out all the different render properties!
- The most used feature is probably
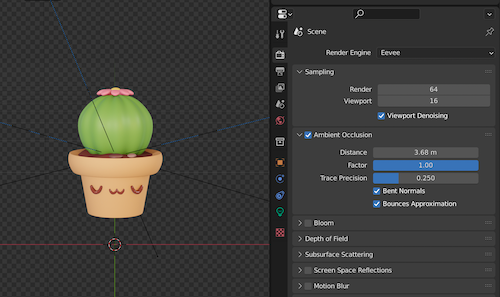
Ambient Occlusion
It gives a depth effect to your renders. For more prominent shadows, you can increase the Distance or Factor on Ambient Occlusion.
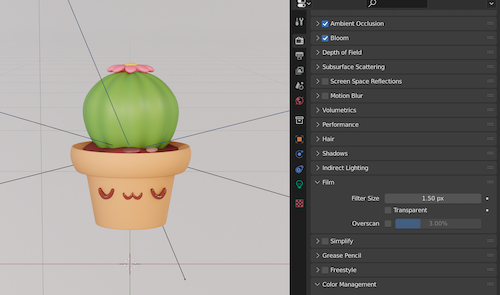
2. Bloom gives a diffused glow effect wherever you have a light source. You can change the Color and Intensity to play around with this glow effect.
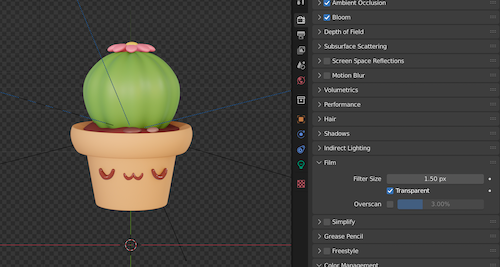
3. Film can be used to render images with transparent background. Turning the transparent box will only render the object and not produce an image with a background.
4. Color Management property is extremely useful to bump up the contrast on the image. I prefer to use either High Contrast or Very High Contrast look on the Color Management tab.
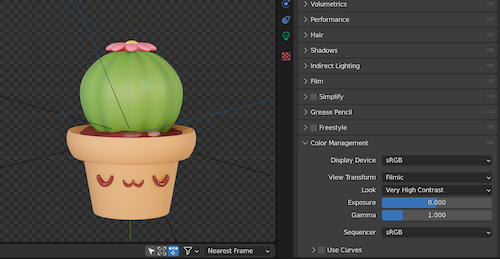
You can also change Exposure and Gamma settings like in Photoshop. How cool is that?
There we have it! A quick way to get your 3 point-lighting set up done and some of my favorite render settings.
Hope this quick guide gave you a basic idea about the lighting and render setup and inspired you to experiment with different settings!