
As an illustrator, one of the most important steps in my 3d illustration process is setting up the lighting and the camera – which can make or break your final render.
Let's start setting up cameras with a fresh file. When you start with a general file in Blender you will get a default cube, a camera, and a point light. You can use the default camera and light, but I prefer to get rid of them and start fresh by adding cameras and lights wherever I need them instead.
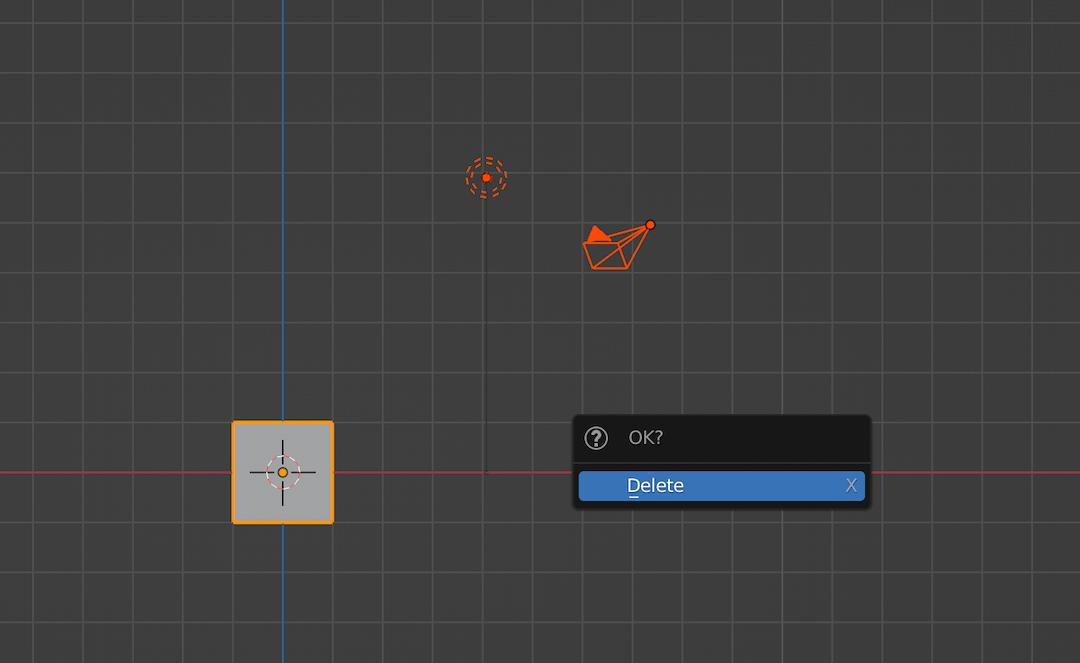
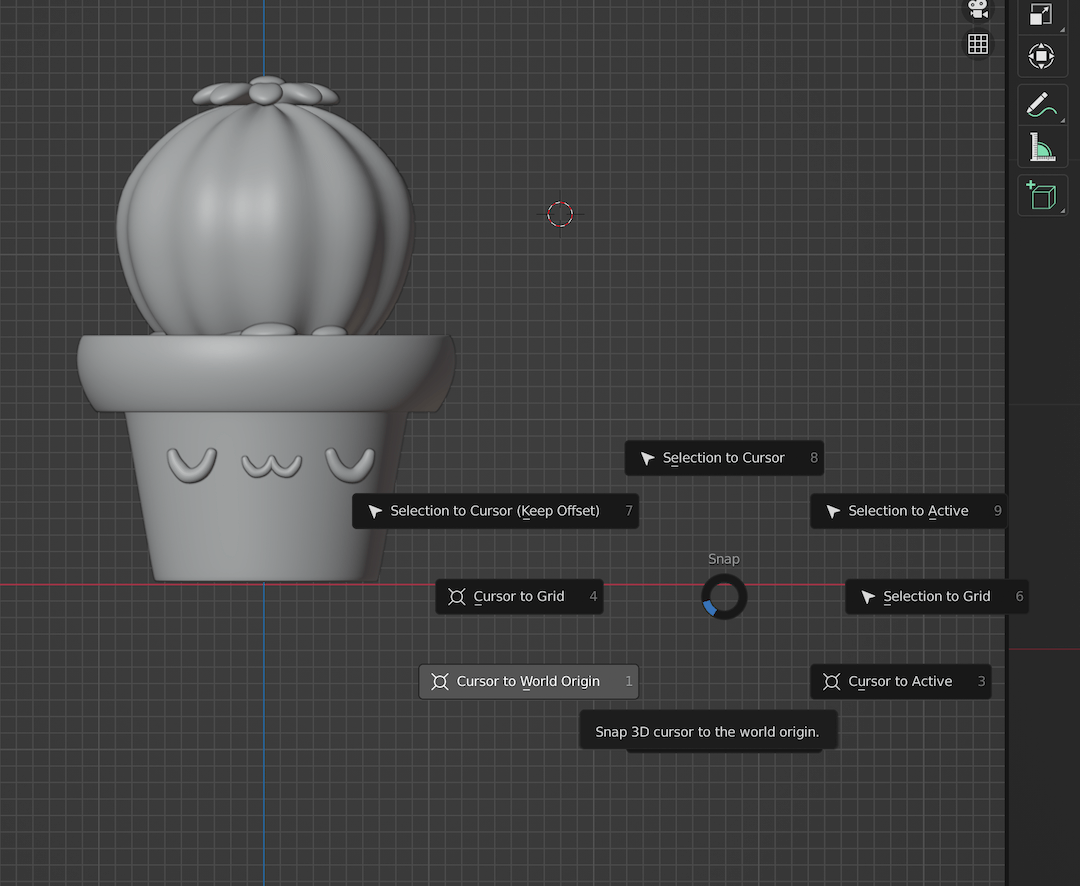
The 3D cursor is the origin point of any new object added to the scene. After creating the 3D model for my illustration, I can reposition the 3D cursor in front of the model and add a camera.
Setting up the Camera
It's usually better to set up the camera at the beginning of your modelling process. You will have a clear idea of how the model will look in the final render while you are working on it.
For this article, I will be reusing a cactus I modeled in this article.
1. Adding a Camera
You can add a camera with Shift + A > Camera

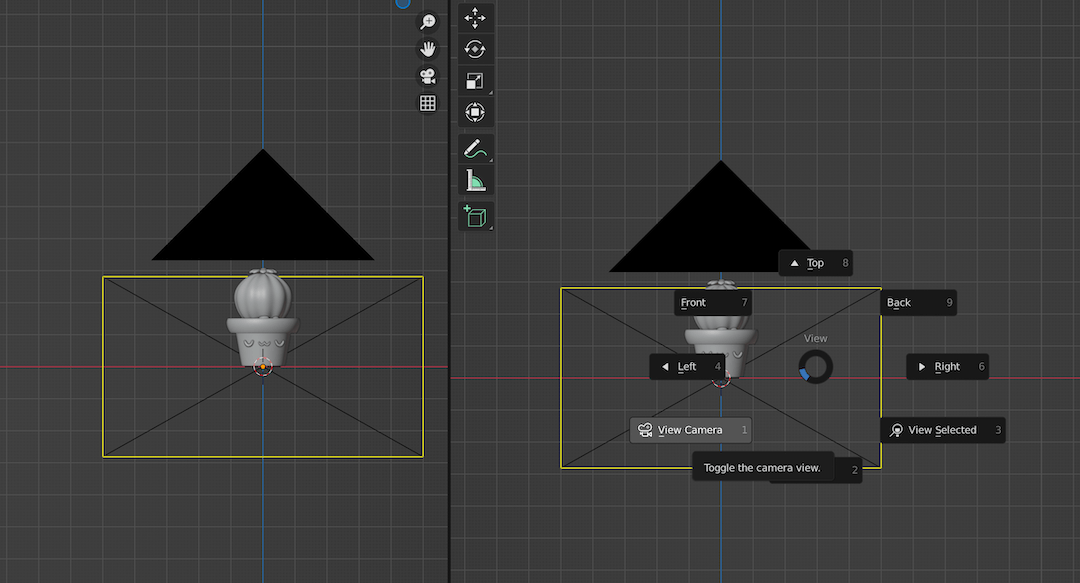
Since my 3D cursor is at the world origin, the camera will be added there. After adding the camera, we can drag another view window to see what the camera is actually capturing.
Tab into camera view by pressing ~ + 1.
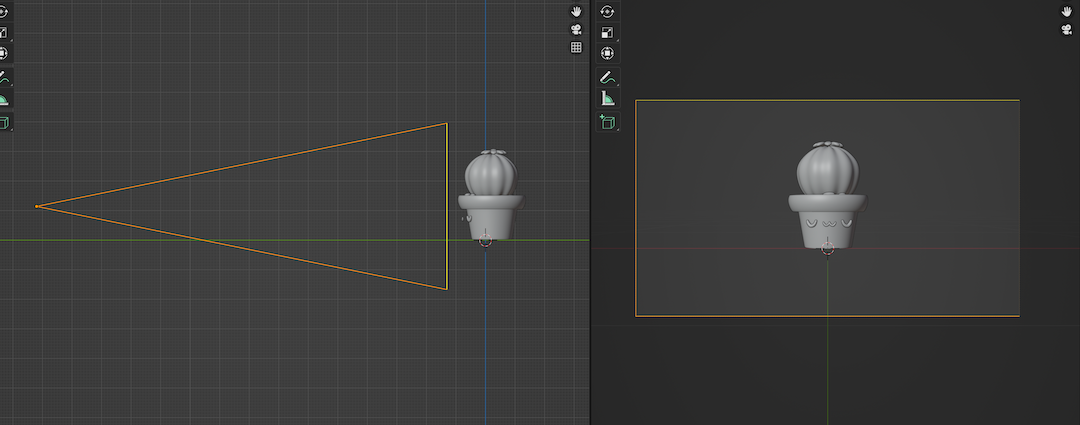
On the left viewport, you can focus on arranging the camera and modelling, while on the right side, you can see what the render will look like.
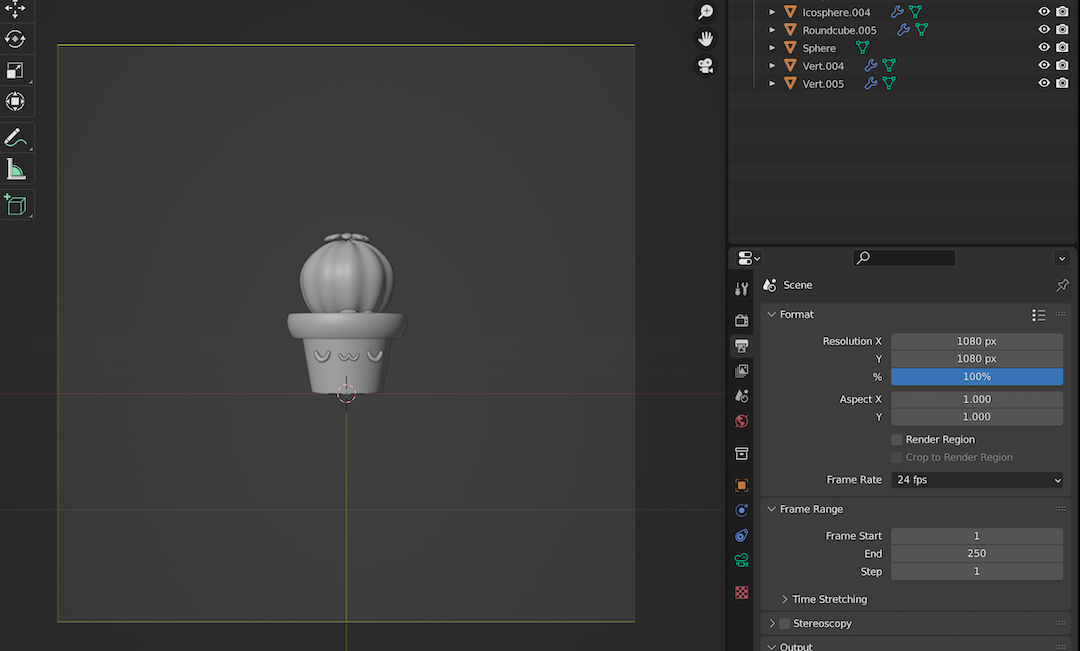
2. Image Output
The camera you add to the scene will produce an image of resolution 1920 by 1080 by default. You can change this on the Output properties tab.
For Instagram posts, I prefer using 1080 by 1080 resolution.
3. Camera Properties
You can now change the camera's position by directly grabbing the camera on the viewport. Changing the object property of the camera on the properties tab by clicking the orange square on the bottom right tab will achieve the same goal.
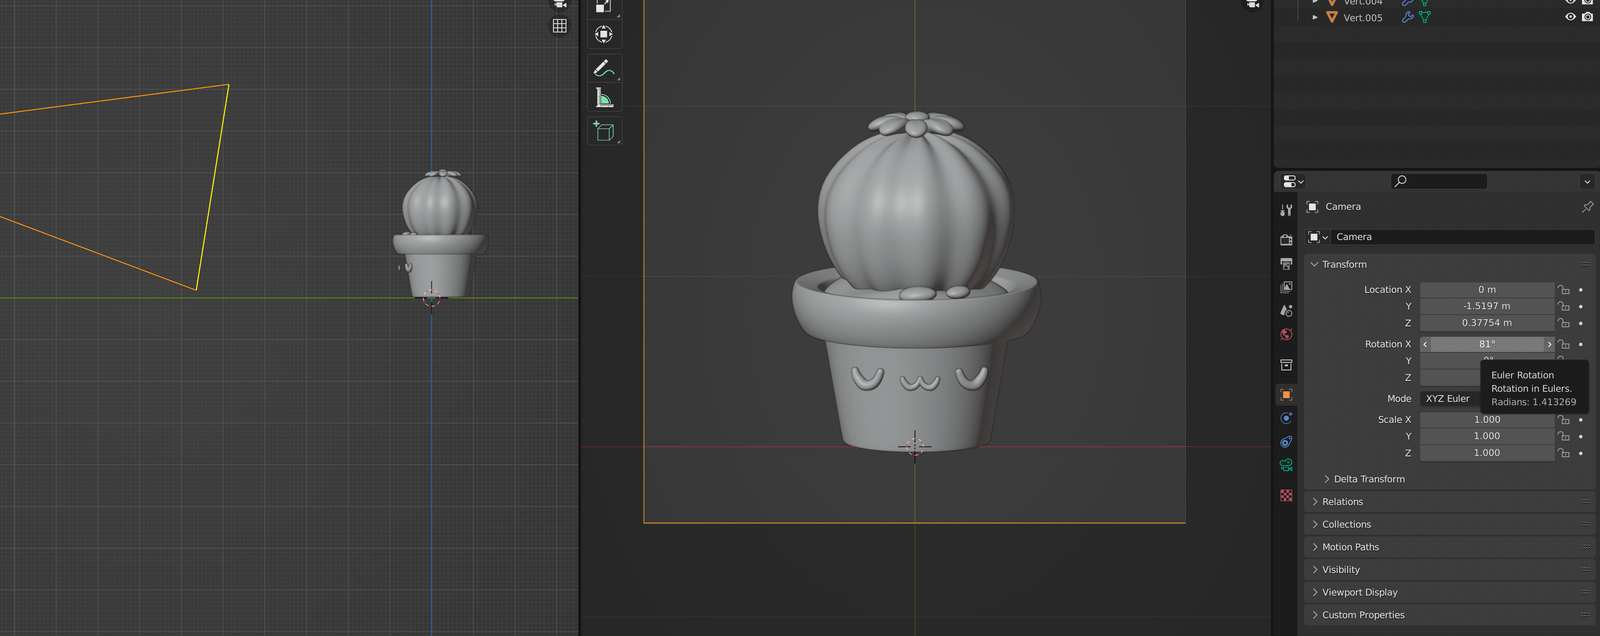
You can also change the object data property for the camera. With the camera selected, you can click on the green camera icon to change the camera's Object Data Properties.
The camera will be on the perspective mode by default. Blender also has an orthographic mode for cameras.
The camera you choose is totally up to you and what you are trying to achieve. For this article, I am working with an orthographic camera on a scale of 0.5. The scale is used to zoom in and out. For a perspective camera, you will be modifying the focal length instead of the orthographic scale.
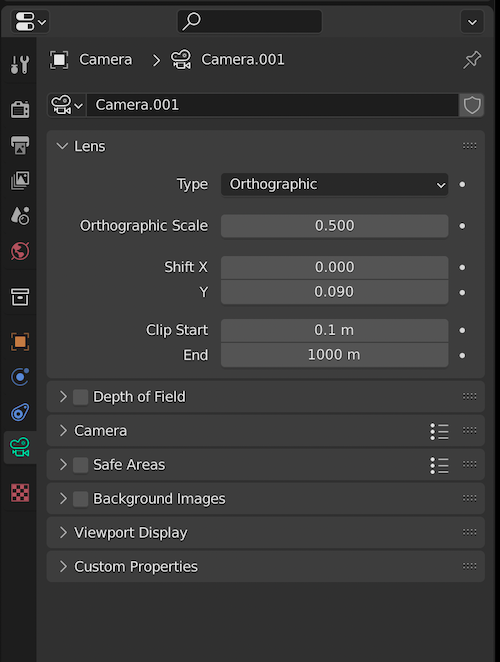
For more advanced control and manipulation, you can utilize other properties such as the Depth of Field.
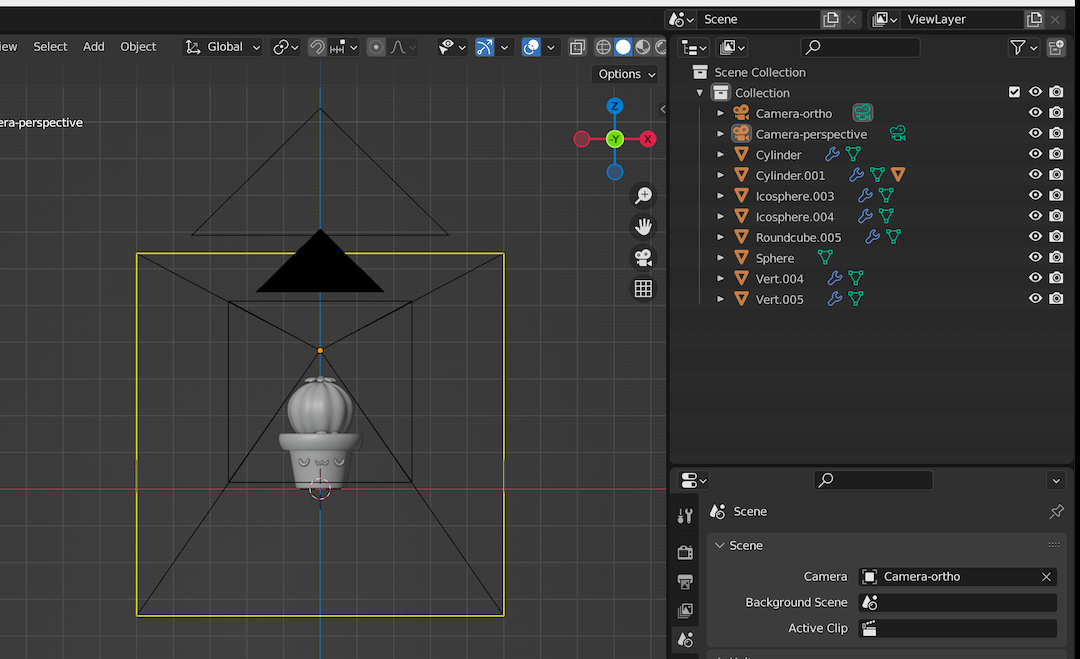
4. Adding more Cameras
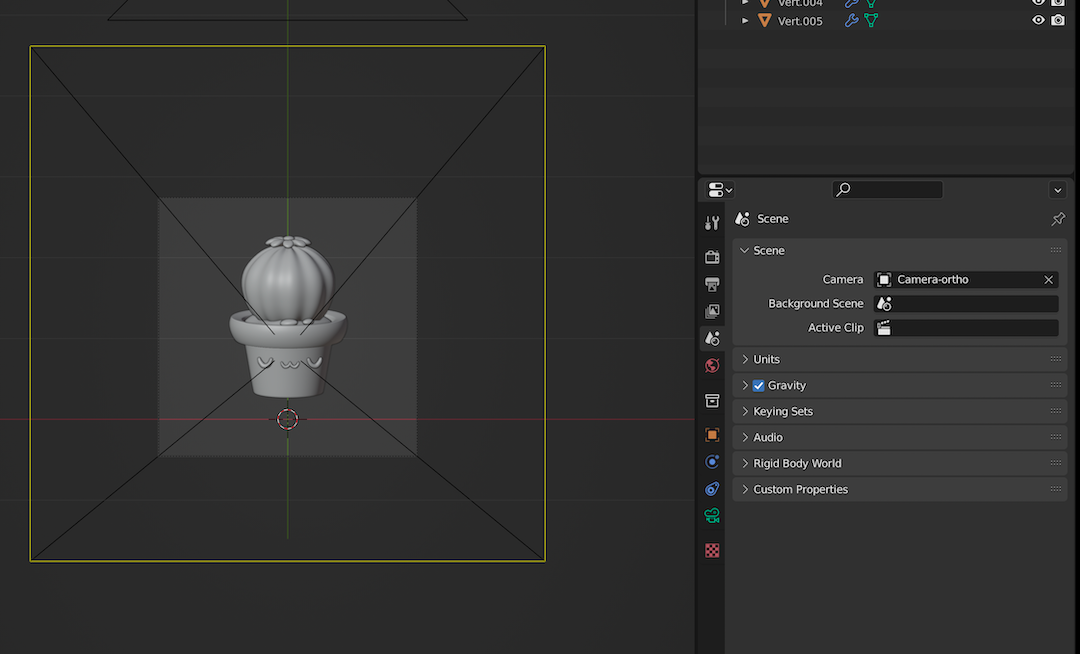
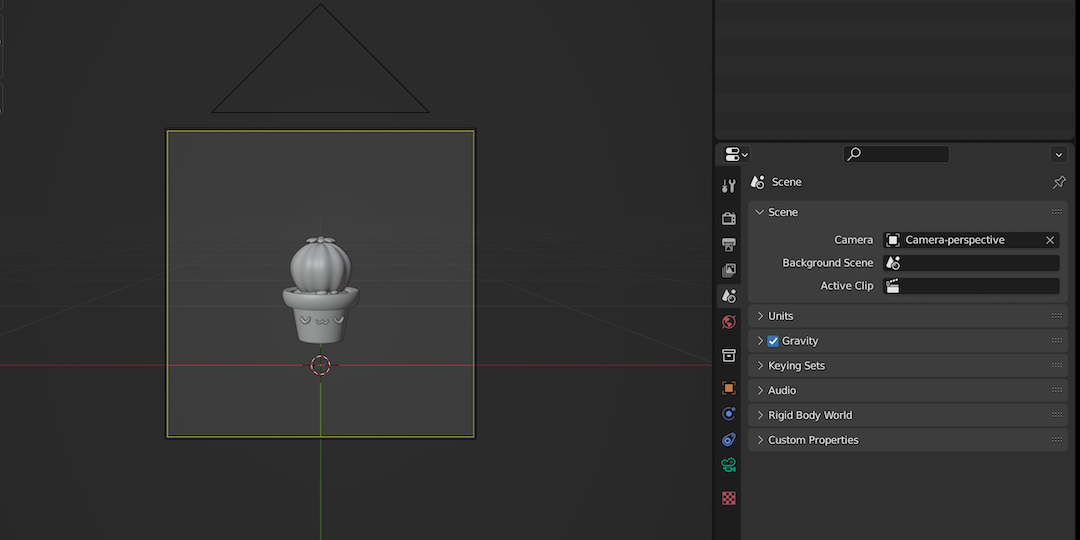
If you have more than one camera in your scene, you can choose which camera to use for the render as well. I will rename the existing camera to camera-ortho, add another camera, and name it camera-perspective.

You can choose which camera is active by changing the camera input on the scene property. Scene property is also on the properties tab, at the bottom right.
There we have it! Your basic camera is now set up and ready to render a scene.
Thank you for reading. Catch you in the next one.