
Trees are awesome (for both real and virtual game worlds)! The real-world benefits are obvious, but they also provide the best environment filler when designing a game world. See empty landscape? Don't know what environment to make? Just drop a tree right in there!
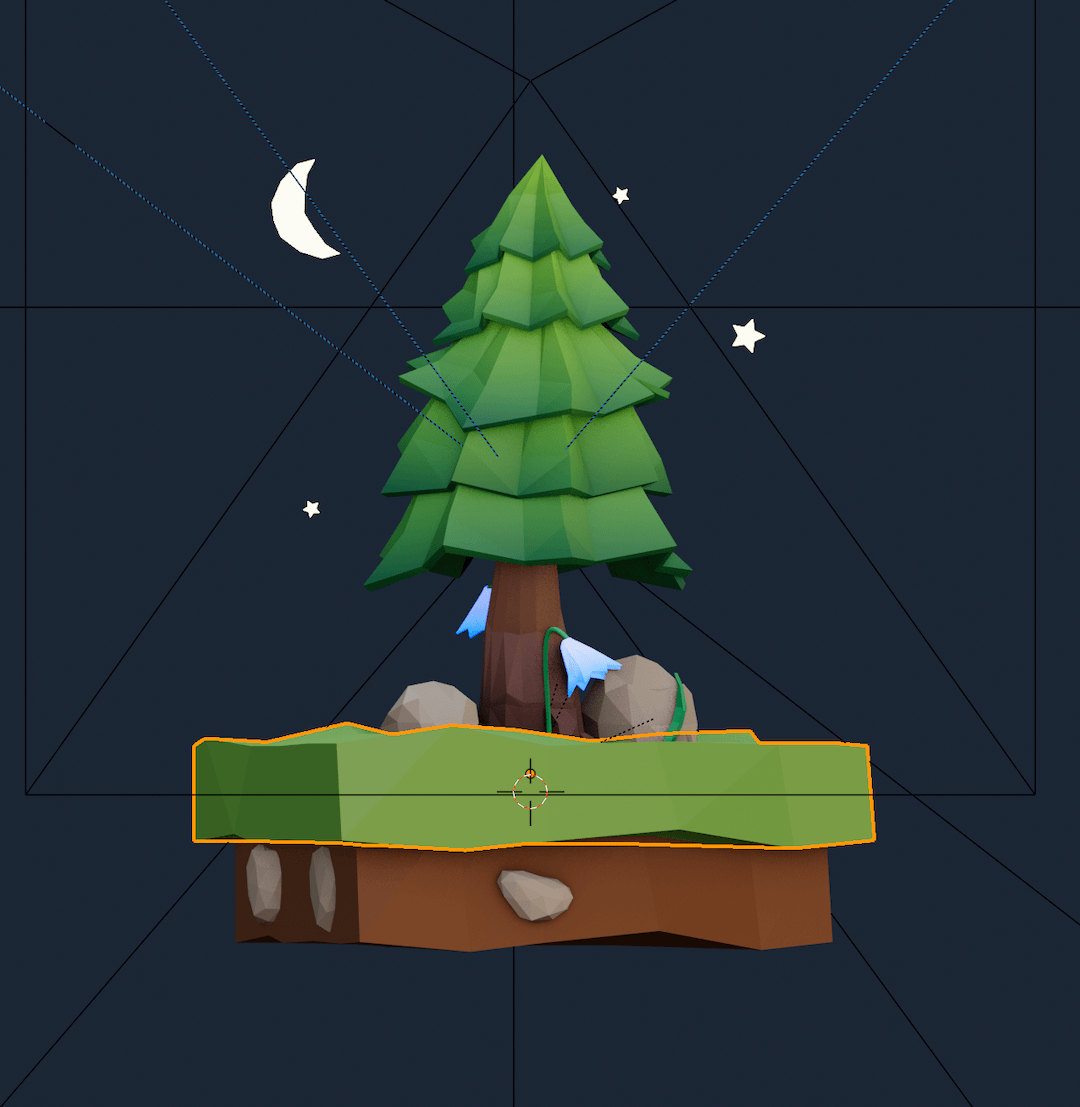
In this blog, I will be going through my process of designing the stylized tree you see below.
Collecting Ideas
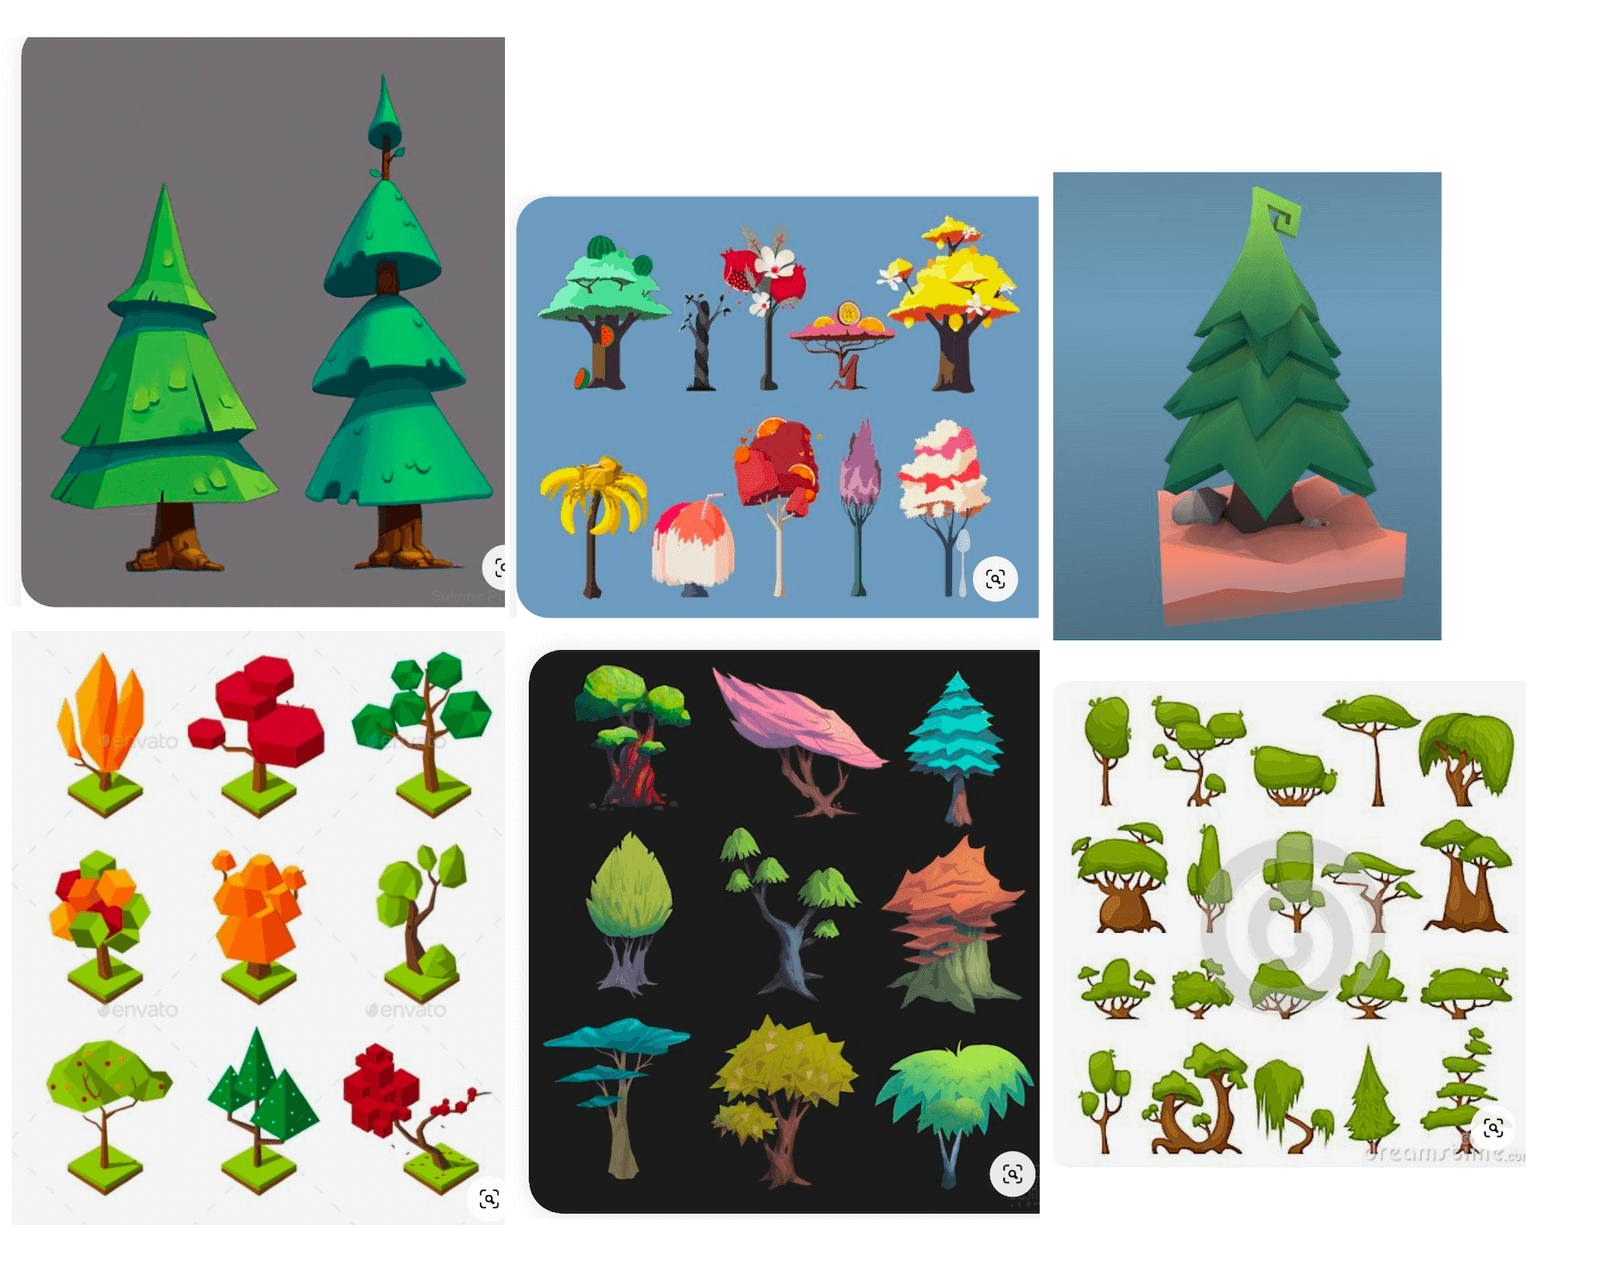
There are many ways you can approach making a stylized tree. But it's always best to take inspiration from the real world. So the best reference images for trees will always be their real counterparts.
After looking at images of real trees, I also wanted to look at some style choices for creating the 3D model. Behance and Pinterest are great places to get inspired for projects like this.
Here is what my mood board looked like:
Sketching
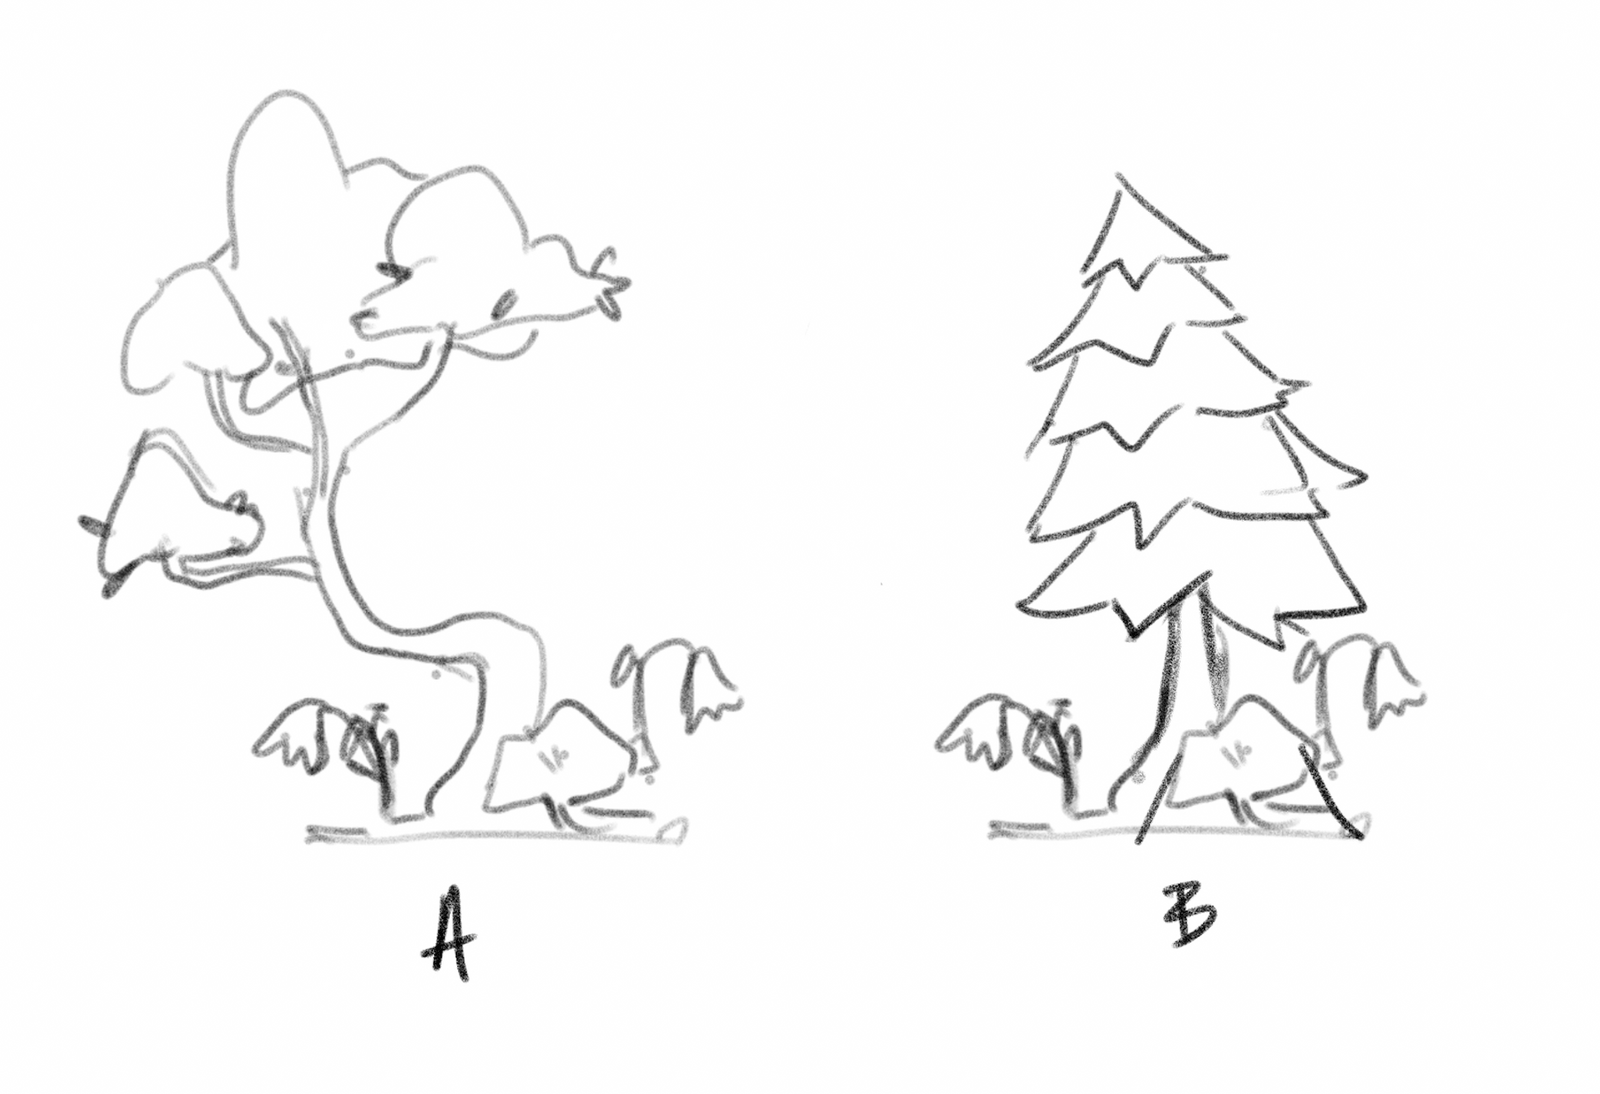
After getting some references, I worked on sketching out some rough ideas. This step is not always necessary while making a 3D model, but I love having a rough sketch of the object I am going to model.
Here are some of my rough concept sketches:
3D Modeling
Once I have an idea or a concept sketch, this step only consists of building the object with cubes and cylinders.
Let's move on to the breakdown of my 3D modelling process.
Concept
The first thing to do is to get my concept sketch into the blend file so that I can start the model by tracing over it. I decided to go for concept B.
Making the Trunk
I started with a cylinder, scaled it down, and then extruded the top faces to create the whole trunk.
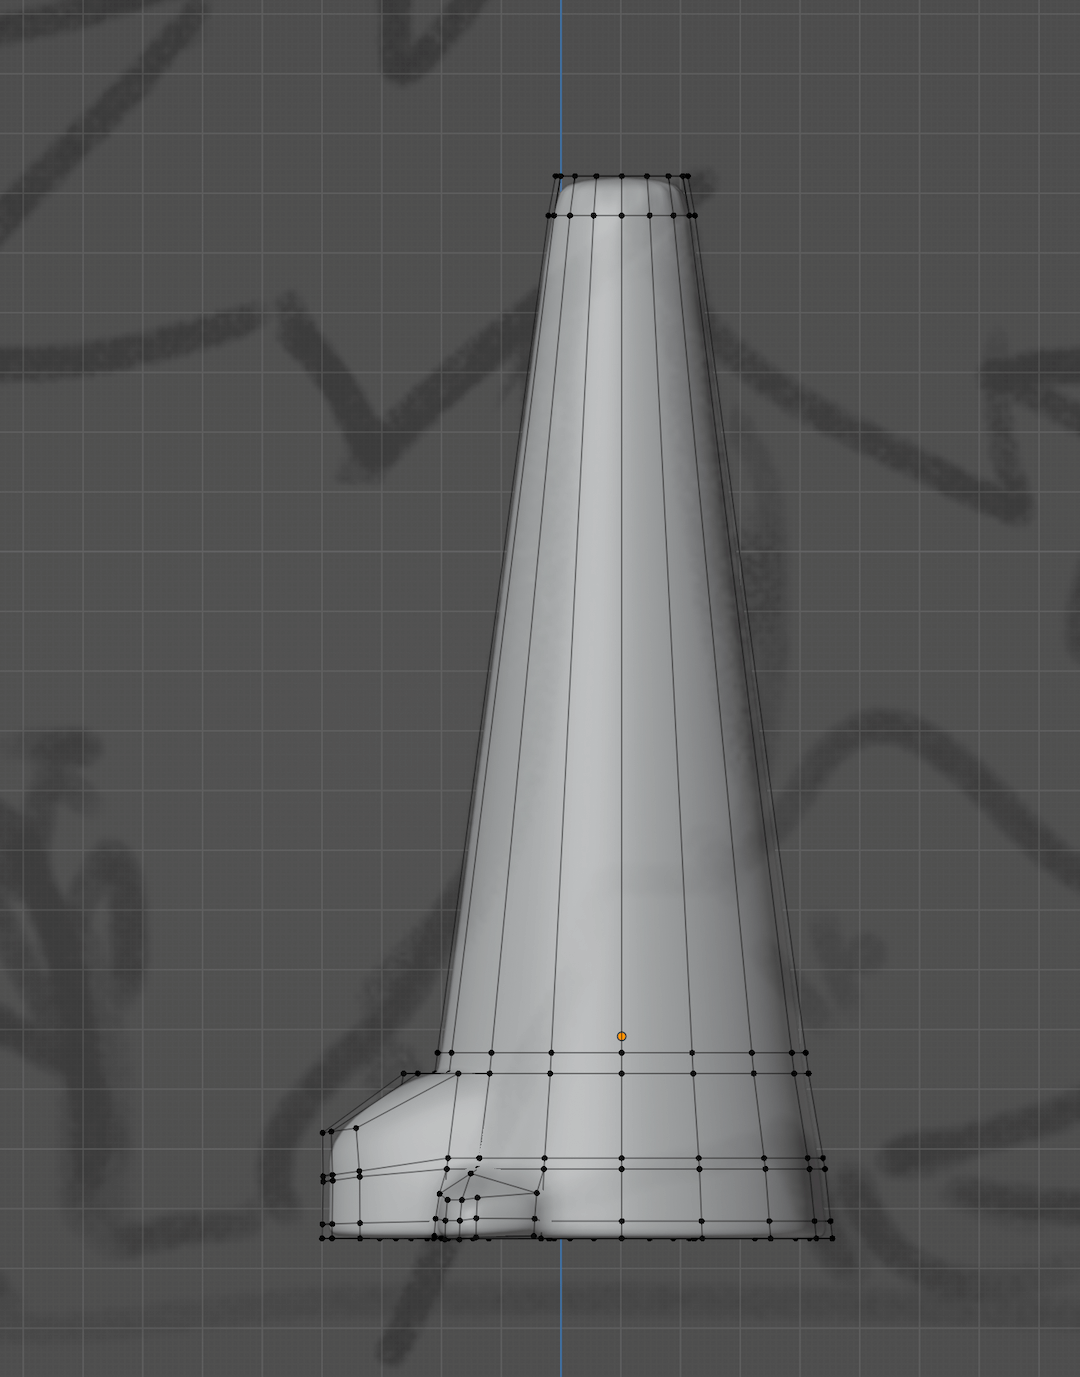
I selected a couple of faces and extruded them to get the protruding details for the little bumps on the end of the trunk.
Rest of the Tree
I started with a circle for the rest of the tree, then extruded the vertices upwards and scaled them to get a cone shape.
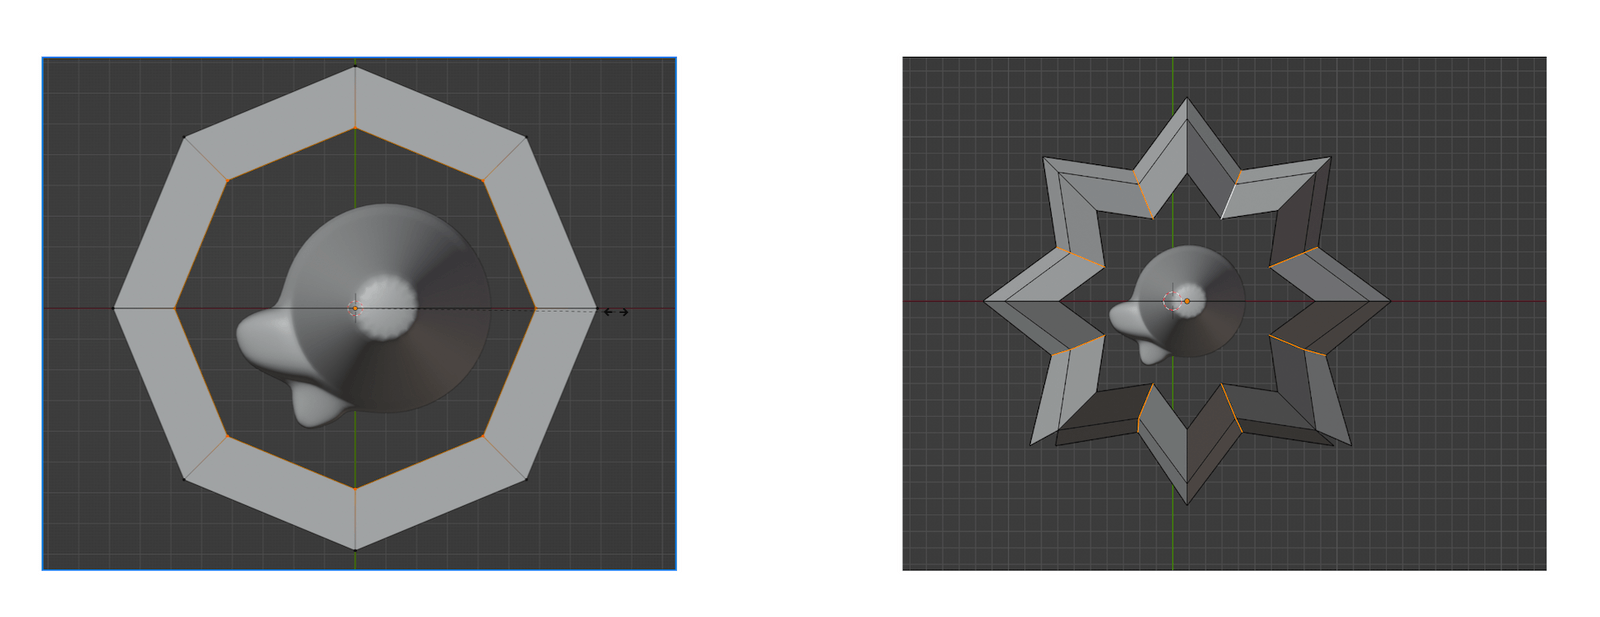
Then, I added some loop cuts to define the tree's shape. With enough vertices, I started arranging the vertices to match my sketch.
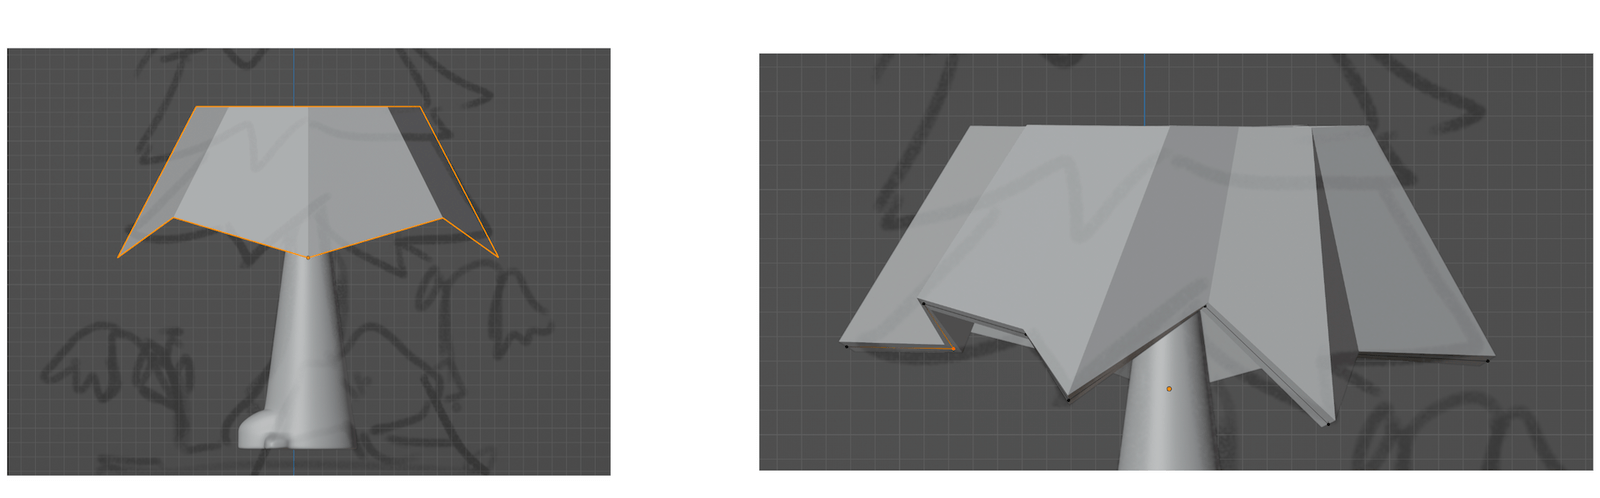
Instead of going for a high-poly look, I decided to go for a low-poly count and only added a solidify modifier to the tree layer.
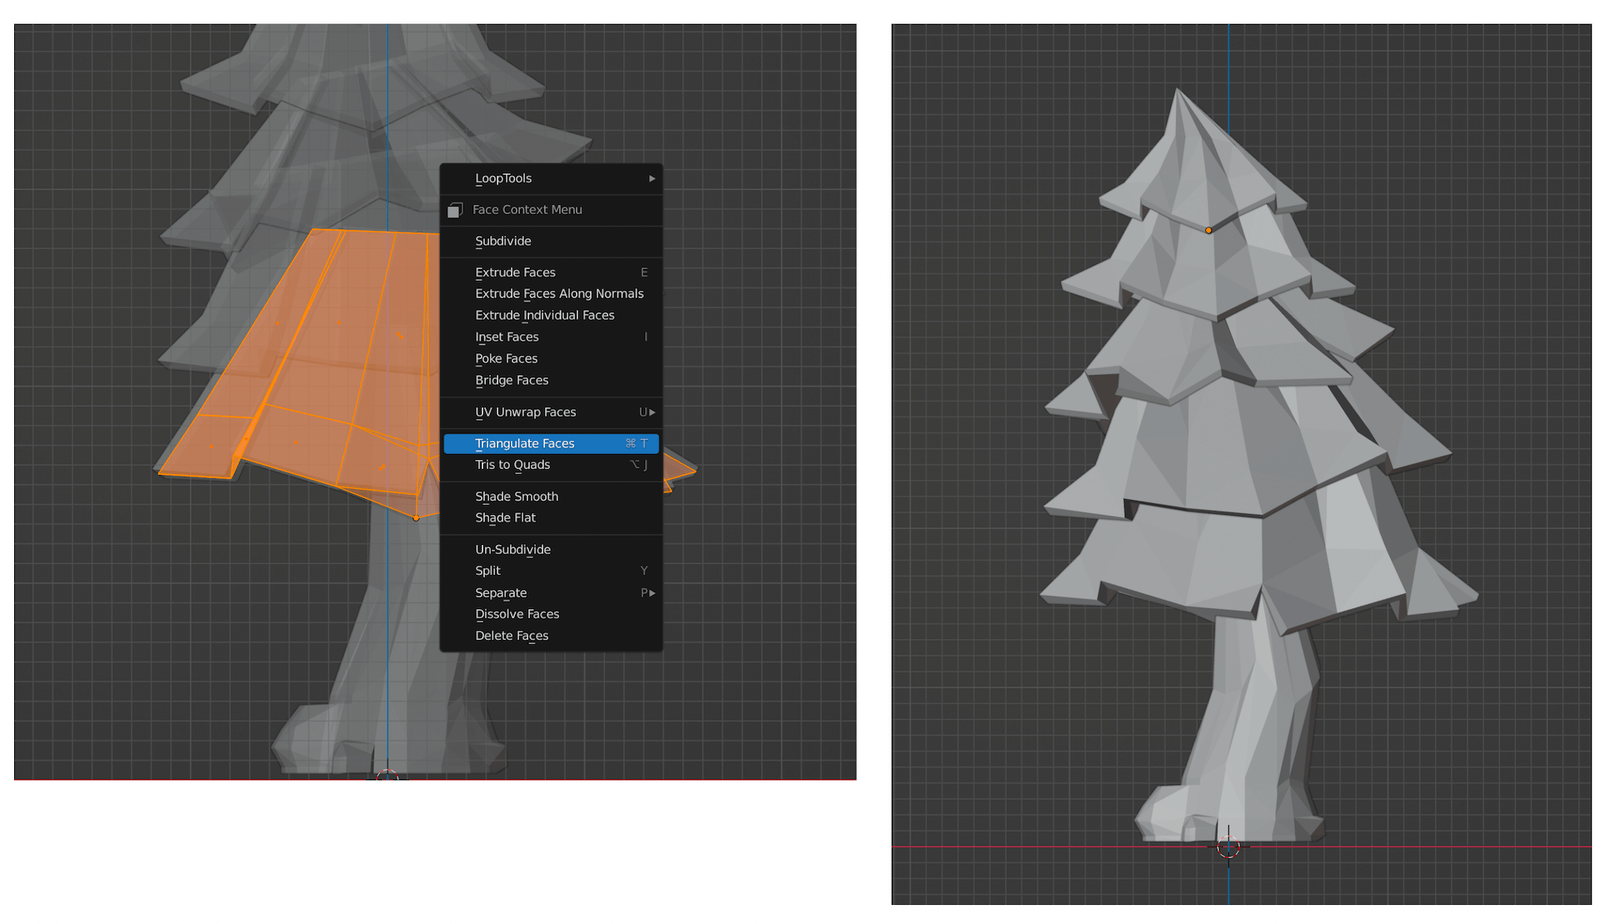
After one layer was done, I simply duplicated it and moved it upwards for the upper layers. To create some variation, I rotated and rearranged the vertices in each tree layer. Next, I triangulated the faces and rearranged the vertices to get more geometry.
I quickly modelled some rocks and flowers for the scene; and a moon and some stars for the background.
Texturing
I am mostly using only one colour as texture for the scene, except for the tree.
For the tree, I used a gradient by using a Color Ramp node. You can find a detailed texturing tutorial I made here.
Rendering the Scene
Once again, I am using both an HDRI and a tri-lighting setup, which I covered in this article.
The render setup for the scene has the following:
- A perspective camera,
- a 3 Point light setup,
- a blue-coloured plane acting as the background, and a background point light that generates a gradient,
- and a studio HDRI with strength at .8.

And there we have it! A low poly stylized tree! I hope this article gave you an insight into my 3D illustration process and inspired you to make your own!
Thanks for reading! Catch you in the next one.