
Note: This is part 2 of a multi-part series.
In Part 1 of this article, we went over three methods of creating succulents.
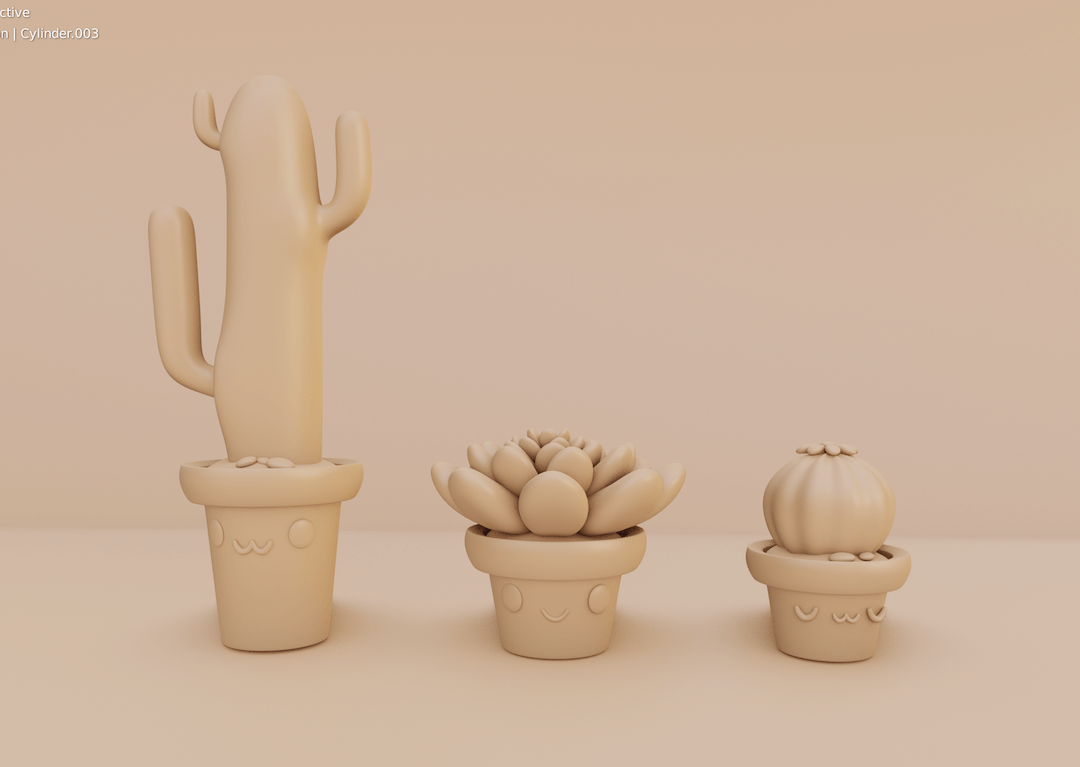
Now that we have these models, it's time to add some color to them. In Blender, we do this by adding materials to the objects. All right, let's get texturing!
4. Adding materials with a base color.
A really easy way to add color is by adding new material to the object and setting the base color of the material.
For objects with a single color, we will simply be adding the material with a base color and only changing the roughness value, to get a more stylized soft texture.
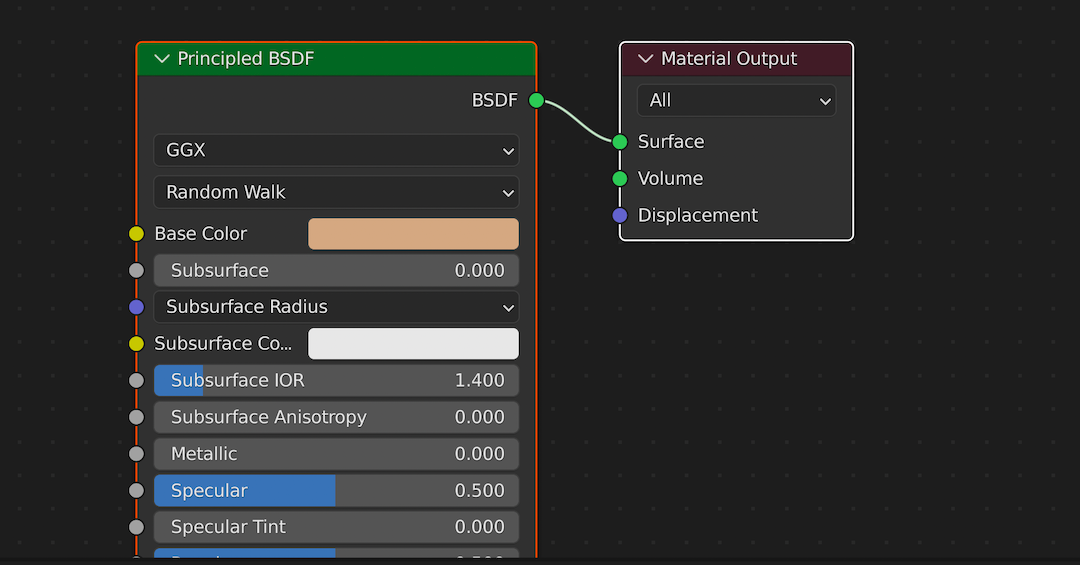
I like to get the base colors down using simple materials, and then move on to further refine these materials.
This is what the shader editor looks like for the material of the pots.
5. Playing with some nodes
For creating some other textures, we will be adding different nodes to get new texture effects. For instance, here I have created a gradient texture without actually painting the gradient on the object. Simply by using nodes.
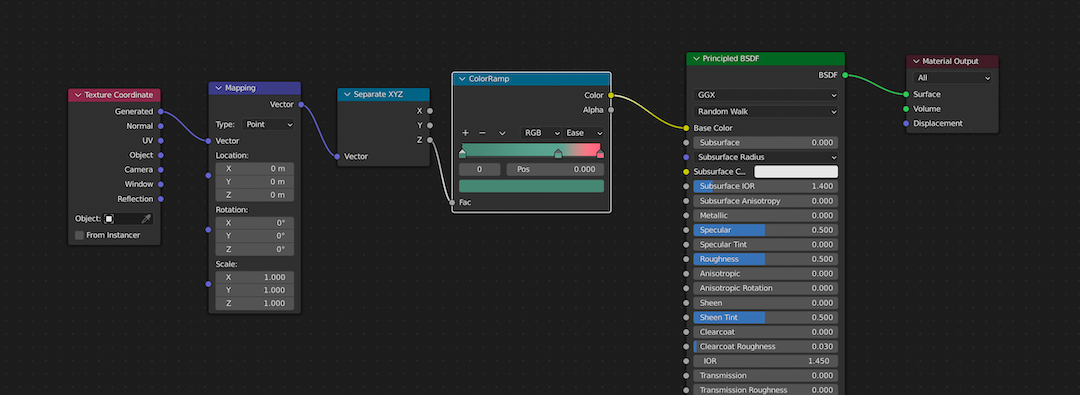
The gradient is translated on the z-axis for the succulent leaves. Using nodes can really be useful to create many other types of textures, so play around and have some fun!
6. Texture Paint with Image Texture
Another way to paint objects on Blender is to use image texture. We simply assign an empty canvas to the object and then paint on the canvas.
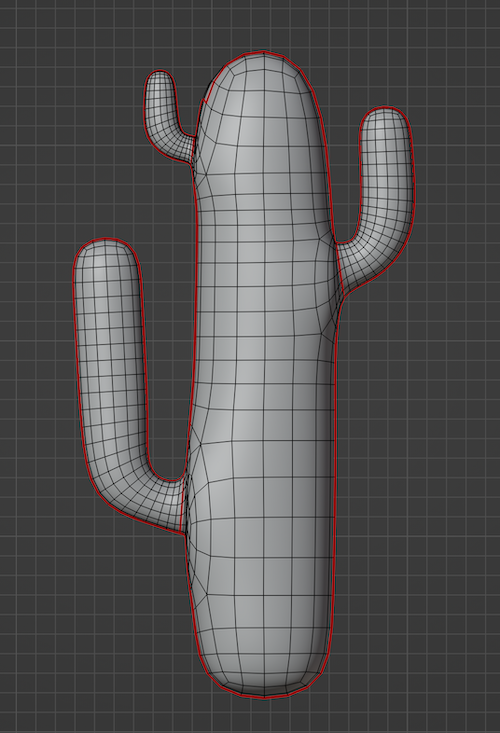
To do this, we need to first UV-wrap the object. Since Blender doesn't know how the canvas fists onto the object, we need to assign some seams to the object. The seams define the area on an object so that Blender knows exactly what texture is going on different parts of an object.
Think of the object as a plush toy, and the seams as the real seams on the plushies, where they are sewed together.
After marking the seams, we select all the edges of the object and Uv-unwrap them.
In edit mode, A (select all edges) > U> Unwrap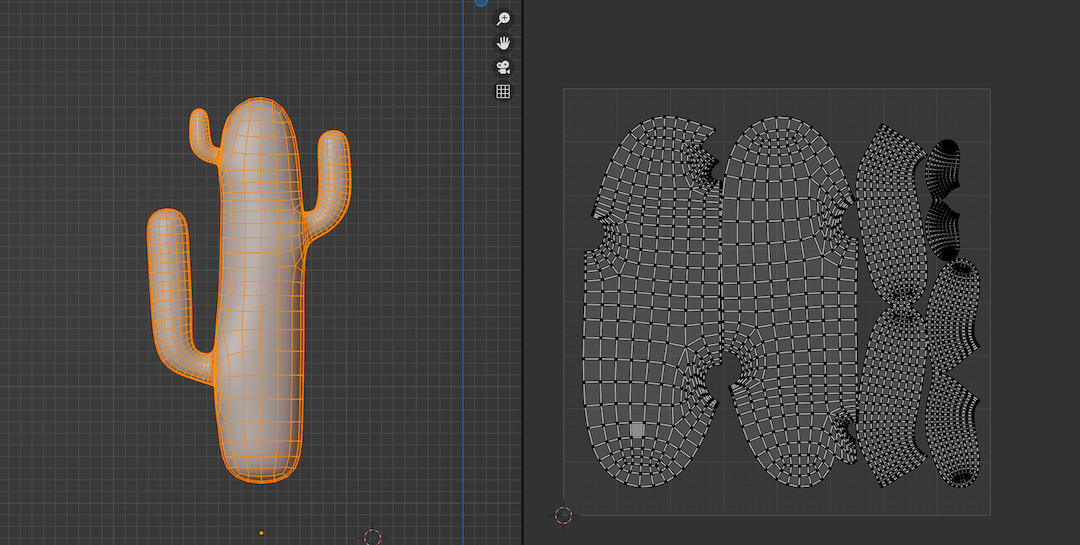
Apply an image texture
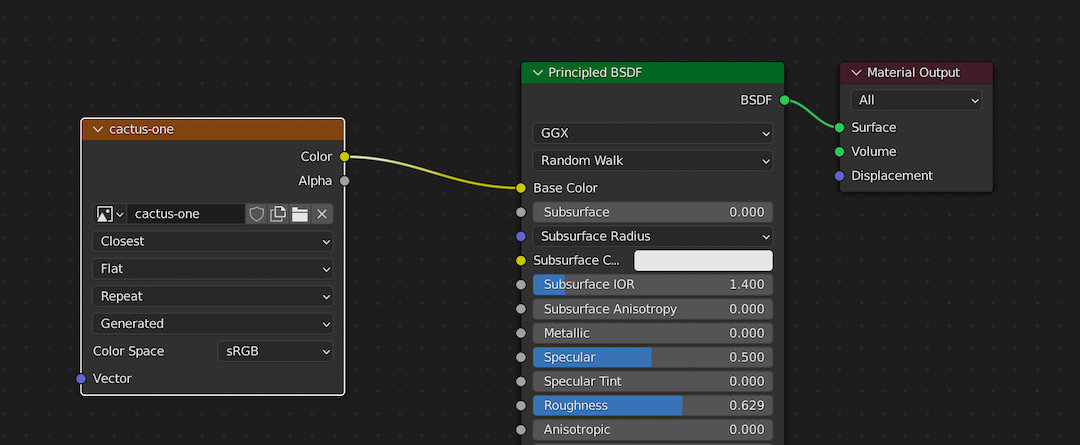
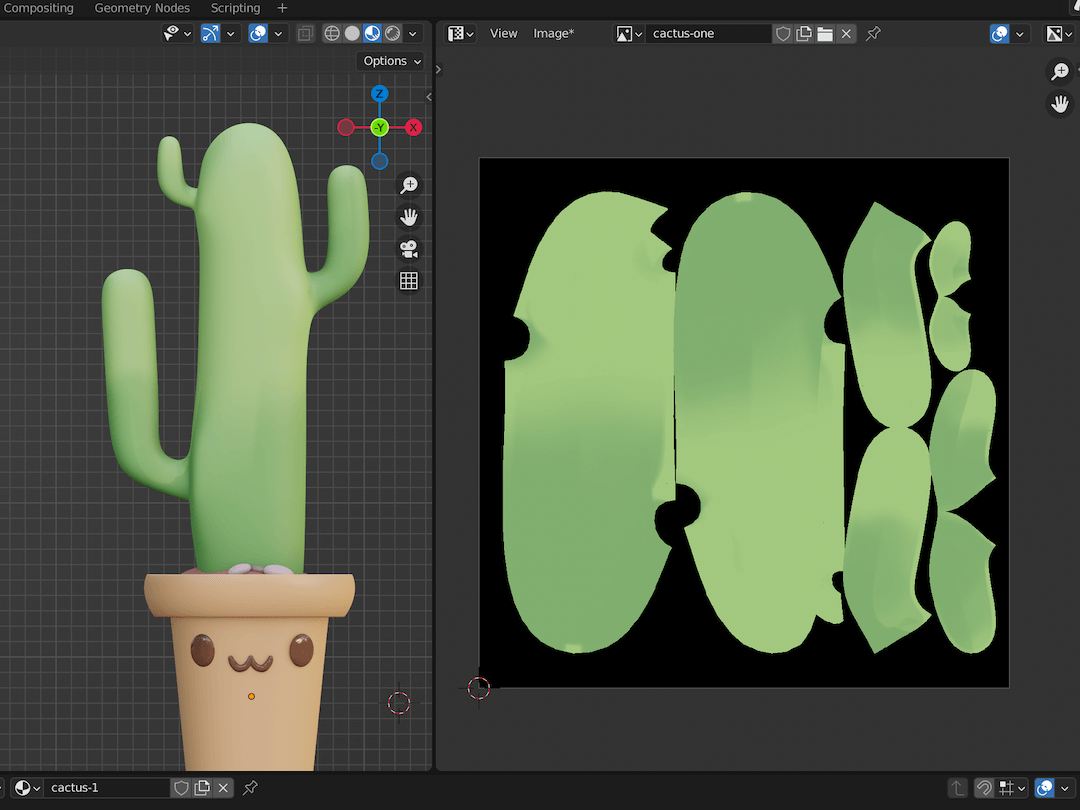
So, after the seams are marked, UV-unwrapped, and with an empty image texture applied, I can tab into Texture Paint mode and hand-paint the cactus.

I used the default brush with different strength settings to create the gradients in this one. And remember to save the image, as Blender doesn't auto-save the image, and you could accidentally erase or overwrite the images.
There we have it, three ways to create textures in Blender!
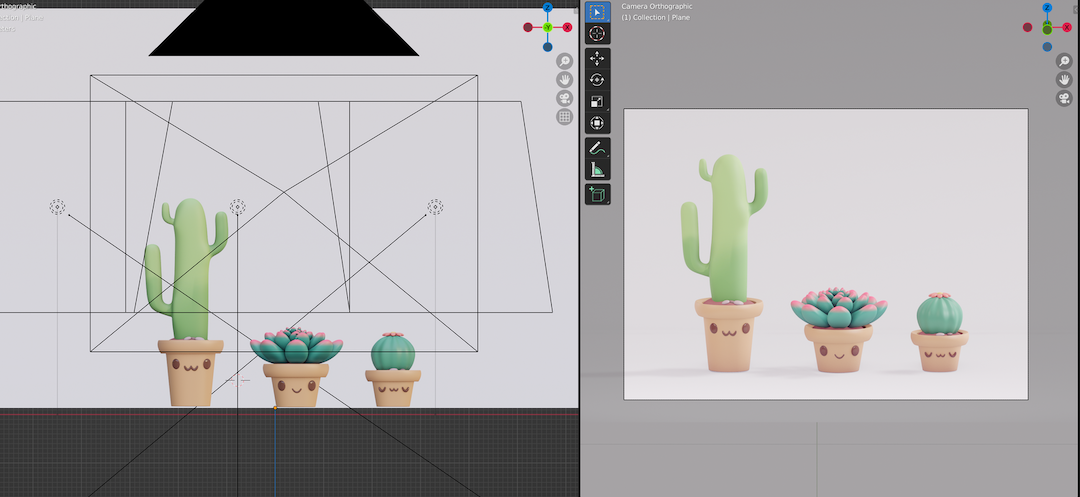
For the render, I have a pretty basic studio light HDRI as my environment light, and I like using three area lights that focus on the object/s in the scene for my render setup. I also bump up the contrast mode to High or Very high mode.
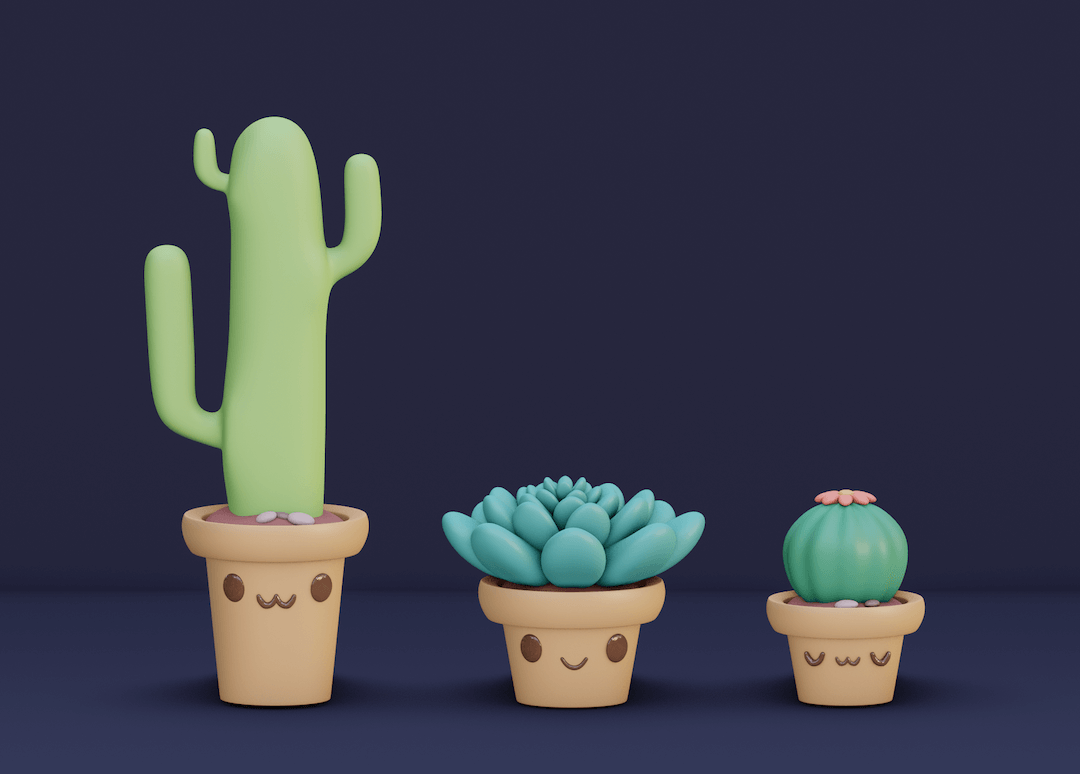
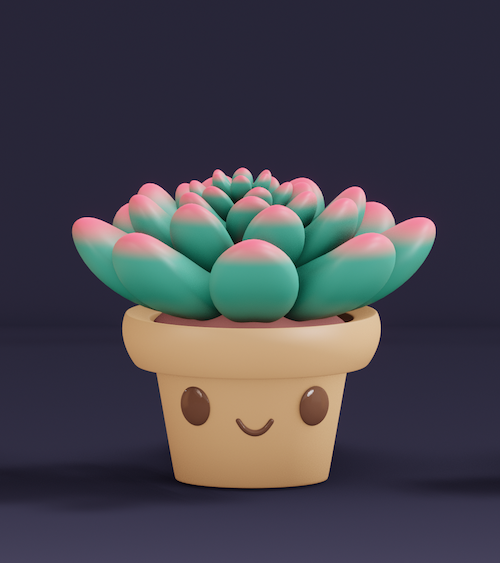
Here is what the final render ended up looking like. If you've followed this article step by step then I hope you have produced a result like in the image below.
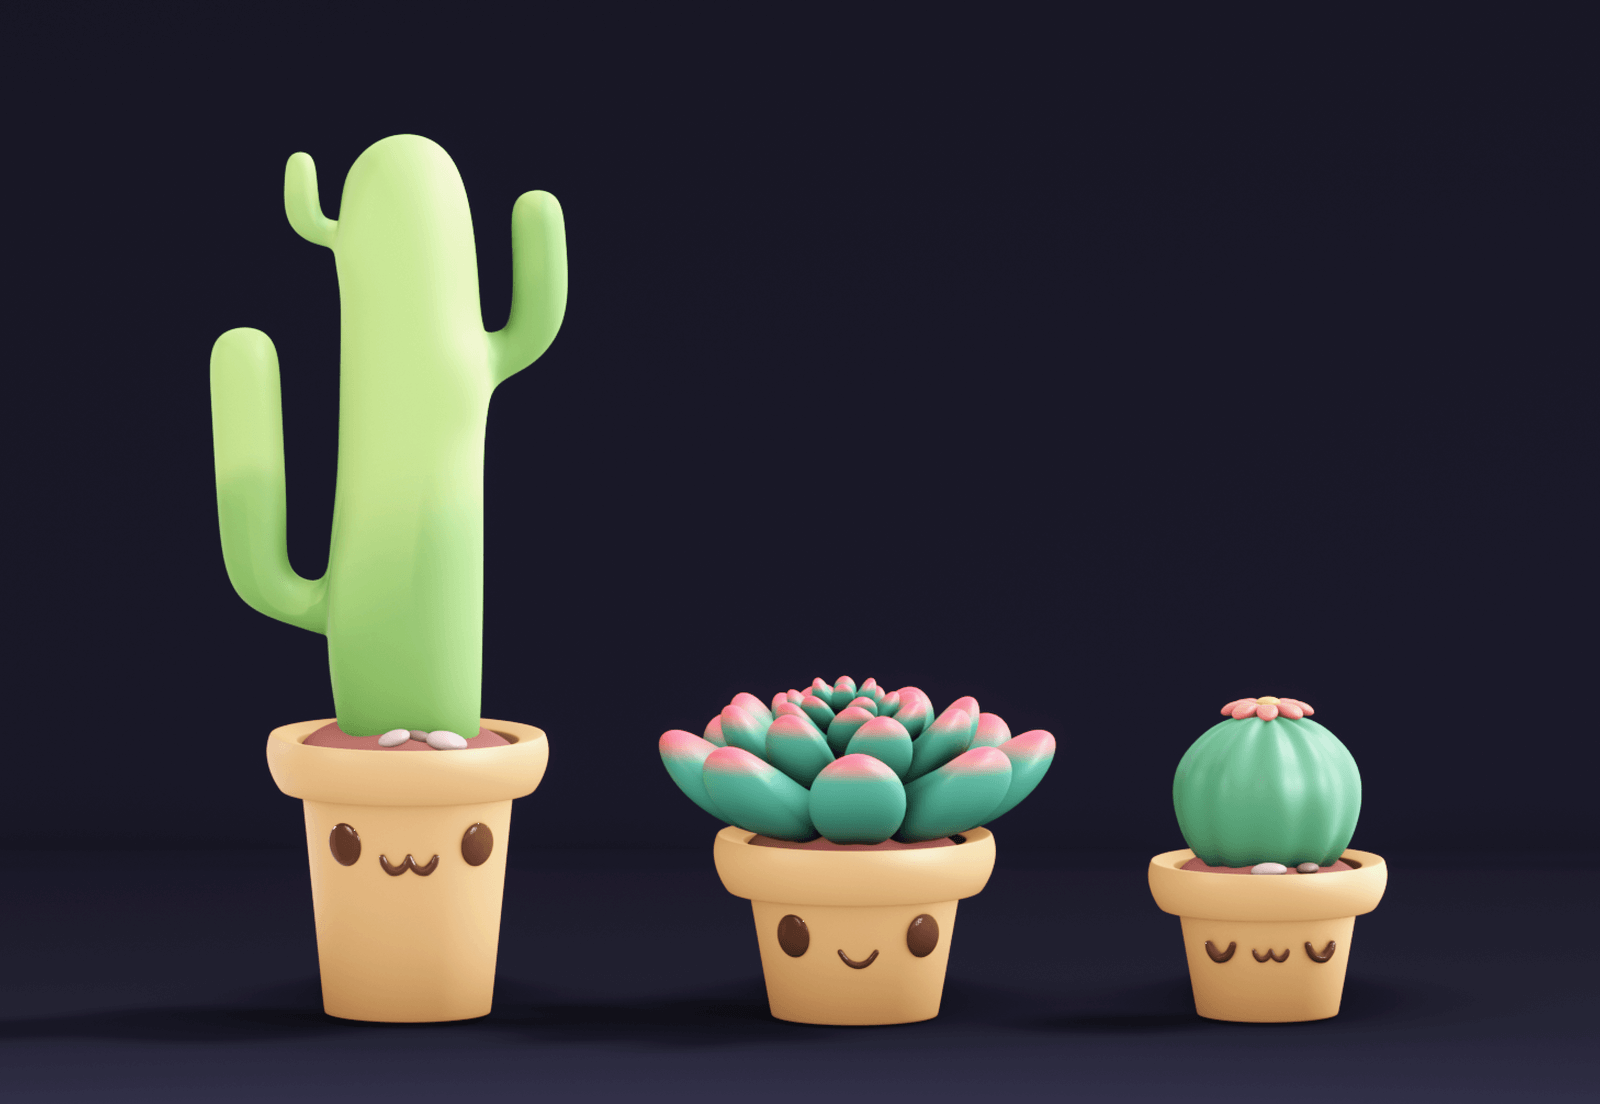
Thanks for reading. Catch you in the next one!