
So, you have your low poly game character all ready to be animated. If you have enough time and skills, rigging and animating your character gives you full control over each animation. But there is a quicker and a much easier alternative – Mixamo.
What is Mixamo?
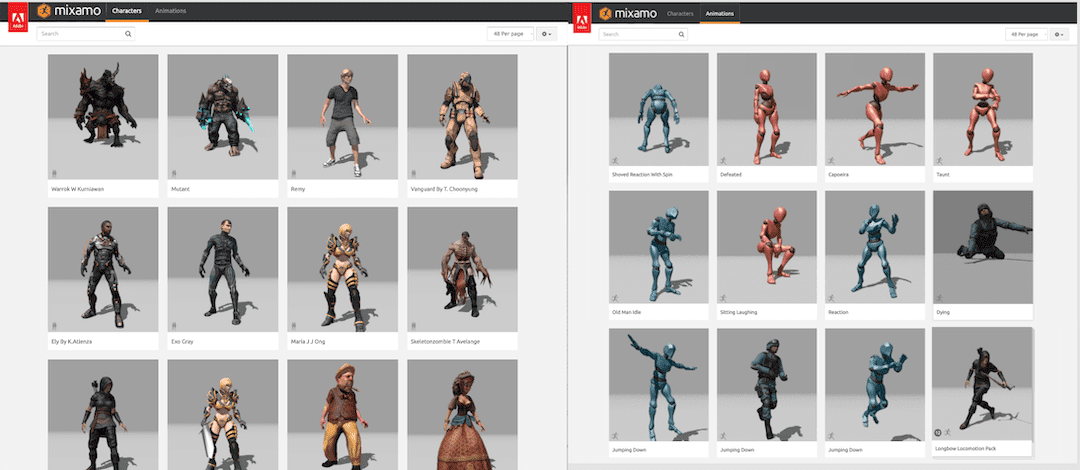
Mixamo is the best platform out there for character rigging and animation. It will automatically rig your character, and you can choose from over 3000 motion-captured animations. The best part? It is absolutely free, even though it is a part of Adobe now.
Uploading Your Character to Mixamo
We will be uploading the .fbx from my last article. However, you can go ahead and upload any character .fbx you have. You can even use some free character models that are available in Mixamo itself.
Once you log in to Mixamo, you can easily spot the upload character button. Mixamo will show you a preview of your character after uploading the .fbx file.
Make sure your character is standing upright in the preview, and everything looks alright. Sometimes, .fbx exports can be tricky, so this is the part where you check for mistakes.
Next, you need to place the markers on your model. The markers are used to create the rig and then apply the animation.
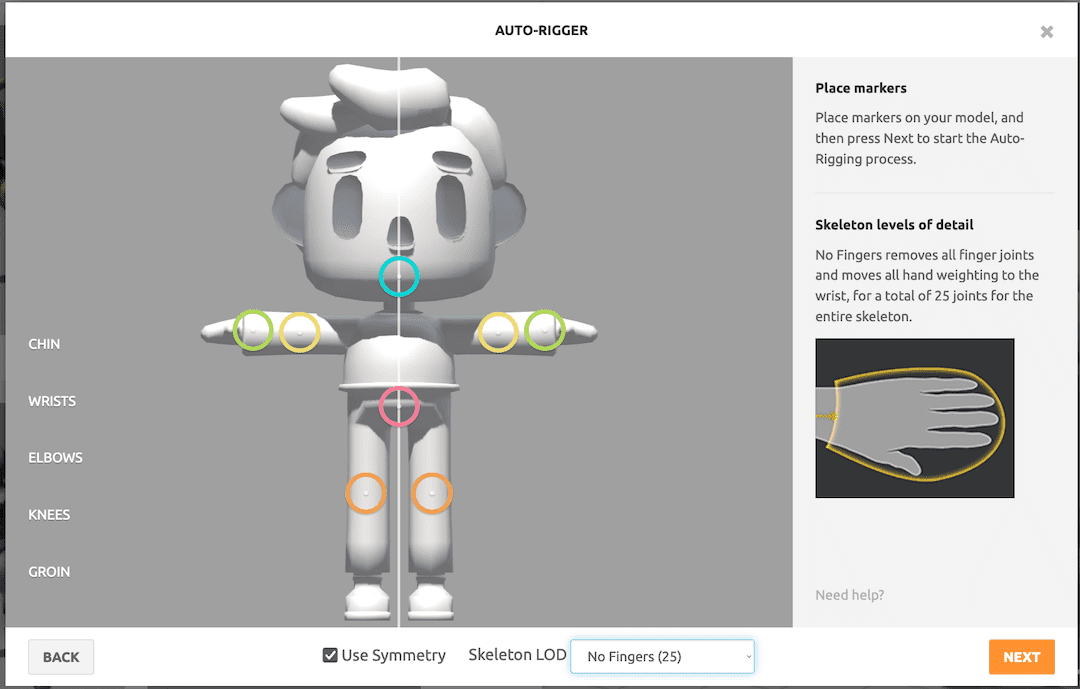
After you press NEXT, Mixamo will use its auto-rigger algorithm to create a skeleton for your character.
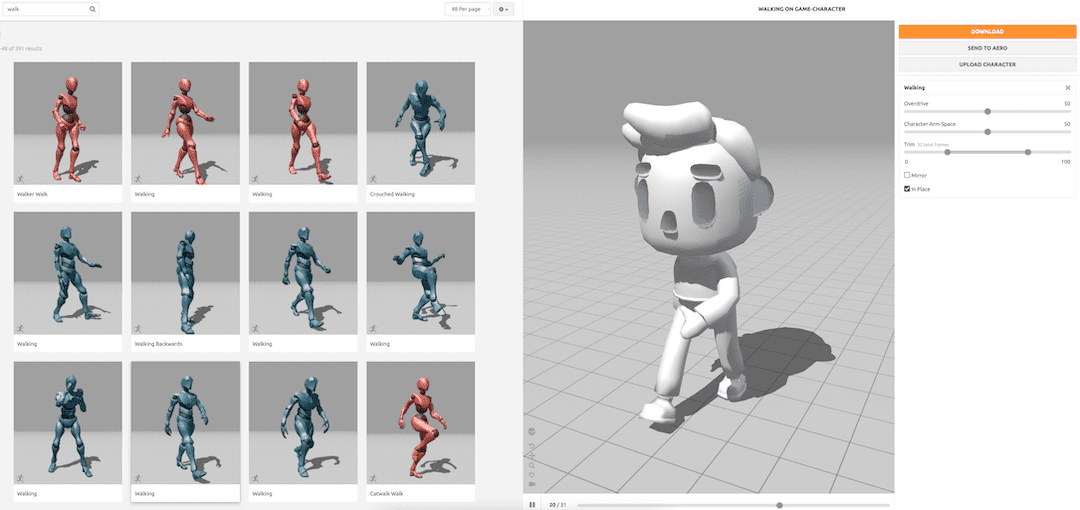
Now you can search for any animation you want from Mixamo's collection and download the animation as a .fbx.
Compiling Your Character Animations
Mixamo is great for generic animation sequences for video games. And since so many options are available, one would think you can select all these animations and download them all linked to the same skeleton at the same time...
Sadly, that is not the case. Mixamo doesn't allow you to do that. So for each selected animation sequence, you will have to download a separate skeleton with the animation.
This is not ideal, but with some Blender workarounds, we can easily adapt. Here is how I deal with combining the animations:
First, I make a master file for importing all the animated .fbx files I download from Mixamo.
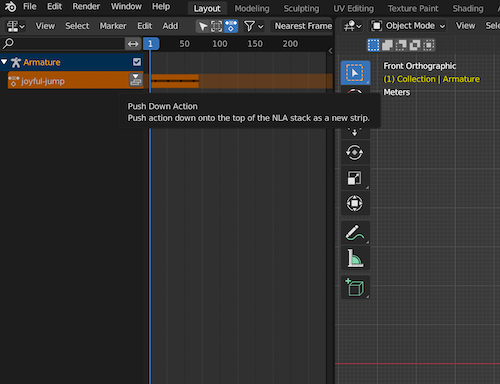
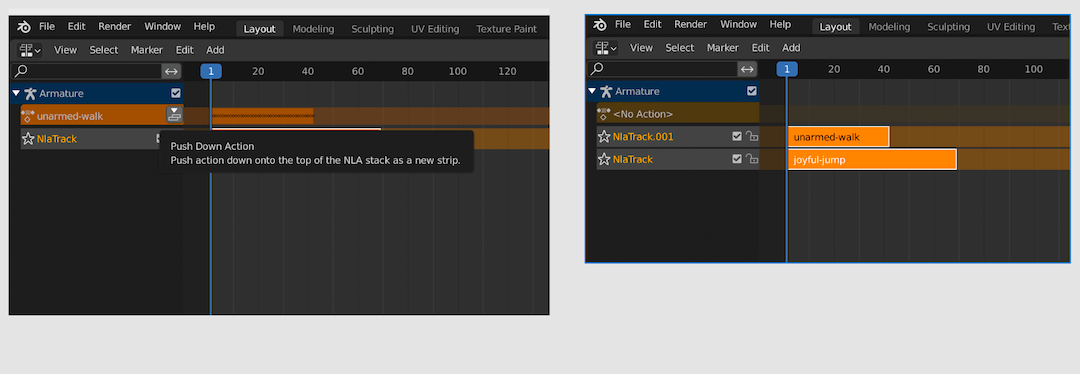
In the dope sheet window, under Action Editor, you can rename the action and push down the action as a Non-Linear Animation strip.
I create separate collections for each skeleton in the same blend file.
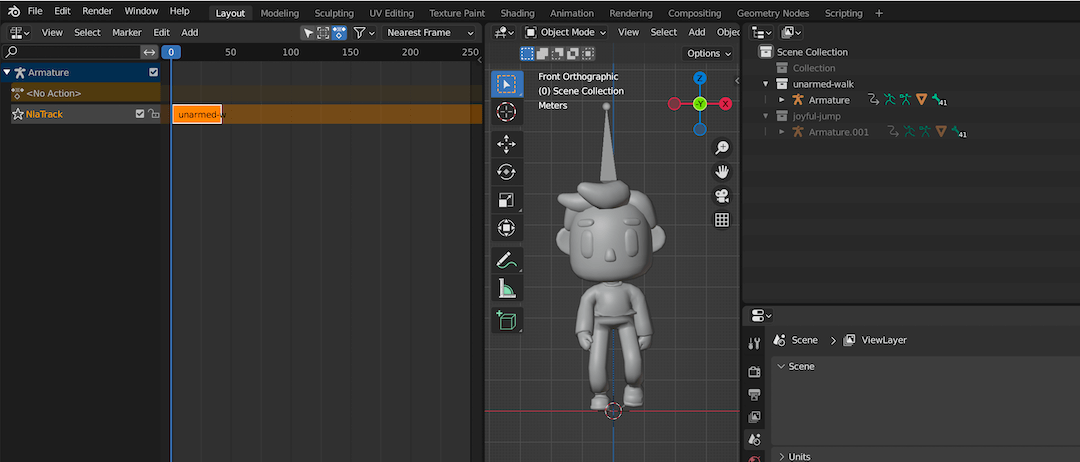
Next, I will create another Blend file for compiling all the animations into the same rig. You can import one .fbx with the character animation. In order to add more animation sequences, you can append the animation from the previous file.
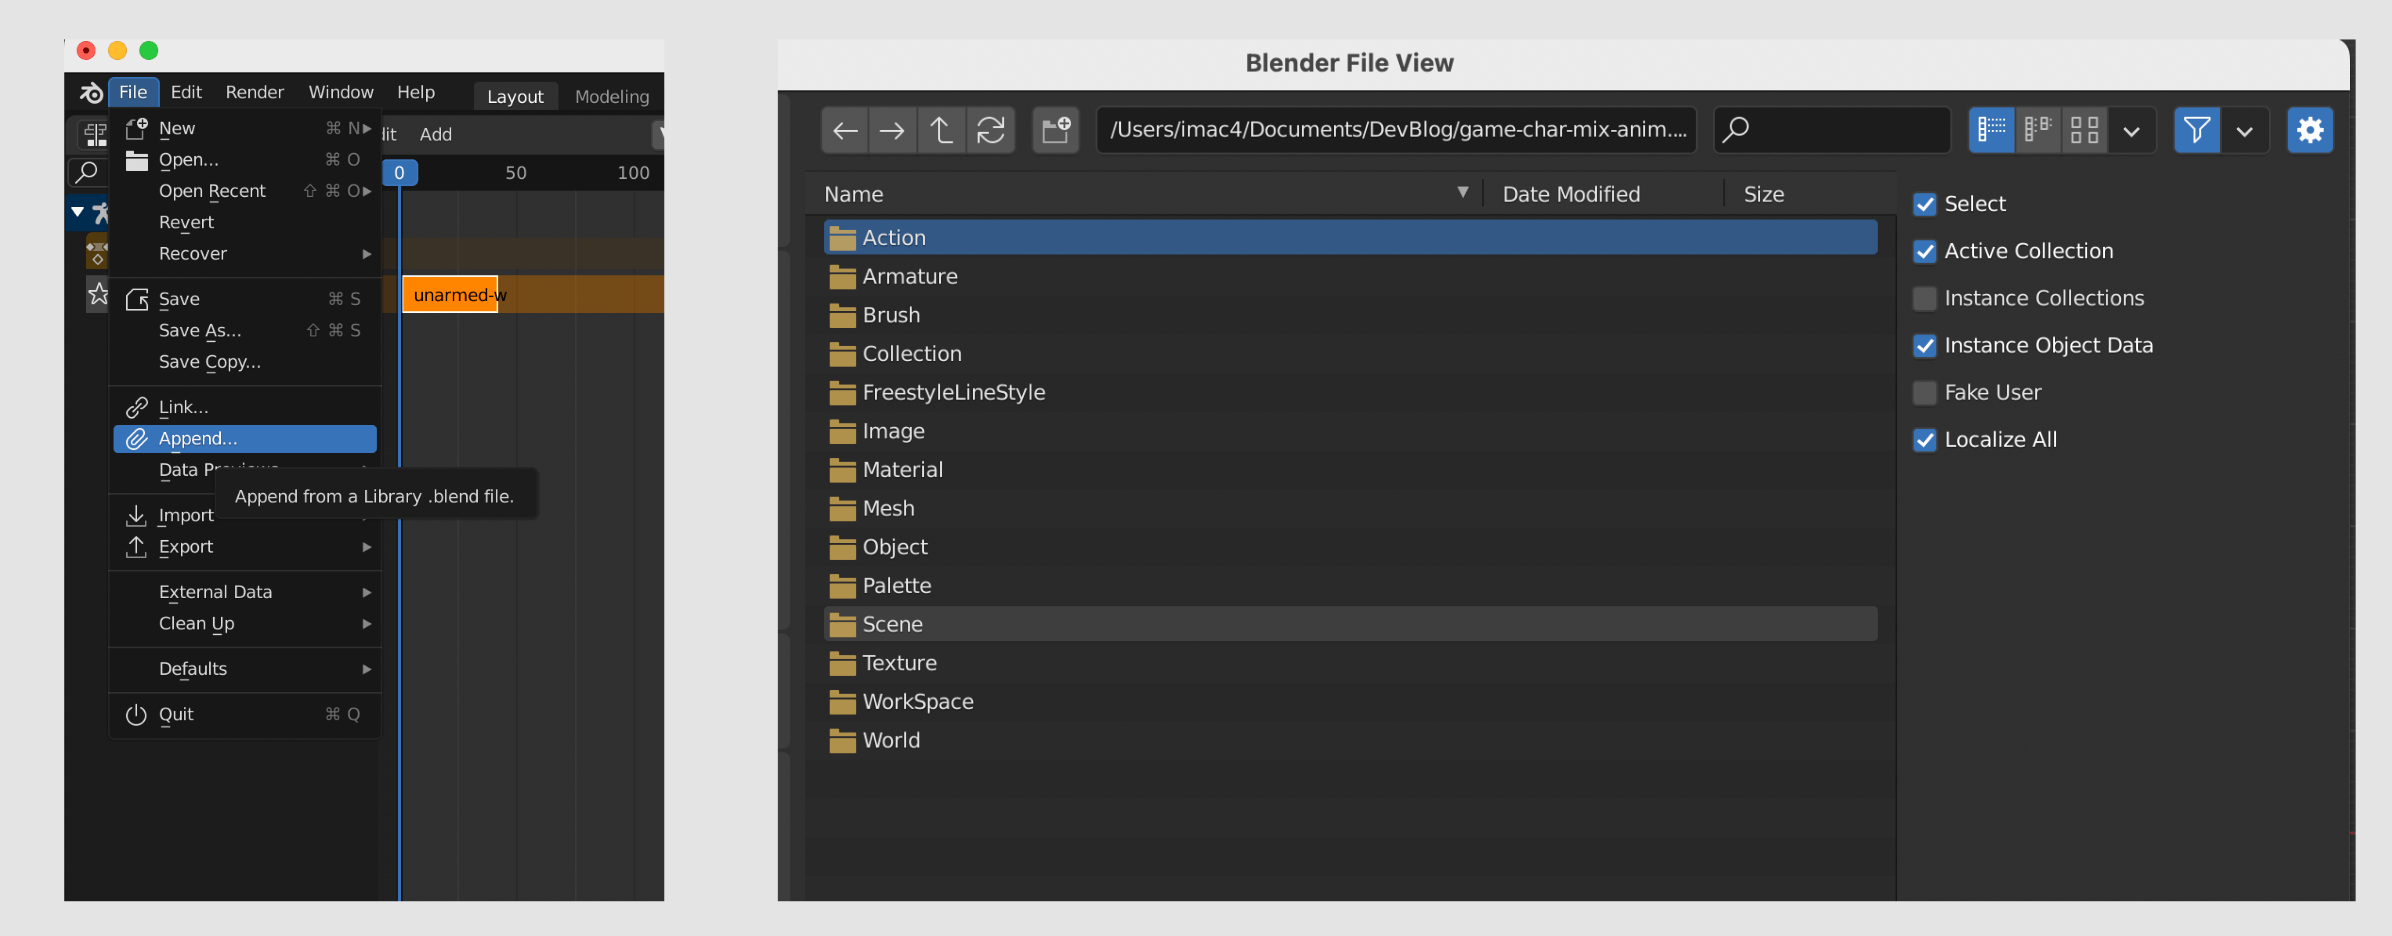
Go to File > Append and choose the master file with all animations.
Next, select Action and select your animation sequences from there.
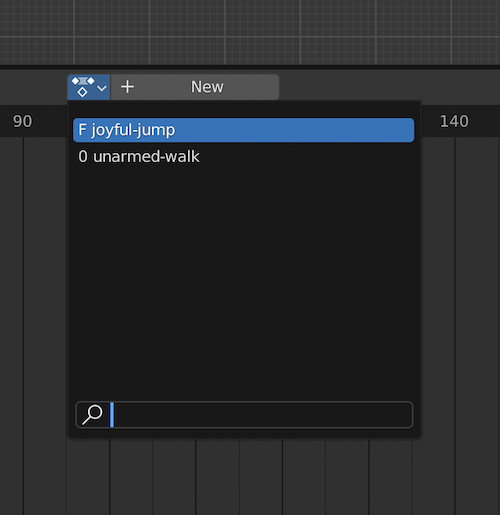
You should see the action you appended from the master file in the dope sheet.
Exporting Your Character to Unity
Now you have all your selected animations as actions added to the same character rig. All you need to do is create NLA strips from those actions, which is pretty easy.
Open your NLA window, select the actions, and push them down.
After adding the animations as NLA strips, you can proceed to export the character as a .fbx! For a more detailed explanation of the process, you can read my previous article about Exporting a Character from Blender to Unity.
Hopefully, everything goes well on your end, reader. Thank you for reading and catch you at the next one!