
Character creation is always a fun process, from sketching to creating the 3D model, rigging and animation, and finally exporting the character to Unity. Here is a breakdown of my process of creating a low poly game character.
As an illustrator, I always prefer high poly to low poly. I love smooth surfaces and sub-divisions. But our mobile devices sadly prefer low-poly models for ease of rendering. So, mobile games = low poly everything. However, low poly doesn't always mean ugly or jagged surfaces.
What is Considered Low Poly?
Low poly is a very vague term. We don't have a fixed number of polygon count that makes an object low poly. However, the general idea is that it should only have the minimum number of vertices necessary to create the proper geometry.
For a mobile game, characters under 5k vertices could be considered low-poly.
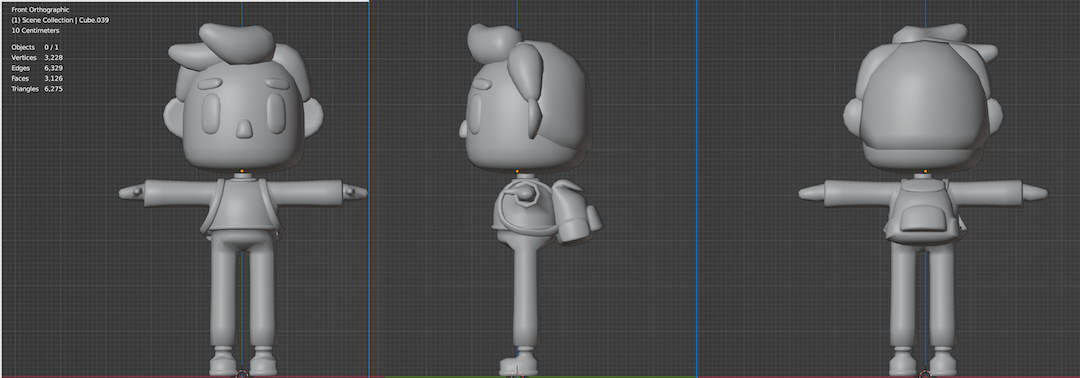
Here is the character I modelled with a vertex count below 4k.
Texture Mapping the Character
So, you have your 3D model with less than 5k verts ready to go. The next thing to do is to get your texture map ready. It's always best to use the minimum size possible for texture maps.
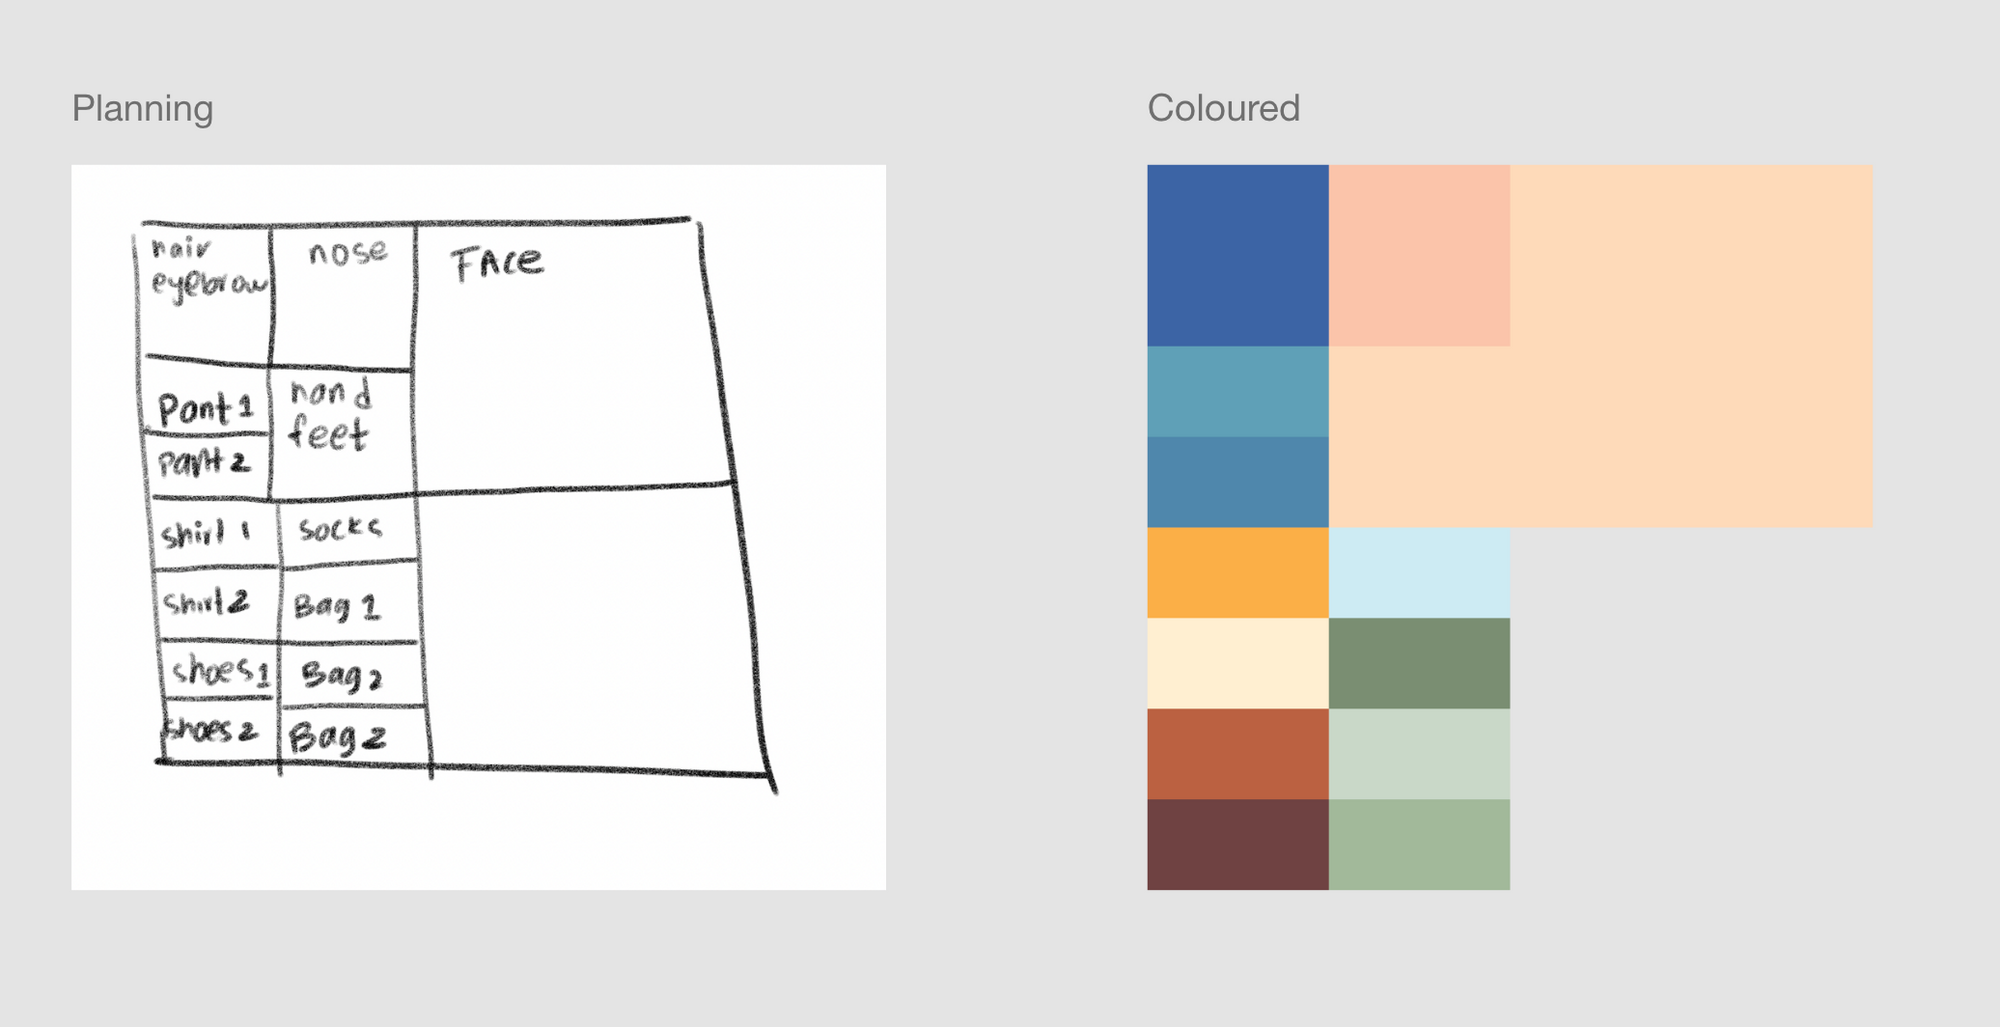
For texturing, I make the texture map before marking and unwrapping the seams for the character. Using a 1024-by-1024 canvas, I can plan out the colour scheme and create a sort of colour palette for the character.
Then, I take the texture map and plug it into the character's material.
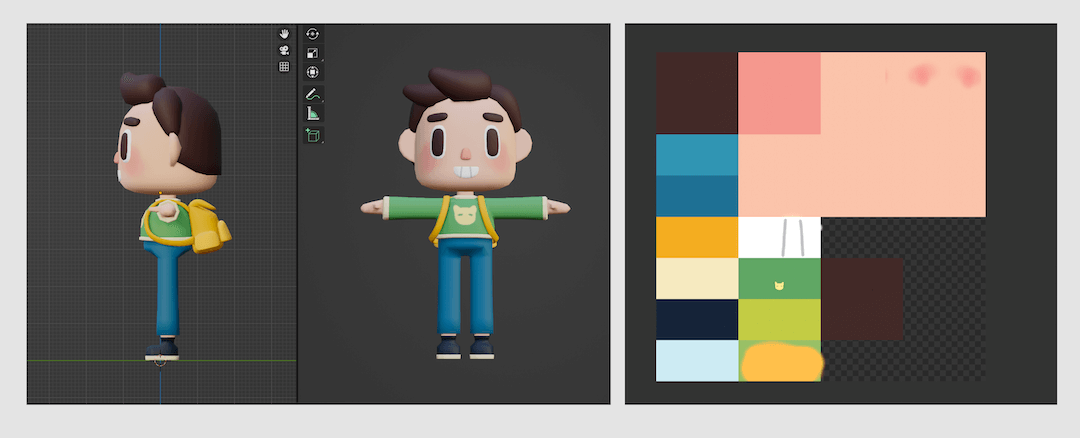
After adding the material, I start marking the seams on the character. After marking the seams, I UV-unwrap the mesh and place the mesh onto the respective colour squares on the map.
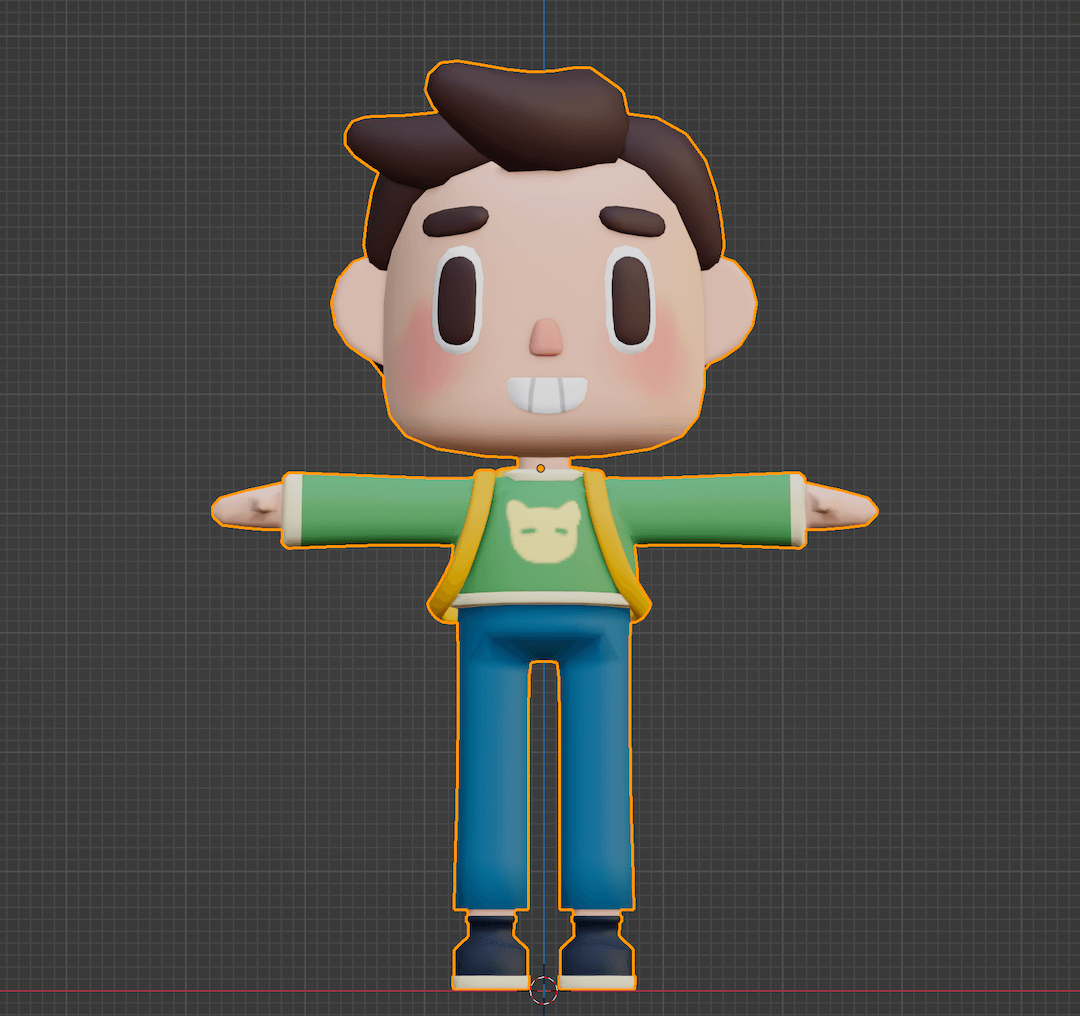
Here is what the final character and the texture map looked like after adding more details to the character texture by texture painting.
Exporting the .fbx File
Now that we have the model all textured, we can move on to rigging the character. For rigging and animating the character, we are going to use Mixamo! For that, we need to export the model as a .fbx object.
Before exporting, we need to make sure the following things are done:
1. All transforms are applied, so there is no extra rotation, scale, or location data on the mesh. You can do that after selecting the object and pressing Ctrl + A > Apply All Transforms
2. All the objects are joined to make a single mesh object.
3. The character mesh should be in the centre of the world.
You can set the character mesh to the centre by:
- Setting the 3D cursor to World Origin by pressing Shift + S >
Cursor to World Origin, - Selecting the character mesh,
Object>Set Origin>Origin to Geomery - Pressing Shift + S >
Selection to Cursor - Now, the object will be at the centre of the world, but we need to move it along the Z-axis to make its feet touch the X-axis.
The character should be placed as follows:
4. Now, we can export the character into a .fbx format which can be uploaded to Mixamo for animation.
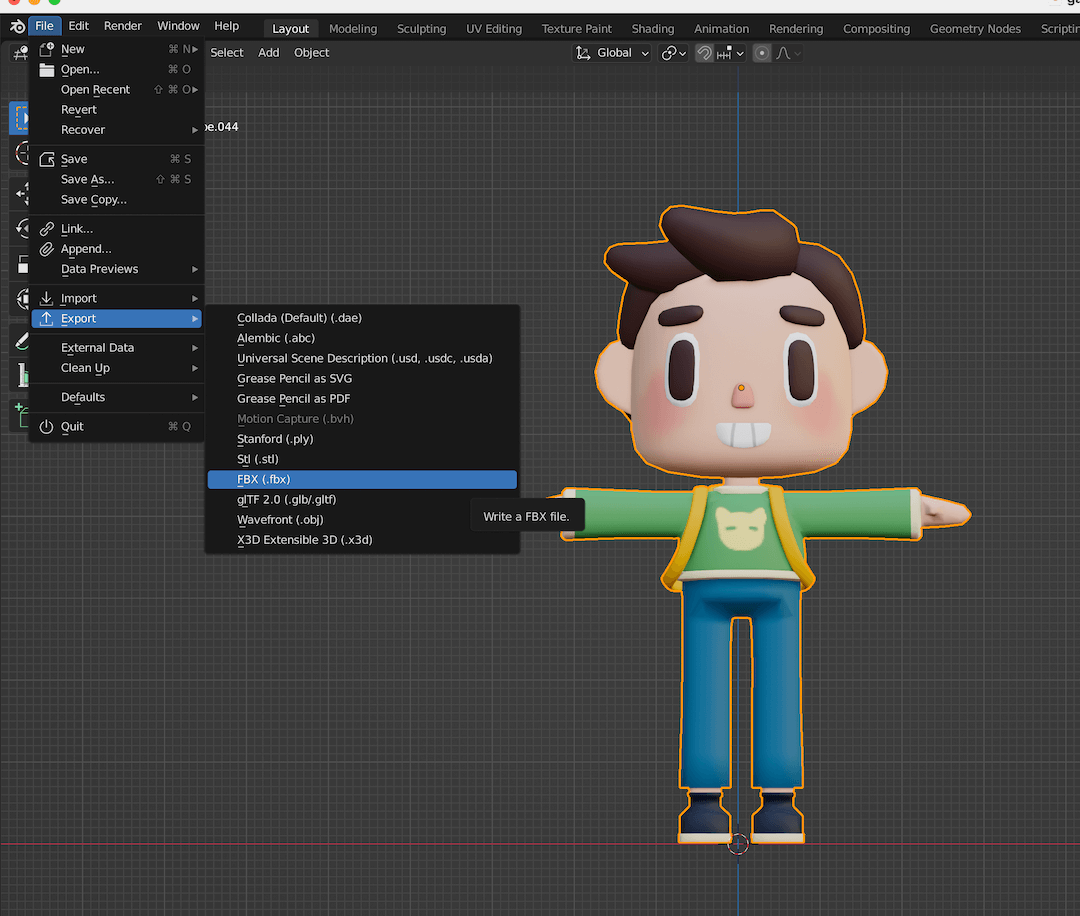
To export the character, we need to select the character and go to File > Export > FBX.
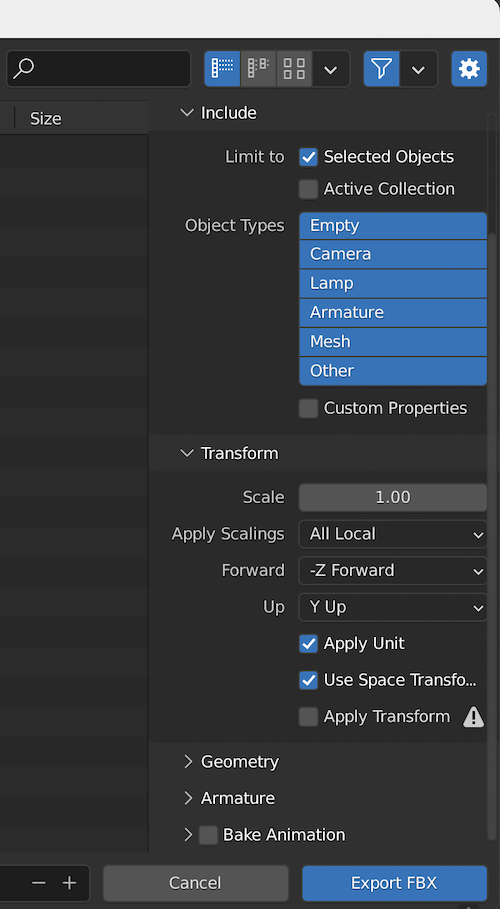
5. You can also modify some export settings as such:
- Limiting the .fbx object to active selection.
- Un-selecting the bake animation option.
Finally, we have a .fbx object ready to be uploaded to Mixamo to test out our animation sequences! Stay tuned for the next article, where we will select multiple animation sequences from Mixamo for our character and make it game-ready.
Thanks for reading and catch you in the next one!