
Continuing on the last week's article about Layer Management in Photoshop, this article will help to increase efficiency and speed of your Photoshop workflow. If your layers are managed properly, Layer Filters can help locate layers even faster. The filters can locate and sort the layers in the Layers Panel based on name, style, effects, and more.
Let's go through all the Filter Types Photoshop offers.
1. Kind
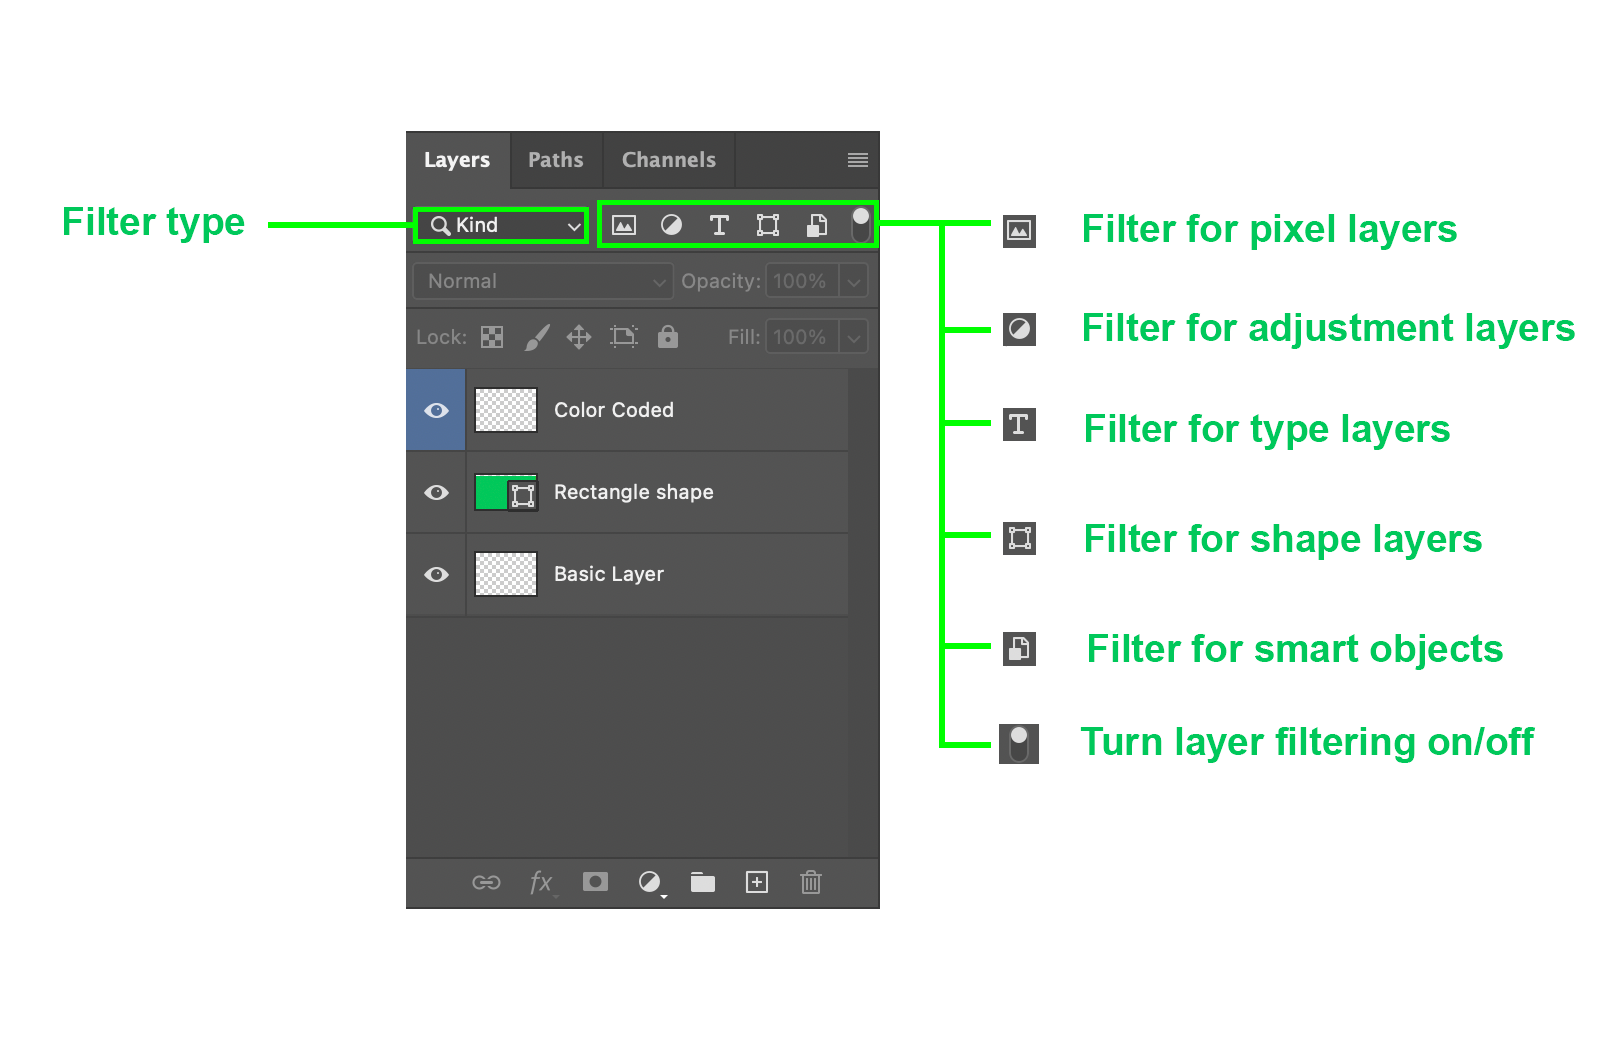
This filter type drop-down menu helps to sort files. It has nine options to choose from. Selecting one from the list will change the icons on the right. The icons on the right are the filters, and one or multiple can be selected at once.
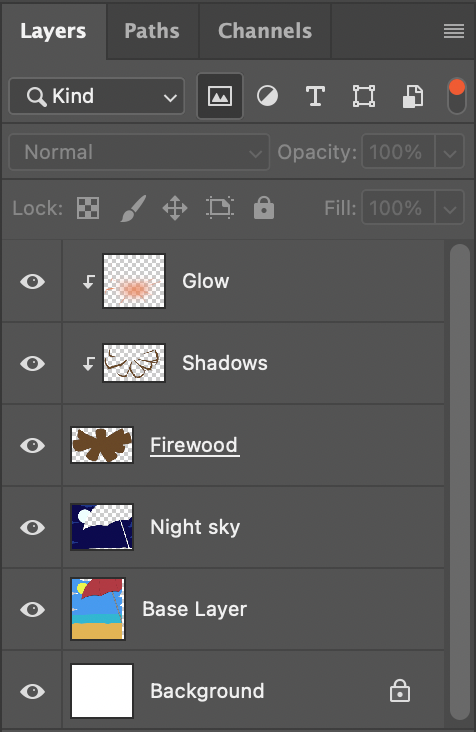
- Filter for Pixel Layers: This sorts and only shows the layers that contain content with pixels. These include rasterized layers and exclude vector layers like shape or text. These might be useful if you have a mixture of many pixel and vector layers and you only want to edit the pixel layers.
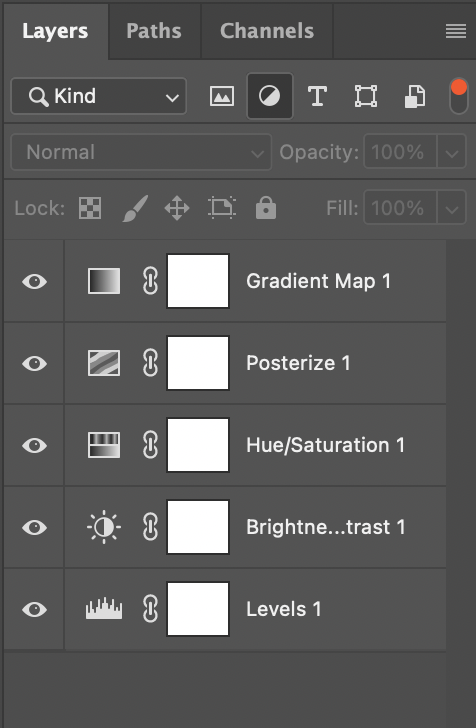
- Filter for Adjustment Layers: This sorts and only shows adjustment layers. Adjustment Layers are non-destructive effects that add tonal changes to the layers below it without directly changing their pixels.
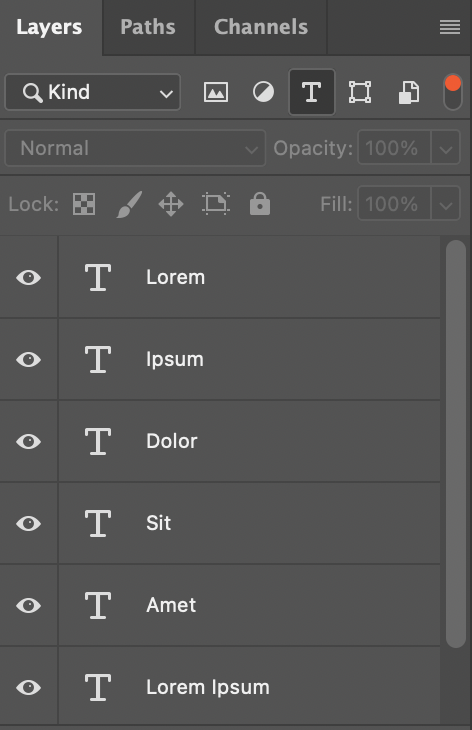
- Filter for Type Layers: This sorts and only shows text layers that are created with the help of text tools in Photoshop.
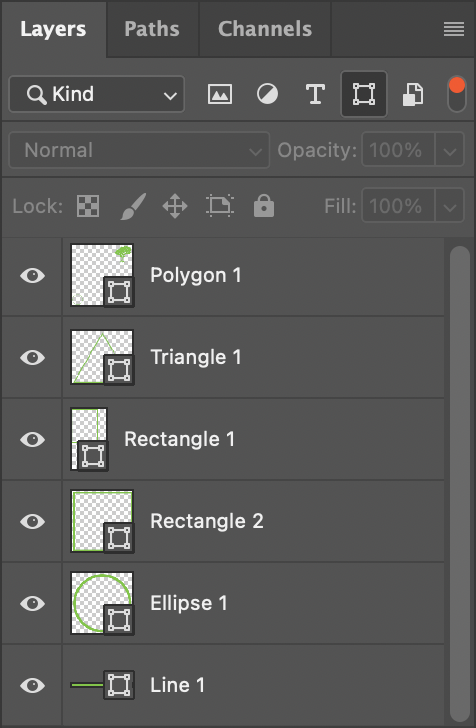
- Filter for Shape Layers: This sorts and only shows shape layers that are created with the help of shape tools in Photoshop like Rectangle Tool, Ellipse Tool, Triangle Tool, Polygon Tool, Line Tool and Custom Shape Tool.
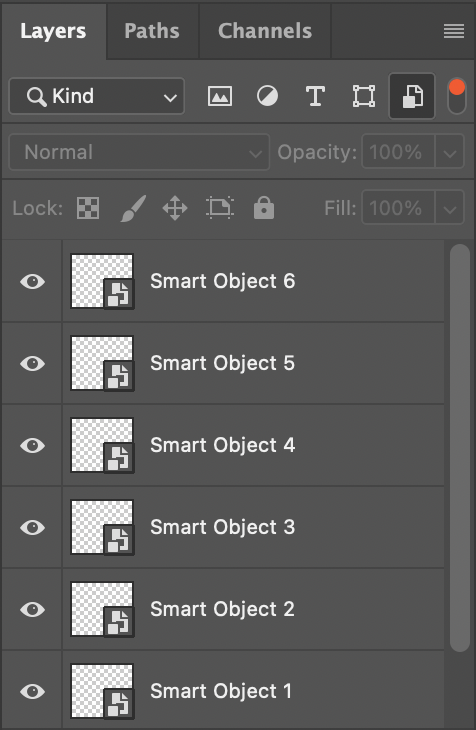
- Filter for Smart Objects: This sorts and only shows smart object layers. Smart objects are layers that are non-destructive even if transform tools are used on them. You can make a normal layer into a smart object by right-clicking and selecting Convert to Smart Object.
- Turn Layer Filtering on/off: This is a switch to activate or deactivate the above filters. If the circle in the icon is red and in the top position, filters are on. If the circle in the icon is gray and in the bottom position, the filters are off.
2. Name
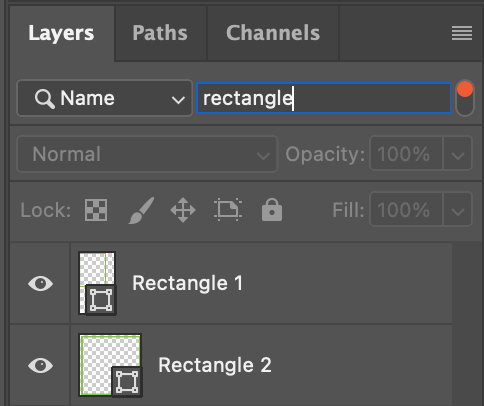
This filter option is used to sort layers based on their names. A search box will appear beside the filter type where you can type and search the specific layer.
3. Effect
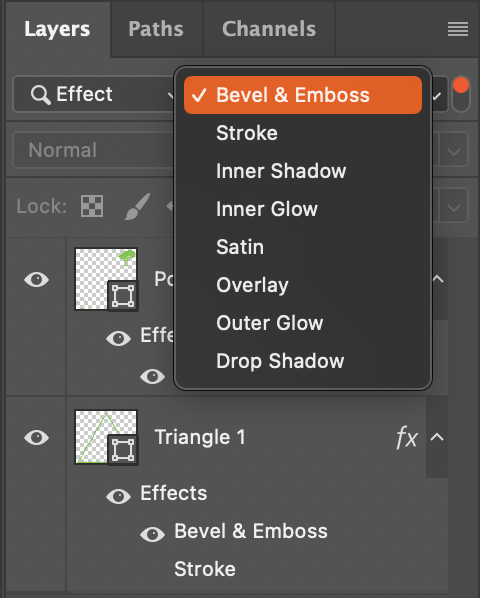
This filter option is used to sort layers according to the layer style effects affecting them. I have explained Layer styles in another article. A single layer may contain multiple effects, and you may want to delete only the Stroke effect on all the layers that have it. With this filter, you can isolate the needed effects and edit them easily without searching for all of them individually.
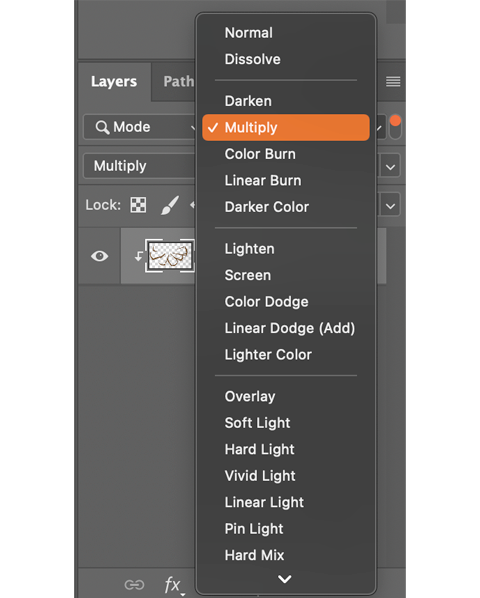
4. Mode
This filter option sorts the layers according to the blending modes affecting them. I have explained Blending Modes in another article. If you want to change all the layers that has Multiply mode to Screen mode, you can activate this filter. Select all the shown layers and change their blend mode.
5. Attribute
This sorts layers according to the layer's characteristics. The list from which you can choose from is shown the image below.
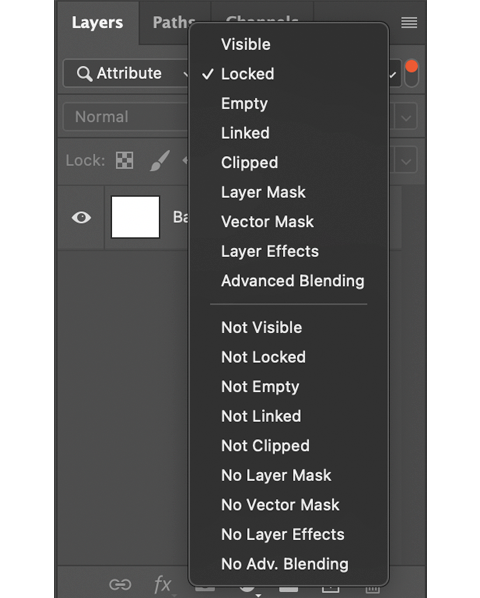
You can sort the layers based on visibility, lock, empty, linked, clipped, masks, effects and Advanced Blending. This can help to locate all the invisible layers and make them visible.
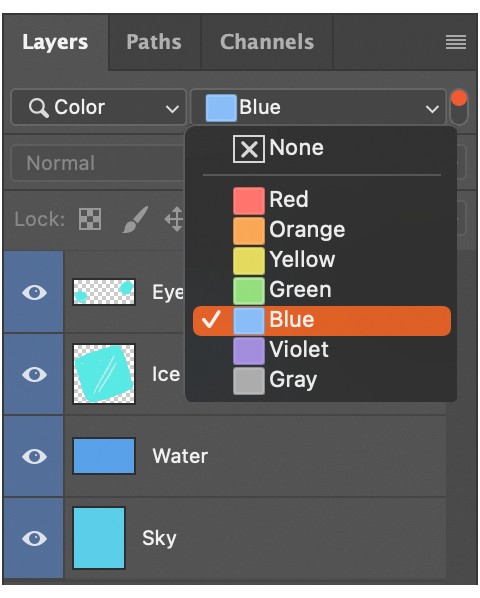
6. Color
As explained in the previous article about Layer management, this helps locate layers that have colours assigned to them. If you have layers that are blue in colour and have assigned Blue colours to such layers, you can sort them easily.
7. Smart Object
This filter is used to further sort the types of smart objects in your document.
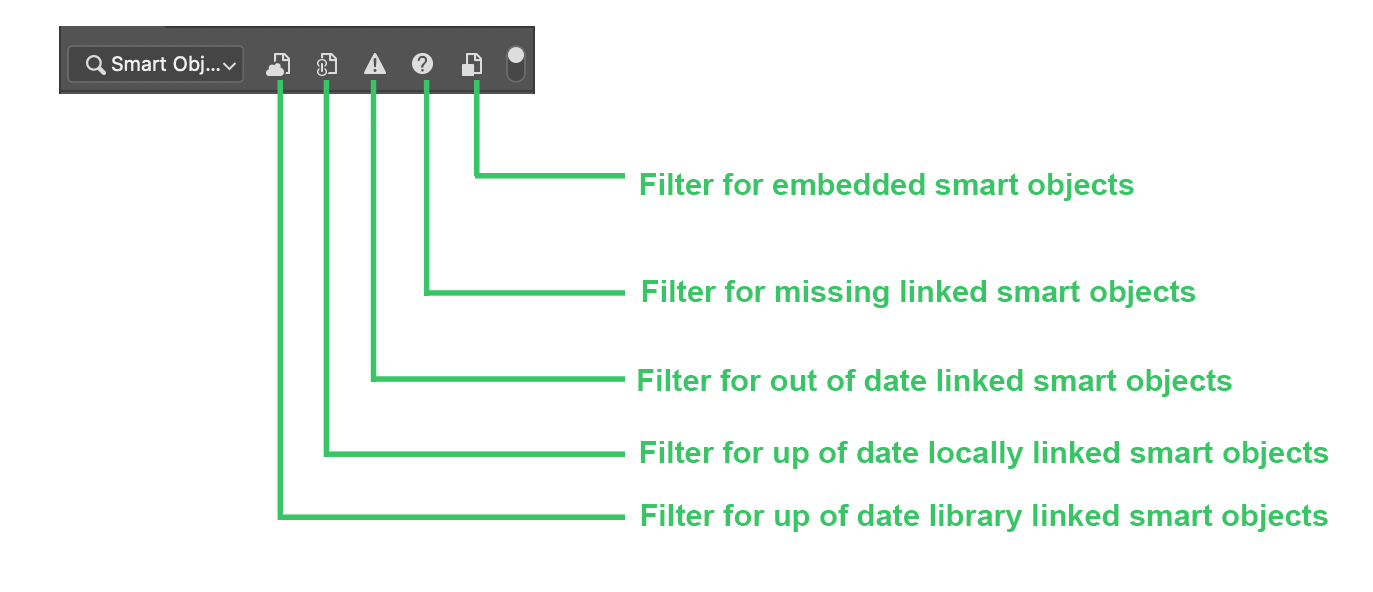
- Filter for up to date library linked smart objects: If you have downloaded smart objects from the library in Photoshop, you can sort the updated objects. The contents in the linked smart objects automatically update when the source file is changed.
- Filter for up to date locally linked smart objects: This sorts the smart objects linked to other Photoshop documents.
- Filter for out of date linked smart objects: If there are smart objects that have not been updated according to the changes in other documents or libraries, this can help to locate and sort them to fix or delete them
- Filter for missing linked smart objects: This helps sort the linked smart object whose source files are missing.
- Filter for embedded smart objects: If you have placed a file in your Photoshop document using Open As Smart Object, by converting to Smart Object, or by placing content from Illustrator, it will become an embedded smart object. You can sort them with this filter.
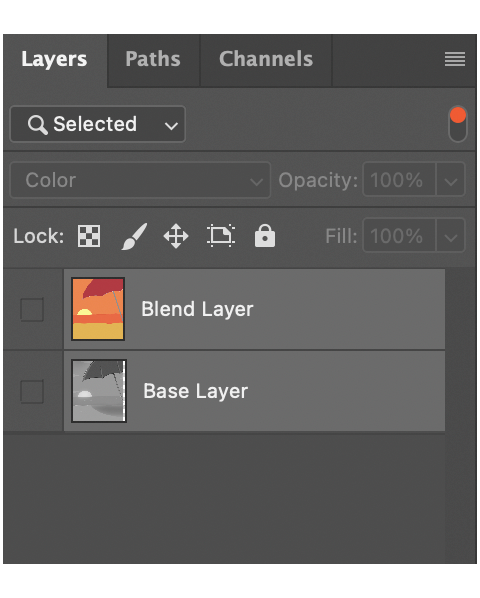
8. Selected
No matter which layer type it is or whatever effect is on it, this will only show the selected layers. Before applying this filter, select different layers first. For example, this can help if you have hundred layers and you only need to focus on Layer 3, 16, 66 and 90 which have nothing in common with each other.
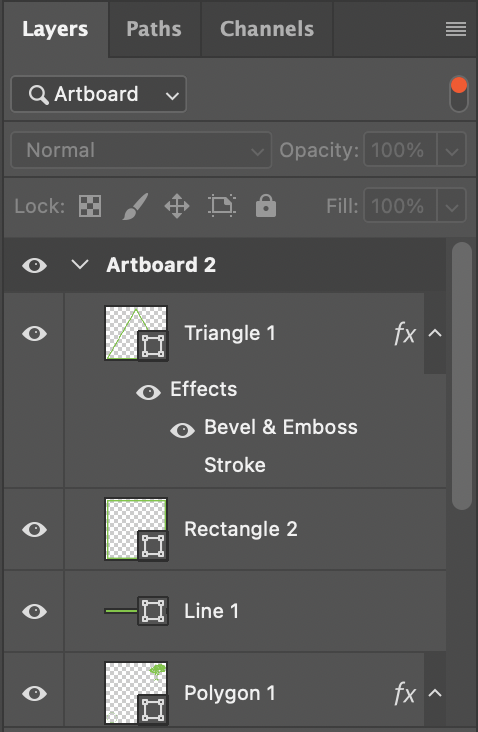
9. Artboard
While working with multiple artboards, every artboard and the layers inside it will be shown in the Layers panel. Activating this filter will only show the artboard layers you have selected.
These filters will help navigate and locate the required layers easily for a more efficient workflow. Use these filters to search for specific layers to save time.
Thank you so much reading this blog. See you in the next one.