
When you think about Blender and 3D design, your mind will probably go towards stylized renders or photorealistic renders and VFX. However, did you know that Blender can also create graphics that can be compared to 2D anime styles and comic book graphics?
What is Toon Shading?
Toon shading is also referred to as cel-shading. Both terms mean a stylistic shader that imitates the style of a comic book or a 2D drawing. It is also referred to as Non-Photorealistic Render (NPR).
Cel shading is most often used in video games to re-create an animated/hand-drawn look while using 3D objects.
Example of Toon Shading
A toon shader basically separates the color values into two distinct values, sometimes more values depending on the complexity of the shader.
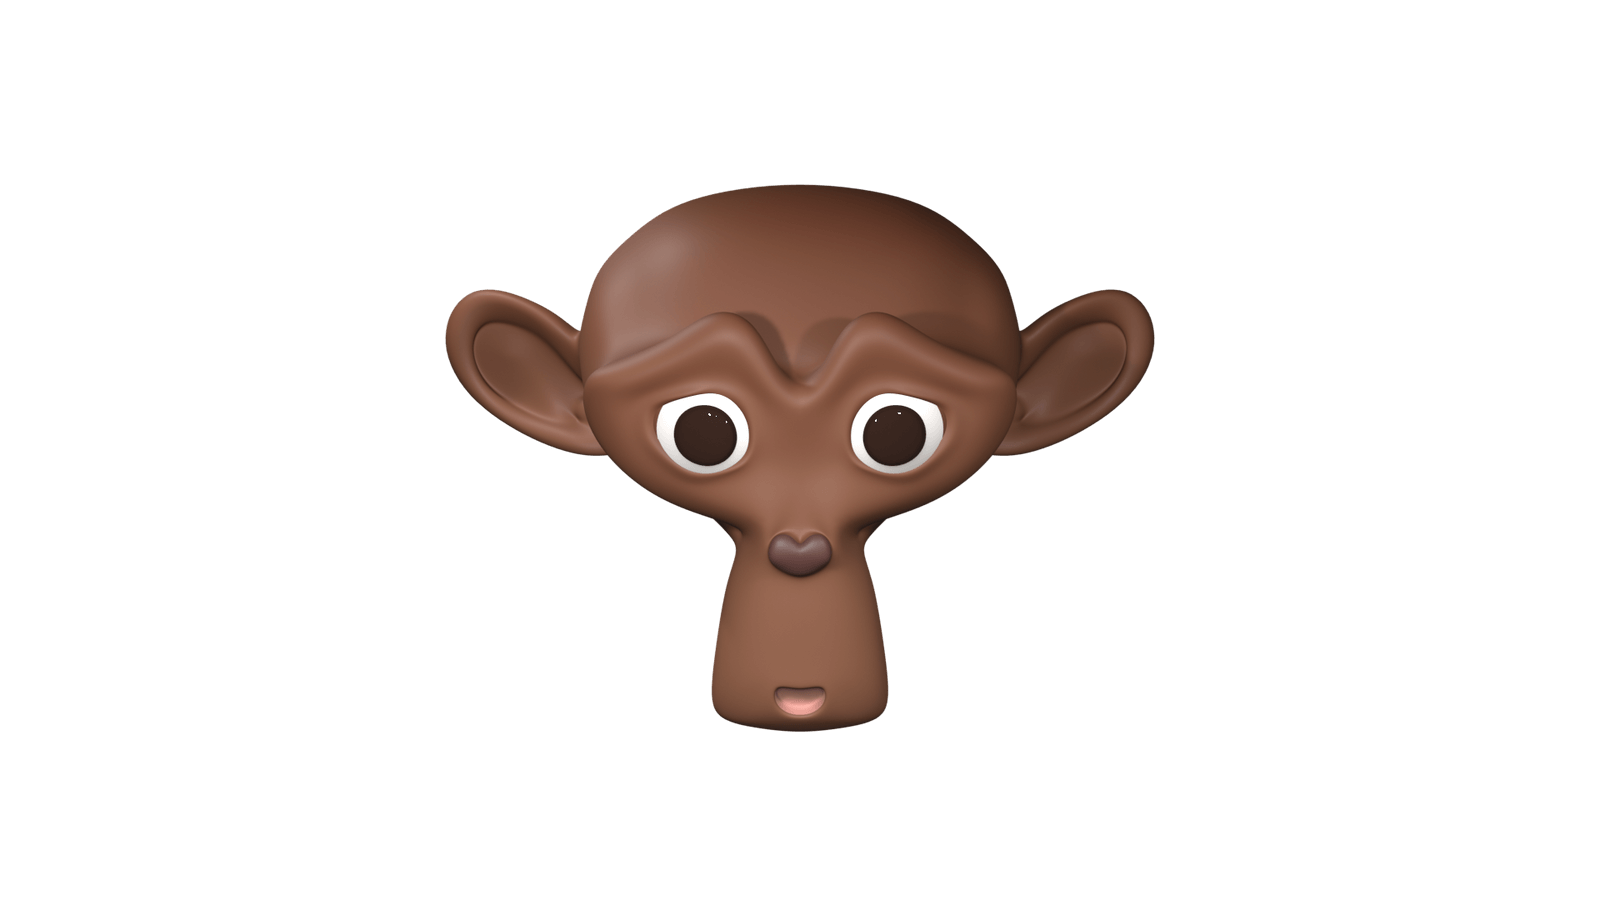
Here we have an example of a basic stylized 3D render of Suzanne, the monkey head model on Blender.
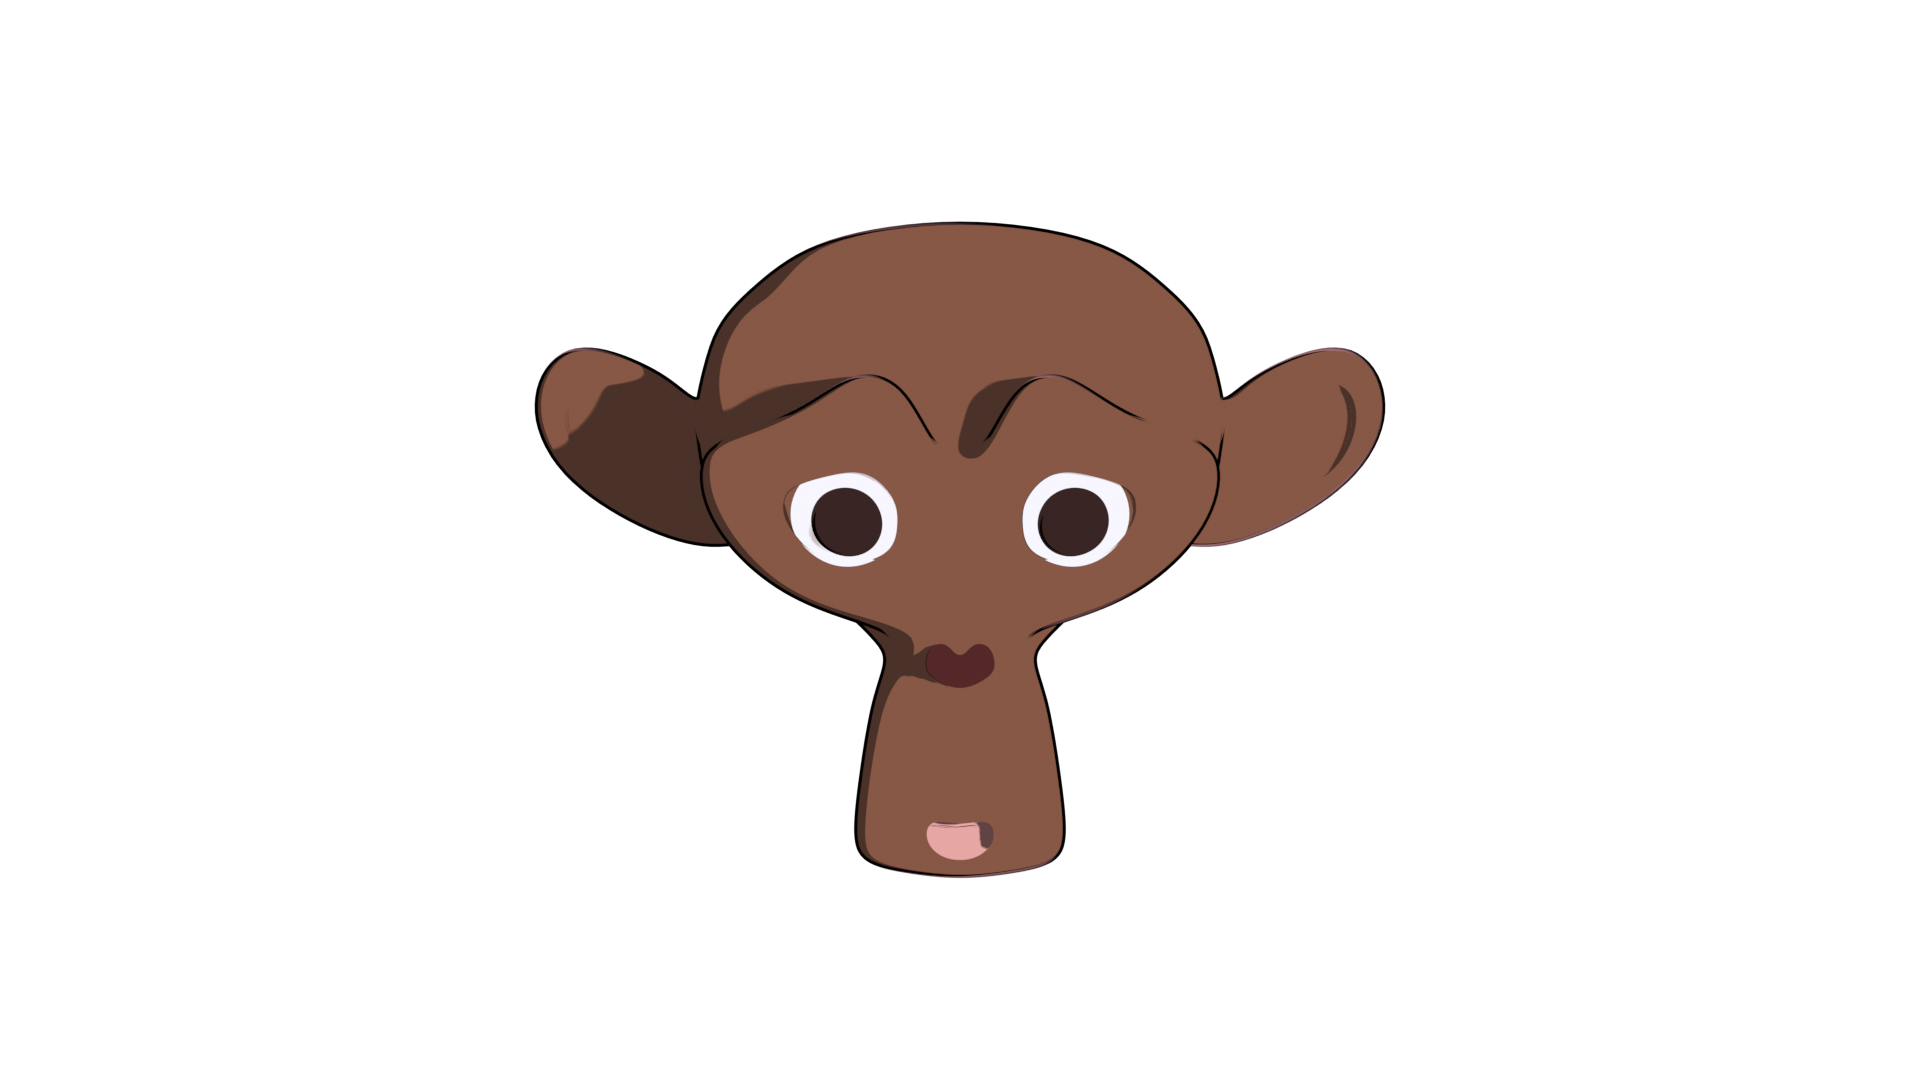
And here is the very basic toon shader version:
Making a Basic Toon Shader
Let's create a very basic toon shader that will use two color values, one for the base color and one for the shadows.
Creating the Shader
The first step is to create the shader.
First, we take a Diffuse BSDF node, instead of the Principle BSDF. Then add a Shader to RGB which connects to a ColorRamp, which goes directly to the Material Output.
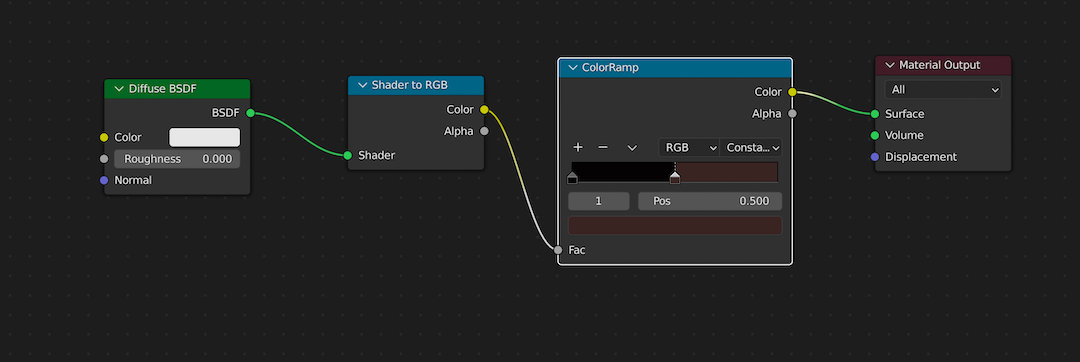
In the ColorRamp, we are dividing the color values exactly in half by changing the Interpolation mode to Constant instead of Linear. And then dragging the right end slider of the gradient to the halfway point, i.e. 0.5.
So the right side of the ColorRamp will be the color that the material will have if the gets light, and the left side will be the color of the shadows. For the monkey, I created five materials for the face, eyes, pupil, nose, and the mouth, each with the same shader but with different color values in the ColorRamp.
Adding Light Sources
Next, it's time to add a light source to see the toon shading in action.
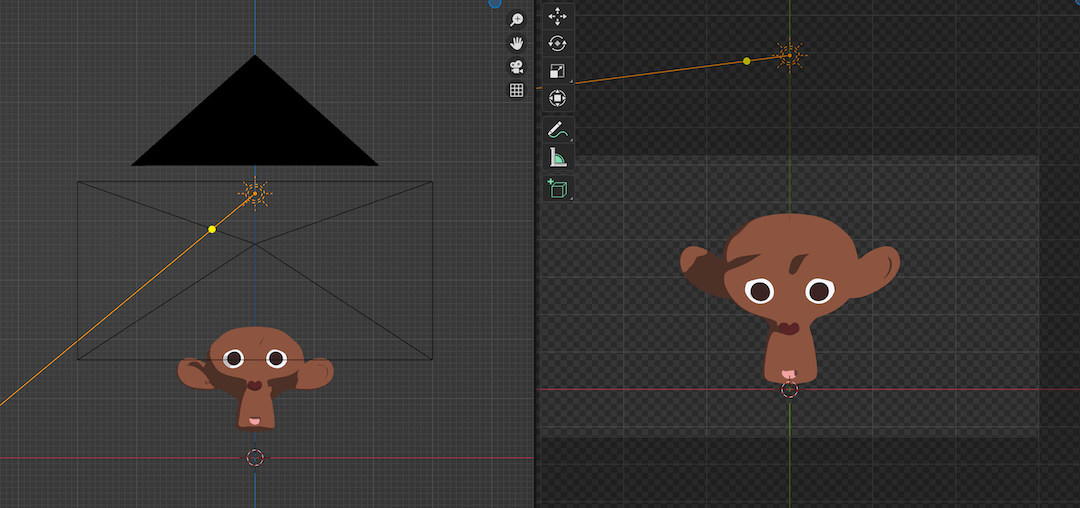
We are adding a sun as a light source because it gives the best results for the shadows. The power should also be bumped up to 1000!
Related article: Basics of Lighting Setup in Blender
Adding the Outline
The shader is all done, but it looks a little flat without any outline. Here is an easy way to add outlines to your 3D models to imitate a 2D style.
First, we create new material for the outline. It should have Backface Culling enabled.
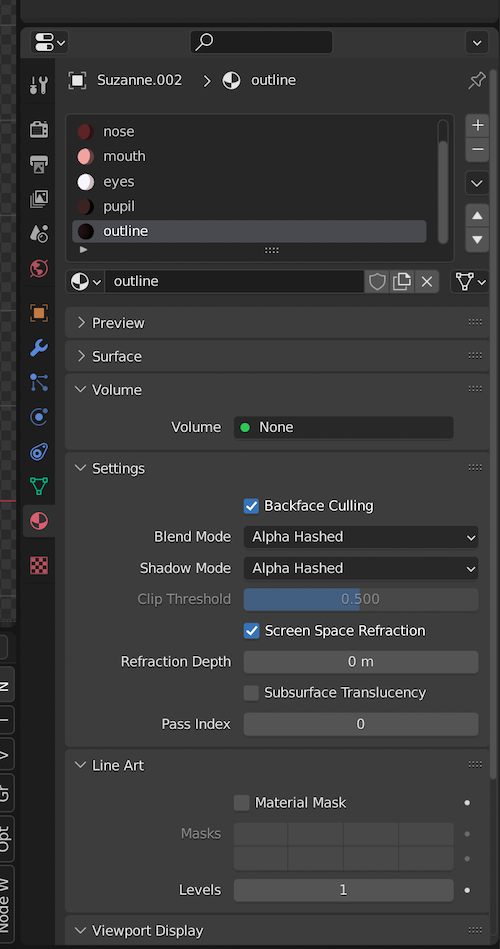
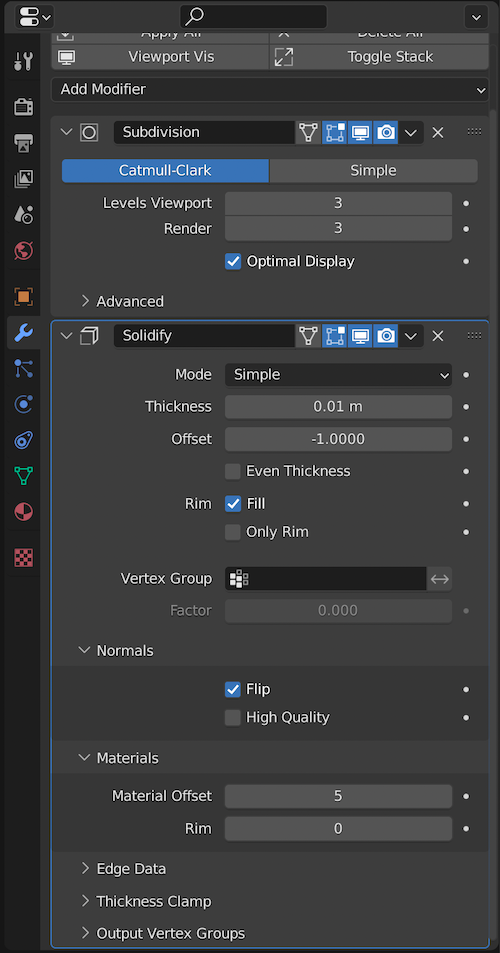
Then, we add a Solidify modifier to the object that gets this material.
- Set the Thickness to
0.01for a thin outline. - Then, select the Flipped Normal button.
- Finally, point the material of the solidify modifier to the outline material by using the Material Offset value. The outline is the sixth material on my object, so the offset value will be
5.
Also check: Beginner's Guide to Cloth Simulation in Blender
Final Result
Once you add the shader and the material to the object, it should resemble the model shown below.
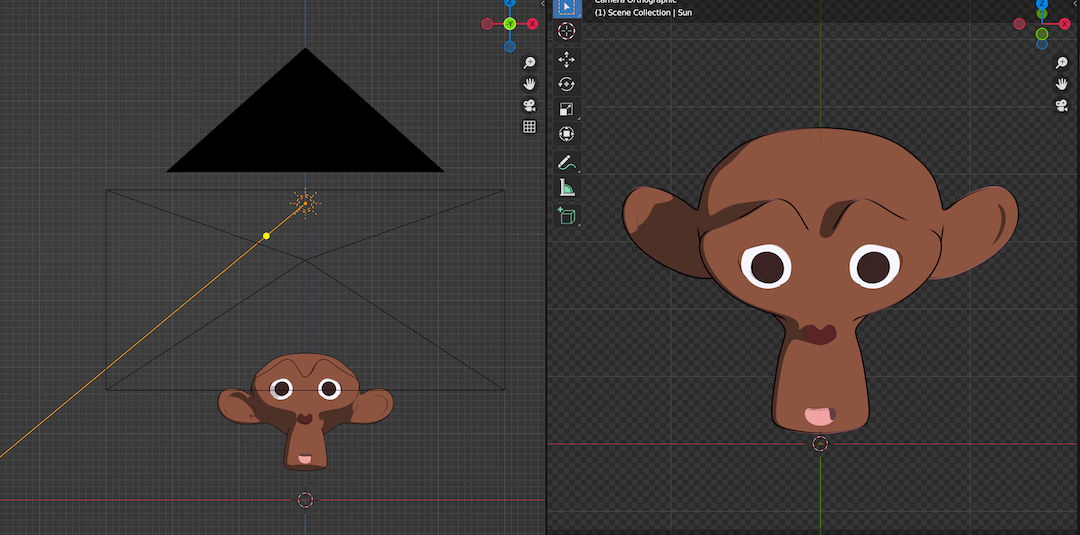
There we have it, the most basic toon shader ready to render 2D looking drawings from your 3D model!
Thanks for reading and catch you in the next one!