
Blender is an awesome tool with a ton of features. Modelling is probably the first thing to learn when starting with Blender. It is the foundation for learning other 3D skills such as animation, rigging, or sculpting.
Moving to sculpt after learning basic modelling was always my intention, but after a year of learning Blender on my own, I still hadn’t moved on to sculpting. So, a few weeks ago, I decided to simply follow through on a Sculpting tutorial on YouTube, and that is how I started messing around with sculpting on Blender.
This article will focus on using a sculpting workflow to create a stylised tree.
Let's start breaking down this process:
Building the Model
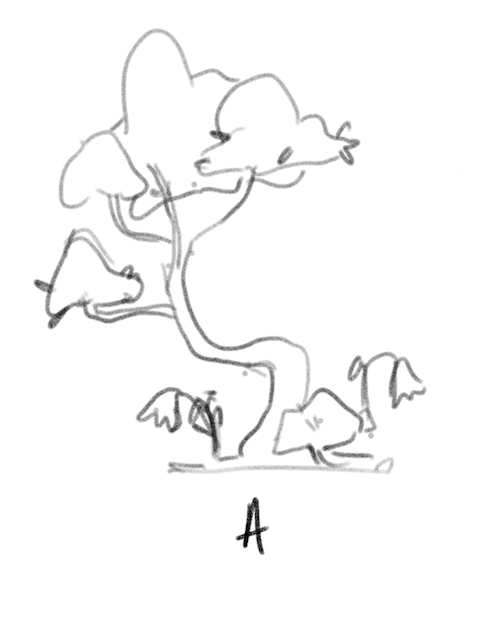
For my sculpting process, I decided to go with a concept sketch. As usual, I dragged my sketch into the .blend file and used that as a guide for creating the tree.
Modelling the tree trunk
Instead of starting with a cylinder, I decided to work with vertices and a skin modifier. Start with a single vertex and add a skin modifier and a sub-division modifier to it. Then start extruding the vertices and scaling each vertex to get the desired width for the tree.
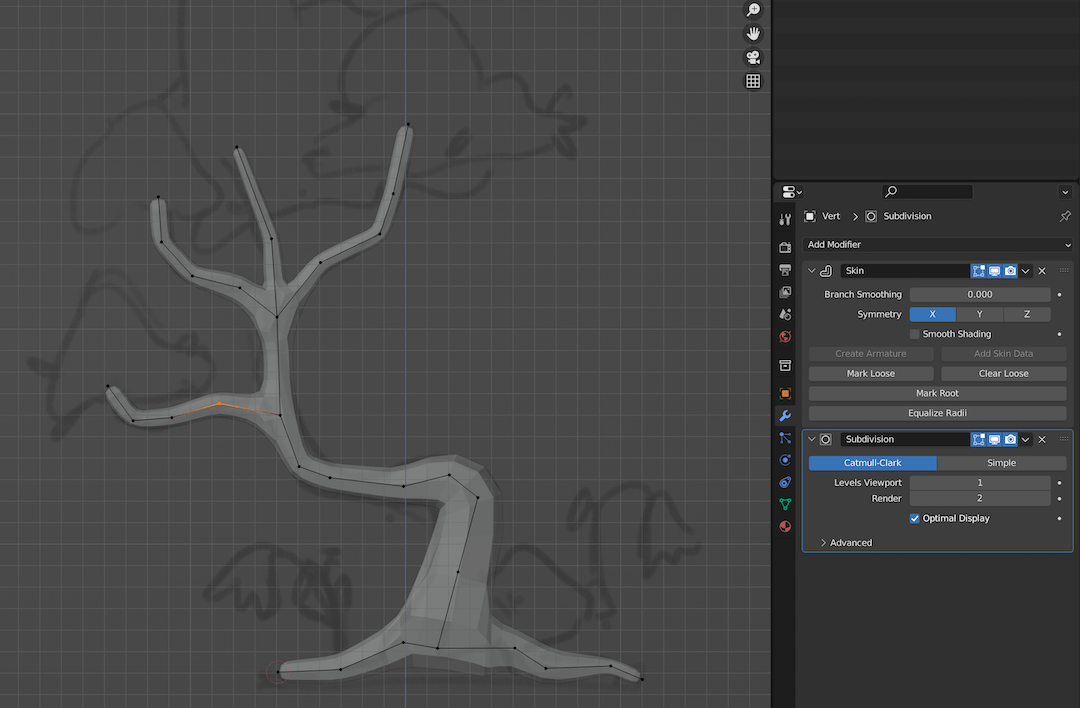
Modelling the tree:
For the leafy parts of the tree, I worked with vertices once again. Instead of extruding the vertices, I simply duplicated the vertices in edit mode. That will result in many spheres overlapping to create the leafy tree shape.
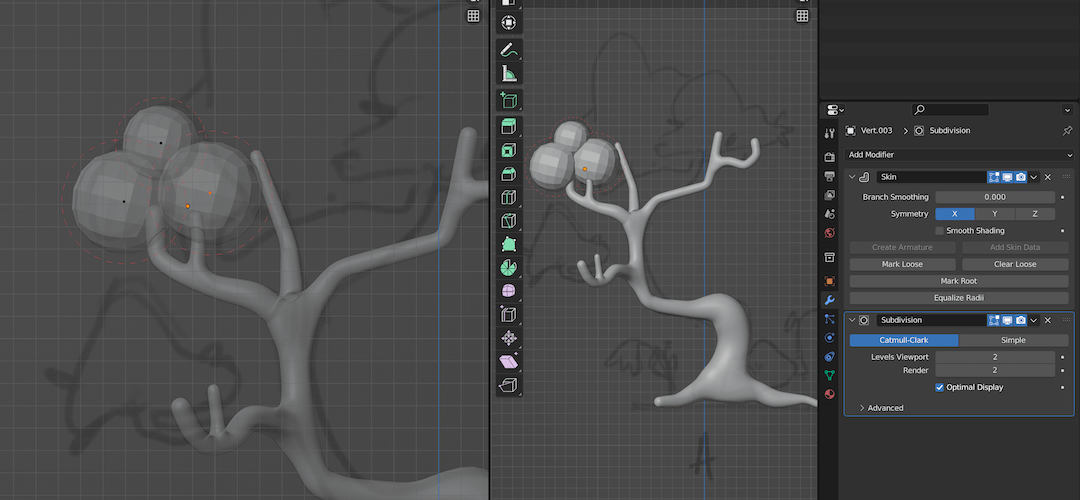
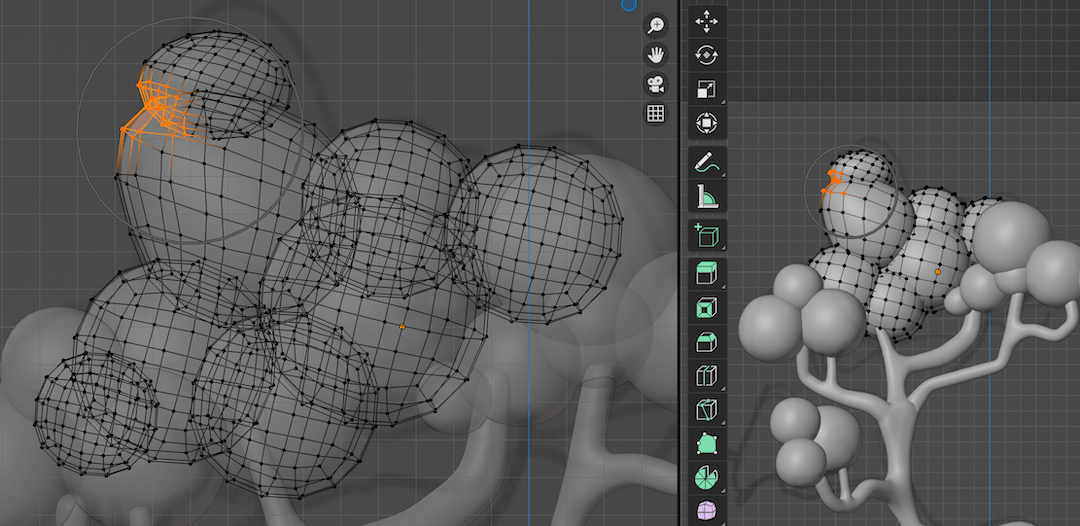
After getting the general shape right, I applied the skin modifier and the sub-division modifier to convert the vertices into spheres. Then with proportional editing turned on, I grabbed a bunch of vertices and moved them around to get them to look like the shape in the concept sketch.
That is it for the modelling part. Now we move on to sculpting!
Adding Details by Sculpting
Before tabbing into sculpt mode, join the objects and apply all transforms to the objects. I joined the spheres of the tree together and left the tree trunk as it was.
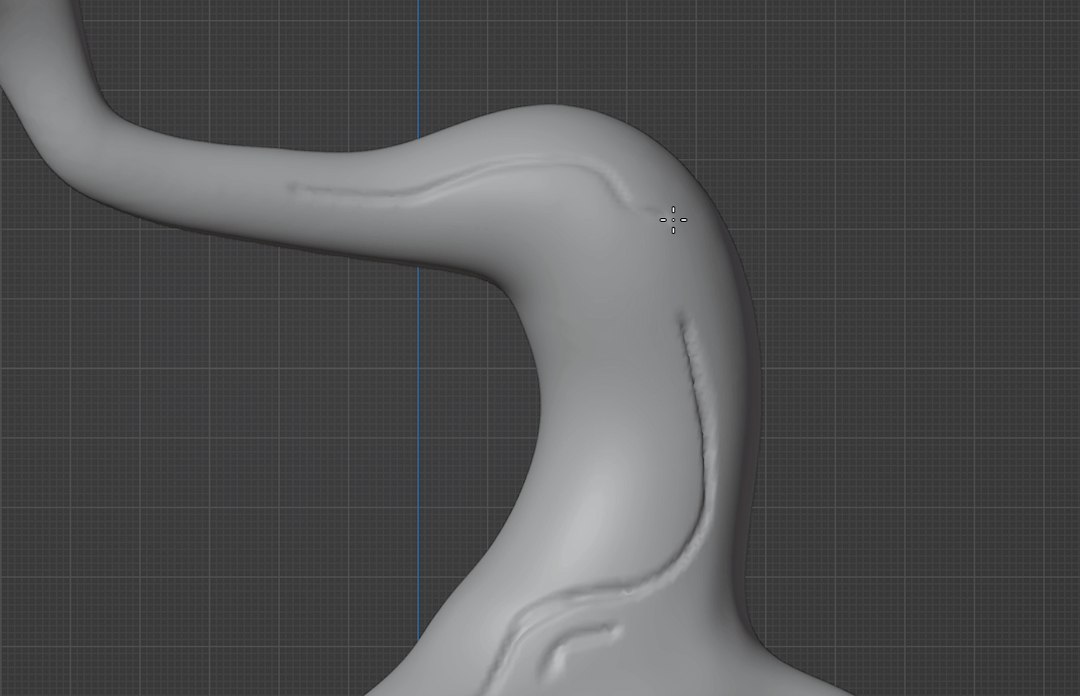
Sculpting the trunk
For the tree trunk, I used the Draw Sharp tool to carve out the details. Then used the Flatten and Smooth tools to refine the details.
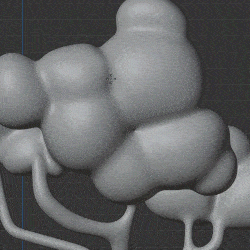
Sculpting the tree
For the tree, I used the Smooth tool, which is useful to flatten out the overlapping bumpy spheres. I also used the Draw tool to add more geometry to the hollow parts.
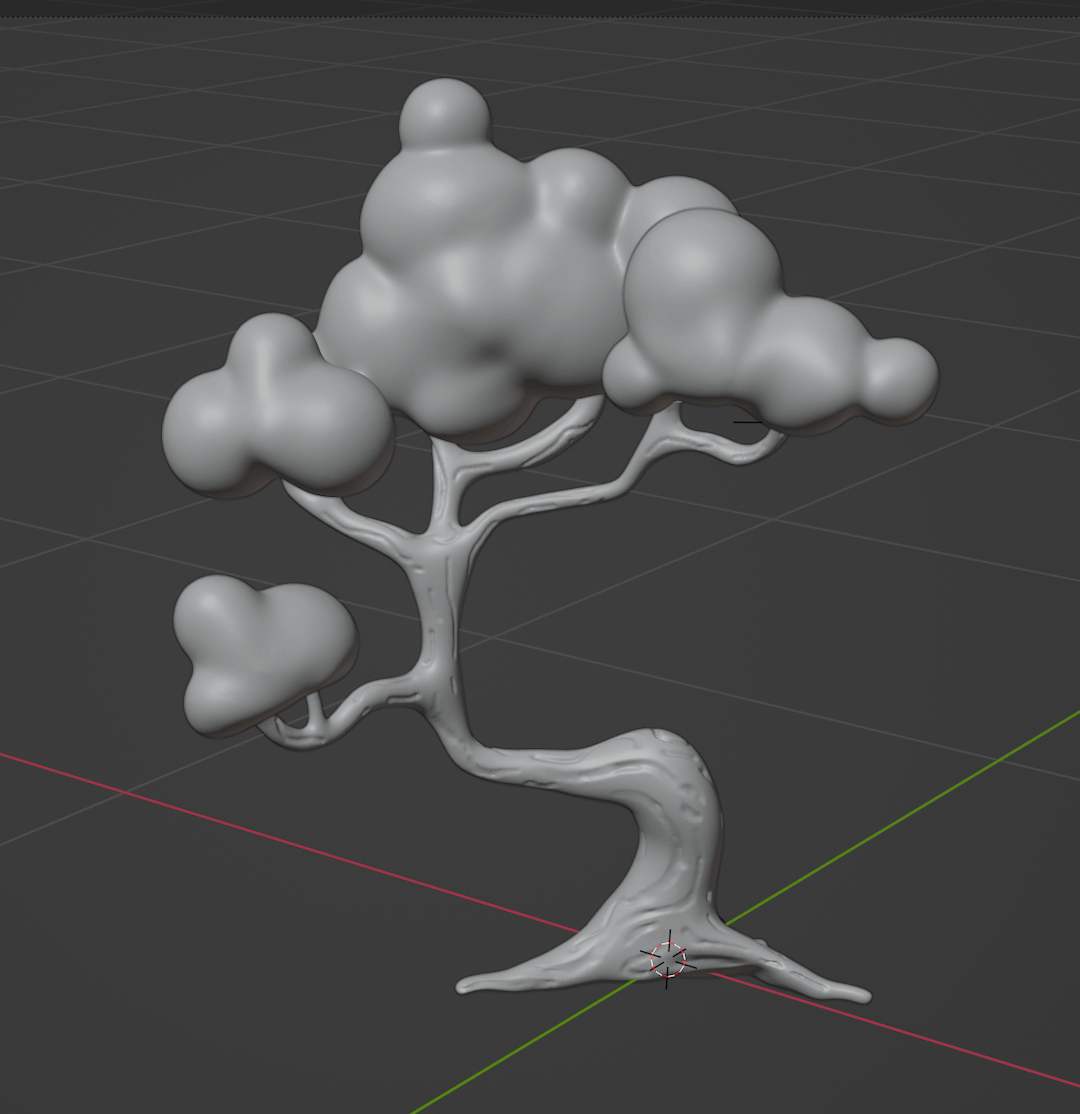
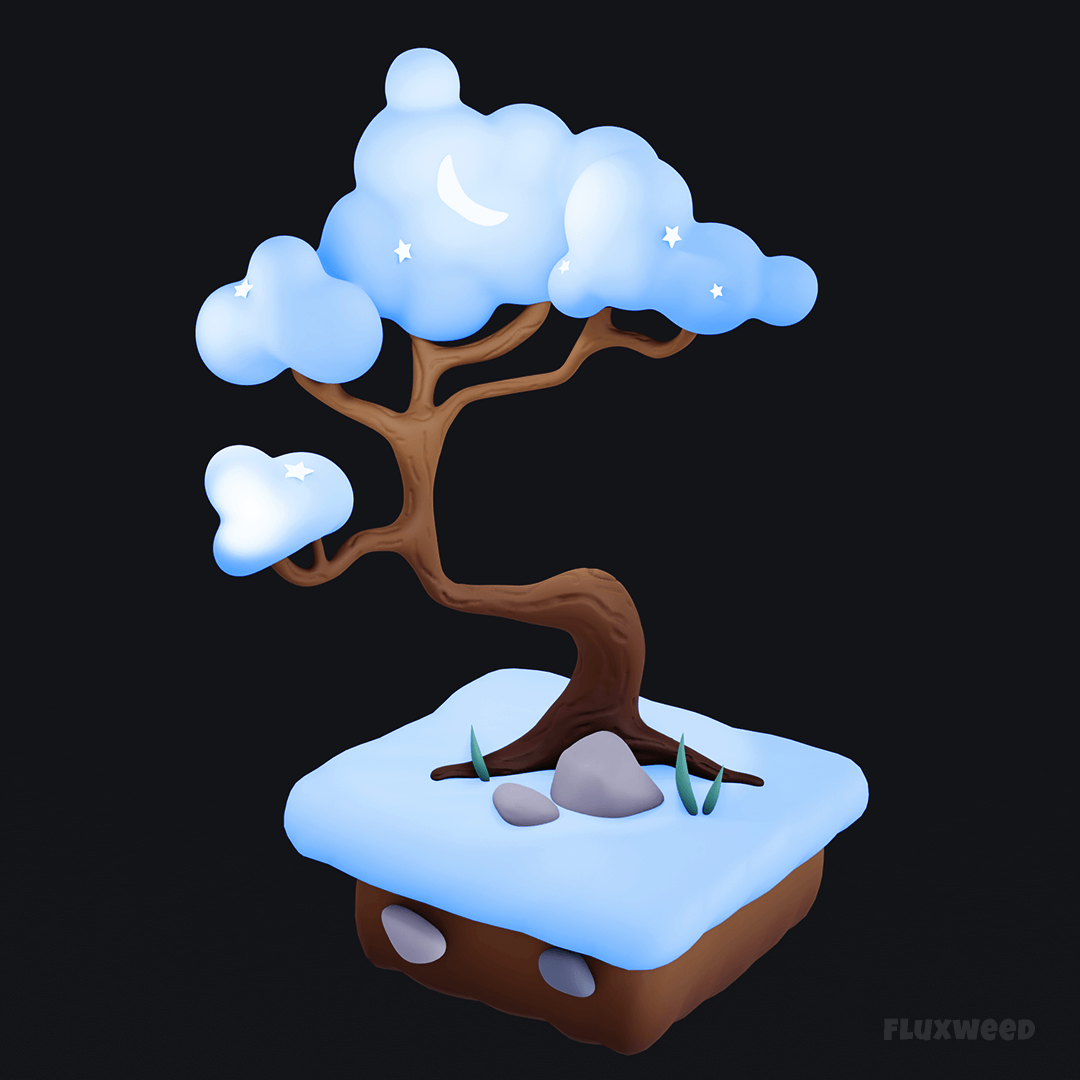
And after messing around with the sculpting some more, here is the final result:
Making the Final Render
I added a base and some rocks and leaves for the final render. Then, I added some stars to make it a fantasy cloud tree.
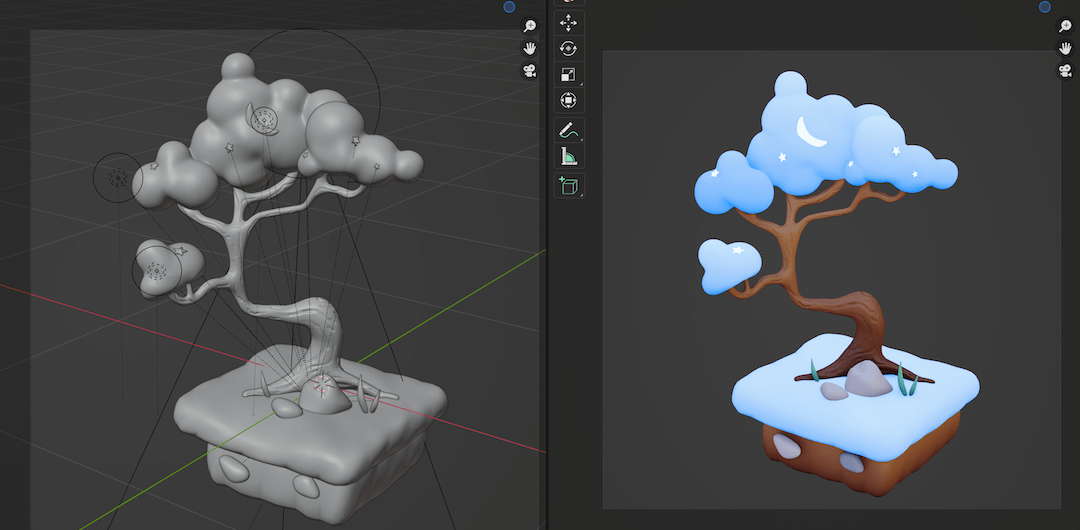
I am using a gradient shader for both the tree and the tree trunk for texturing. The lighting is set up to provide a glowing look for the cloud/tree's leafy parts.
Here is what the final render ended up looking like:
Thanks for reading and happy sculpting!