
If you think about it, coins are pretty easy to make: just take a cylinder and squish it down. But there are different ways to approach a stylised coin. Depending on the type of game, coins can either be designed hyper-realistically, resembling real-world coins, or they can be a stylised render, with an almost plastic feel instead of metal.
Concept Sketches
Each designer has their own way of approaching a design project. My own process includes starting with a few concept sketches and then going straight to 3D modelling.
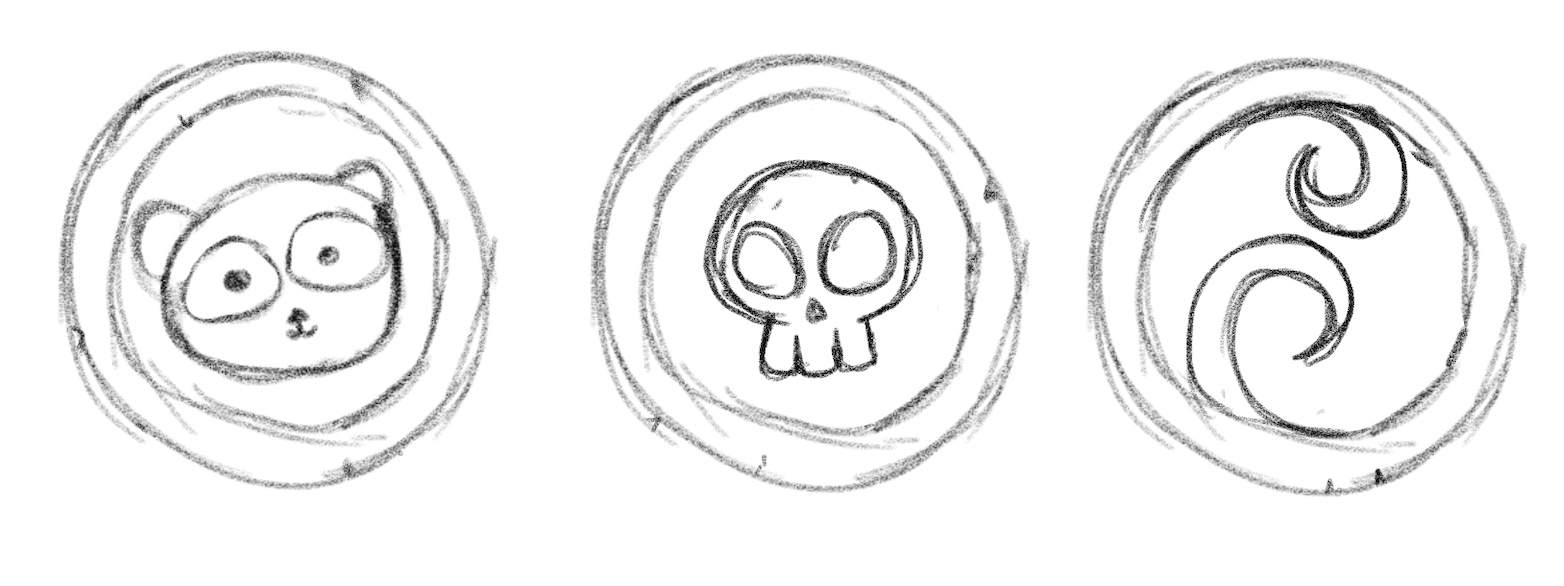
For the coins we are making, below are my concept sketches.
Modelling
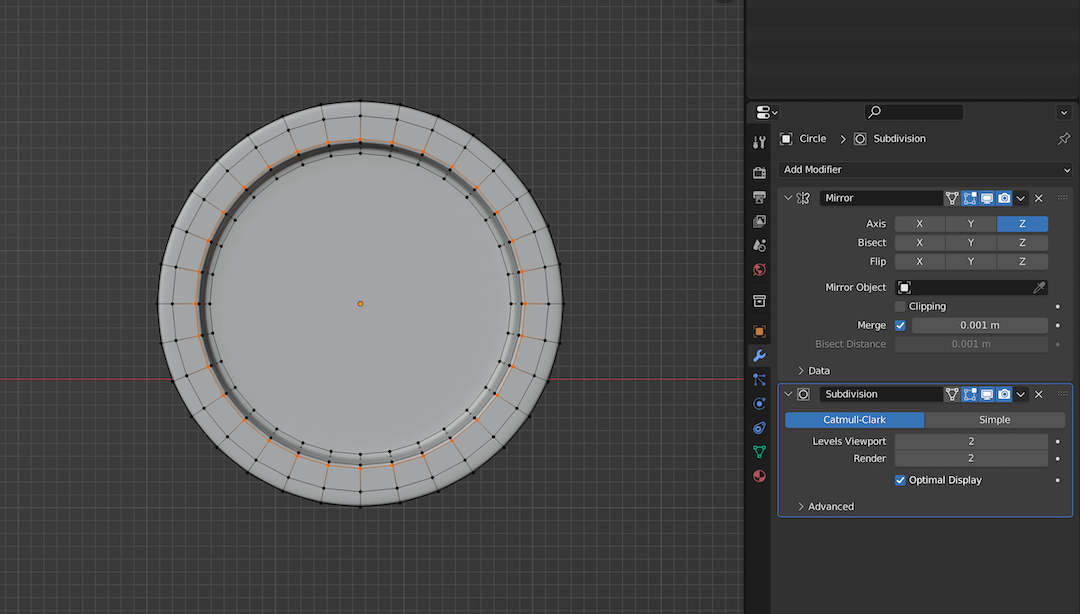
We're starting with – you guessed it – a cylinder for modelling coins. However, you can also start with a circle and work with the vertices. Cylinders are tricky when using mirror modifiers, so if you are planning to mirror the coin faces, it's better to just start with a circle and extrude its vertices on the z-axis to get the coin's body.
Since the coin itself will not be used as an .fbx object in a game, I am not too worried about the vertex count.
Coin
The coin is pretty straightforward to make. You can use the edge loops of the circle and inset the faces with the "I" key, then grab move the edge loop on the z-axis.
Details
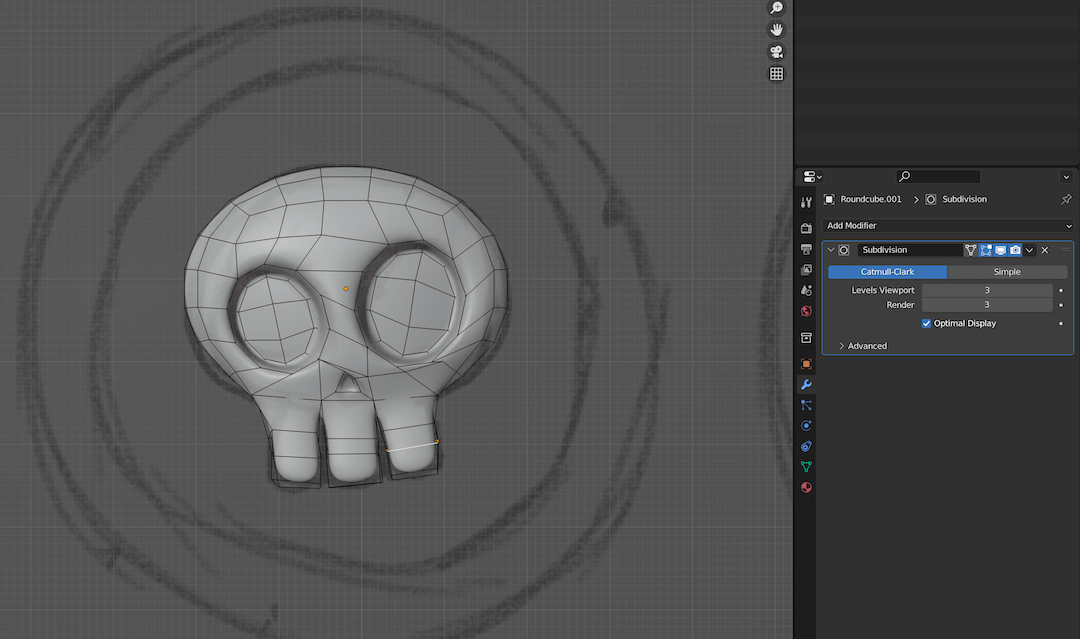
To model the detail on the coin faces, I brought my concept sketch image into Blender and set the opacity to low to model the skull.
I started with a round cube with an arc count of 5 and extruded the teeth downwards. Then, I selected the faces for the eye sockets and extruded them inwards to model the skull. I did the same process for the nose.
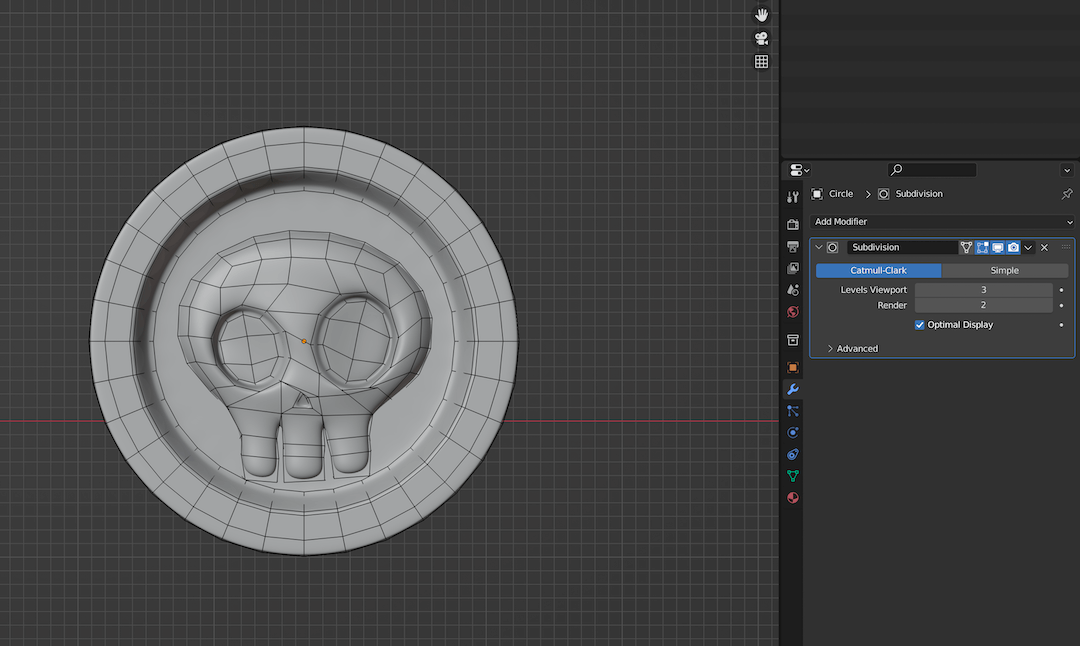
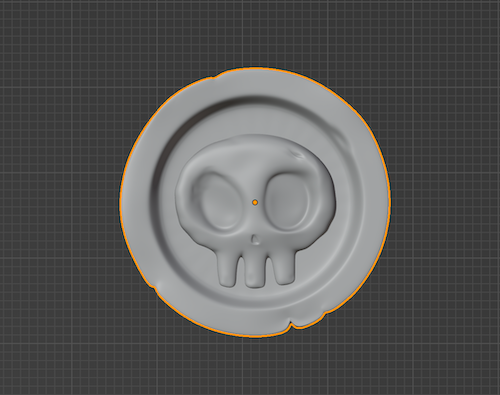
After modelling the skull, I aligned the skull to the centre of the coin and added a mirror modifier so that it is mirrored on both sides of the coin.
Once you are satisfied with the design placement on the coin, you can go ahead and Apply the mirror modifier and join both objects.
Giving Your Coin Personality
All coins are mostly identical when they are freshly minted. However, they gain some wear and tear on the metal with use. I like to add those details to the model so that the coins feel like they have been used.
For adding unique details to the coin's surface, press Tab to go into Sculpt mode and use the Grab Brush to push and pull at the coin's edges.

You can also change the view angle to add in more sculpt details.
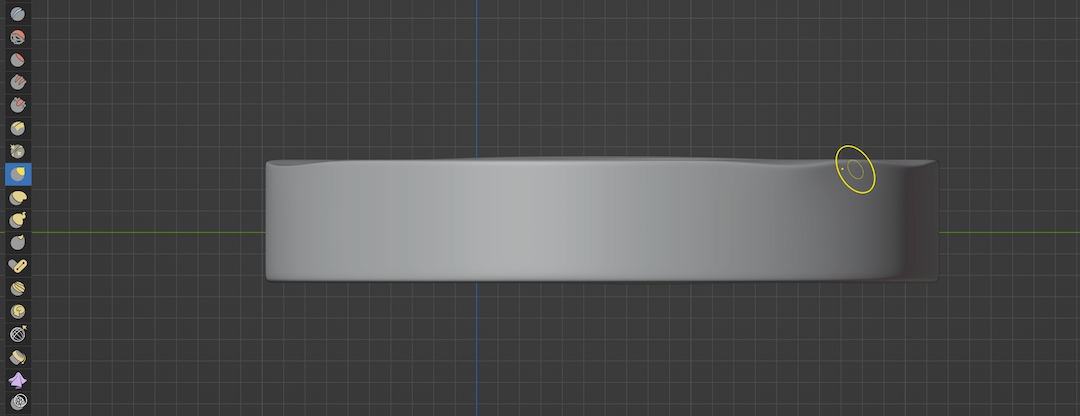
If you don't want to sculpt, you can also select individual vertices on the coin, and with proportional editing turned on, move the vertices around to get a similar effect as shown below.
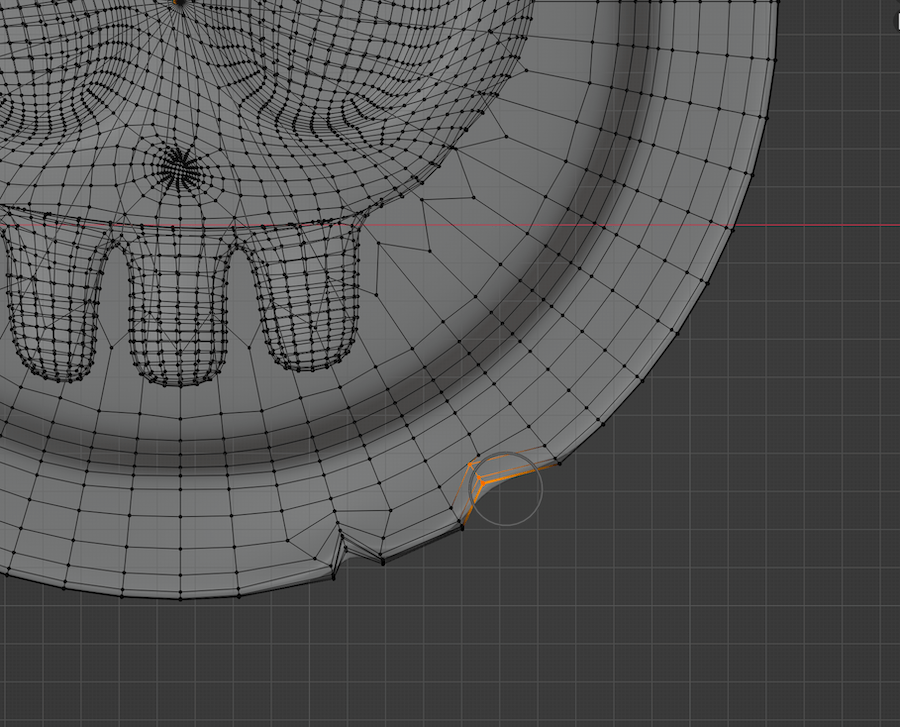
After tweaking some more vertices, I was finally satisfied with the following results.
Texturing
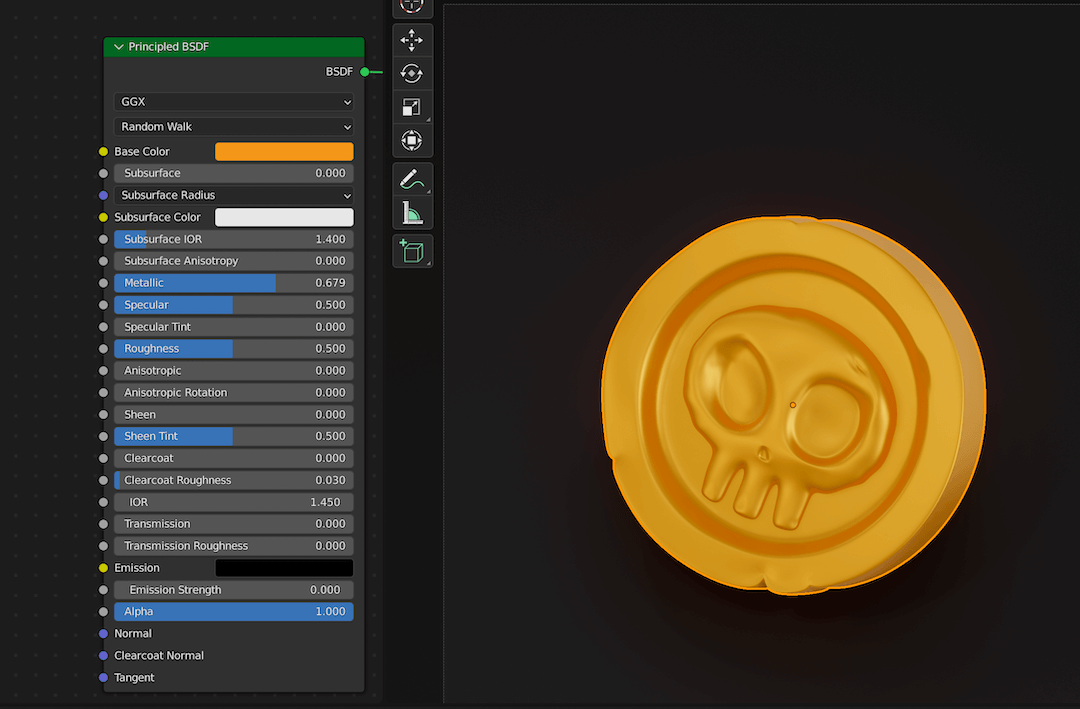
You can play around with the roughness settings in the material properties and choose the value you think works best for the coin material. I stay between .3 and .5 most of the time. You can also adjust the metallic value to get those shiny metal vibes.
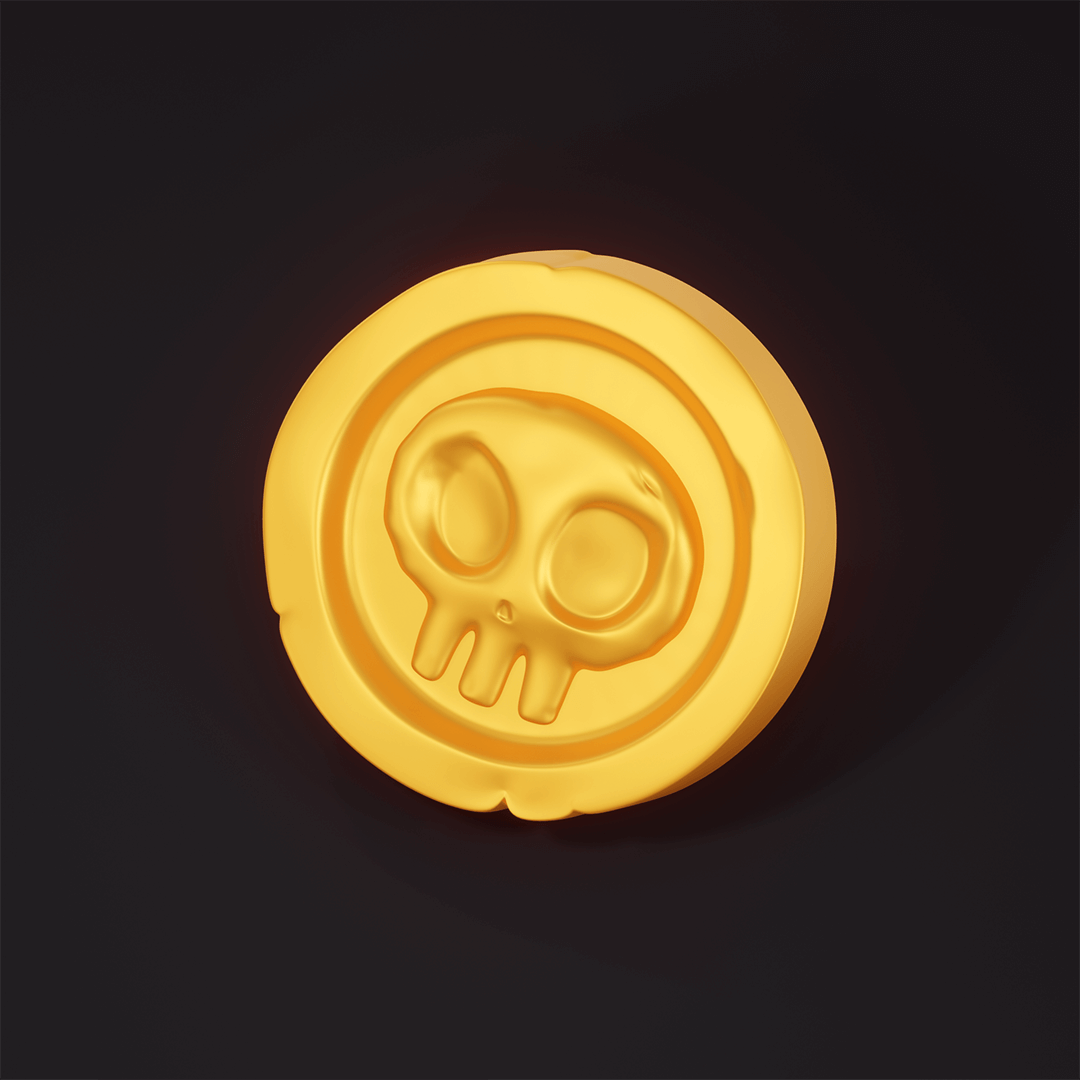
Rendering
I prefer using the Evee engine instead of Cycles in Blender for a more stylised feel.
For rendering the coin, you can go with a three-quarter view that shows the width of the coin along with the design on the faces on the coin. Add in a studio HDRI and a three-point light set up, and you're done! We have our own stylised coin.
Thanks for reading! Catch you in the next one.