
Previously, we made some simple animations and planned the model for transform animations. In this article, we are going to finalize the transform animation.
The key poses/golden poses we planned for the blockout stage were: the centre cylinder comes out, leg support extends, front legs in position, back legs in position, arm and head rotate while the arm supports the head instead of the neck, neck support in position, and finally, the head rests at neck support.
Setup Key Poses/Blocking Stage
Using the animation blockout plan, let's animate the sentry transform. I like using constant interpolation in this stage. Alternatively, you can animate all key poses on ones with no gap between keyframes. We will worry about the timing and in-between frames later in the process and just focus on the key poses in this stage.
Before beginning, turn the x-axis mirror option on for pose mode. This will mirror all motion from one side to another for all symmetric bones.

Next, just start posing bones. Copying select bone keyframes from the previous or next animation frame can help make the process easier.
Initially, animate the arm in FK and switch to IK only when arm movement is required later in the animation. We also need to keep an eye on the ground level. Ensure the sentry is not floating or going underground unless it's a deliberate motion.
Here is a quick demo of what the animation will look like in the blockout stage.
We can enhance the blocking further if necessary. It's just a matter of posing bones, adding additional key poses, and moving keyframes around.
Here is the same animation after adding some additional key poses on the leg parts.
In-between/Extension Frames
The animation currently looks choppy, almost like stop motion animation. So, we will smooth the transition between keyframes and adjust the animation's timing.
Firstly, change the interpolation mode to Bezier. Next, try adjusting the timing of the keyframes using only the key poses. Play around with different timing, spacing, and interpolation until you are satisfied with the results.
Since this is a mechanical rig, some interpolation must be linear or almost linear to represent robotic movements.
To offset the transition between keyframes, Shift + E can be used. This way, we can go through the transition process between frames and set a new keyframe between offsets if required. This will obviously not always work, but it's a quick way of adding in-between frames.
Add needed extension keyframes to support and smooth out the existing key poses.
I have also added some rotation to the transform animation. This type of animation is easier to do when done in reverse. This means keyframe the rotation in reverse before the rotation animation starts.
This is how my animation looks after adding some extension frames and adjusting the animation's timing.
Animation Polishing
The animation is somewhat ready, but before that, we need to polish the animation. We will tweak the animation curves in the graph editor and add minor details to enhance the animation further.
Offsetting certain animations of the child bones and adding simulation-like movements to small parts of the rig will also enhance the animation. Micro movements on small parts of the rig will also help.
Making the animation less symmetrical and tweaking the interpolation curve between keyframes will help make the animation look more natural.
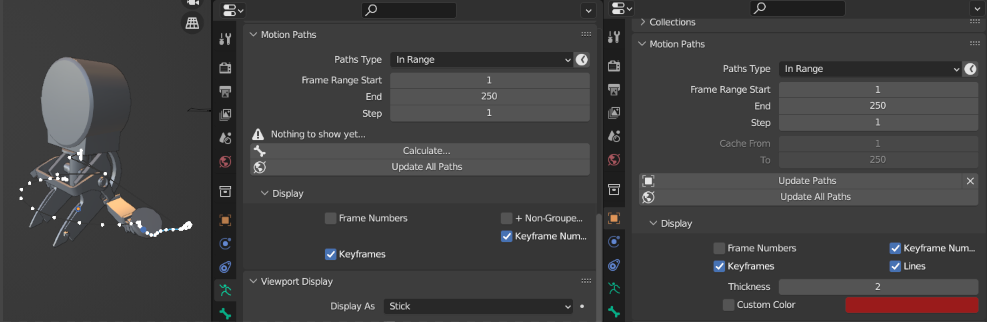
Motion path can be used to visualize and better understand the animation of select bones. Tweaking the animation will be easier after visualizing it with a motion path.
Here, you can see the path the last bone of the front leg takes throughout the transform animation and the location for the Motion Paths option.
Final Animation
Here is what the sentry transform animation looks like after some polish:
Conclusion
We have finally animated the sentry gun as planned. With that, we have covered all the topics planned at the start of this series. Hopefully, you have learned some new things to enhance your 3D skills.
But, the sentry gun still needs texture before we can call it done. I will write a continuation of this series soon which deals with UV unwrapping, texturing, putting all the animations we made so far together, and testing the sentry gun in a game engine.
So stay tuned, and thank you for reading! Leave a comment letting us know if you found this article helpful.