
Introduction
A Normal is the orientation of a geometrical object that defines which direction an object is facing and how it is rendered. In the context of 3D graphics, a normal map affects how light will interact with an object and how the object looks.
Every 3D object has its own normal. By default, the Normal of a surface is perpendicular to the planes of that surface. However, this can be modified to get interesting results, and it is especially useful for a stylised look.
When using Phong shading, a Normal can be used used to fake curved surfaces or for a flat low poly look.
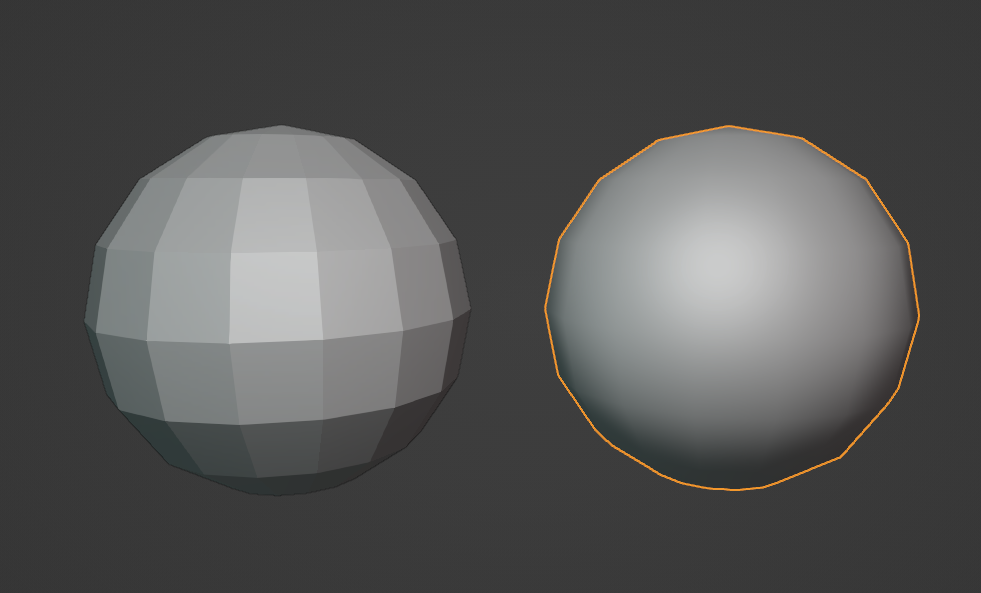
Both these spheres have the same polygon count. But, by using smooth shading, the right one is faked as a curved surface.
Related article: Law of Uniform Connectedness in UX Design
Transferring Normal Data
Most 3D software allows us to transfer Normal data from one object to another, which can be very useful for generating complex normal maps. In this tutorial, I will use a stylised bush model to showcase the normal transfer method in Blender. However, you should be able to replicate the steps in your preferred 3D software.
Setting Up Models
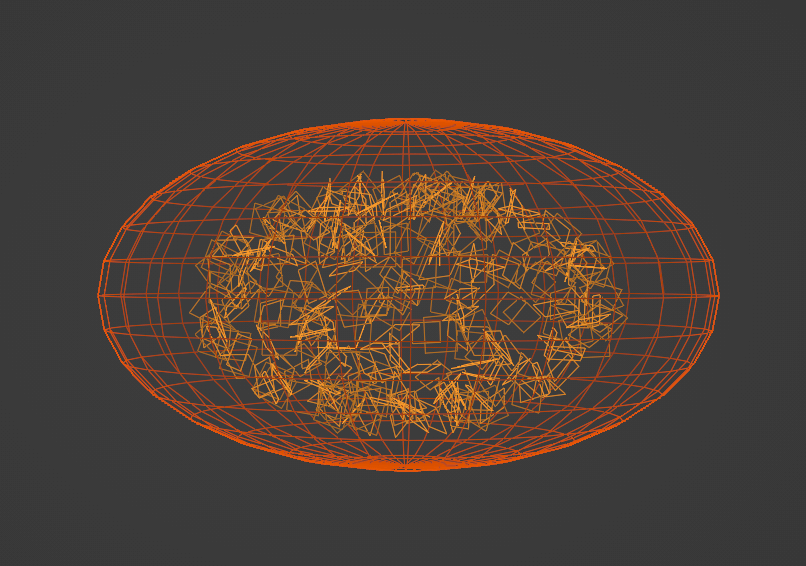
Model a stylised bush and duplicate it. On one of them, add a DataTransfer modifier. Then, model a sphere around it in the same location and on a scale bigger than the bush mesh. We will use the normal data of the sphere on the bush. This will make the bush look good from all directions.
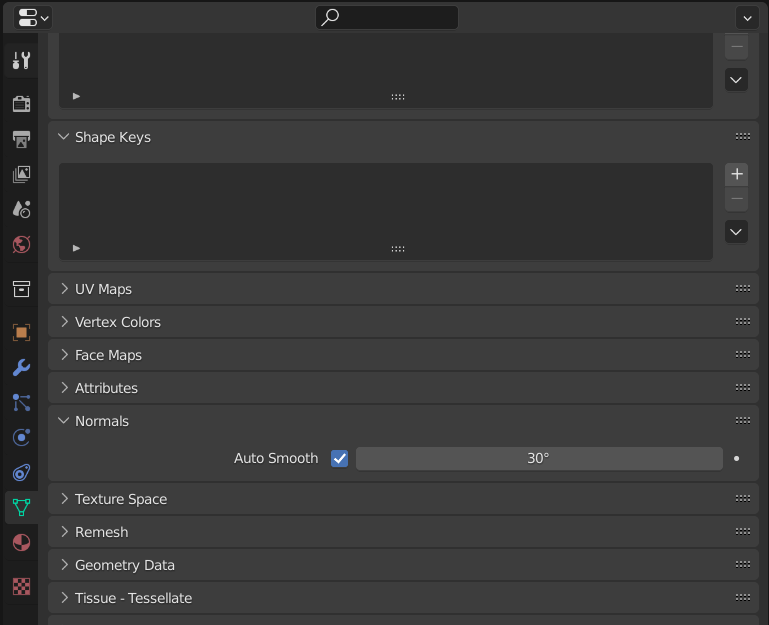
Turn Auto Smooth on for the mesh.
Normal Transfer
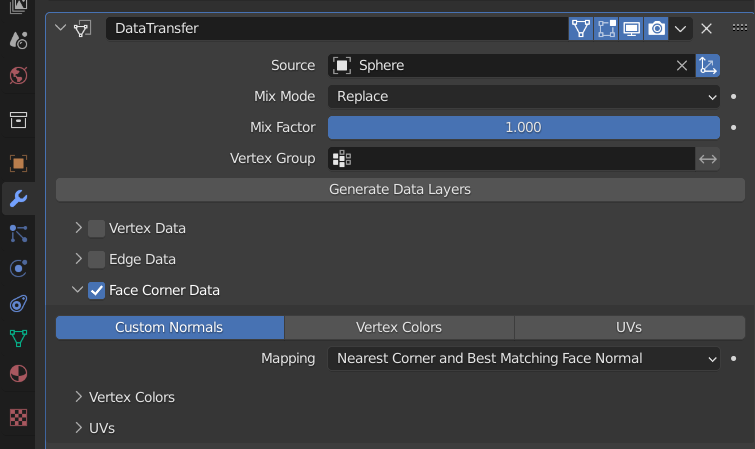
Click on the wrench icon in the properties menu of the bush. Then, navigate to the DataTransfer screen. Here, select the sphere that we just modelled as the Source, tick Face Corner Data, and select Custom Normals.
The sphere normal is now transferred to the bush. Here is my modifier setting for reference.
And here is how the bush looks before and after the normal transfer.
As you can see, after transferring the normal data of the sphere, the model has no shadow artefacts and looks more fluffy. This is very useful when modelling stylised foliage assets.
Also read: 9 Tips for Writing Engaging Tech Blogs
Exporting
And here is the mesh exported to unity. Notice how the left one (Normal transferred) looks fluffy and smooth. But the one on the right with default normal has sharp edges and harsh shadows.
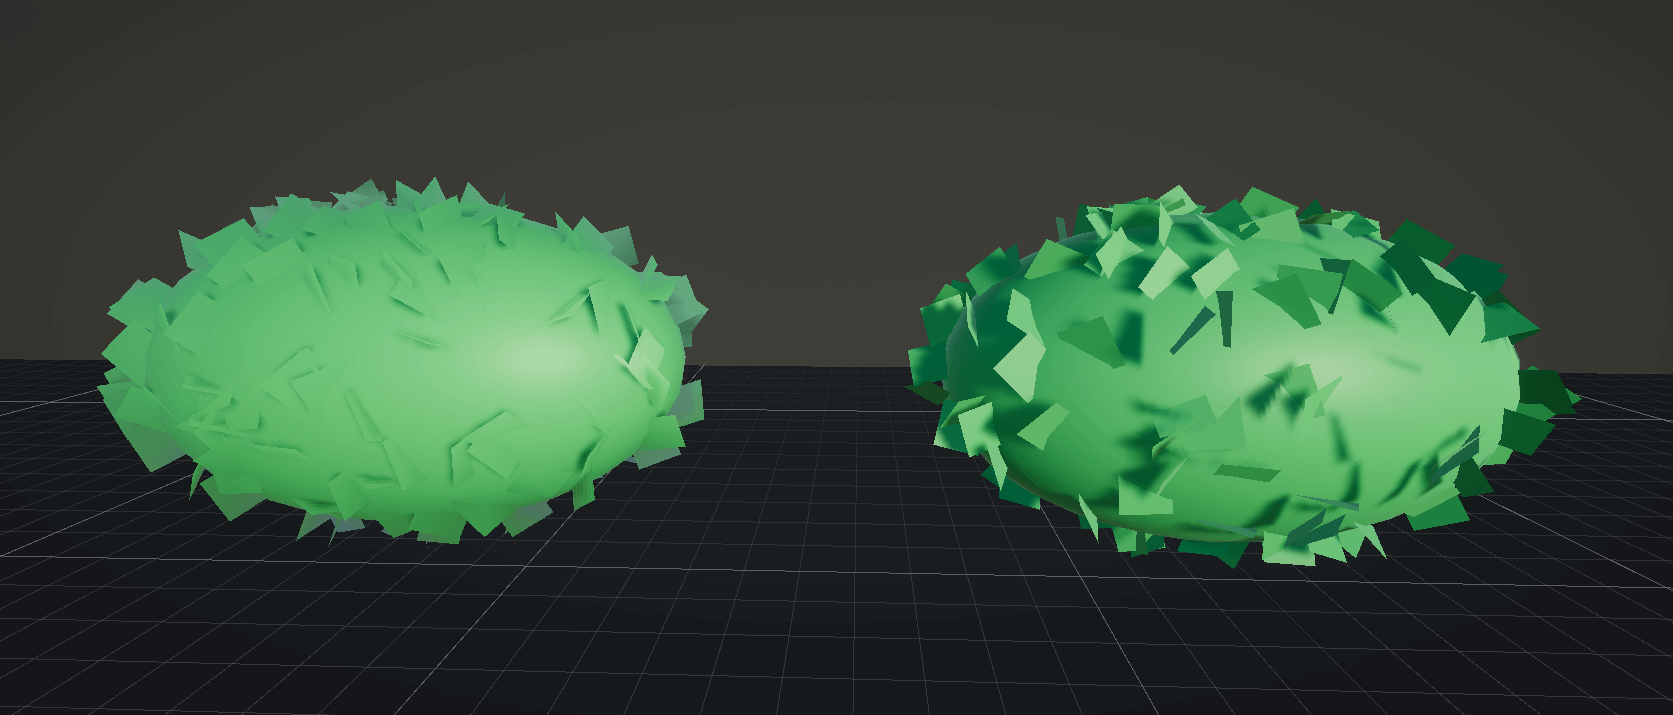
Normal transfer is great for customising bush and grass half-sphere meshes. This is because the player will see bush and grass from a higher angle.
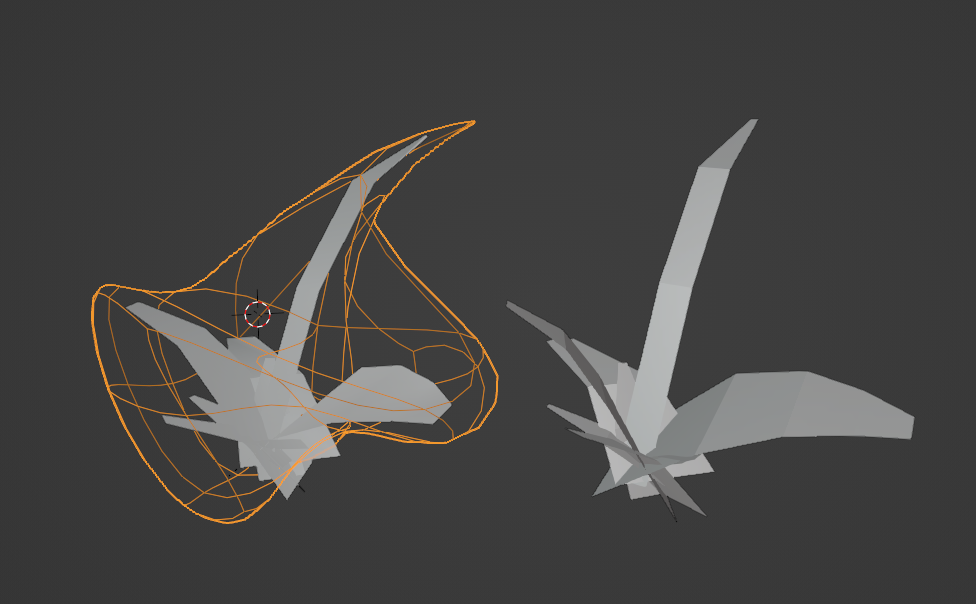
We can also use a custom-modelled mesh for finer control of normal data.
Conclusion
As we have seen, the use of the Normal data transfer can significantly alter an object's look. It is also especially useful for stylised rendering. We can get all of this detail without any additional rendering cost because we only modified the normal without changing the actual geometry.