
Changing scenes is one of the most important aspects of game development in Unity Engine. Scene Management is used to organise different parts or levels of a game or application. It is mainly used for loading, unloading and preloading scenes, menu navigation, and level restart.
Setting up the Project
Let's create an empty Unity project to implement a Scene Manager in the game.
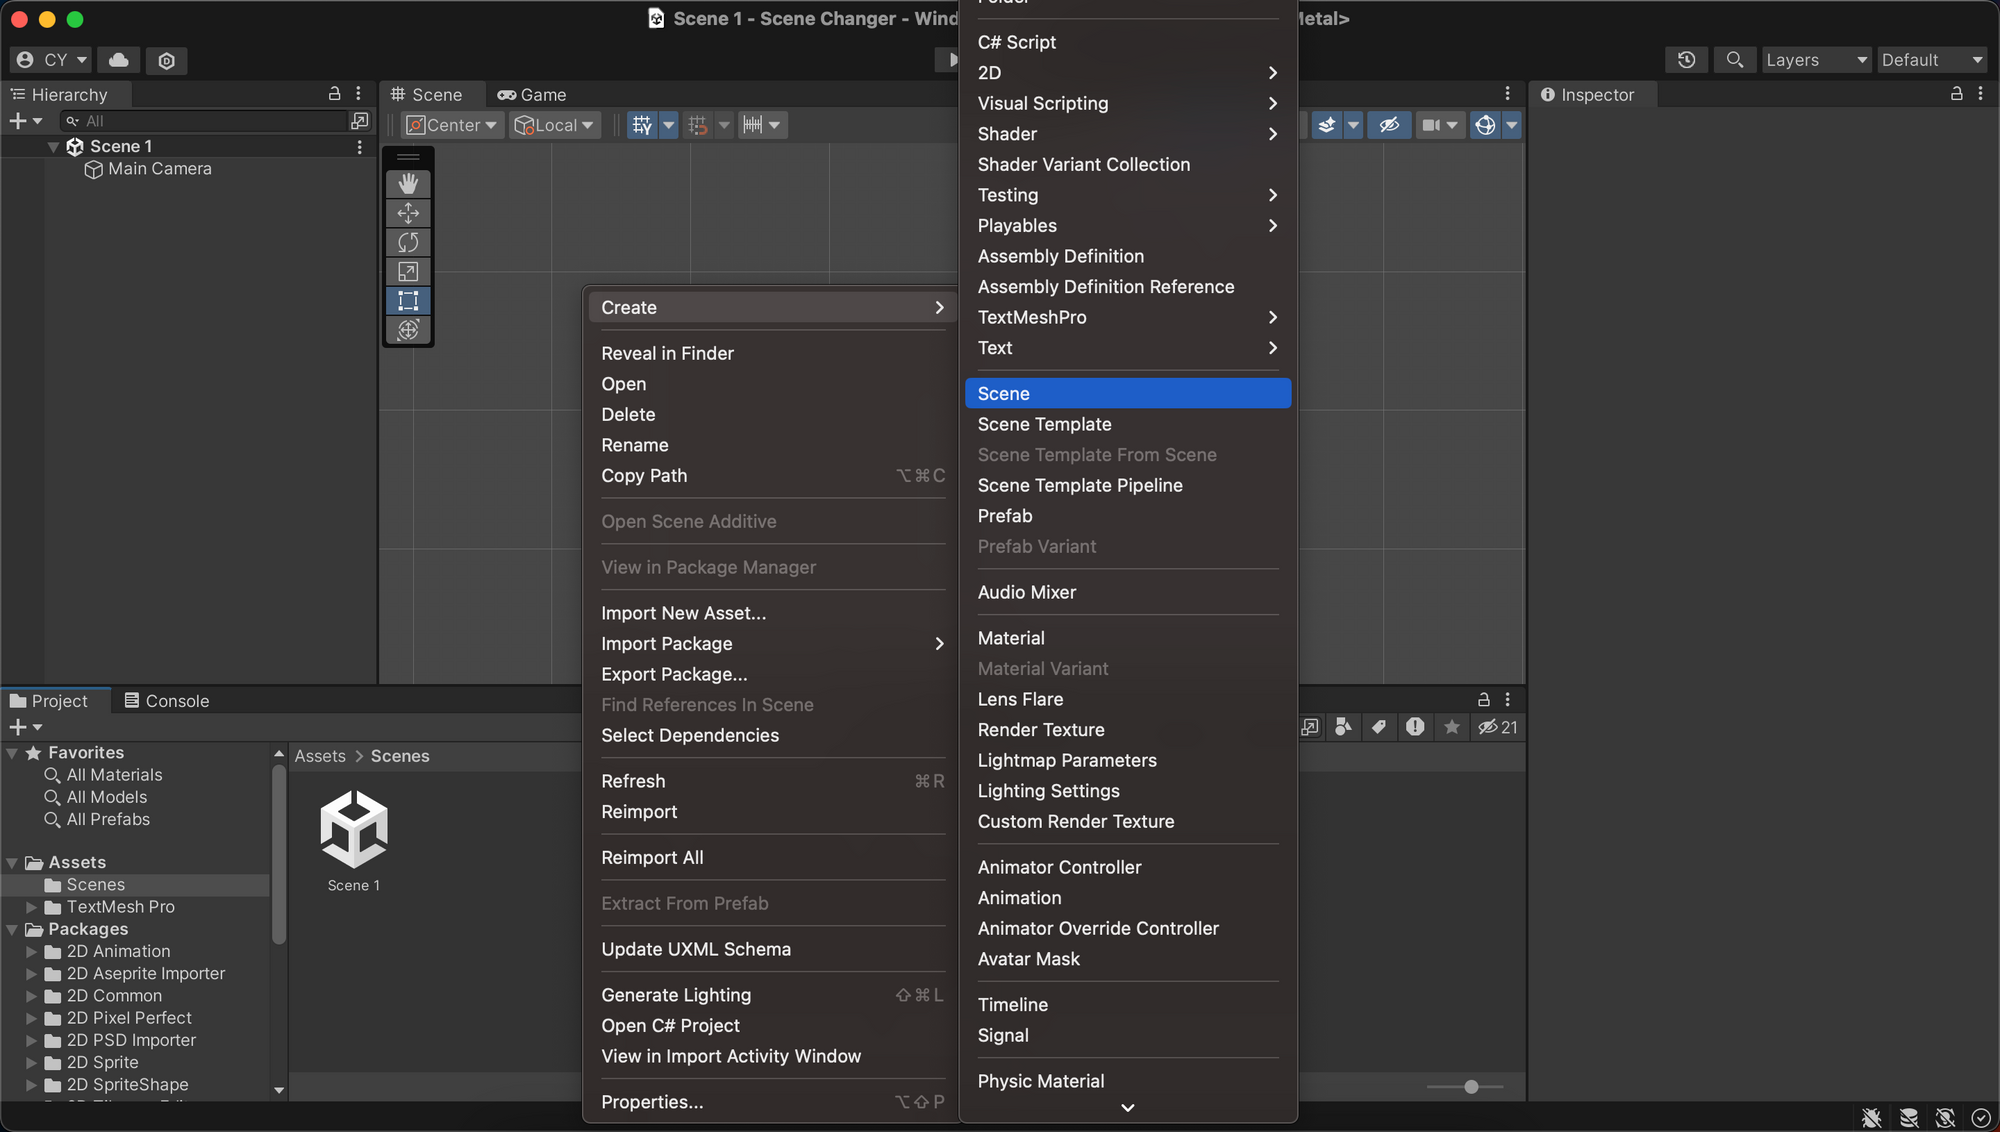
- To create a new Scene, right-click your mouse on the
Assets Panelarea and selectCreate>Scene. - Create two scenes named
Scene 1andScene 2.
Here, we are trying to achieve a functionality where we can change a scene from Scene 1 to Scene 2 by pressing a UI button in the respective scene.
Related article: Unity Vehicle Controller Using Wheel Collider
Creating a SceneManager Script
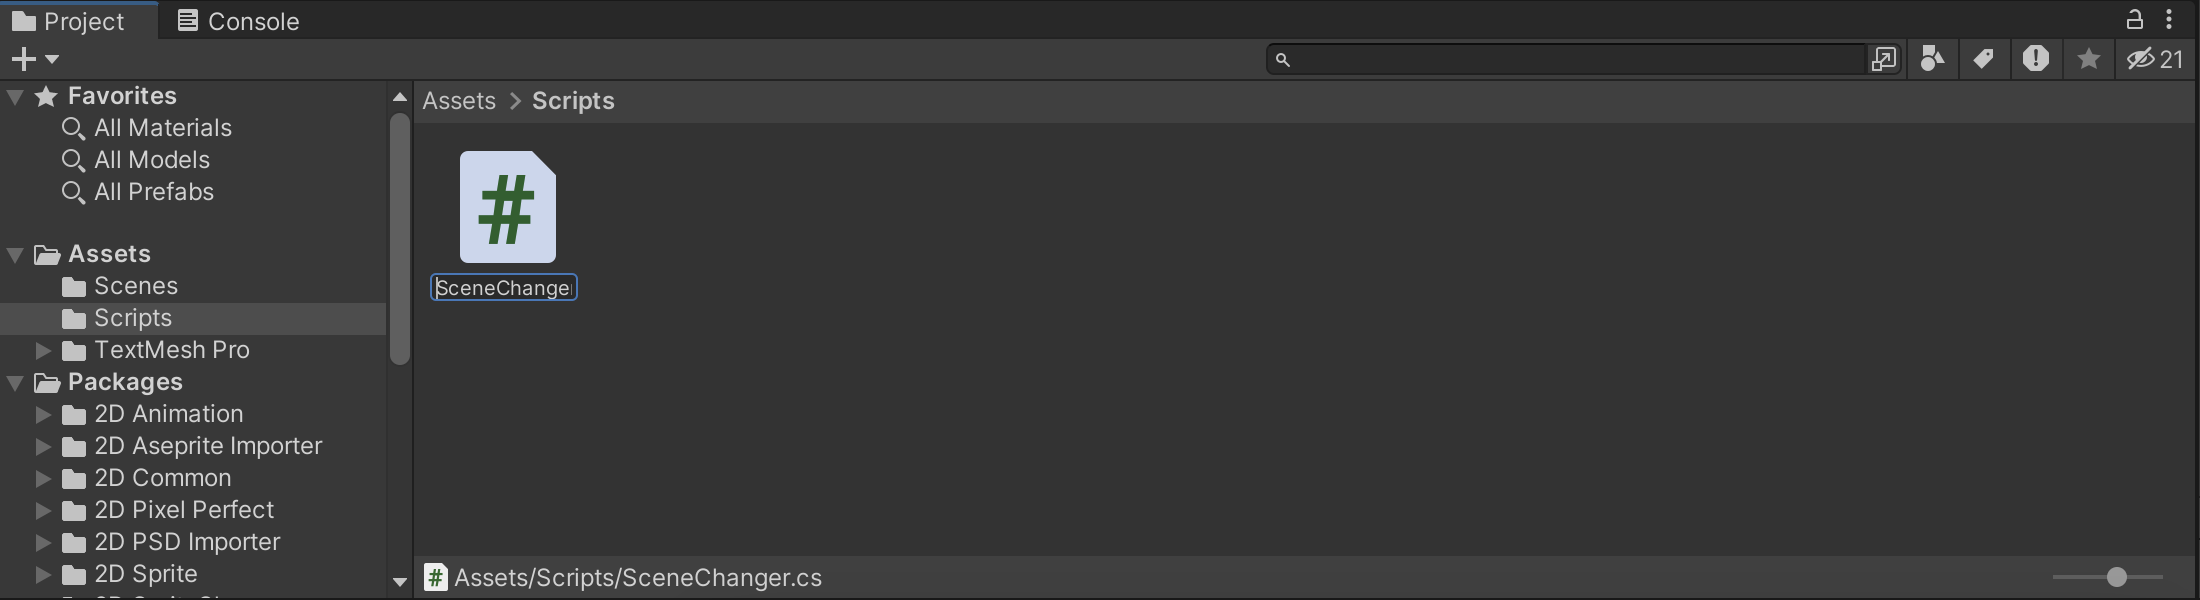
- To make the project more organised, create a folder in the assets panel named Scripts.

- Then, inside the folder, right-click and select
Create> C# Script, and call itSceneChanger.
SceneChanger script - Open the script by double-clicking it, and you will get the default script template as below.
using System.Collections;
using System.Collections.Generic;
using UnityEngine;

public class SceneChanger : MonoBehaviour
{
    // Start is called before the first frame update
    void Start(){

    }

    // Update is called once per frame
    void Update()
    {

    }
}
Default SceneChanger script
- Add the
SceneManagementlibrary of Unity Engine and create a public function namedChangeScenewhich takes in the parametersceneName.
using System.Collections;
using System.Collections.Generic;
using UnityEngine;
using UnityEngine.SceneManagement;

public class SceneChanger : MonoBehaviour
{
    public void ChangeScene(string sceneName)
    {
        SceneManager.LoadScene(sceneName);
    }
}
Creation of the function, ChangeScene
Start() and Update() functions because we won't need them for our use case.In this code, we have added the using UnityEngine.SceneManagement library, which has allowed us to use the SceneManager class.
The function ChangeScene(string sceneName) takes a string parameter named sceneName. This is then passed into the SceneManager.LoadScene() function. This function loads the new scene defined by its name.
Creating a SceneChanger GameObject
- Create a
GameObjectby right-clicking on theHierarchytab and selectCreate Emptyand rename it toSceneChanger. This will create a new emptyGameObjectcalledSceneChangerin the scene. - Select the
SceneChangerobject and drag and drop theSceneChangerscript in theInspectorpanel, or you can click theAdd Componentbutton in theInspectorpanel and search forScene Changer.

SceneChanger ObjectAlso read: The Many Roles of SQA Engineers
Creating a Text Field and a UI Button
So far, we have created a scene changer script which will be used to change the scene in the project.
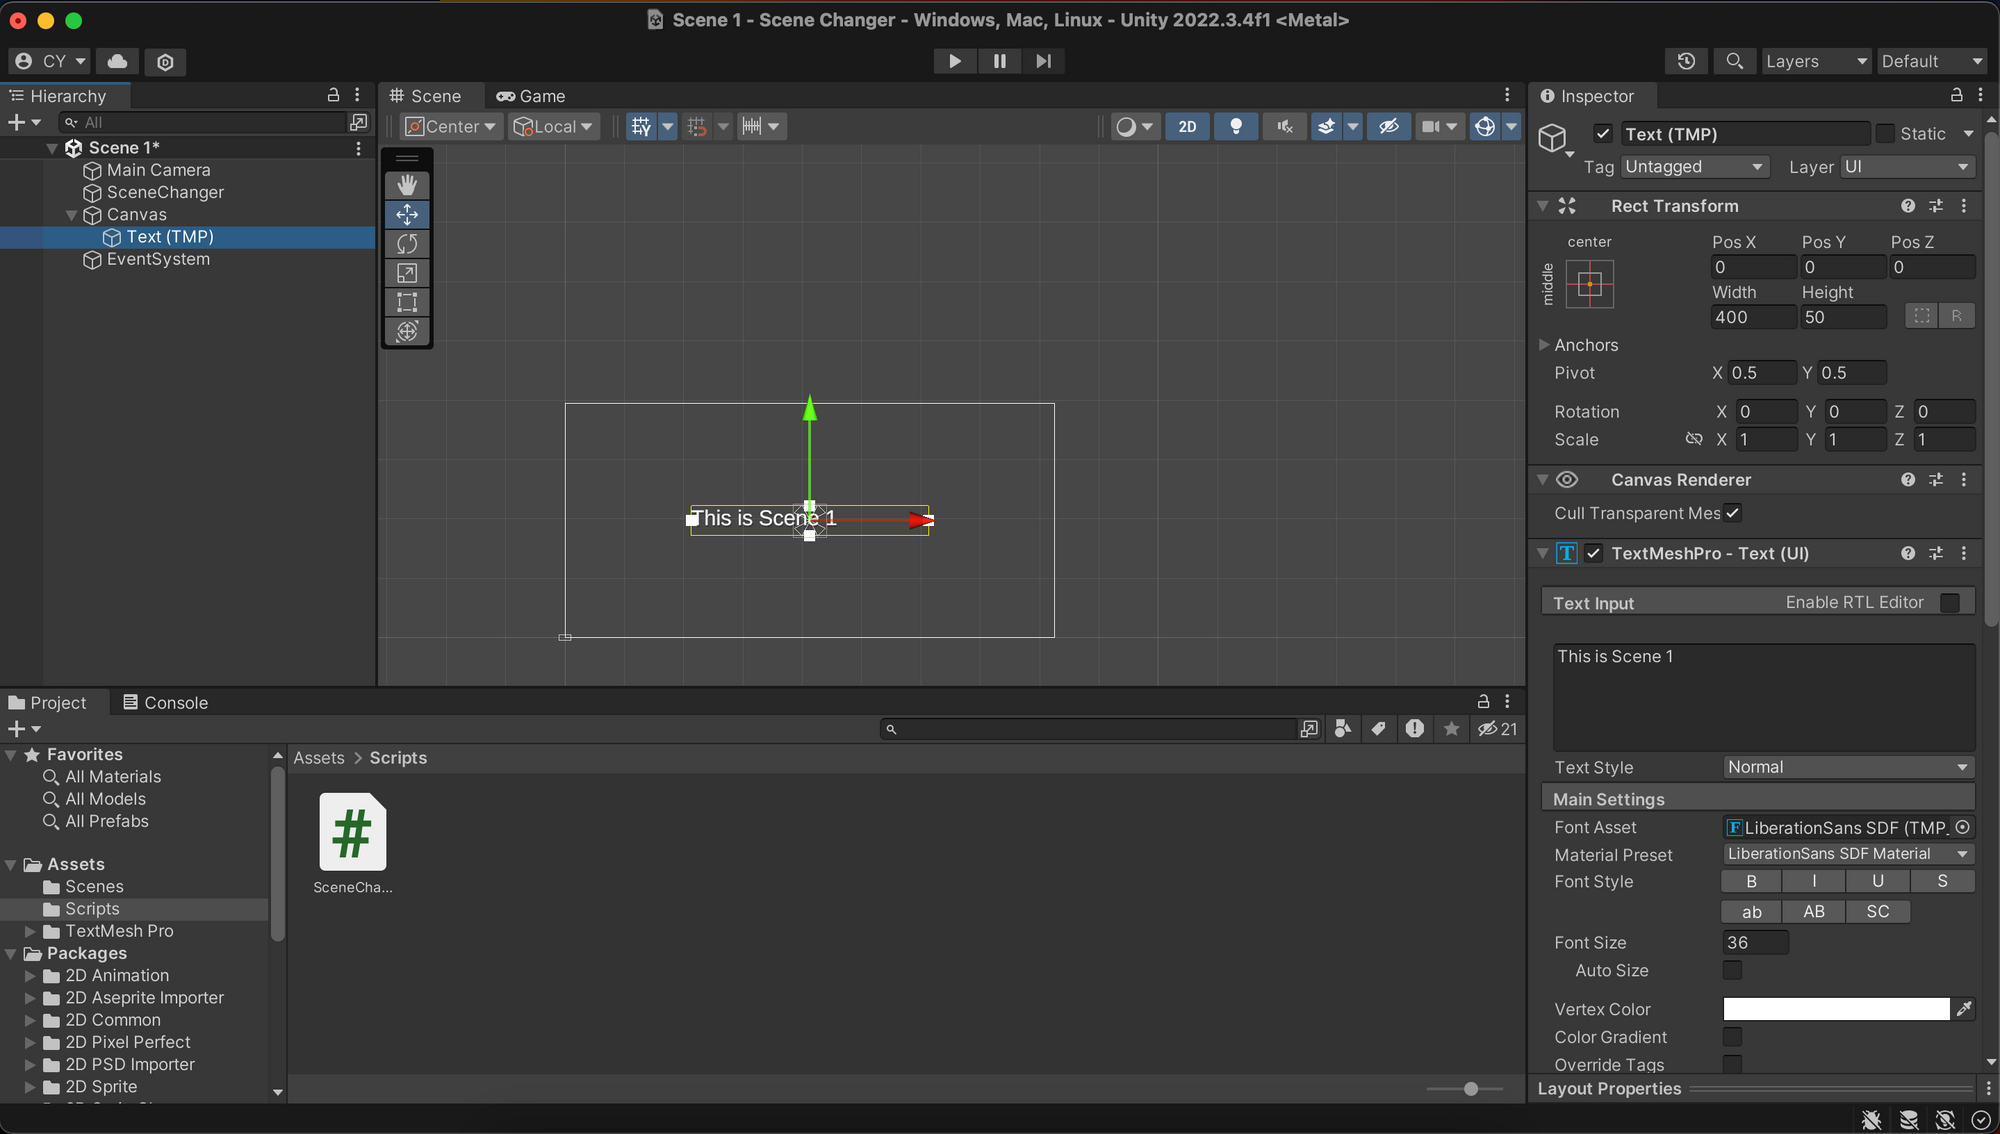
- Create a UI text to help visualise which scene we are currently on.
- Right-click on the
Hierarchyand SelectUI>Text - TextMeshPro.
TextMeshPro essential package.- This will create a text field inside a canvas. Select the newly created text object and position the
TextFieldto(0,0)in theRect Transformwhich will move the text to the centre of the screen. - You can now change the text in the
TextMeshProcomponent toThis is scene 1.
- Now, save the scene and open
Scene 2inside the Scenes folder. Create a new UI text in there, and make theTextFieldtext intoThis is Scene 2. - Next, reopen the previous scene (Scene 1) and create a UI button by right-clicking the
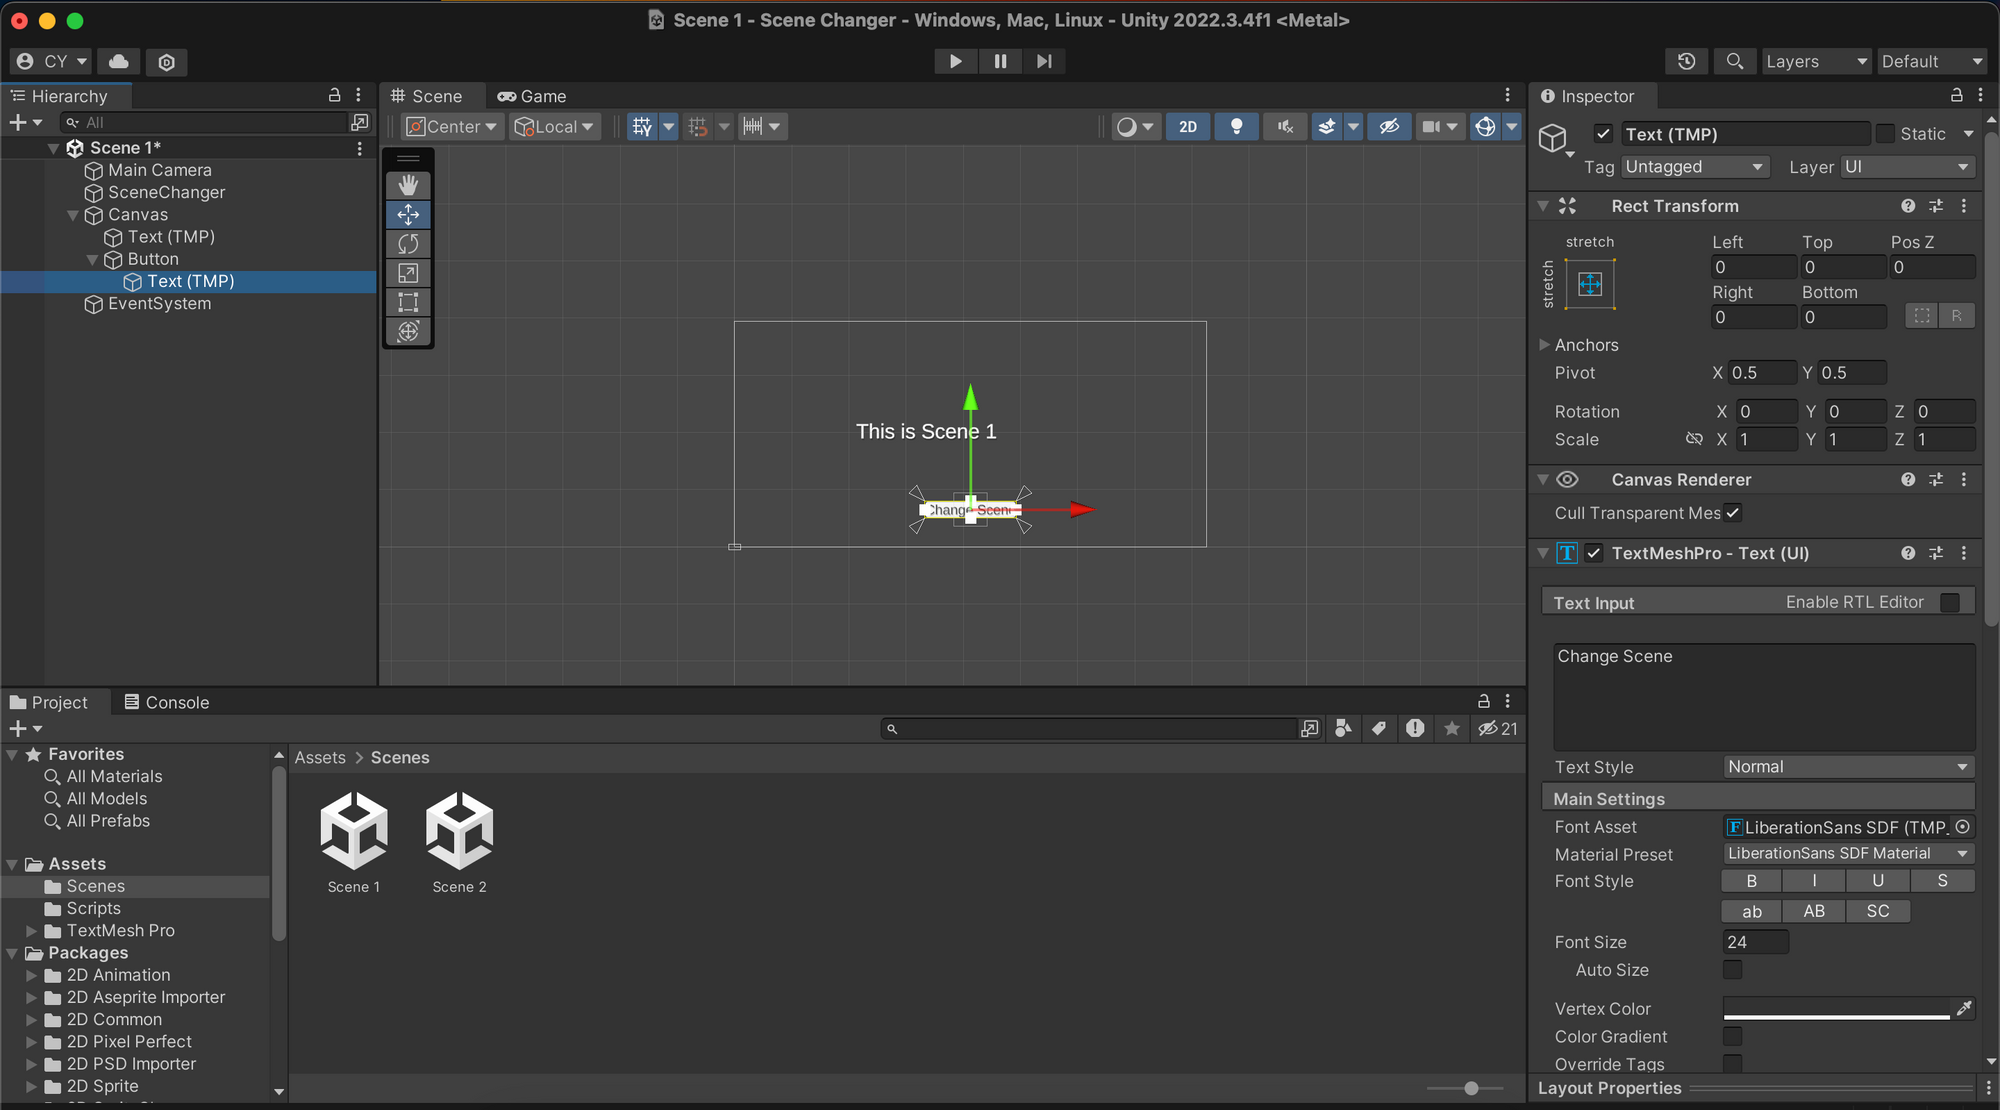
Hierarchyand selectingUI>Button - TextMeshPro. - This will create a button object inside the canvas. You can change the text inside the dropdown button beside the button object and select the Text(TMP) object. Change the text to
ChangeScenein theTextMeshProcomponent.
Button object per your need from the Rect Transform Component.- Select the
Buttonobject from theHierarchy, and press the+icon belowOnClick()section in the Button component. This will give you a field to assign scripts and the function to execute when the button is pressed. - Drag and drop the
SceneChanger GameObjectinto the field and assign theSceneChanger>ChangeScenefunction into the dropdown field, as shown below.
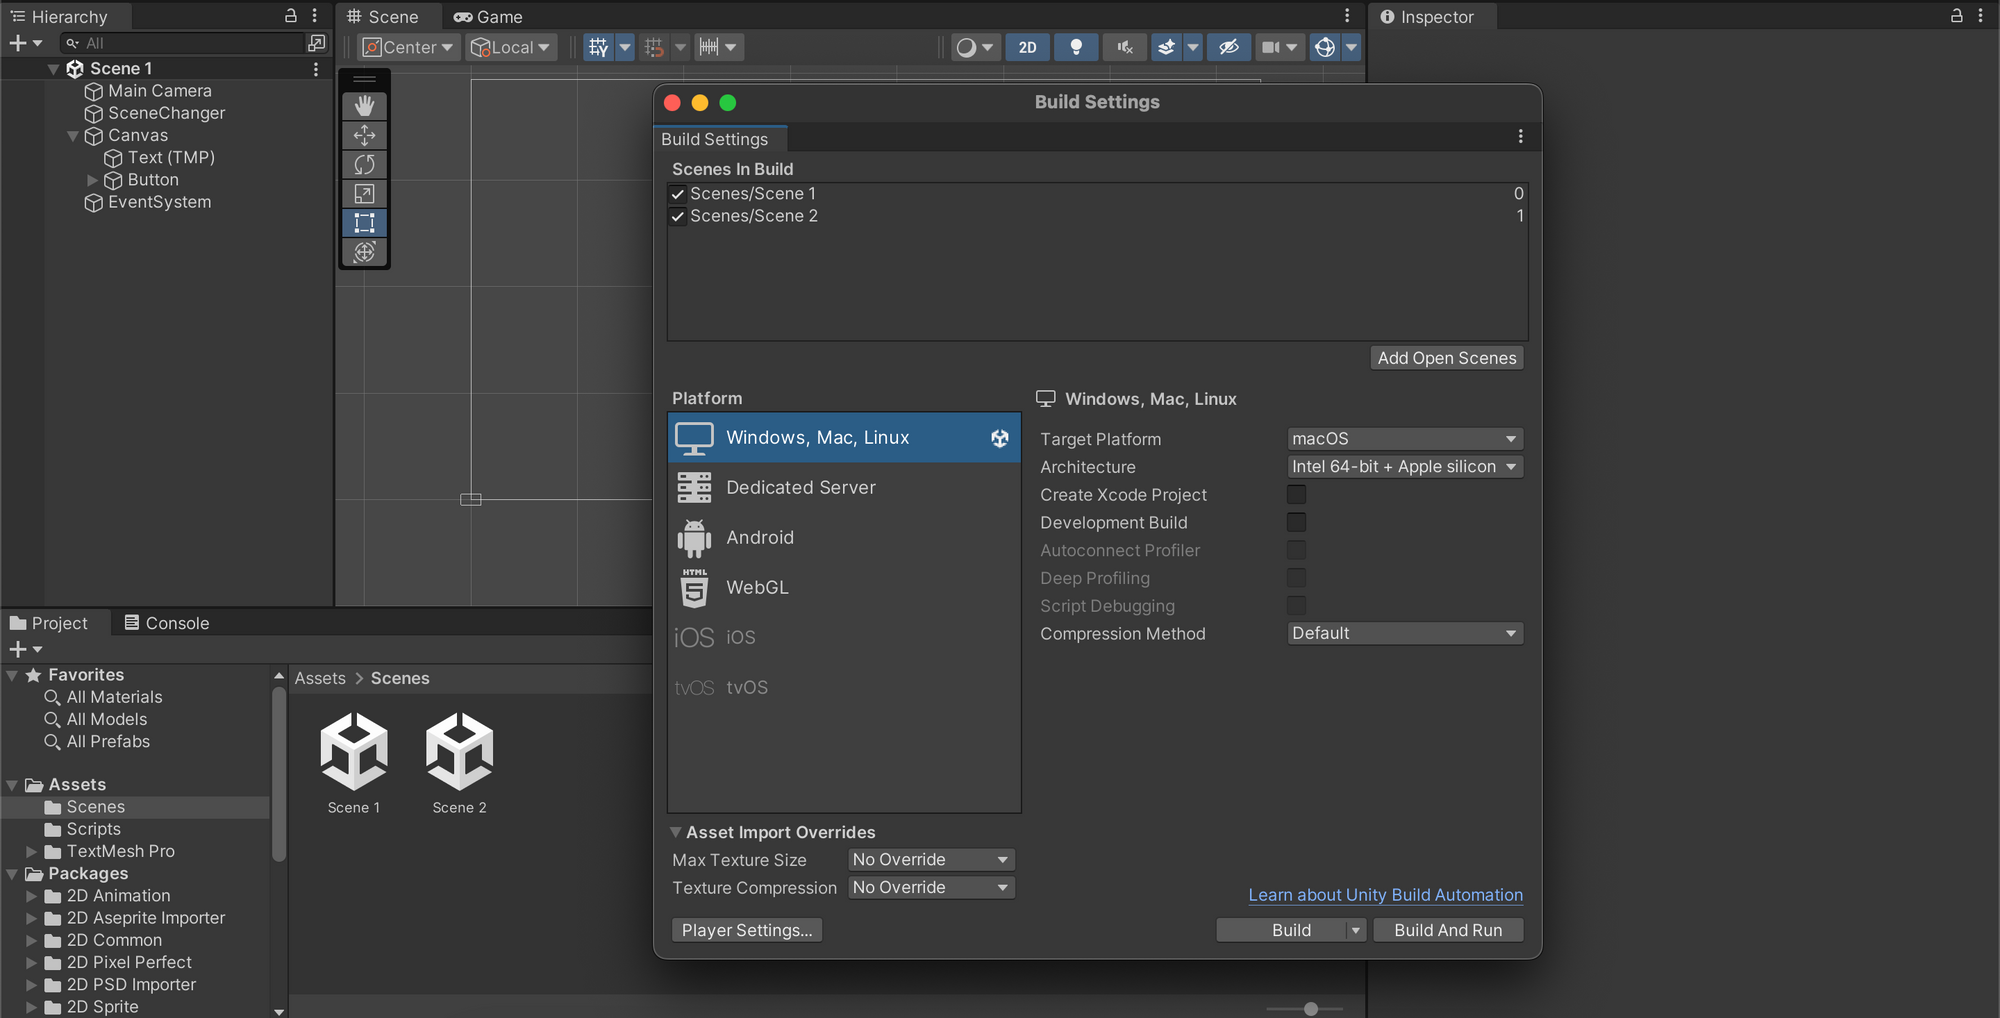
ChangeScene Function to the Button.- Ensure that both scenes are added in the build setting of your project. If not, the console will throw errors because it cannot find the scene in the project.
- Run the game and click the button you created. Voila, you just loaded another scene using the
SceneManagementlibrary in Unity.
SceneChanger in ActionIf you followed along correctly, then you will see the scene change from Scene 1 to Scene 2. You can adjust the scene and script to your liking. Creating a Scene Manager in Unity Engine greatly enhances your game development workflow. It allows you to seamlessly change scenes, organise different parts or levels, and easily load/unload scenes.
Thank you for reading. I hope this simple Scene Manager system was helpful and easy to follow along. If you want more advanced system, then consider subscribing and leaving a comment down below.