
Introduction
This blog provides a comprehensive guide on baking various textures, such as Diffuse maps, Normal maps, and Metallic maps, using Blender tools. A Diffuse map, also known as a Colour map, is a texture that supplies the surface details for any game model or asset. Conversely, a Normal map dictates the interaction of light rays with the surface, influencing the visual perception of depth and detail.
Implementation
In this process of texture baking I am using blender 3.0 and for texture I am using texture ninja site for raw textures. This tutorial will be divided into 5 steps and they are following :
- Modeling : For this tutorial I am creating a simple barrel shape object and creating 3 versions of it which are very-low poly, low-poly, high-poly.
- UV Mapping: For this I am going to manually create uv as to be used model is an easy shape to wrap around but there are third party assets/plugin in blender market for creating UV automatically. I will be creating UV for the purpose of creating atlas addition to other assets.
- Texturing: I will bake diffuse texture from low poly model after managing its UV map and then bake diffuse texture to the final low poly model of which UV will be in texture atlas format. This step is done so that the assets can maintain low batch call as multiple assets in scene uses same material to render,
- Modifying Shader : For material shader, I will be using only 3 node, Image node, UV node and Tiling and offset node. This base material will not have normal map as base texture that I am going to use will be raw texture with no other PBR textures.
- Baking: This step will be the vital step and for this tutorial I will provide with all the setting required to bake a diffuse map texture for a game ready assets.
Modeling
Step 1: First, delete your default cube so that we can have a fresh start.
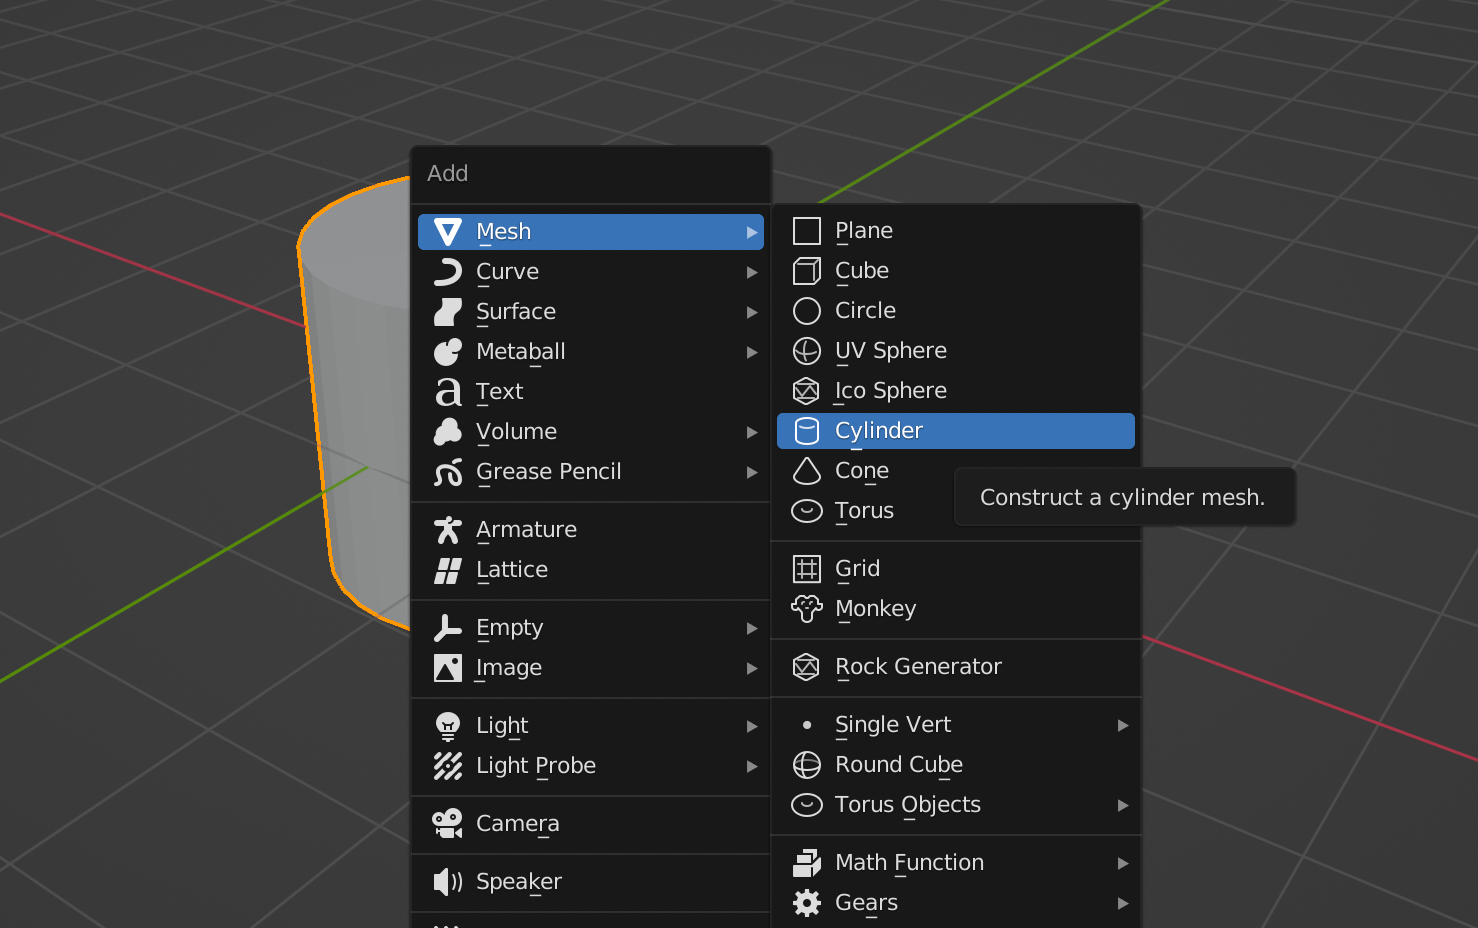
Press shift+A to open the tab shown below. Add a new cylinder shape using the default-shaped cylinder. I will create a simple barrel shape modifying its vertices and edges.

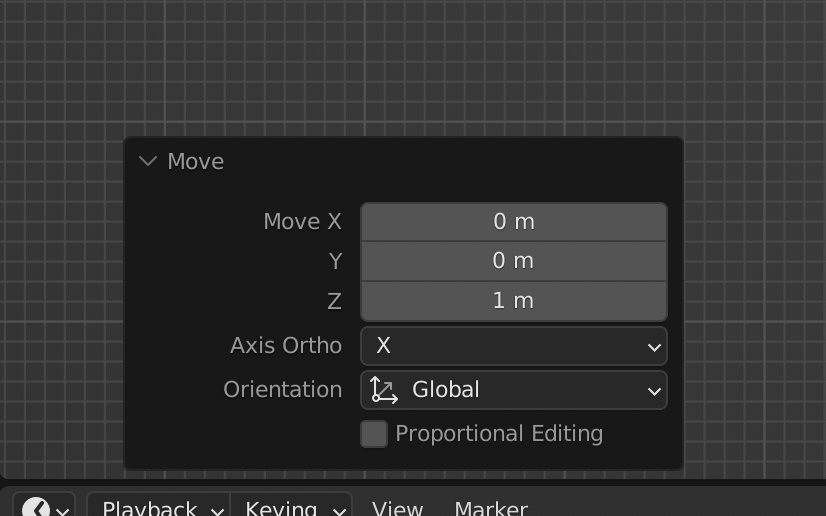
Step 2: Modify the anchor to bottom by moving the cylinder by 1m at Z axis of the barrel and reset all its position, scale and rotation.
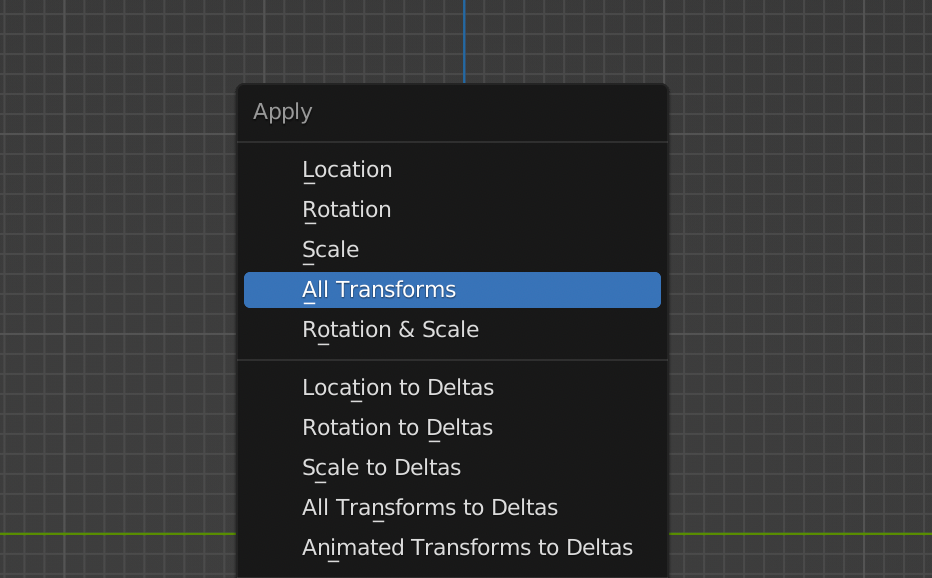
- Press
command+ato open the tab shown below and select All transforms.
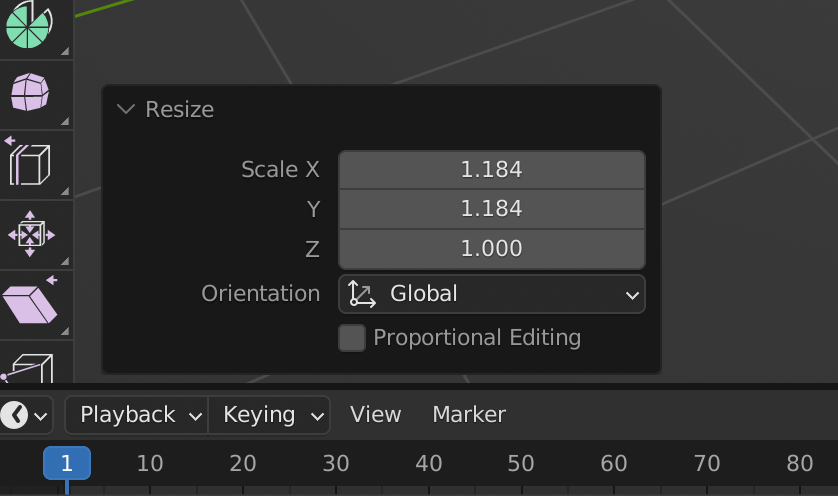
Step 3: To add some details, go to Edit Mode. Loop cut in middle and scale the edges to make it look like the prop shown below using command+R keys .
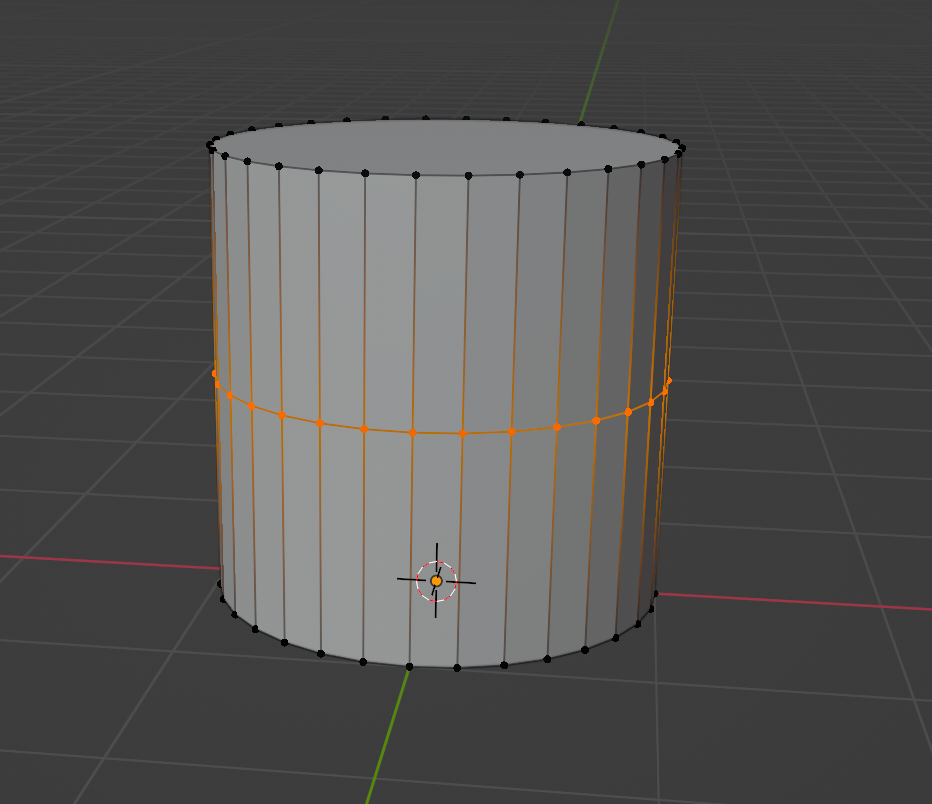
- Press
Sto scale andshift+zto scale it at x and y axis.
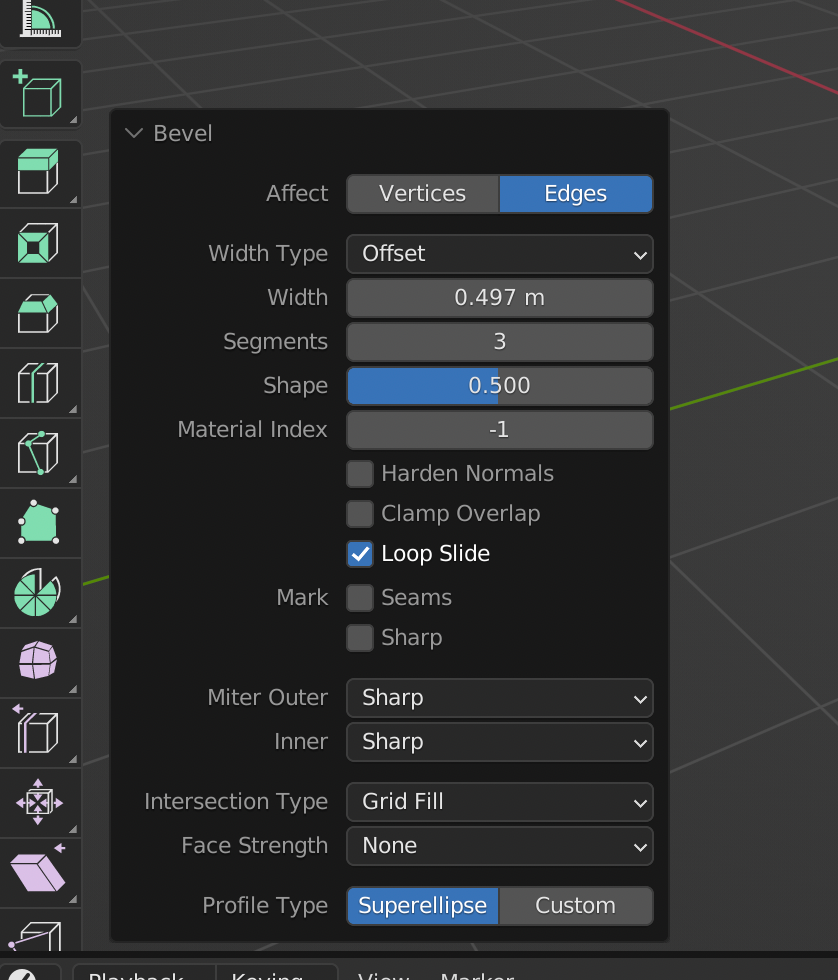
Step 4: Select the loop cut and Bevel it to around 3-4 segments and modify the edge to get the shape as shown below. Use Command+B keys to bevel the selected edge.
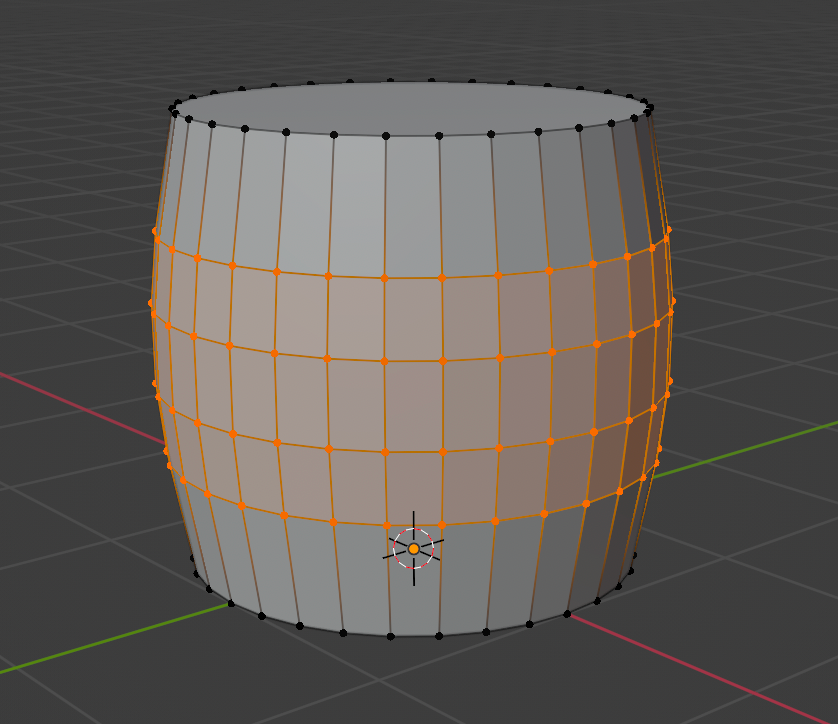
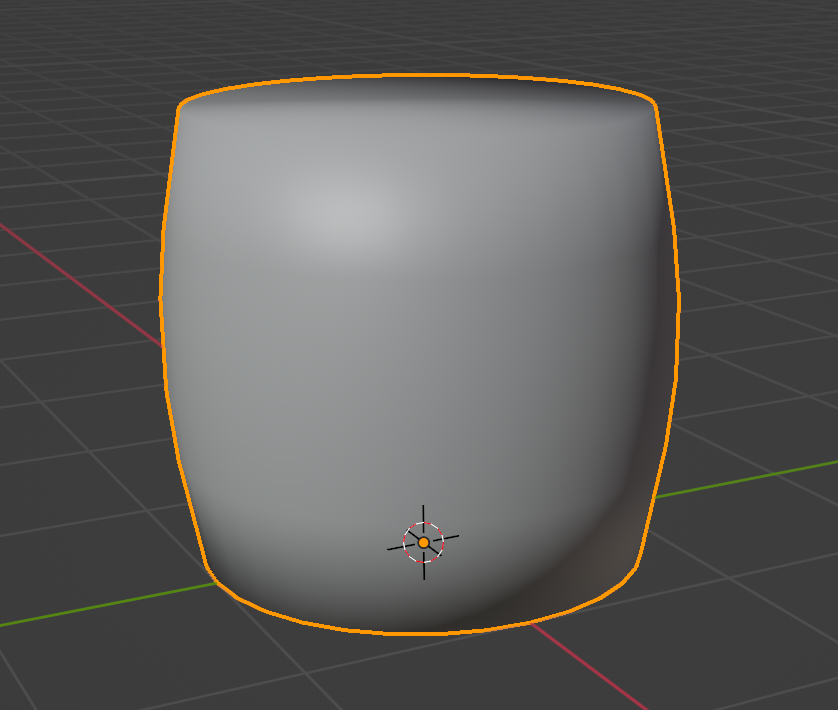
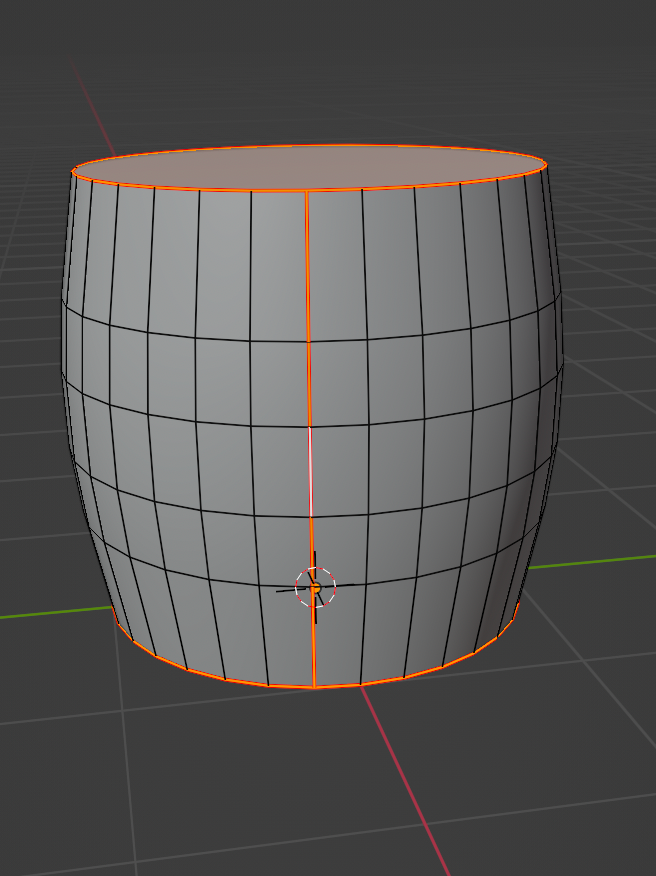
command + B to bevel the selected edgeStep 5: Go to object mode and smooth out the surface.
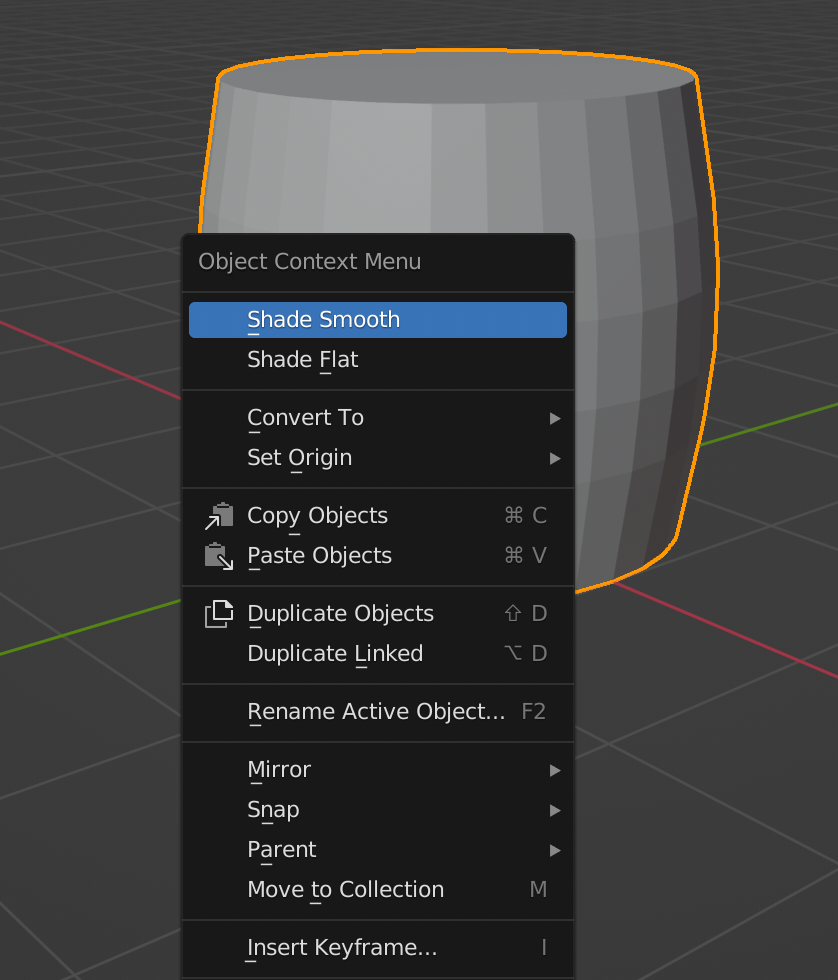
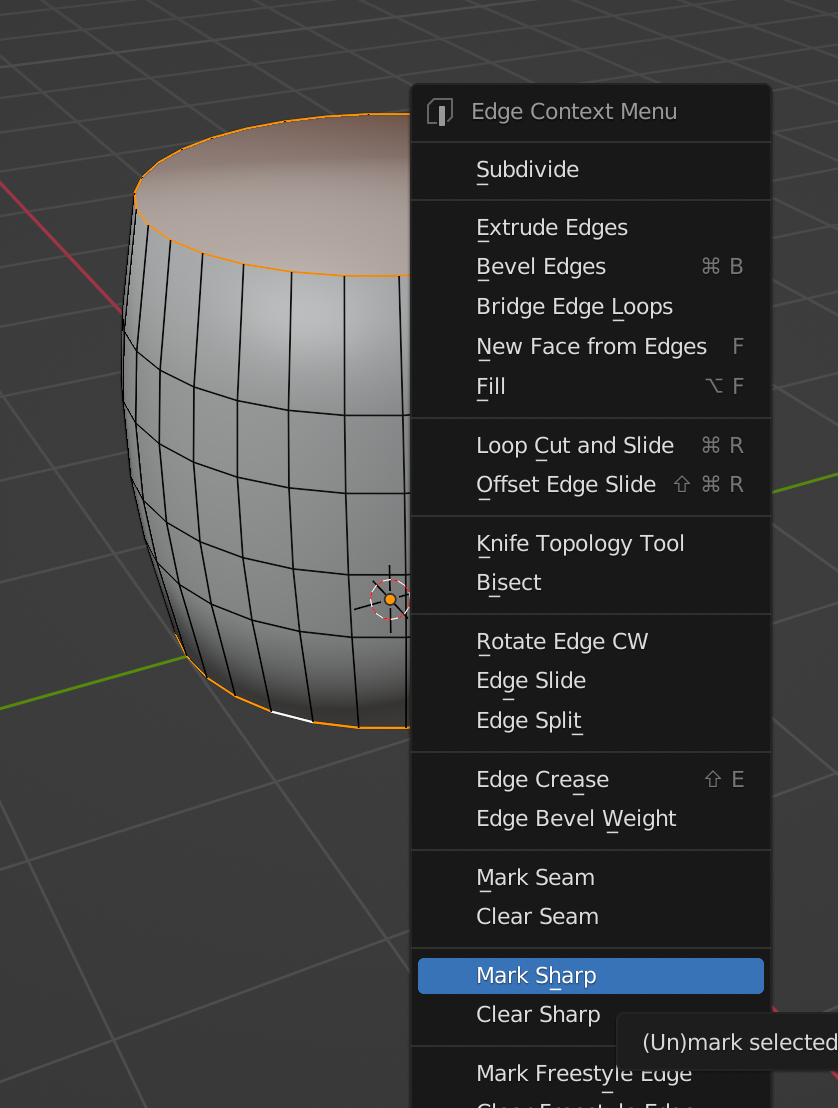
- There is an issue with this , where sharp edges are not visible. To fix this issue we can mark top most and bottom most edges as Mark sharp and to do that select top and bottom most edges and right click to open
Edge Content Menuand selectmark sharp.
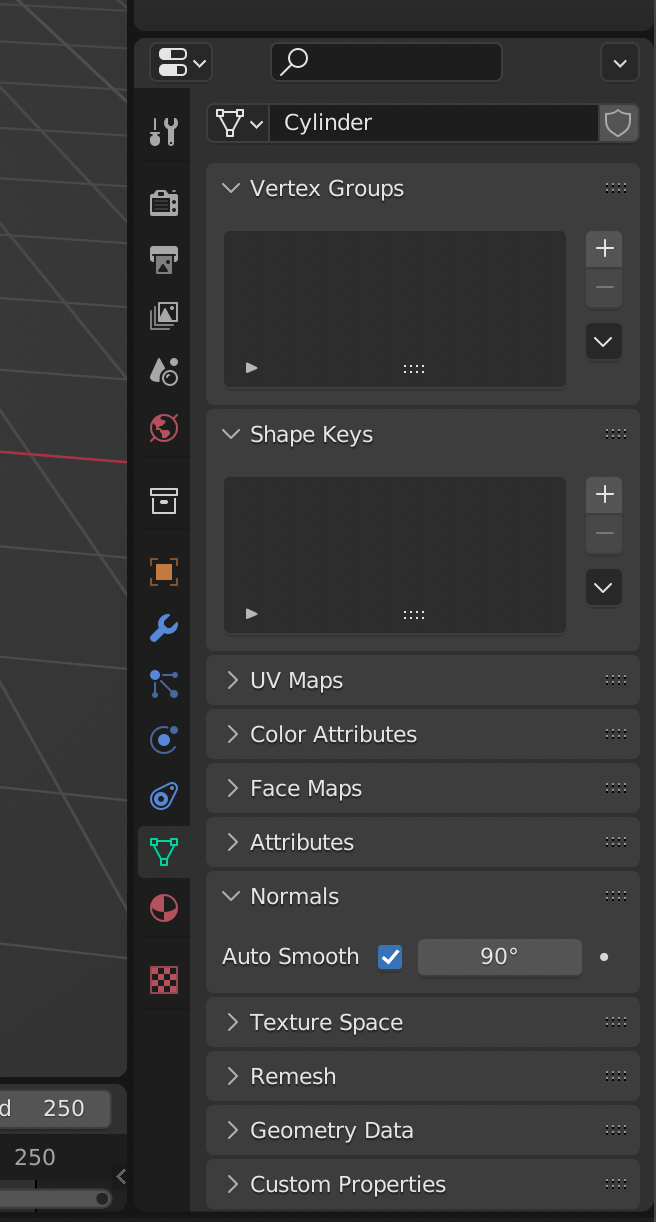
- As you can see nothing happened. For this to work, go to
Object Data Propertywhich looks like 3 connected dots and then dragNormal taband enableAuto smoothoption and set the angle to90 degreesor if the above step for marking seam to edges is not implemented you can just keep the angle to default30 degreesand you will get the same result.
After following all the steps mentioned above, you will have a simple shaped barrel for texturing and baking texture.
UV Mapping
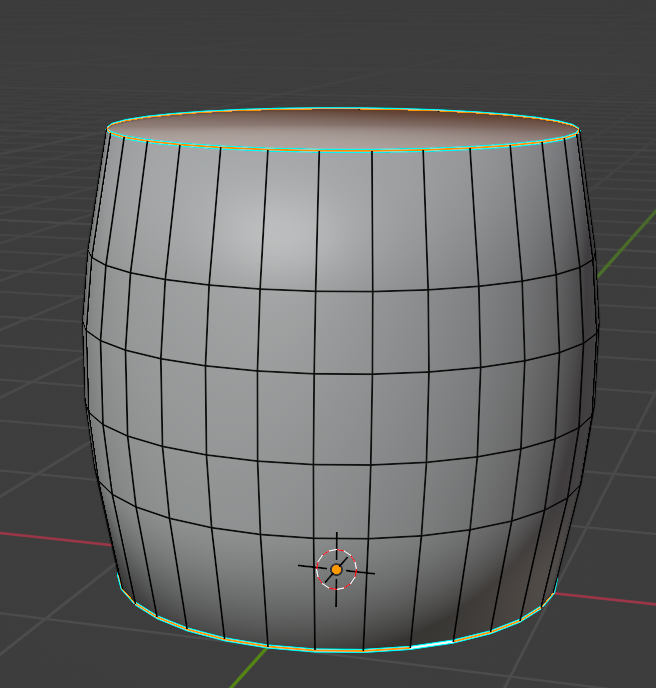
Step 1: Select the barrel and go to UV editing tab and go to edge select mode. In this tab select top and bottom most edges and mark them as seams. Then select a middle edge and mark it as seam as well
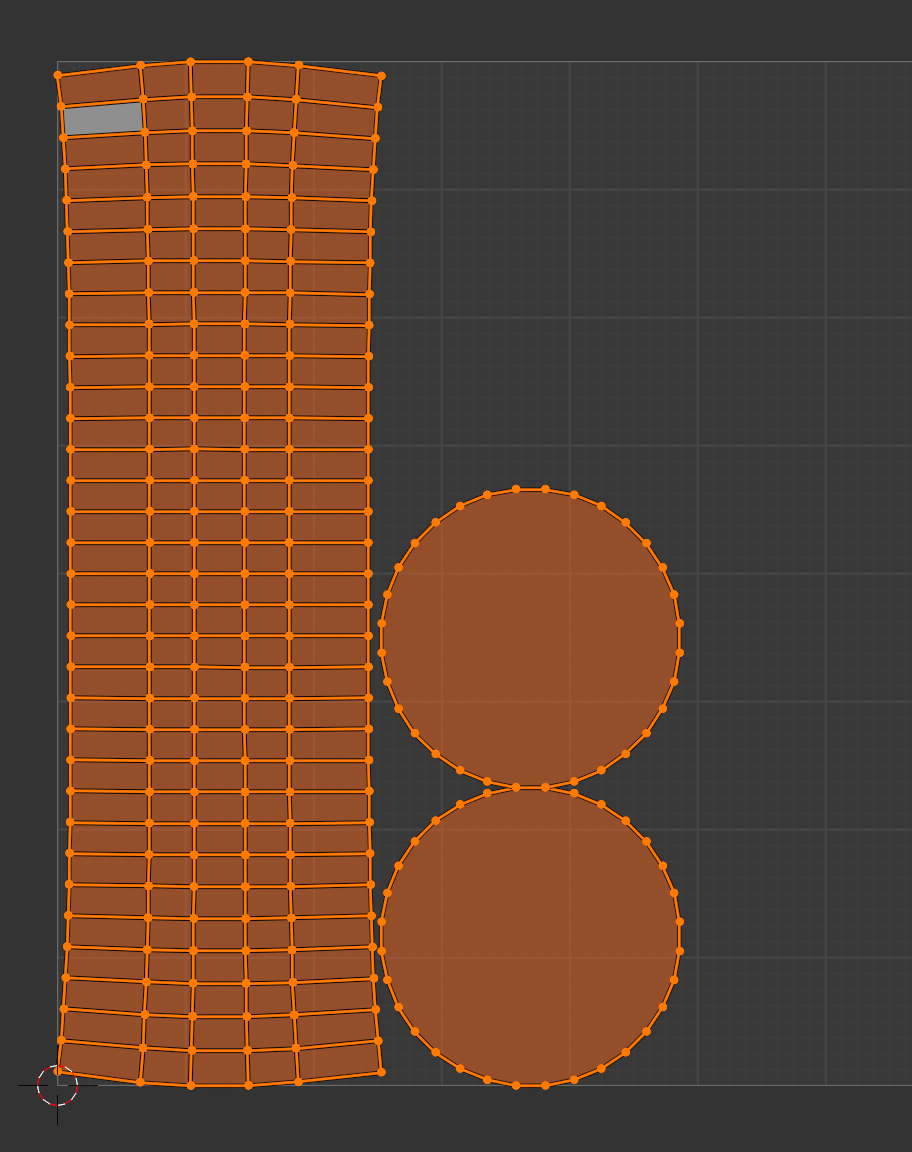
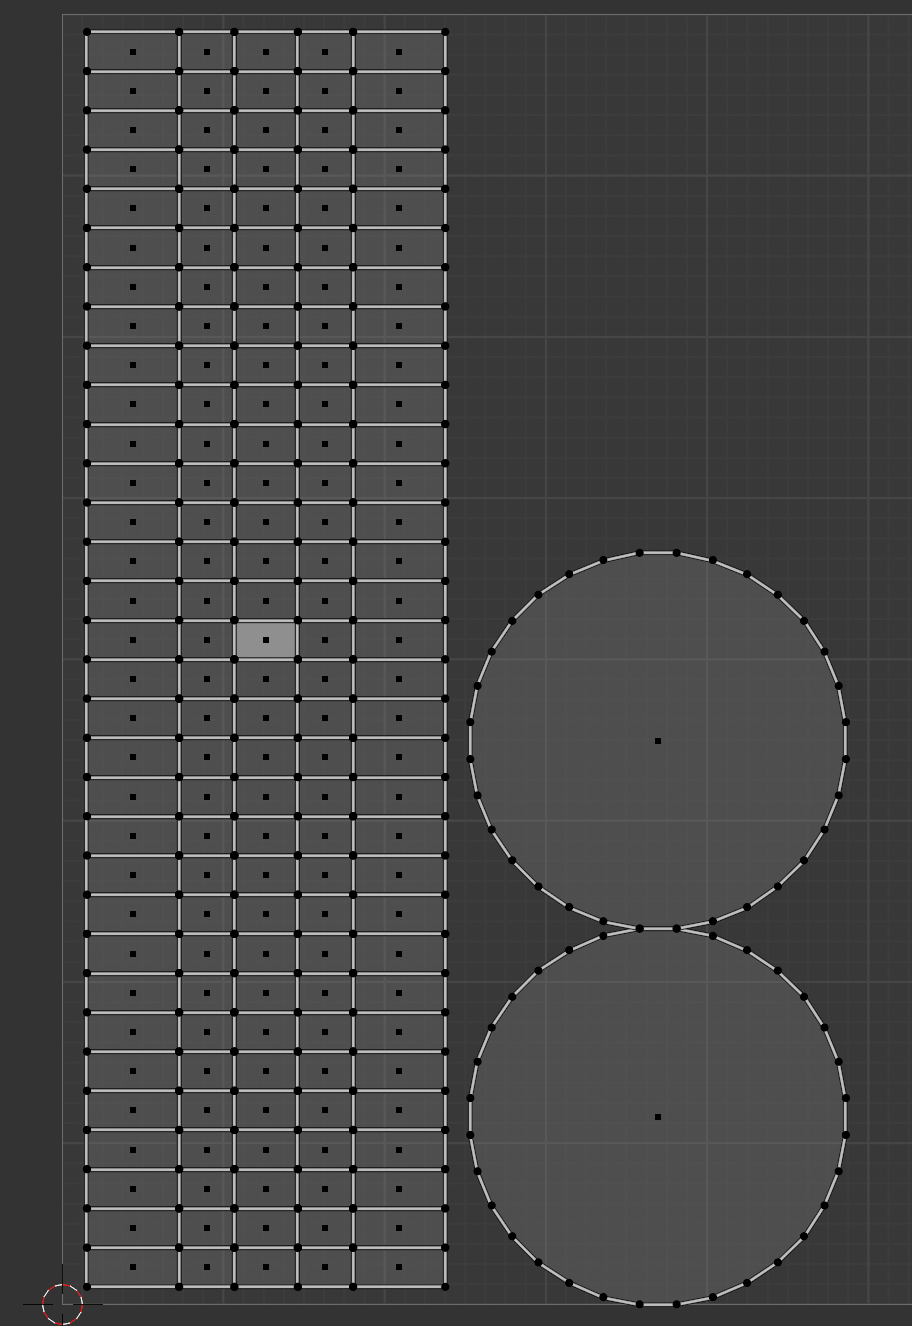
Step 2: Select all edges and go to face select mode and press the U key to open UV mapping tab and select unwrap option. After that your UV map should look like shown below :
Step 3: Now, let's modify the UV map according to our requirements. In the 1st island to the right select a middle face edge in x axis and scale it by 0 in x axis and select a middle face edge in y axis and scale it by 0 in y axis.
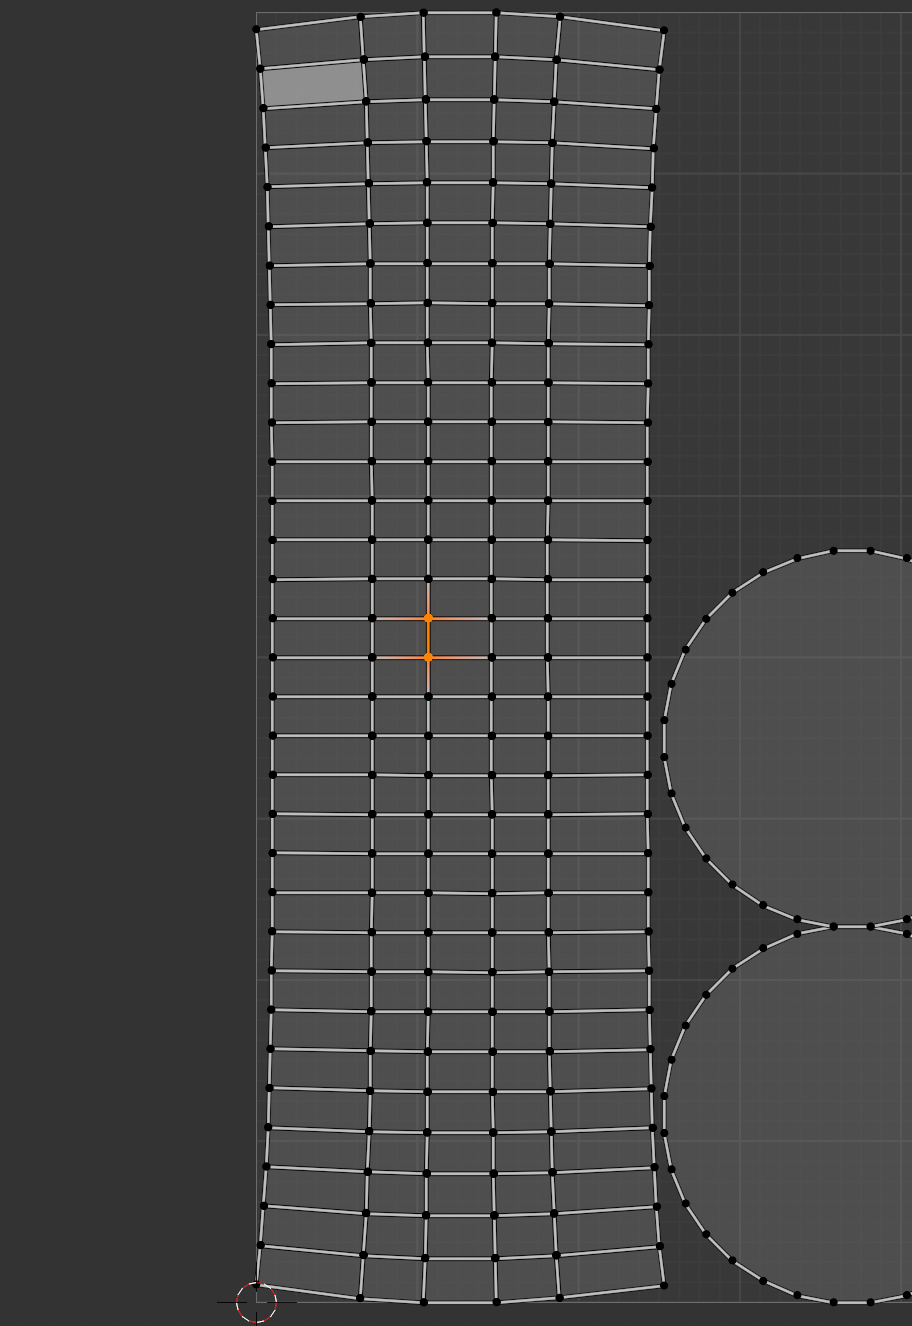
Step 3: After scaling both edges in both axes to zero you will get a perpendicular edge. Select that middle face, press L to select island, right click to open UV Content tab and select Follow Active Tab option. You should get this island as a perpendicular shaped from top to bottom as shown below.
Now you have a UV map which we can add texture to and bake it to create a texture atlas
Texturing
Step 1: For texturing, I used a texture that I acquired from https://3dtextures.me/ .You can use any texture for it, for this tutorial lets name the texture a.
Step 2: Lets us create a material for the barrel and name in Base Barrel Mat and add an image node which will be attached to BSDF node as base color,
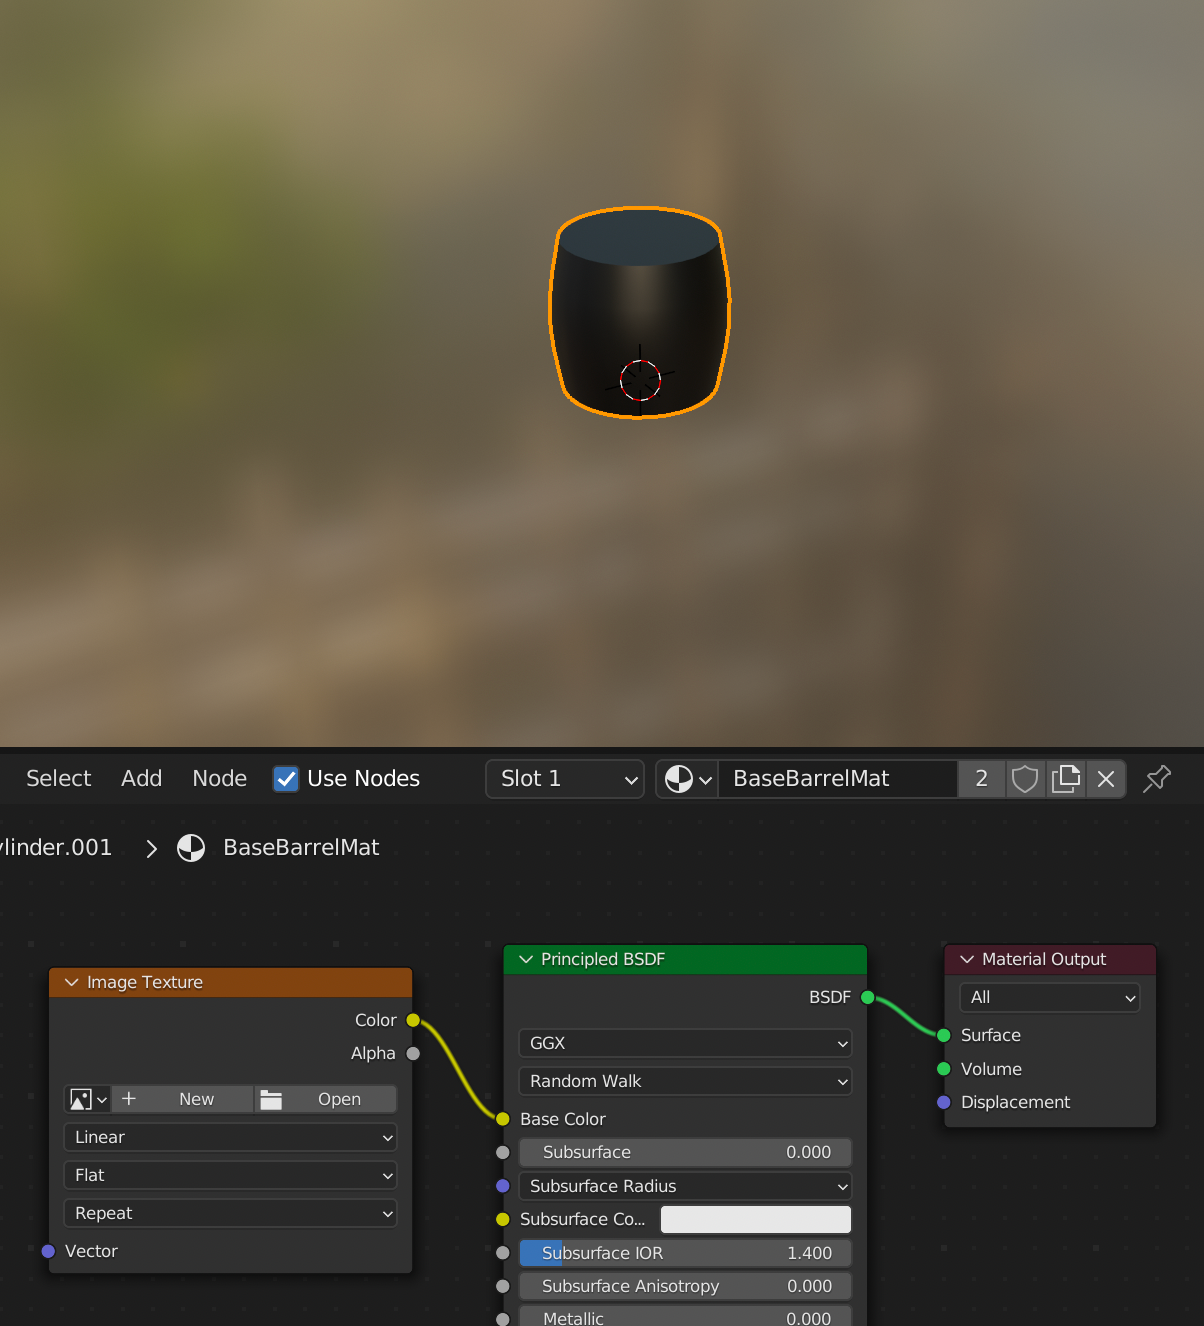
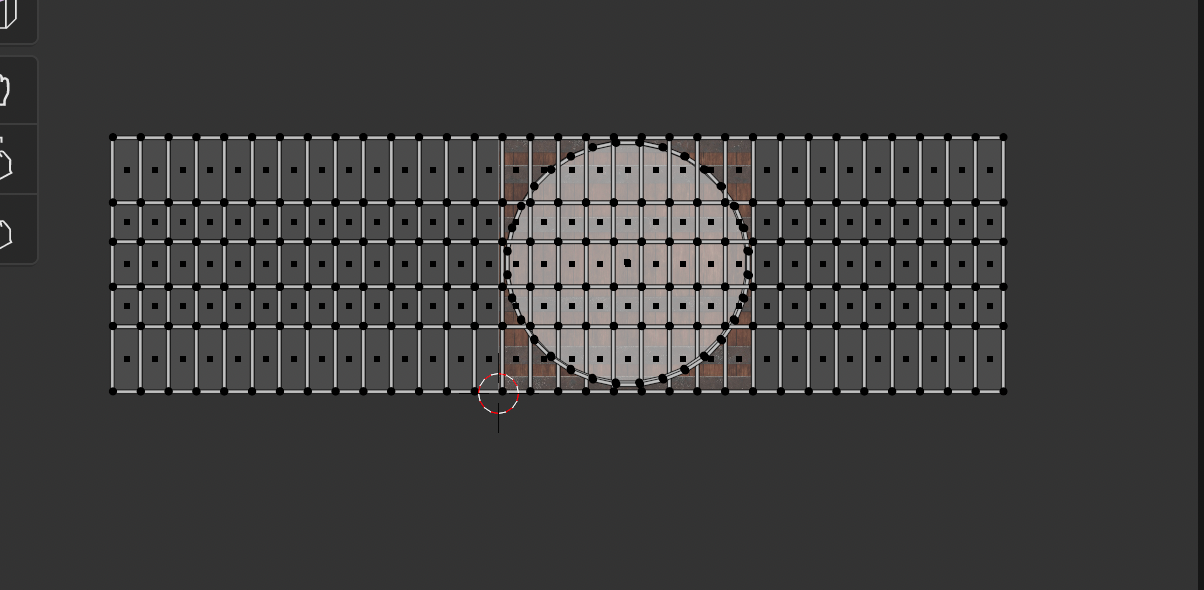
Step 3: In the image node use "a" texture and modify the UV based on it.
Conclusion
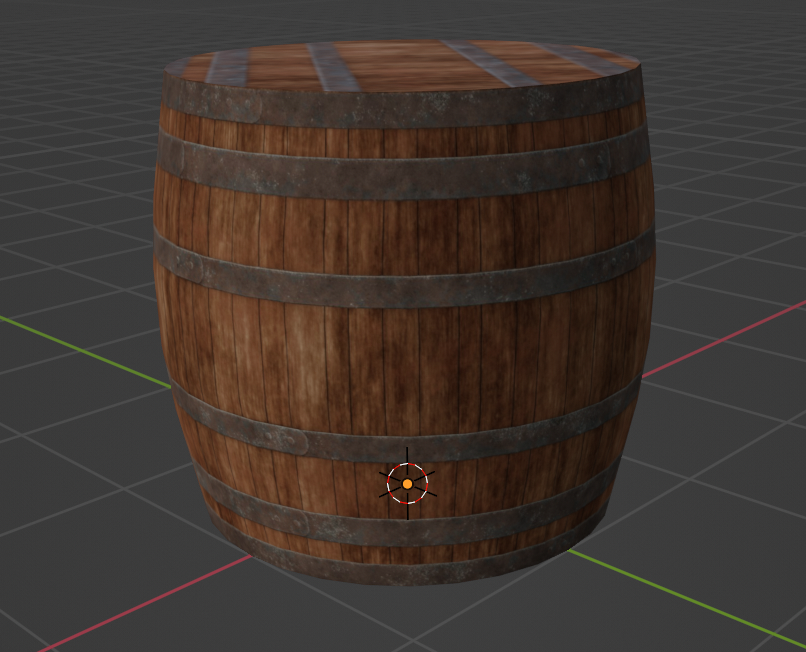
If you have followed all the above step you should have a barrel with texture on it. But this model has some issue with its UV as this barrel uses single material with a texture just for it which is not viable if there are hundreds of props in a game. For this issue we use texture atlas which we will cover in next part of this tutorial. In the next part of this blog, we will cover Modifying Shader and Baking steps.
Thank you for reading this article. See you in the next part of this blog.