
Creating designs may require you to scale, rotate, distort or place content in perspective angles. These can all be done in Photoshop with its Transform commands. These can be used to transform images, shapes and text layers. In this article, I will explain how to transform, set reference points, scale, and rotate pixel-based images properly without losing their quality.
Transform Images Without Losing Quality
Raster images lose image quality when resized. If you make an image smaller and increase its size again, it will lose its pixel data and appear blurry. Photoshop has to remake the pixels every time a pixel-based image is scaled, rotated or transformed.
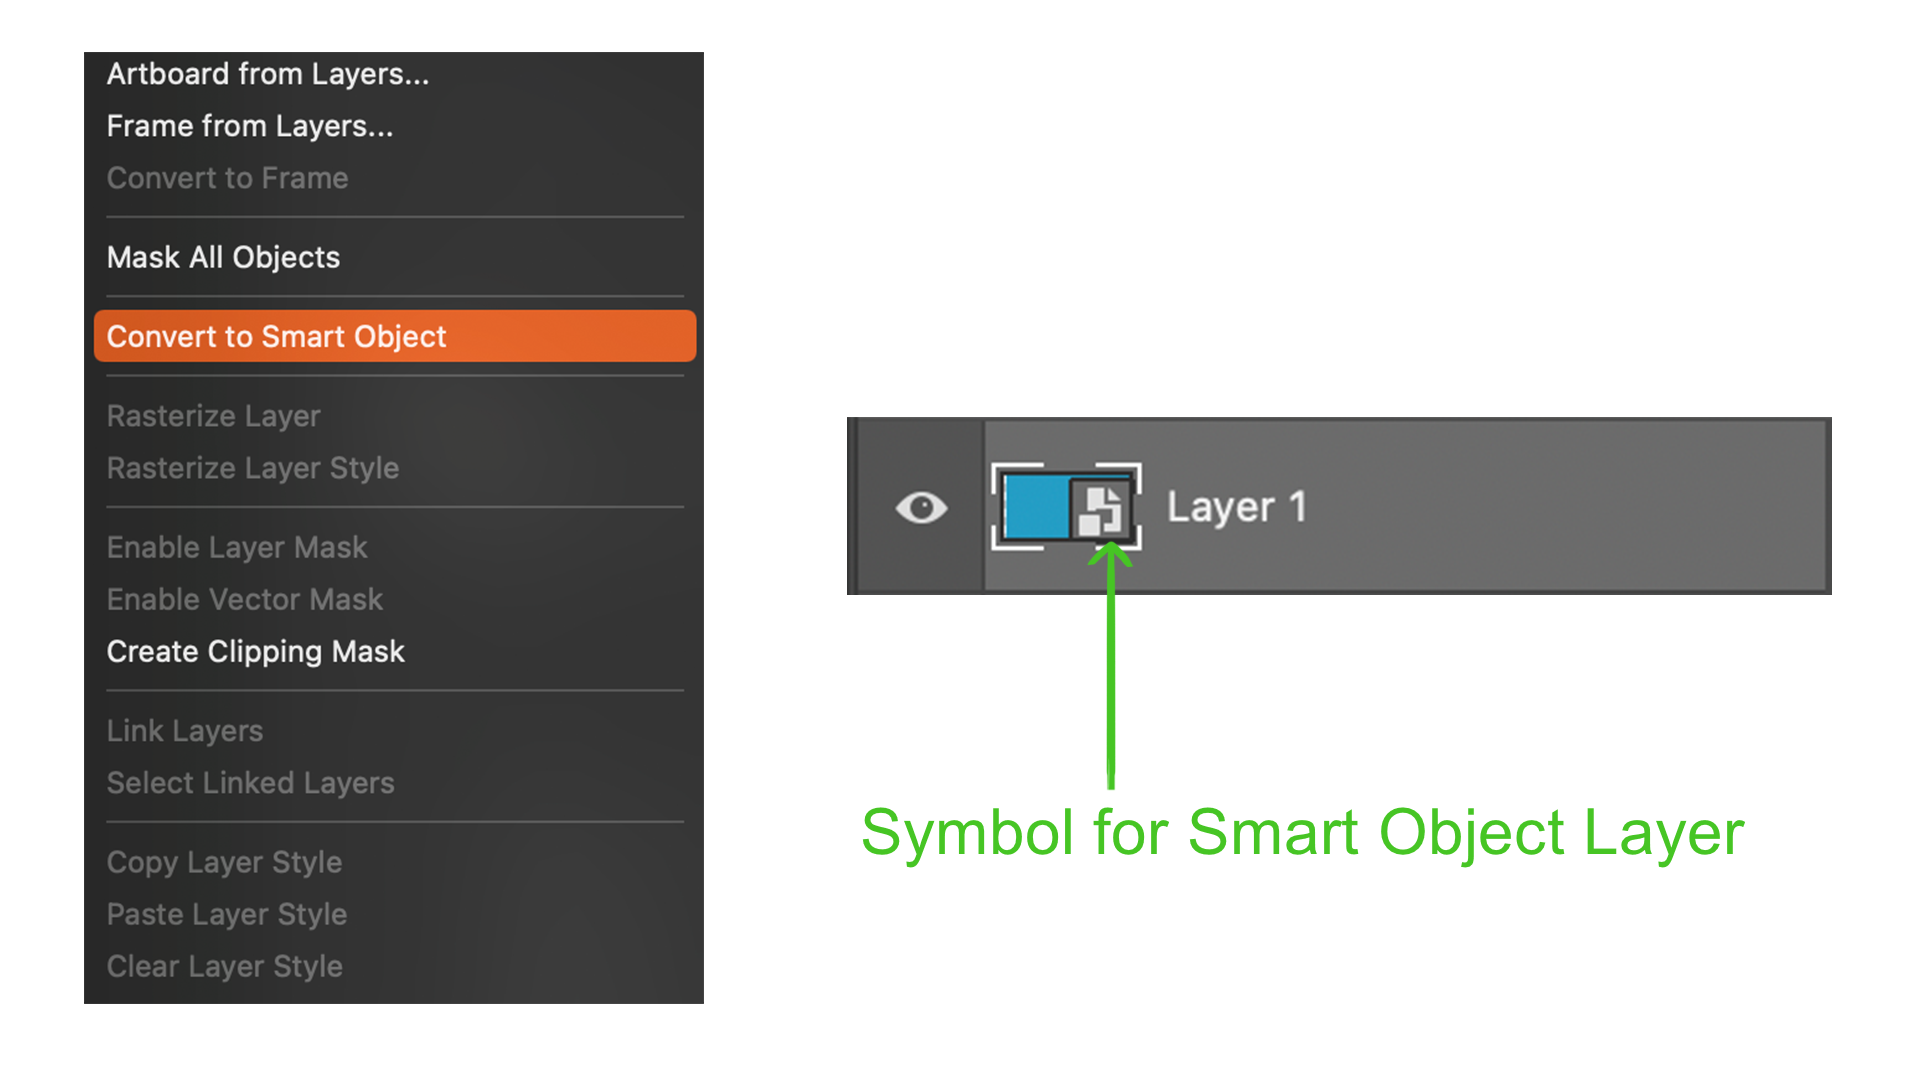
However, there is a way to transform pixel-based content and save it from this destructive process. Converting the layer into a Smart object is the solution to protect the image quality.
- To convert a layer into a smart object, right-click on the layer and click on Convert to Smart Object.
Transform Options
There are two ways to get to the different transform options.
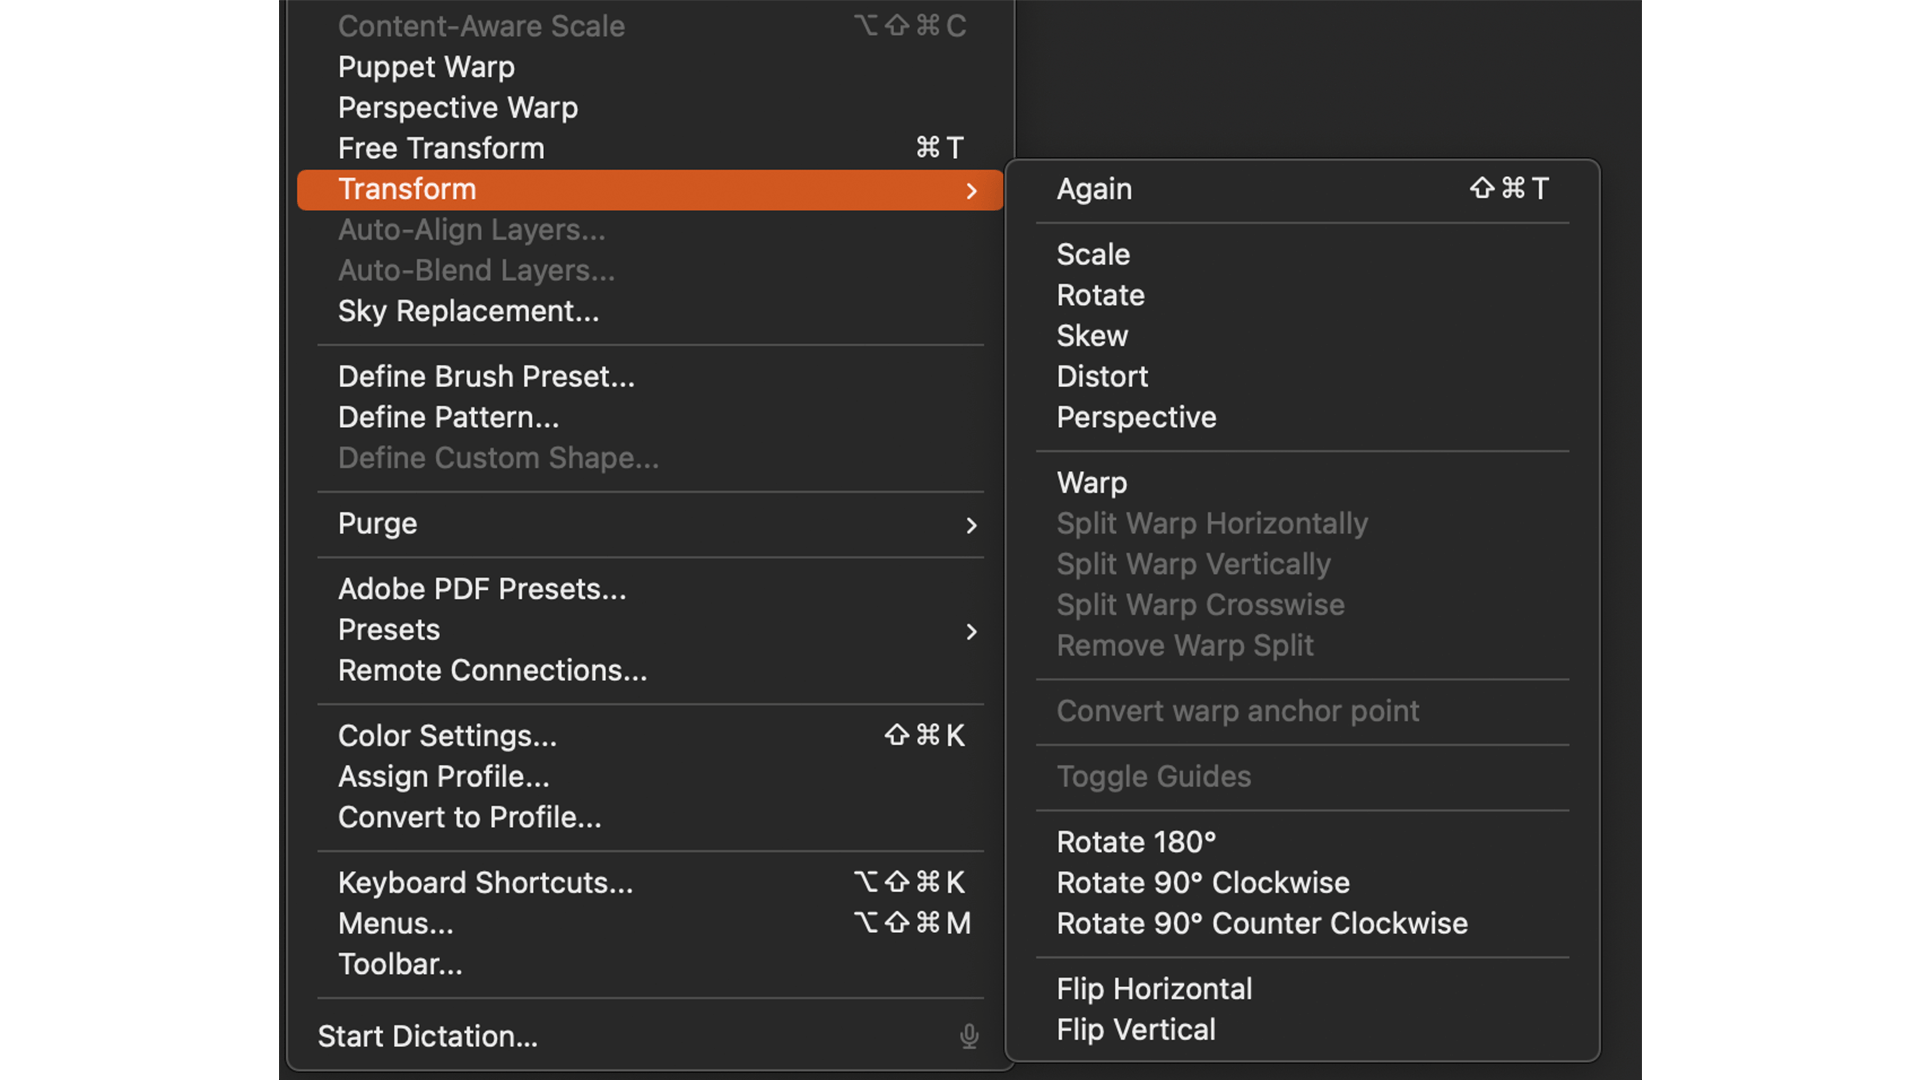
- Select the layer. Go to
Edit>Transform. A new drop-down menu will appear with various transform options. - Another easier way is by pressing ⌘ + T (Mac) or Ctrl + T (Win) after selecting the layer. The content will have a box outline with points around it. This is the Free Transform bounding box. Right-click on it to get access to transform options.
Scale
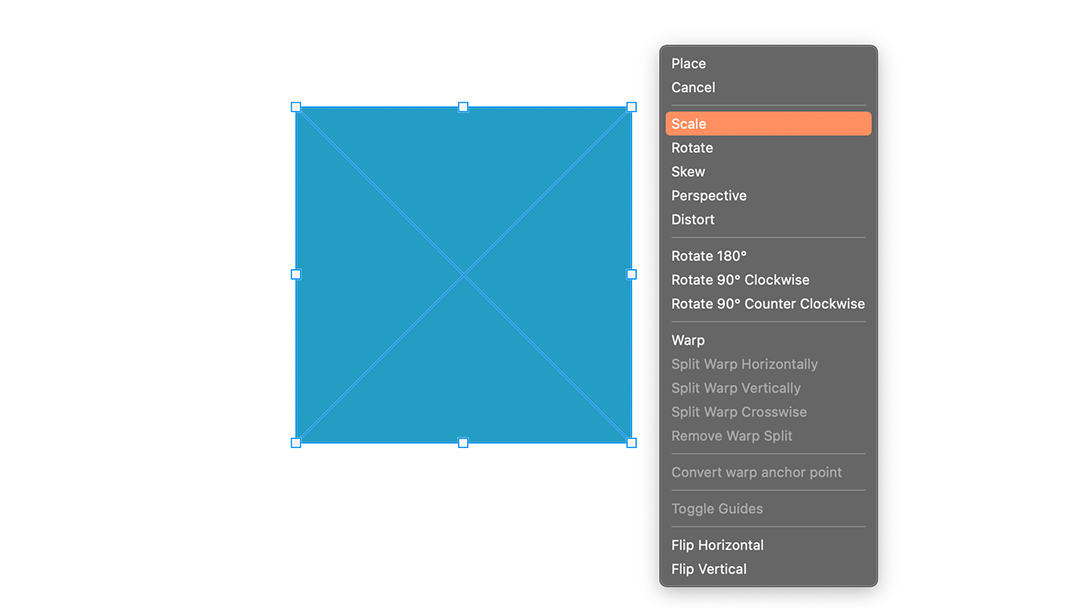
The Scale option may be used many times while creating graphic designs since the imported photos or objects for the design may not be of the required size. Press ⌘ + T (Mac) or Ctrl + T (Win) to get the Free Transform bounding box.
- Click on the top-left point (handle) and drag it inside to reduce the image’s size, or drag it outside to increase the size.
- By default, the image will be scaled non-proportionally. This is a free type of transformation to scale the image without keeping the original proportions and aspect ratio. This can be used to squish or stretch images.
- You can do a proportional scale by holding Shift while scaling the image. You can also activate this by clicking on the link icon in the Options bar to maintain the aspect ratio.


- Hold Option (Mac) or Alt (Win) and drag it to scale images from their centres. This will resize the image based on its centre point. Scale it proportionally by holding Shift + Option (Mac) or Shift + Alt (Win) and dragging it.
Rotate
You can rotate an image manually or by clicking on the given options.
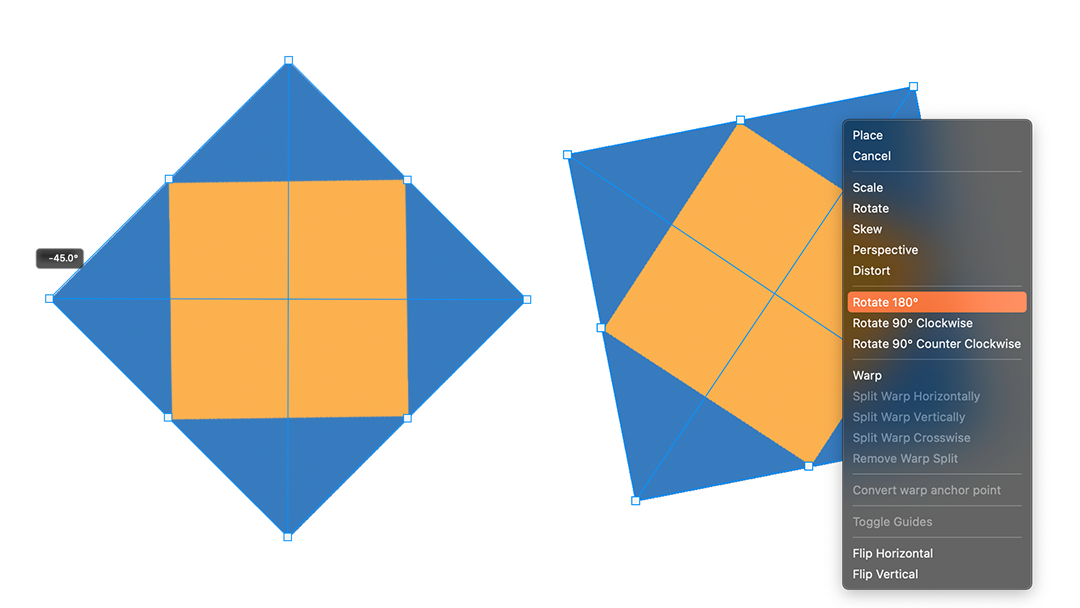
- Just outside the free transform box, moving your mouse will change the cursor to a double-sided curved arrow icon. Click and drag to rotate it freely. Holding Shift will rotate the image by 15 degrees each time you move the mouse.

- You can enter specific rotation angles by inputting the angle value in the Rotate option box in the Options bar of Transform.
- From
Edit>Transform, you can rotate the image by clicking on “Rotate 180”, “Rotate 90 clockwise”, or “Rotate 90 anti-clockwise”.
Change the Reference Point

The scaling and rotating transformations are applied according to the location of the reference point. By default, the reference point will be the centre of the image, but it can be changed if you want more control over these transforms.
In the Options Bar, click on the Toggle Reference Point box. A target icon inside the Free Transform box will indicate the reference point.
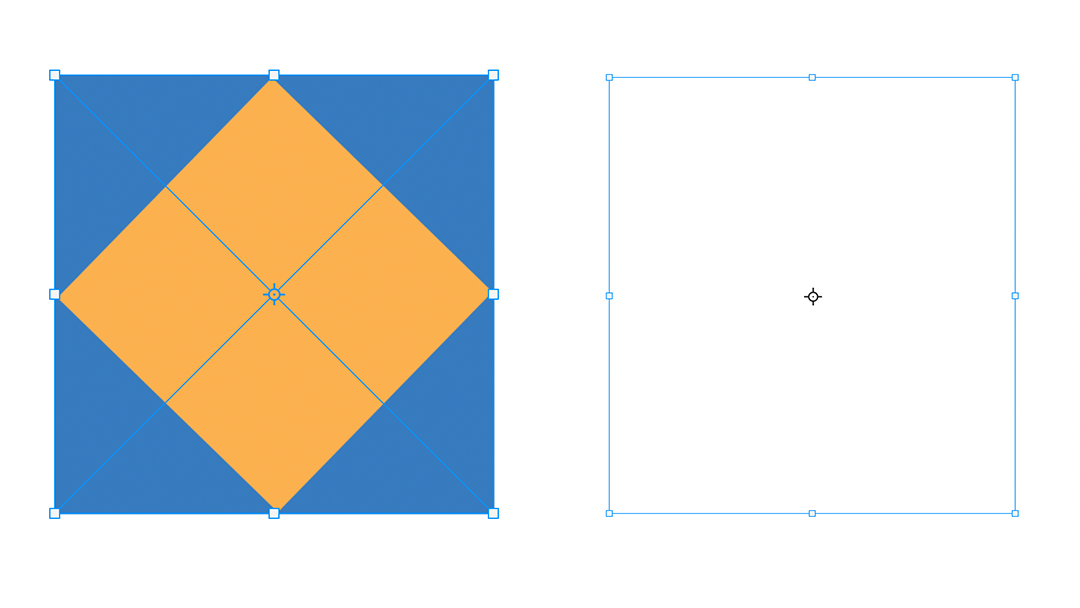
- Move the target icon anywhere to change its reference point. The image will scale or rotate around the reference point.
- Hold Option (Mac) or Alt (Win) and click anywhere to set the reference point.
- You can also click on the anchor points in the grid boxes in the Options bar to choose a reference point.
These were the basic options for transforming objects in Photoshop. In the next article, I will explain more transform options like skew, distort, perspective, warp and flip.
Thanks for reading! Stay tuned for more! Find Part 2 here.