Tally.ERP 9 is one of the most popular tools used for Accounting and Inventory Management in small and medium business enterprises. It is a perfect business management solution and Goods and Services Tax (GST) software with broad business functionality.
ERP 9 is designed to automate and integrate all your business operations; such as purchase management, sales management, banking, inventory management, payroll management, accounts, taxation and manufacturing.
It is also easy to buy, quick to install and friendly to beginner users. It can be installed by downloading from the Tally.ERP 9 website or by using a CD installer.
After installation, it can be started in any of the following ways:
- Click on Start > Programs > Tally.ERP 9
- or double click on the Tally.ERP 9 icon on your desktop.
When we open the application, the welcome screen of Tally.ERP 9 appears as shown below:

Tally Window Components
After loading Tally software, the Tally gateway appears with different components as below:
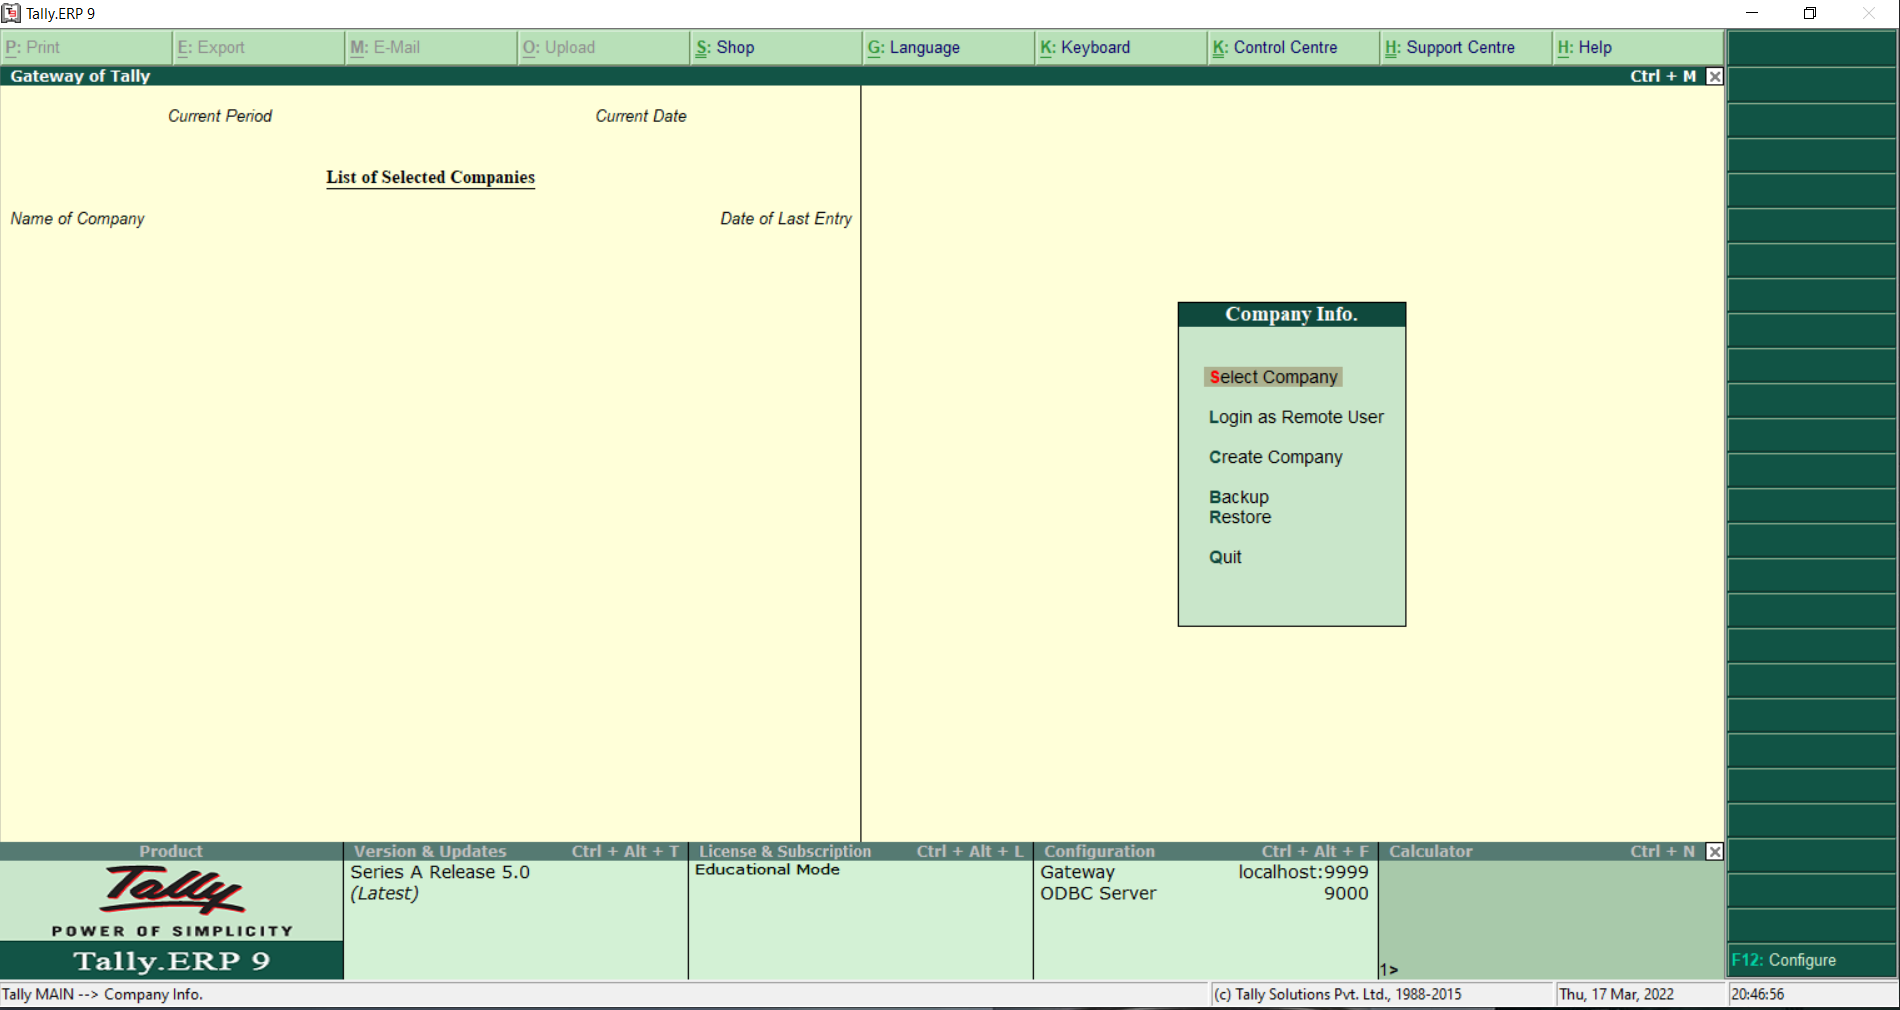
The following are basic components of the Tally home screen.
- The Title Bar displays the Tally.ERP 9 version number.
- The Horizontal Button Bar shows the selection of language, keyboard, control centre and Tally.ERP 9 help.
- The Close Button is used to close the Tally window.
- The Gateway of Tally displays the menu screen, reports, and shows the button to accept choices and options whenever you are viewing the required data.
- The Task Bar displays the task description of Tally.ERP9.
- The Info Panel displays the product name, version, license and service and configuration.
- The Calculator Area is used for the calculation function.
- The Buttons Tool Bar displays buttons that provide quick interaction with Tally.ERP 9. Only buttons relevant to the current task are visible.
Creating a Company
The very first steps towards understanding Tally.ERP 9 is to create a company. We can create a company using the Company Creation screen. To create a company go to: Gateway of Tally>Company Info>Create Company
The company creation screen displays as shown.
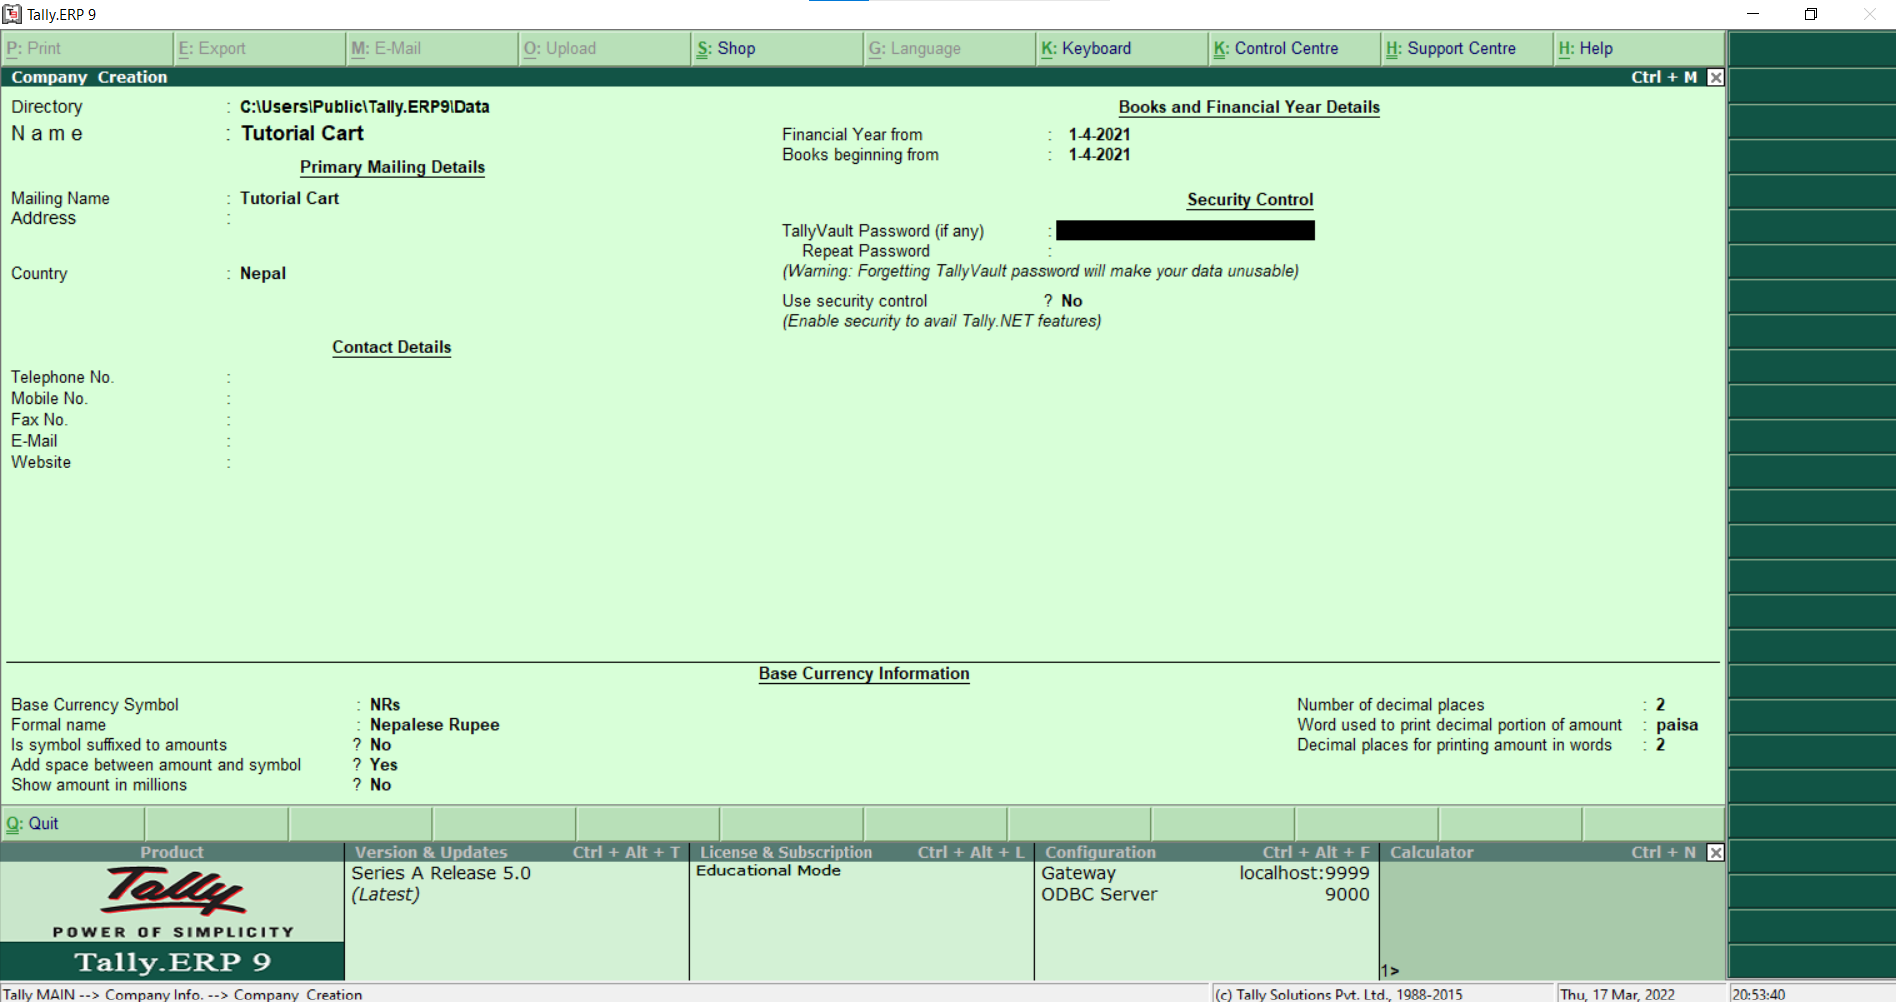
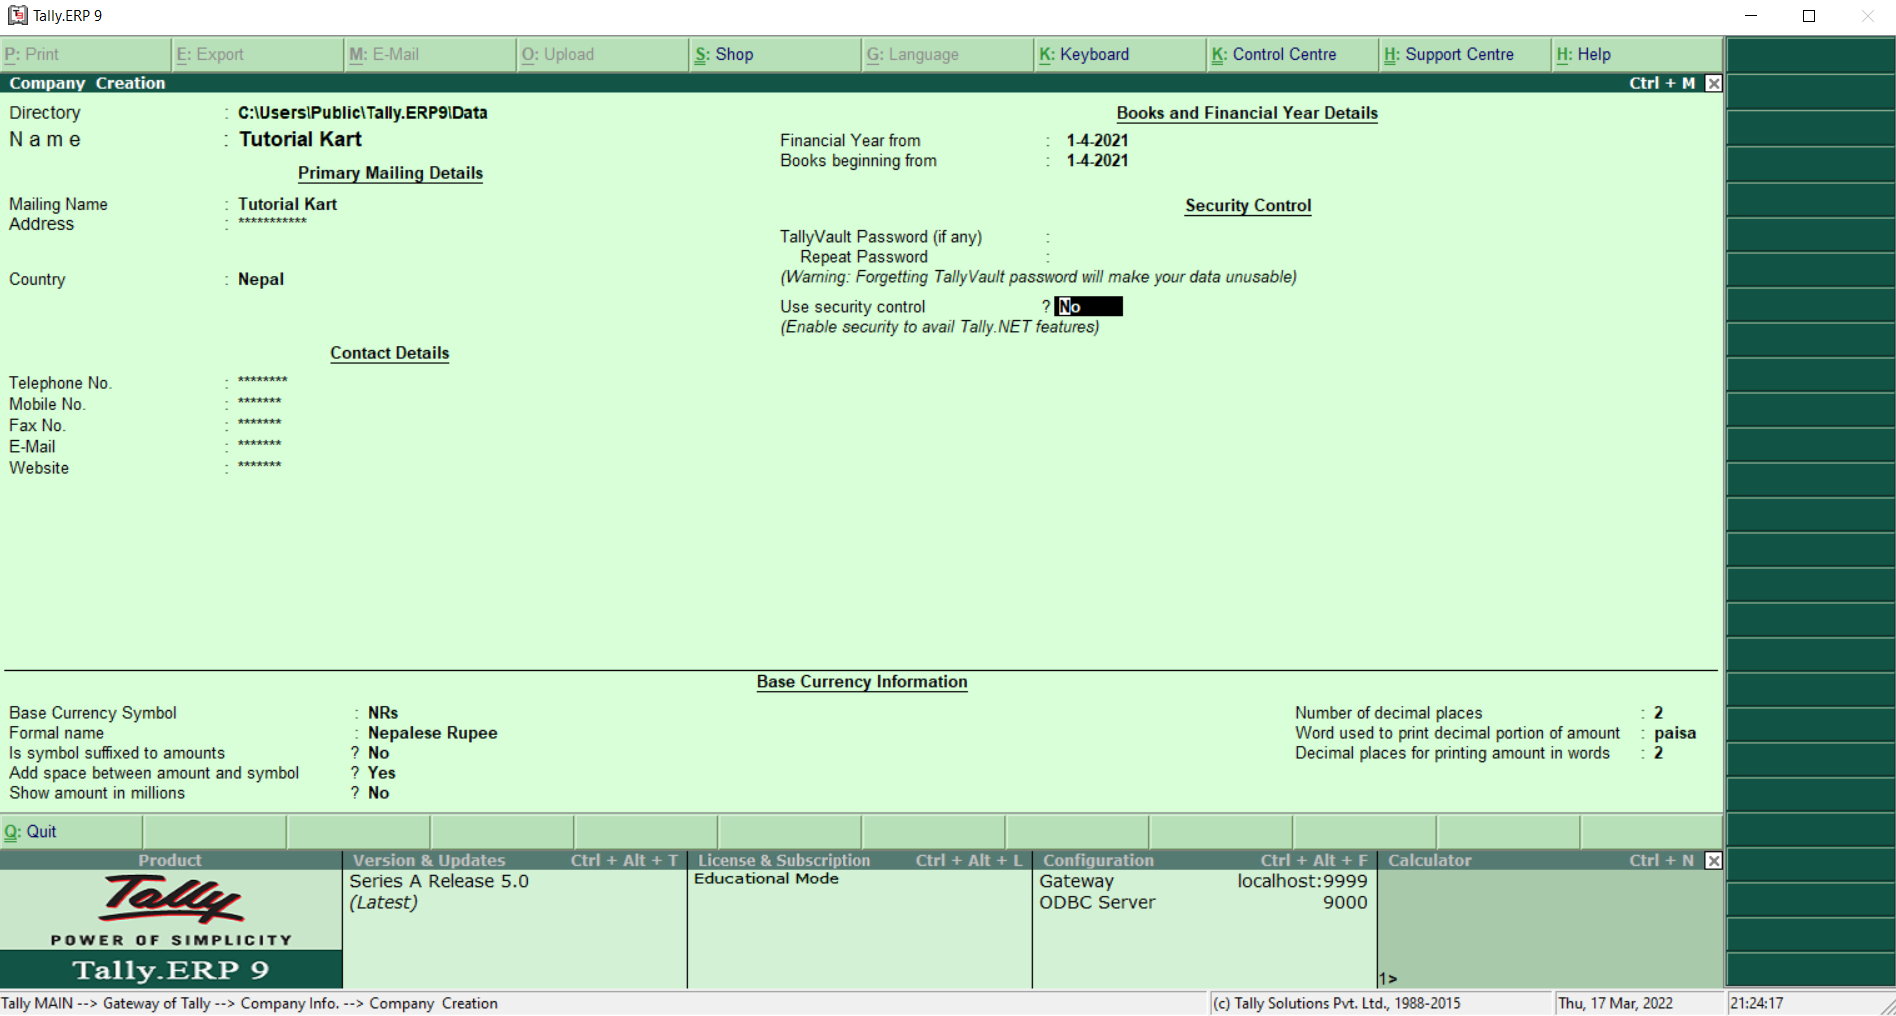
To navigate between the fields, use the enter key or tab key or the mouse. Each field in the company creation screen is described below.
- Directory: It shows the location where data is stored.
- Name: This specifies the name of the company.
- Mailing Name: It includes the mailing name of the company created.
- Address: It includes the address of the company.
- Country: In this section, we need to enter the country name, state and pin code of the country.
- Contact Details: It includes the phone number, mobile number, fax no., email id and websites of the company created.
- Books and Financial Year Details: It includes the beginning date of the financial year.
- Base Currency Information: Tally.ERP9 needs to know its default base currency and how the amounts should be shown on the screen and in the reports. Base Currency Information section shows the base currency symbol, formal name of the currency, the suffix symbol for amounts, the option to add a space between symbol and amounts and to show amounts in million, the number of decimal places and the word representing the currency after decimals, and the number of decimal places for amounts in words.
After updating the necessary credentials, click enter and choose the Yes option to save the information of the company.
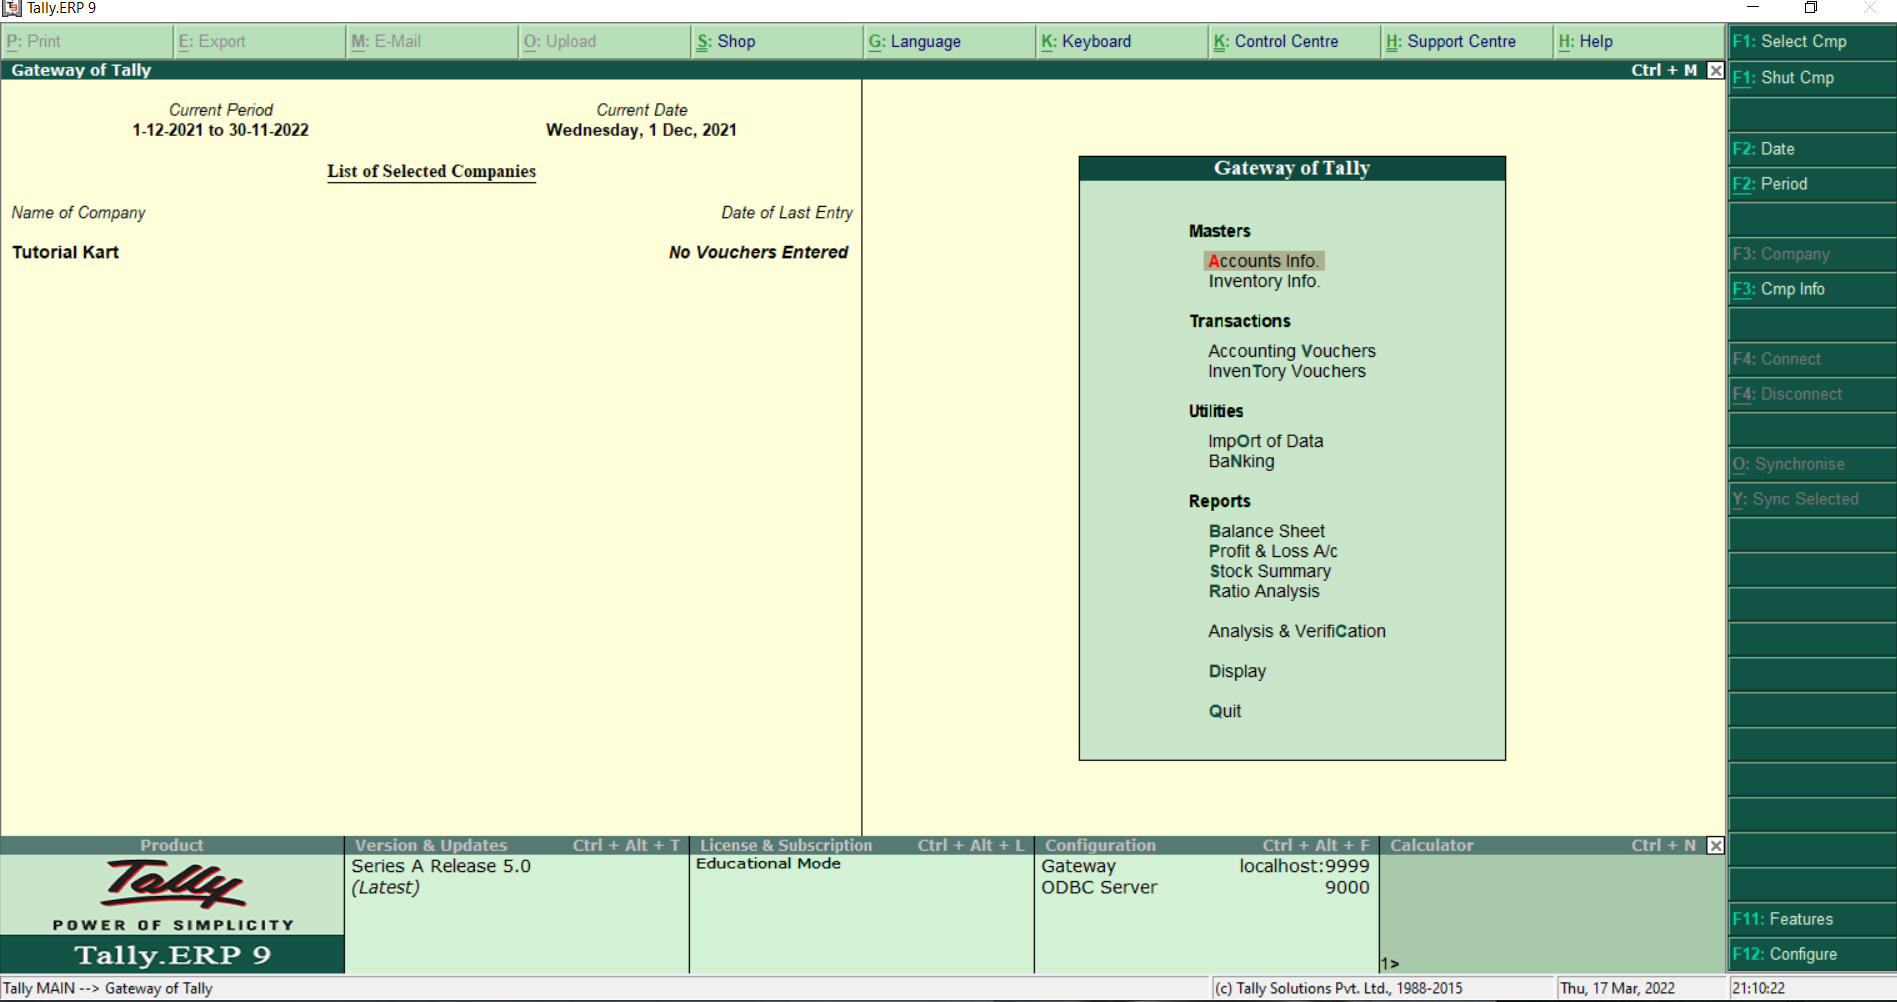
Once the required information is updated, the Gateway of Tally screen appears as shown below.
Stay tuned for Part 2 where we will discuss more basic steps to learn how to use Tally.ERP 9
