Working as a UI UX Designer can be an exciting role, yet it requires dedication and perfection in detail. If you are trying to be productive with your workflow, you must have already learned the basics of Figma or you can get started from Beginner's Guide to Figma.
In this article, I'll help you level up further. I will share some tips and tricks I've gathered along my journey as a UI UX designer.
Shortcuts in Figma
Performing minute functions like duplicating, aligning to objects, pasting to replace, etc. frequently using mouse movements and clicks in your design projects can take up your valuable time and energy. Keeping this in mind, I use a set of keyboard shortcuts every day to work fast with less effort.
The key benefit of keyboard shortcuts is allowing you to work faster and more efficiently with additional precision, therefore being productive.
Benefits of Using Shortcuts
- Precision: Keyboard commands will be more accurate than a mouse selection and decreases room for misclicks.
- Productive: Accomplish more tasks with fewer mouse movements.
- Ergonomics: Reduce wrist strain from mouse clicks and movements.
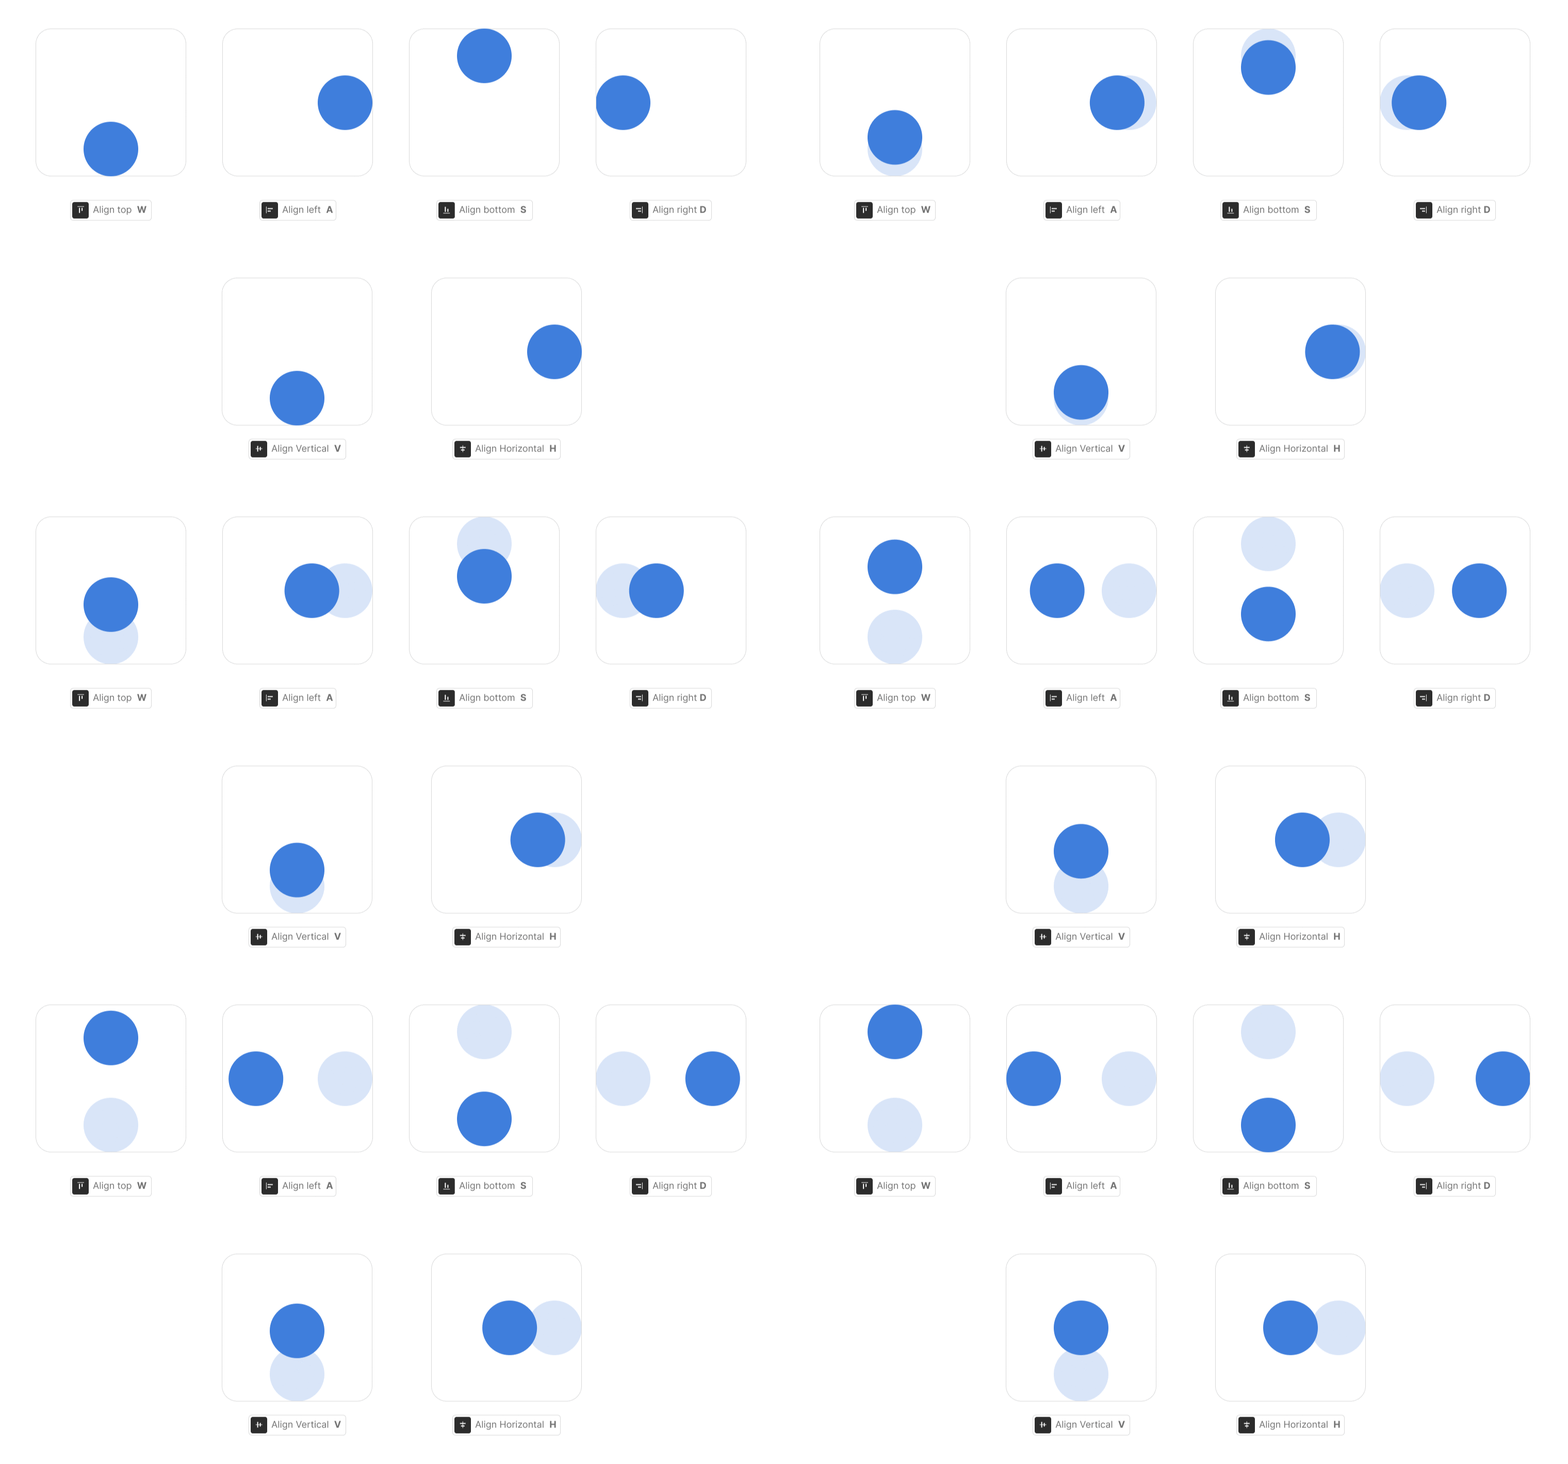
Align (⌥ + W/A/S/D/V/H)
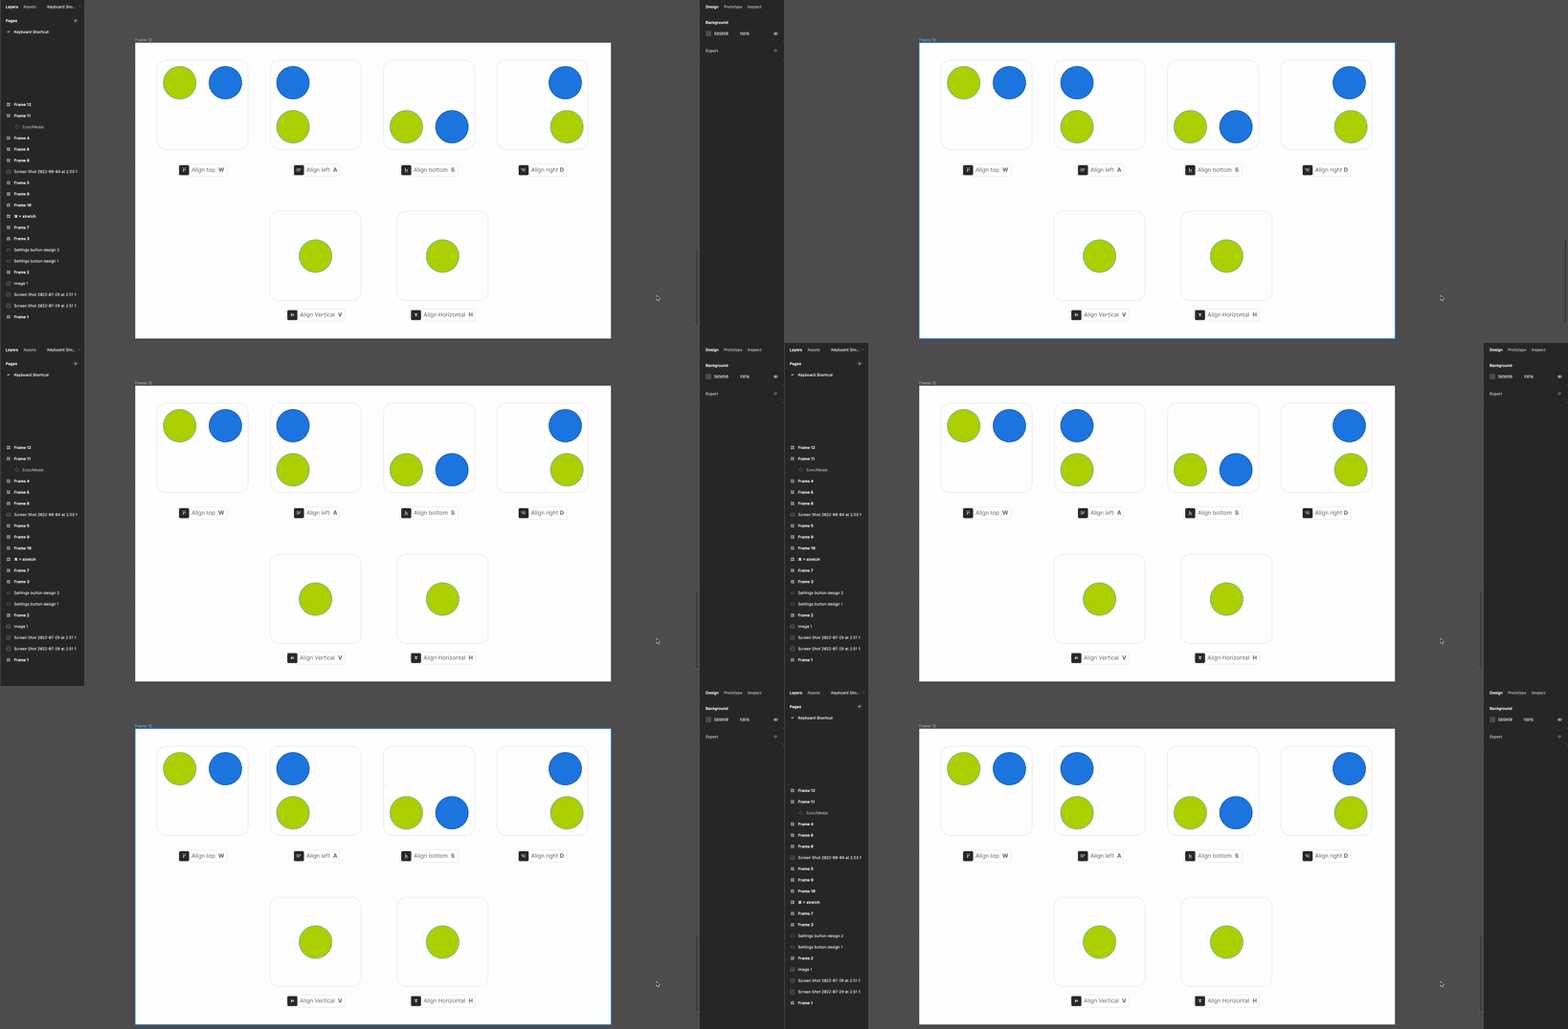
Use Align shortcuts to quickly distribute objects on the artboard or between multiple objects. It can save a lot of time as this is one of the features designers frequently use in their workflow.
Select 2 objects and press:
- Align to top: ⌥ + W
- Align to left: ⌥ + A
- Align to bottom: ⌥ + S
- Align to right: ⌥ + D
- Align vertically centre: ⌥ + V
- Align horizontally centre: ⌥ + H
Bring ([/], ⌘ + [/])
With a click of a button, you can bring an object to the front (first in layer sequence), back (last in layer sequence), forward (one layer forward), or backward (one layer backwards). No shortcut is mentioned for bringing forward and backwards in the software, but it is still available.
Select an object and press
- Bring to front: ]
- Sent to back: [
- Bring forward: ⌘ + ]
- Sent backward: ⌘ + [

Hide/Show UI Control Panel (⌘ + \, ⌘ + Shift + \)
Use hide/show UI to present your designs and mock-ups to viewers so that they don't get distracted by the control property panels of Figma.
- Hide both the layers and the properties panel: ⌘ + \
- Hide only the layers panel: ⌘ + Shift + \
Deep Select
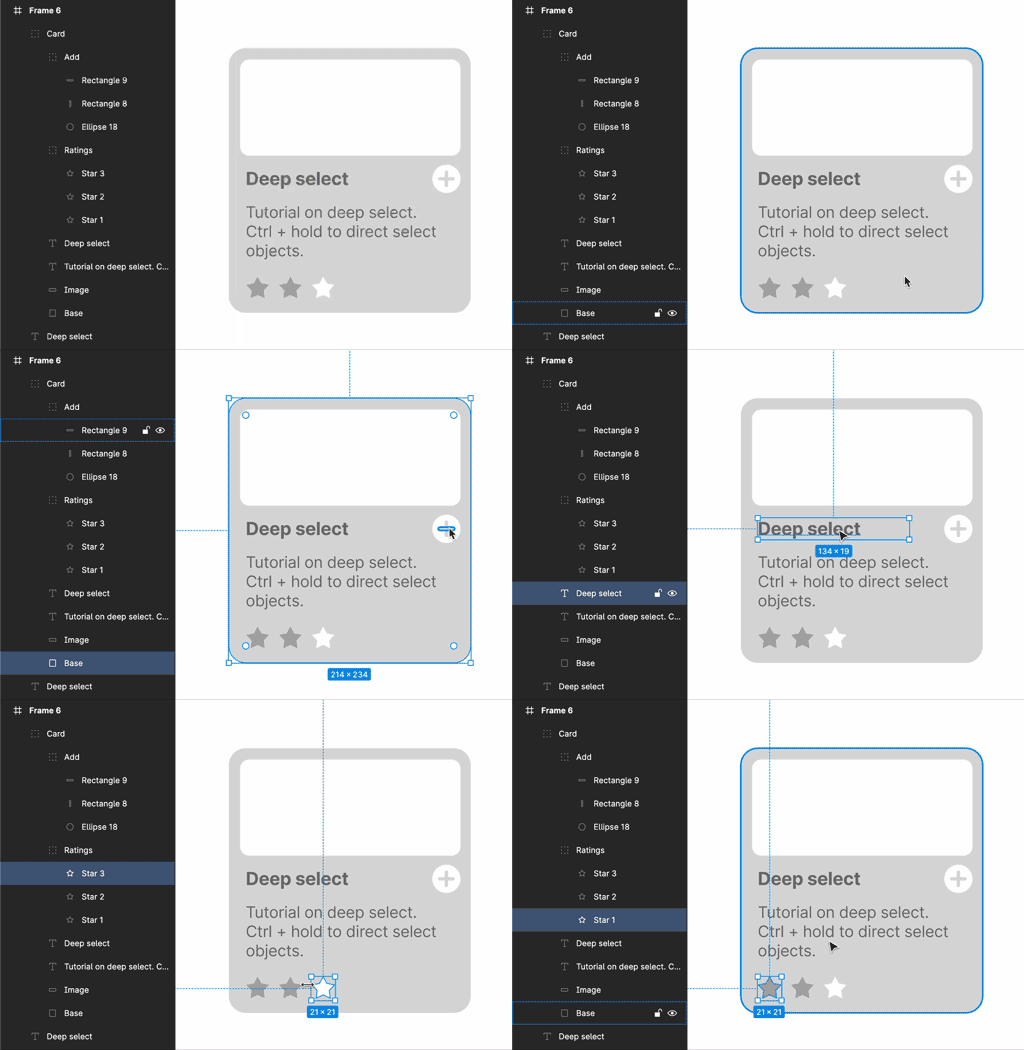
Direct select objects buried inside a group instead of clicking multiple times to select inside grouped objects. This saves you from executing multiple clicks.
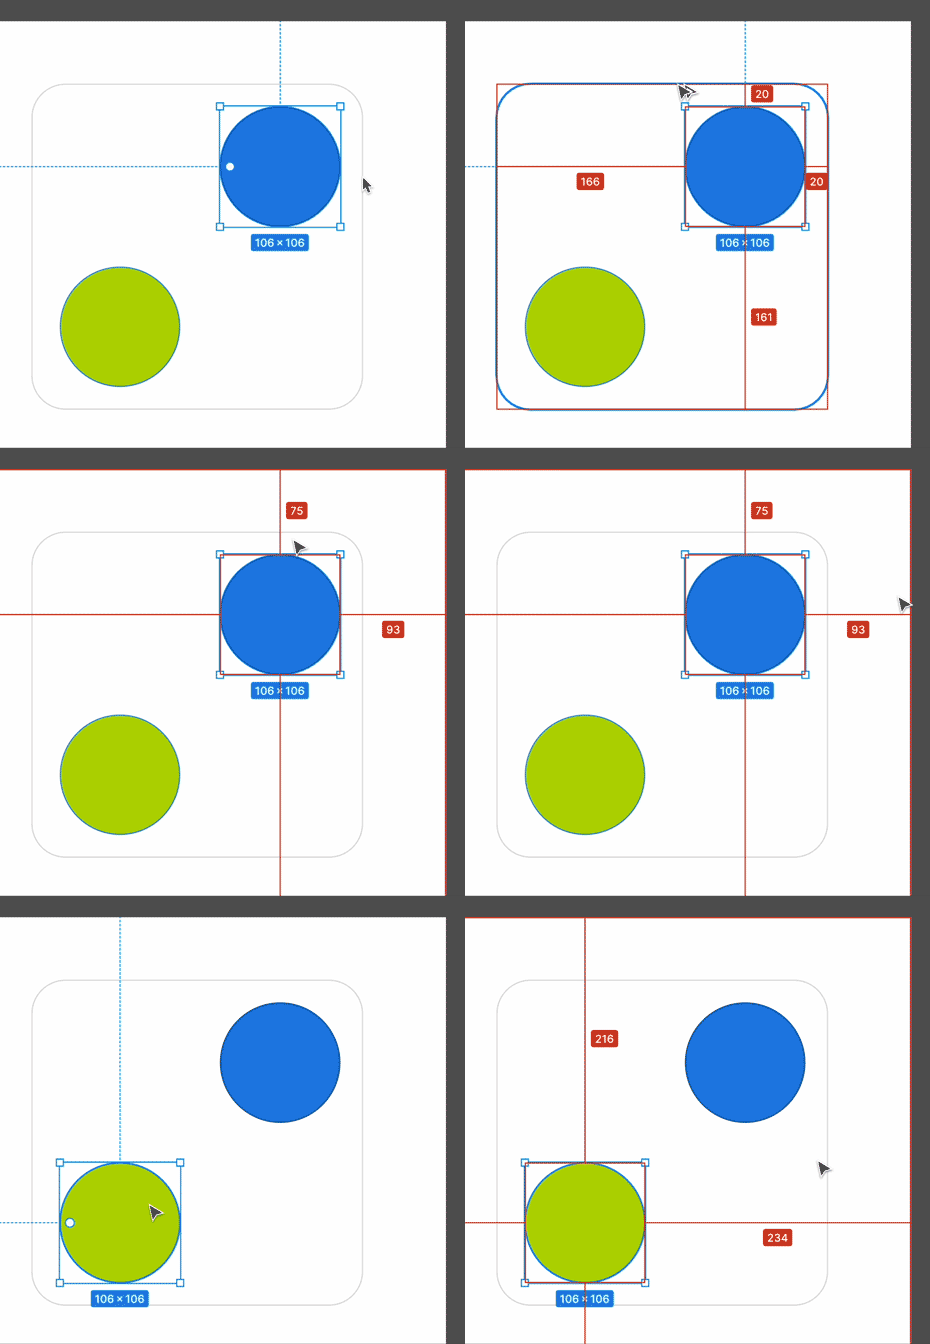
Measure (⌥ + Hover)
To quickly view the padding of any object in regards to the artboard or spacing between nearby objects, select an object, press ⌥, and hover on spaces in between.
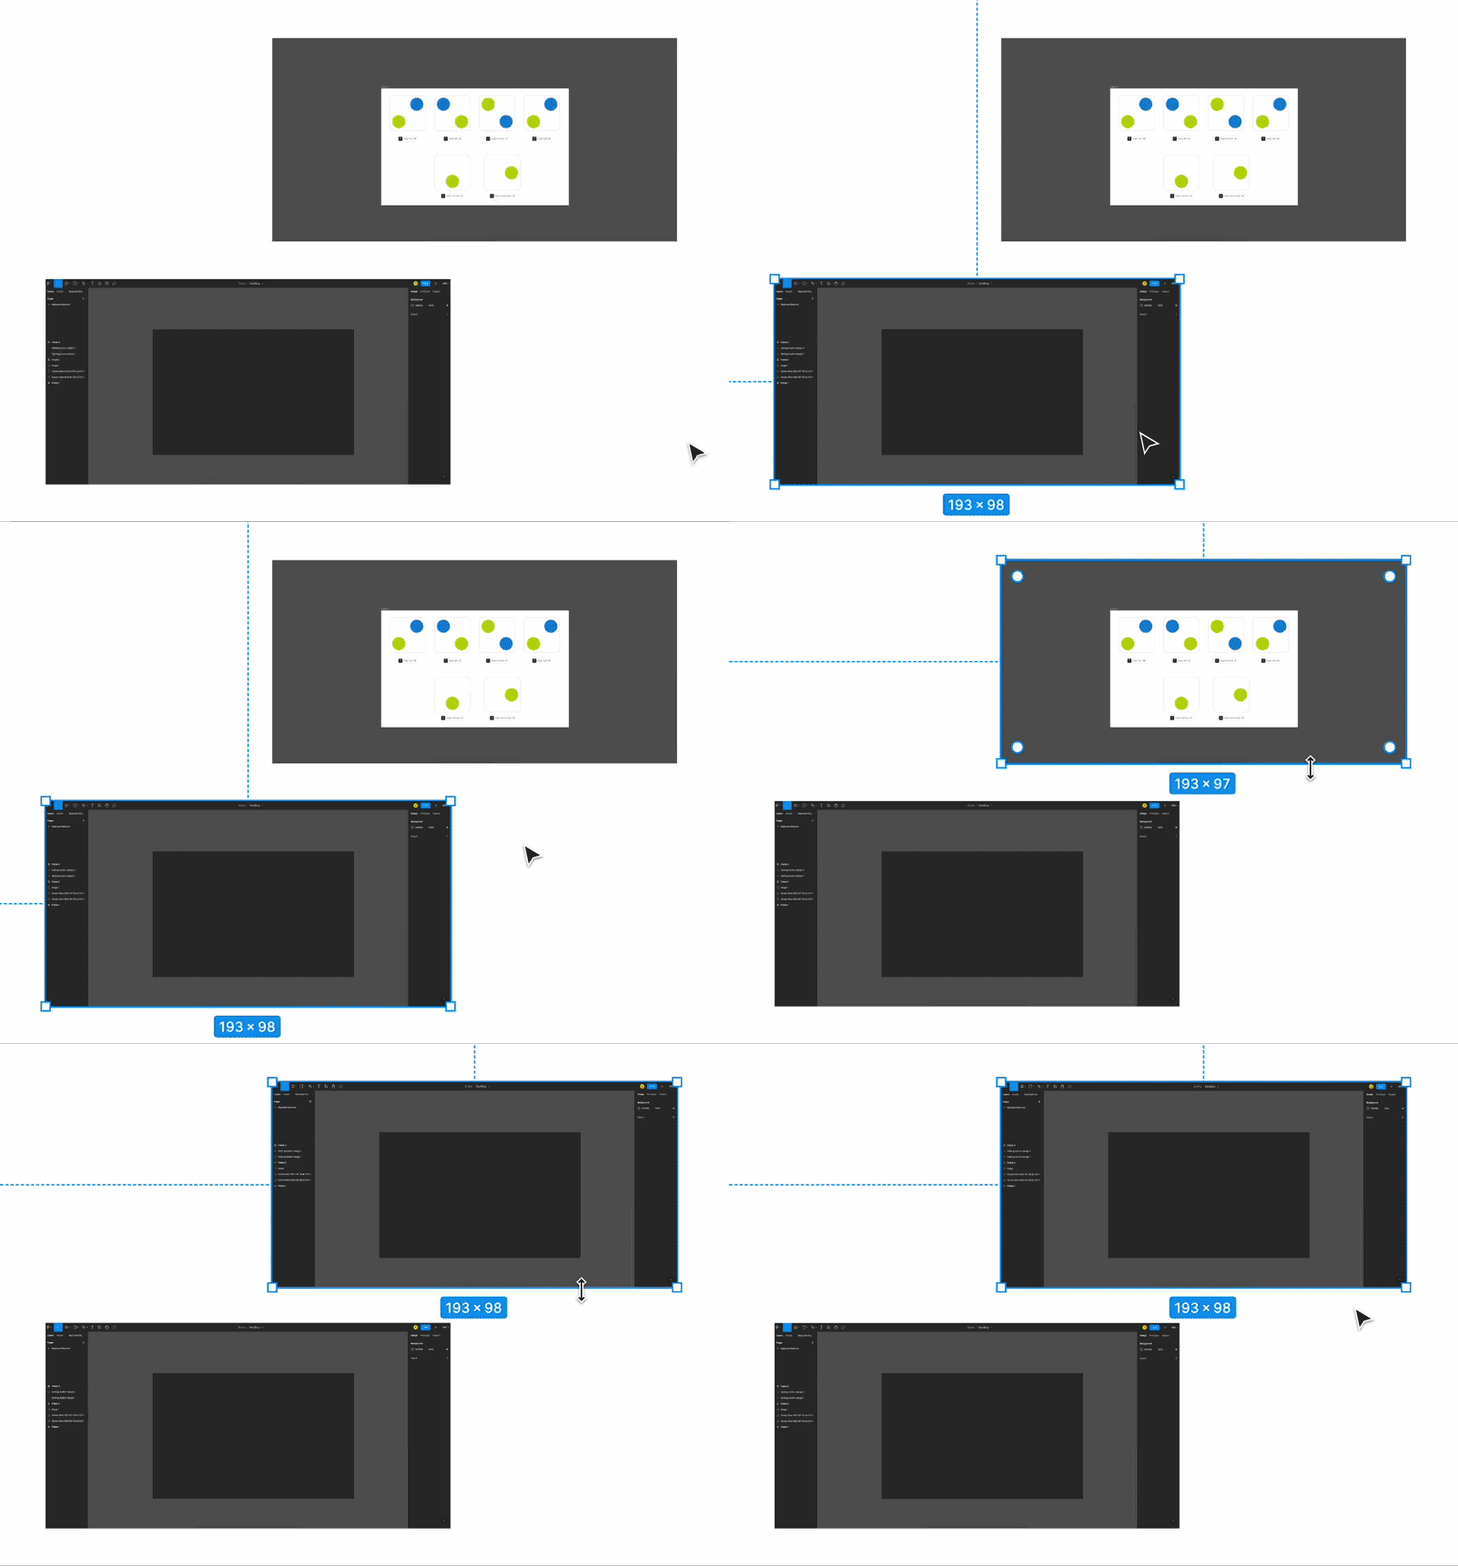
Paste to Replace (⌘ + ⌥ + Shift + V)
Use this shortcut to replace any object or image without having to move and resize it.
- Copy an object you want to replace with.
- Now select an object you want to replace.
- Press ⌘ + ⌥ + Shift + V to replace with your desired object.
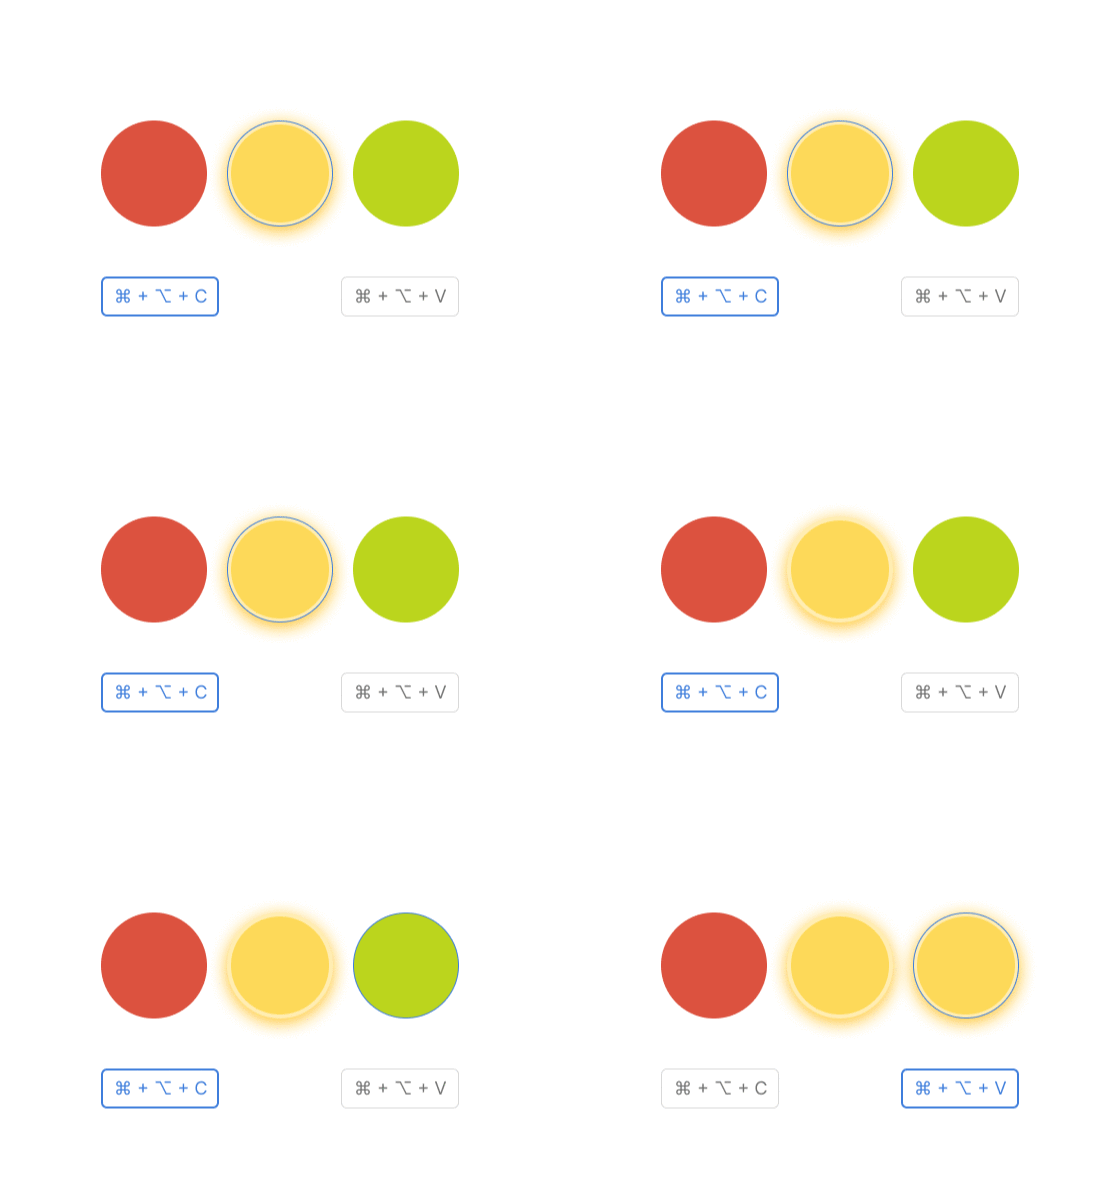
Copy/Paste Properties (⌘ + ⌥ + C/V)
Use this shortcut to copy/paste properties like colour, corner radius, type style, and effects, so you don't have to manually enter properties to make them look consistent.
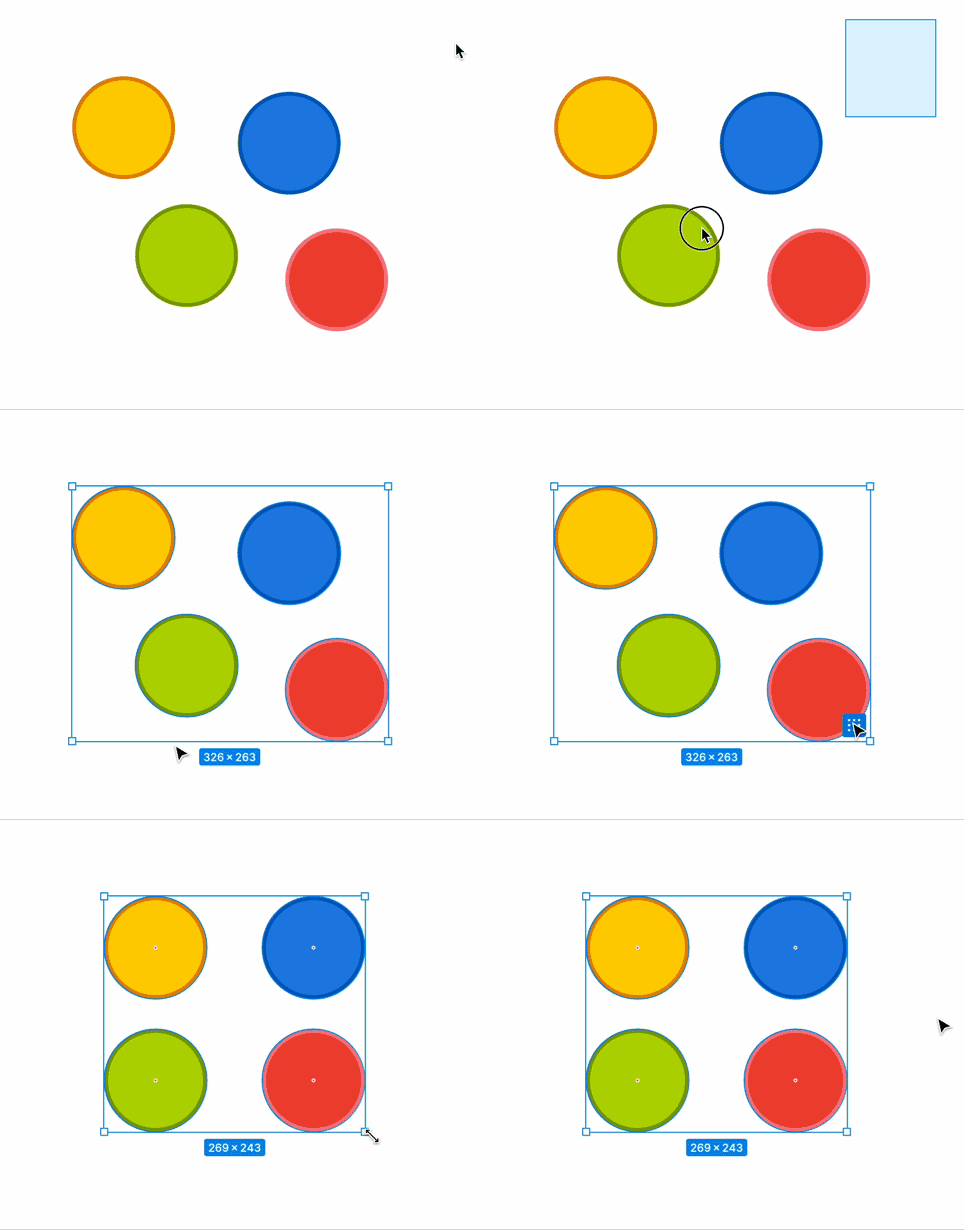
Tidy Up
Use this little icon in the bottom right corner to equally distribute the spacing between multiple objects in a uniform grid layout and edit their spacing to your requirements.
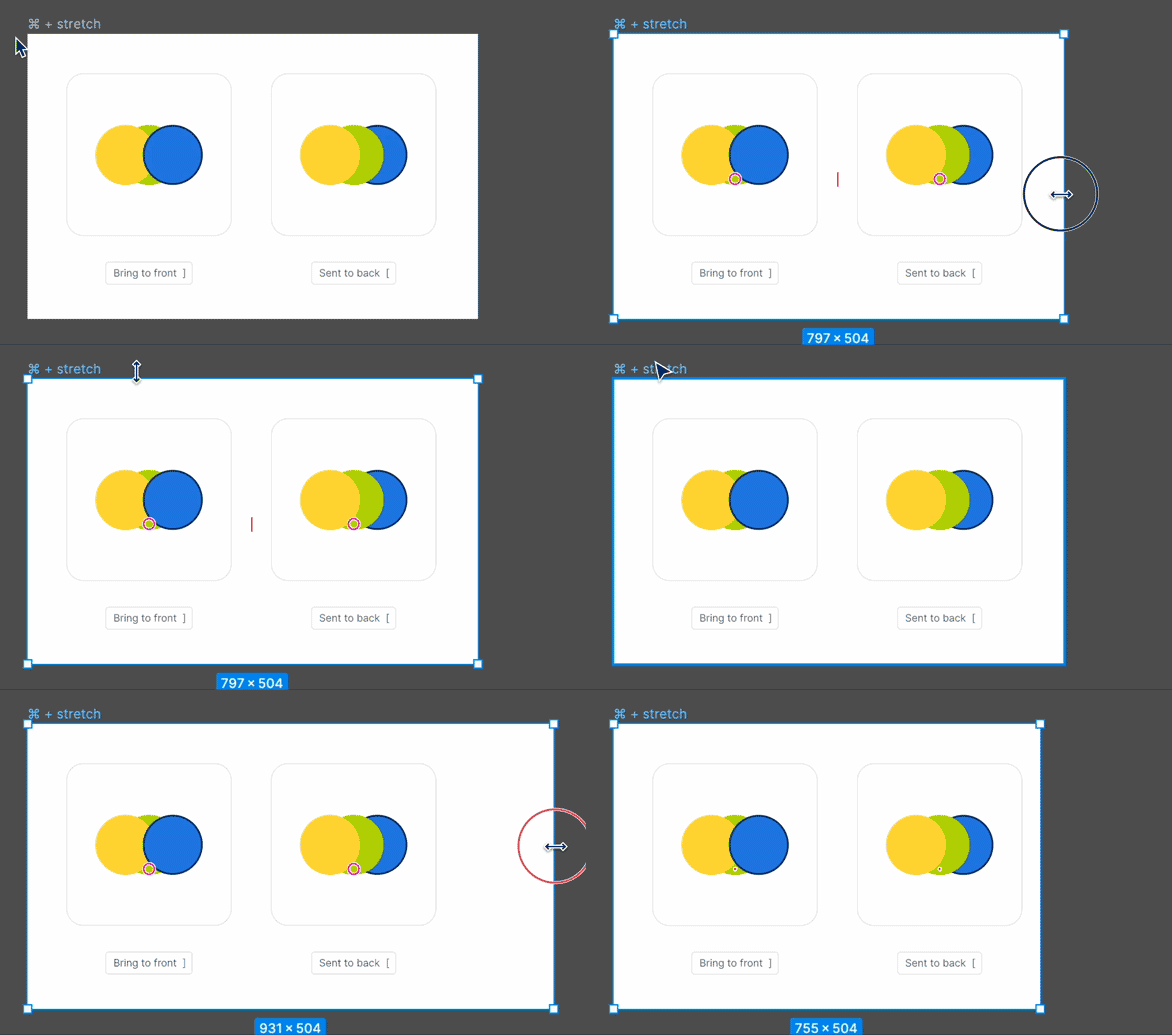
Frame Stretching Without Distorting the Designs Inside (⌘)
Many of you might have experienced this while using Figma. When you try to extend the frame vertically or horizontally, the designs inside stretch or move depending upon the constraint properties of the objects.
The trick I used to escape this problem was to select the objects, cut, resize, and paste them inside the frame. But there is a more convenient way to do this, and it's very simple. Just press ⌘ while resizing your frame, and it will not stretch.
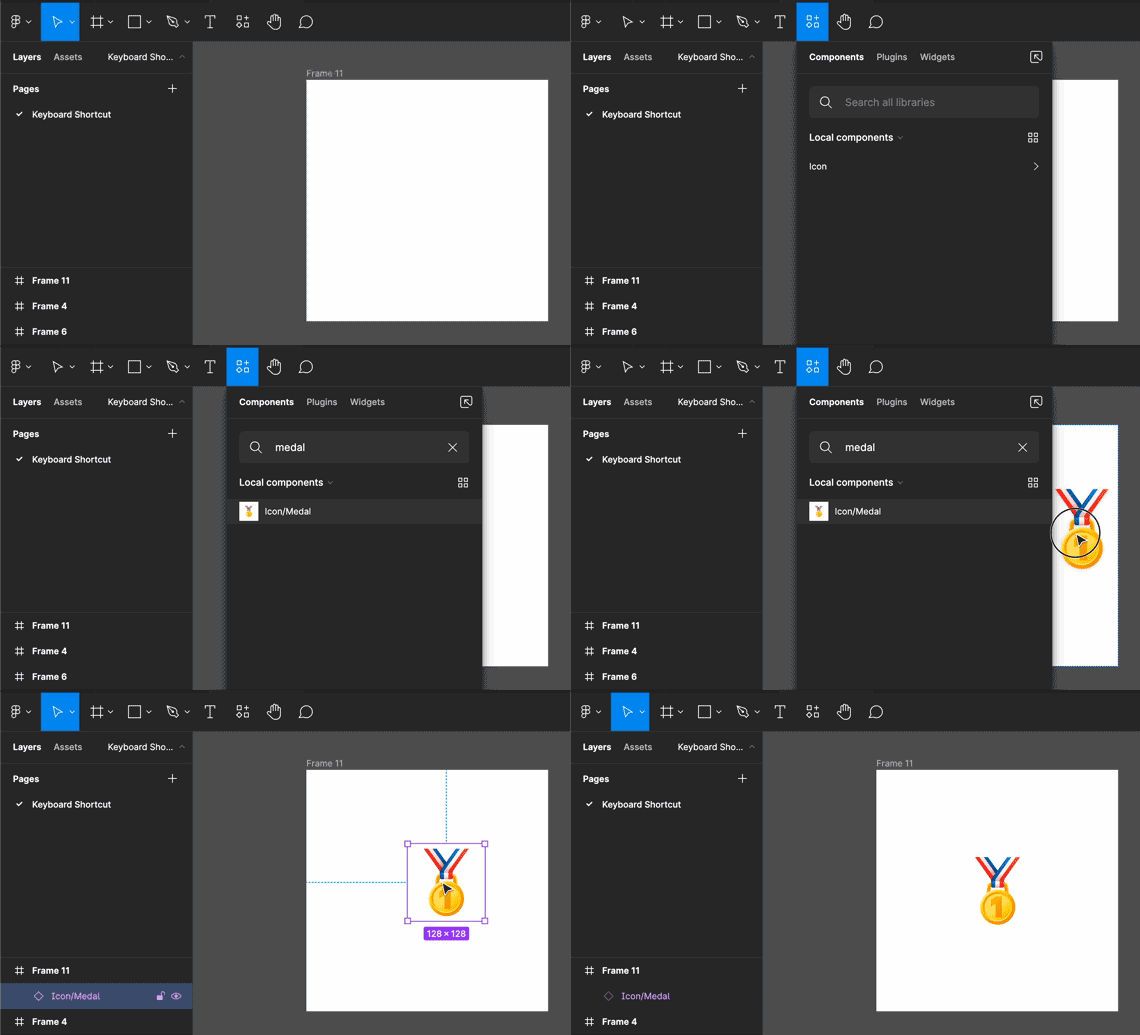
Find & Insert Design Components (Shift + I)
Find your design components without searching inside the pages. Just hit Shift + I, type in your component name & drag it to your desired location. Make sure you consistently name the components to remember them.
A pro tip before you go
If you have a mouse with programmable buttons, assign them with shortcuts that make it even more convenient to execute and remember. You can apply these functions with a single click of a custom button. For me, I have assigned Align and Tidy Up object shortcuts. This made my workflow even more precise and quick.
So these are some tricks I learned throughout my journey with Figma. Start using shortcuts to improve your workflow in Figma and other software.
Thank you so much for reading the article. Hope you found it helpful. Subscribe to our blog and see you soon.
