
Figma is a web-based application that can be used for creating vector graphics and also for prototyping, which makes it the perfect tool for UI design projects. One of the best features of Figma is that it is primarily a web-based application so it has all the benefits of the cloud and allows collaboration within a team.
While Figma can be used on your browser, it also has a desktop app for both Mac and Windows with offline features and a mobile app for both iOS and Android that can be used to view and interact with prototypes.
The best part about Figma is that it intends to remain free forever for personal use. If you are familiar with other similar tools such as Adobe XD, or Sketch, Figma should be quite easy to figure out. If you are having difficulties getting started, don't worry. This guide should help you learn the basics of designing with Figma.
Getting Started with Figma
You can start using Figma for free by simply going to to their website and clicking the “Try Figma for free” button. It will redirect you to a sign-up page, where you can create an account with your Google account.
After you have created your account, you can either use Figma on your browser, or you can download the desktop application for your device and continue working there.
Navigating Figma and Community Resources
Once you open the Figma app or load it in your browser, you will be on the home page of the Figma app. Figma even provides a couple of guides for you to get started on a fresh install, .
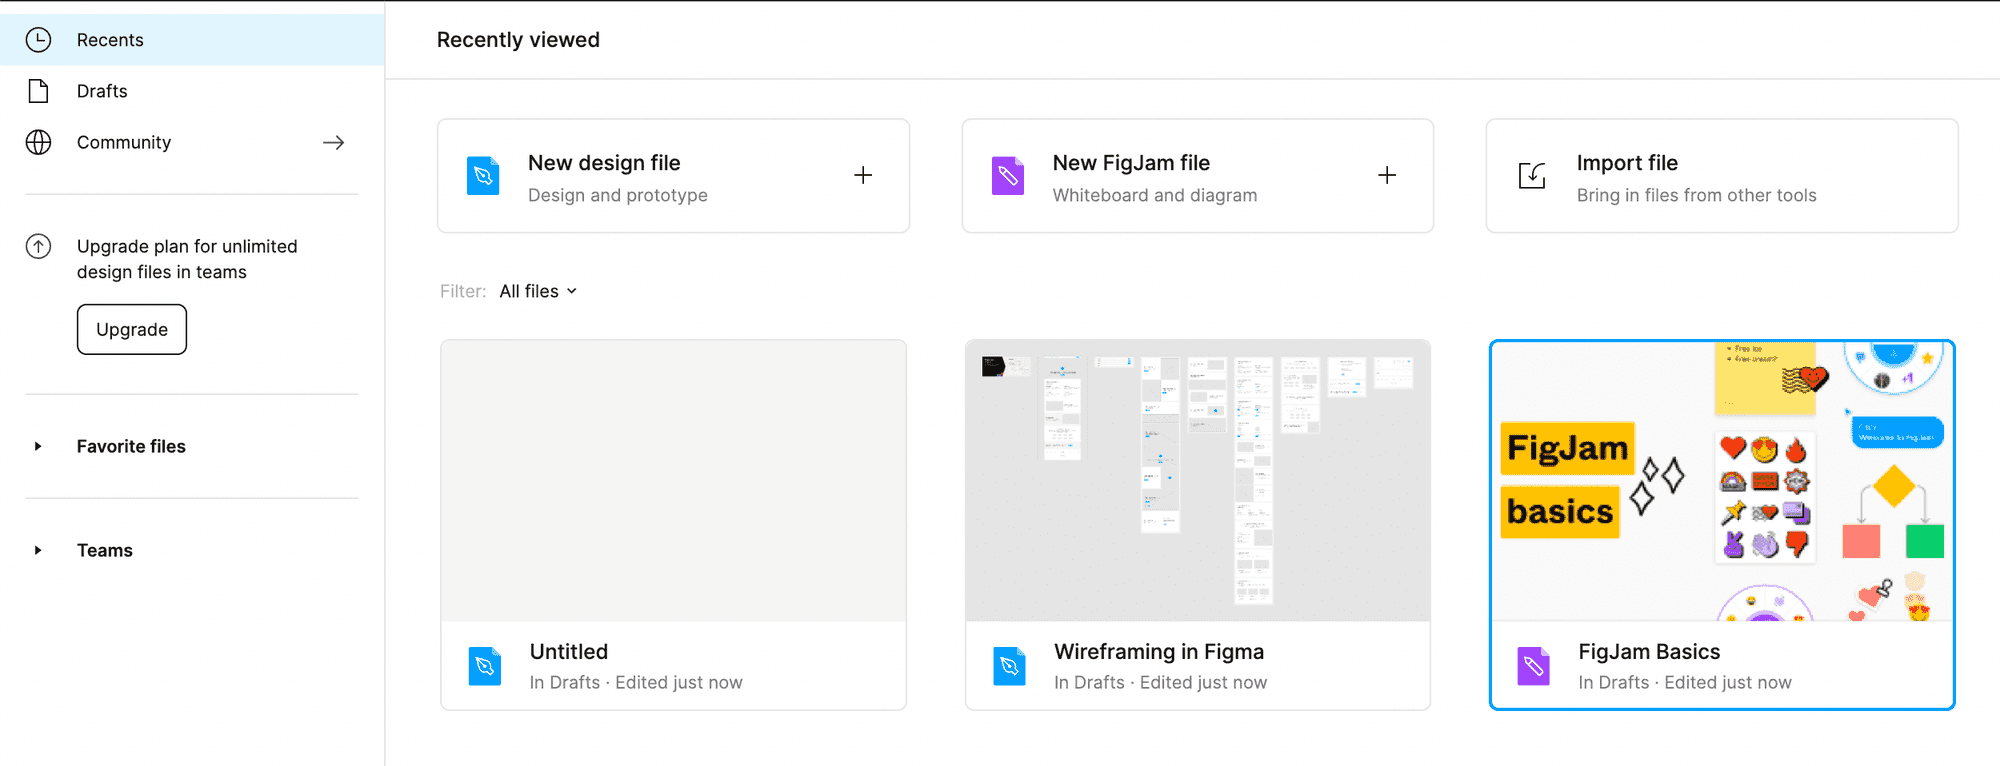
Navigation is relatively simple. On the left-hand side, there is a rudimentary navigation system which can filter your files on the preview pane by recent or draft files. The community tab will send you to the Figma community, which is a great place to find plugins and helpful Figma design files.
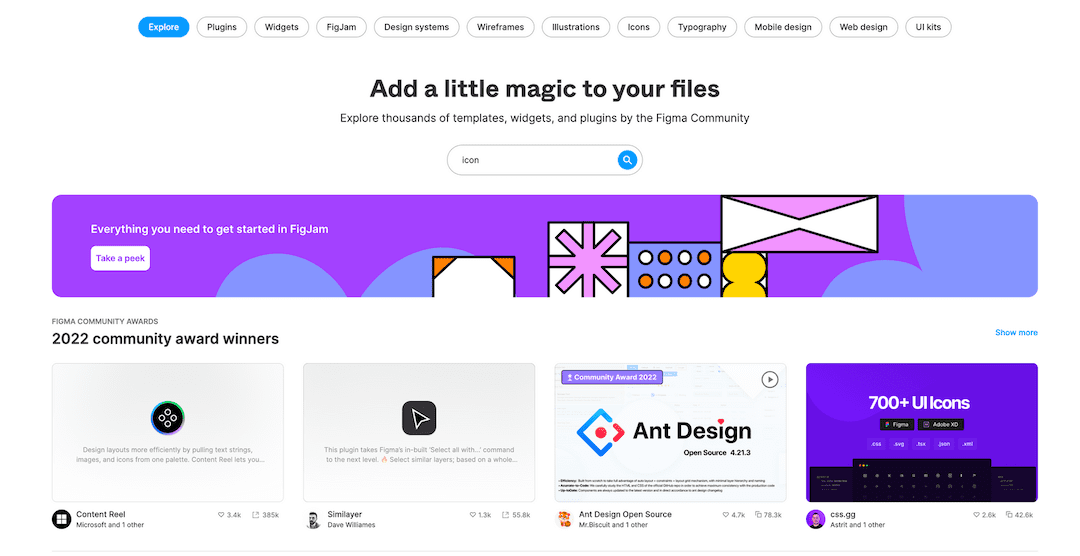
For instance, say you need to create a website and need some icons, you can simply search for icons on the community page, and get lots of free resources.
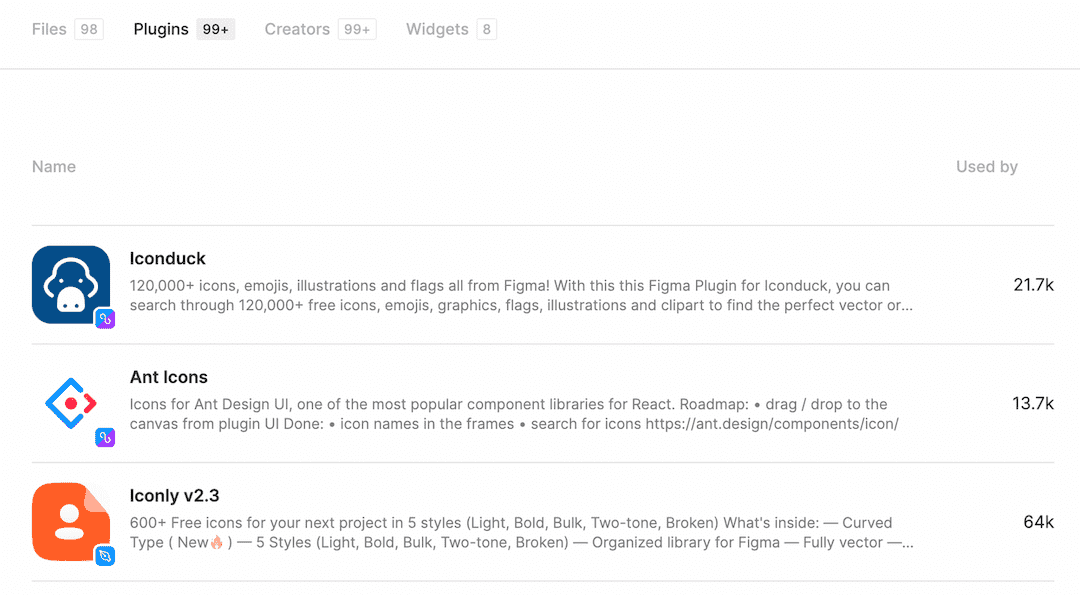
You can either look for design files to reuse resources or look for Plugins specifically, which can be installed and used in all of your design files once you install them.
Creating your First Figma file
In Figma, you can create two different types of files. The first one is a Figma design file which is used for designing and creating prototypes. The second one is a FigJam file, which is basically an online whiteboard. FigJam is great for brainstorming and having discussions in a team meeting. There are also a lot of templates for starting a FigJam file.
Let's get started with a Figma design file. Click on the New Design File button to create a new file. You will get a new tab with an empty Figma file.
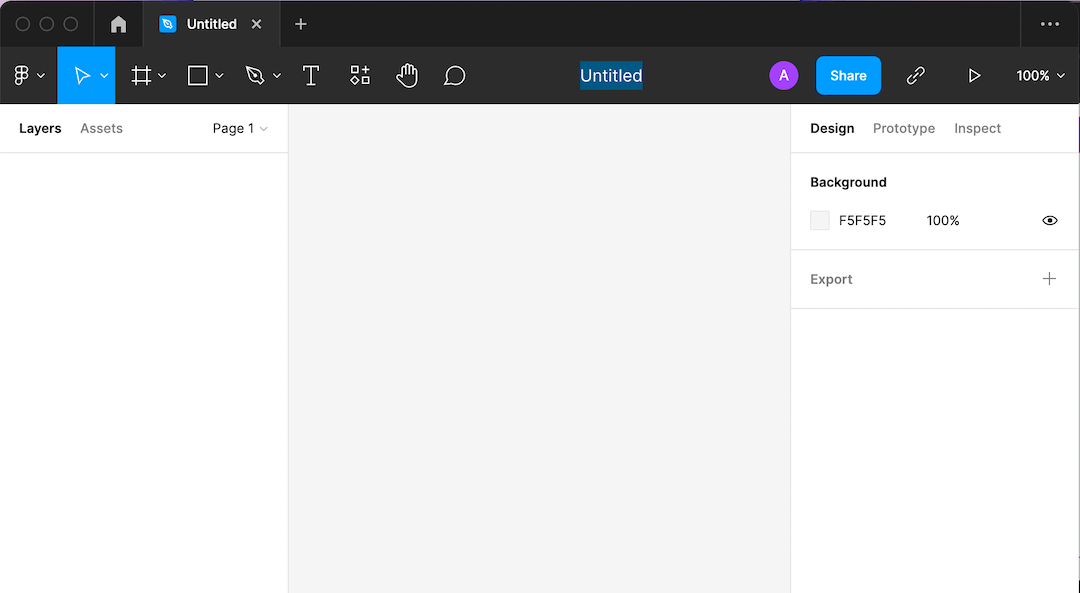
Rename your file by clicking on the Untitled text at the top of your workspace.
Basic Navigation and Tools
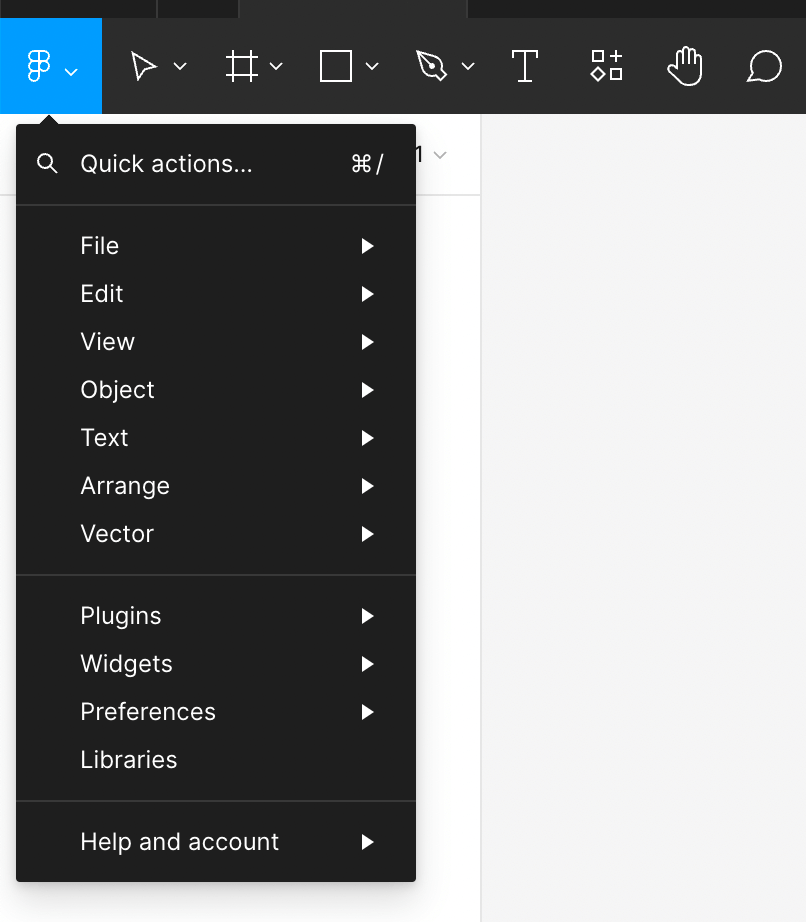
1. Main Menu
The top navigation bar has all the basic Figma tools. The first button is the main menu. It has all the file menu options.
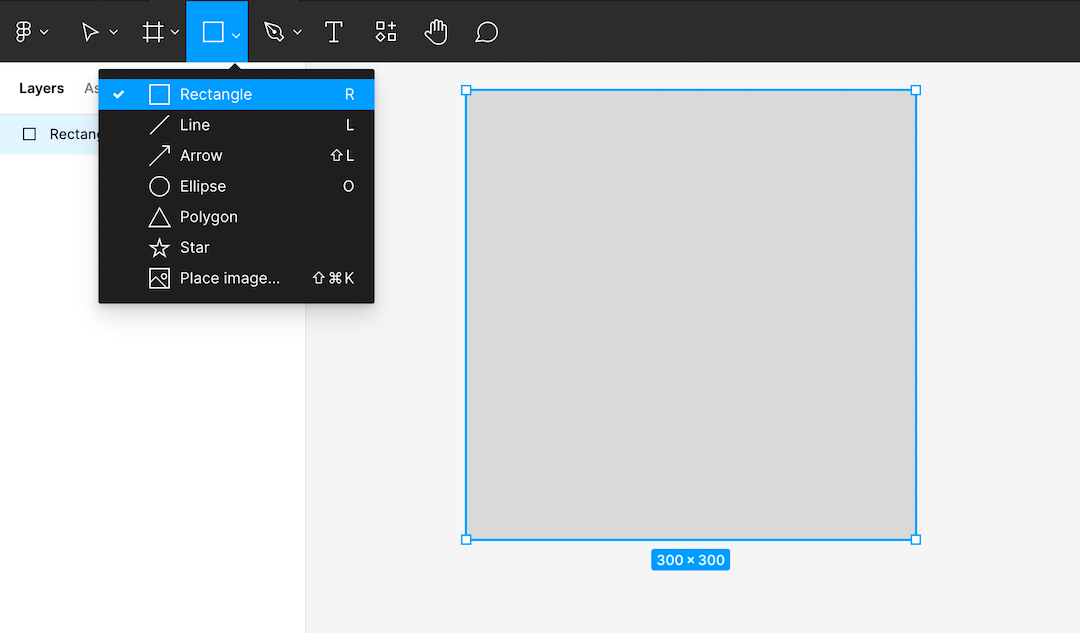
2. Shape Tools
The shape tools do exactly what they say they do. From the drop-down menu, you can choose a shape to create. Alternatively, you can use the keyboard shortcut R for a rectangle, L for line, and O for an ellipse.
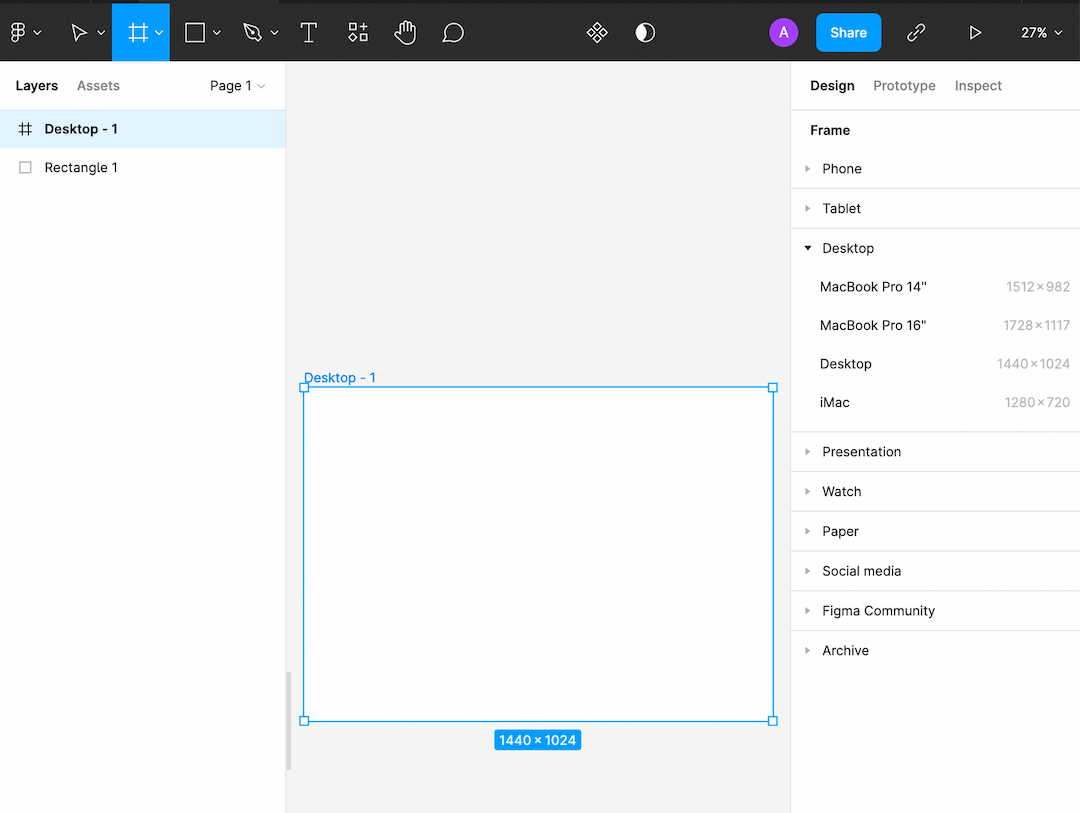
3. Frame Tool
The frame tool is where all interface designing takes place. Once you click on it, a panel opens up on the right-hand side with all the frame options. You can click on any of the options depending on what you are planning to design to get started.
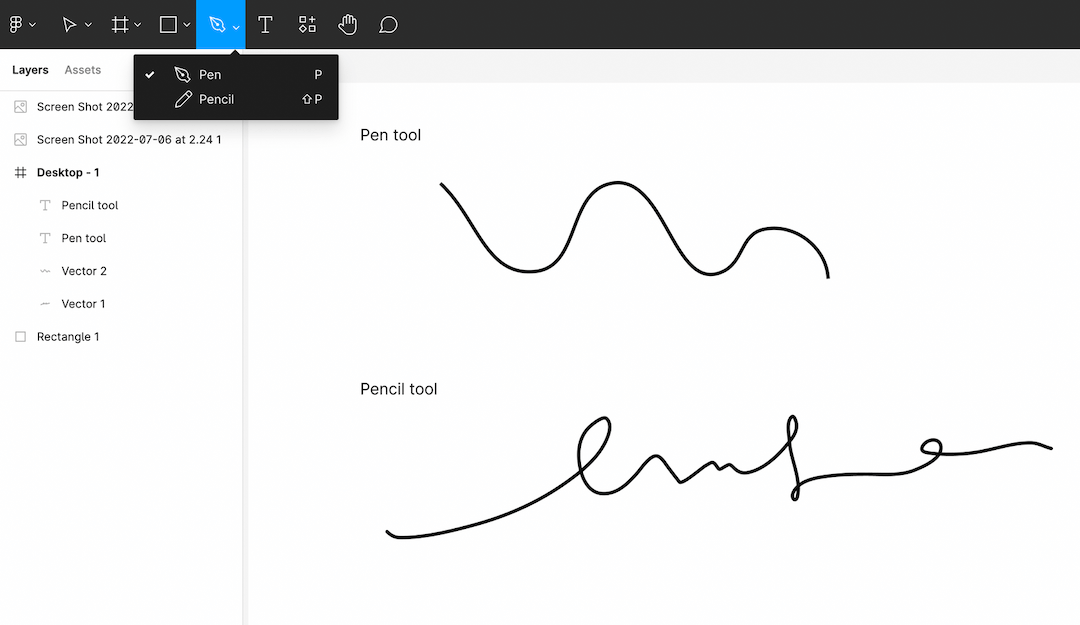
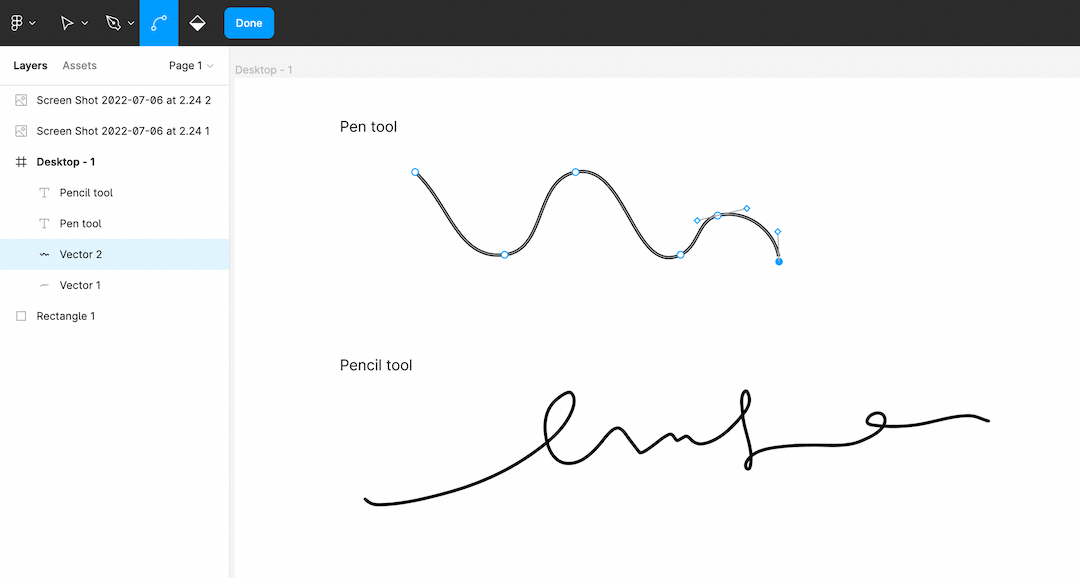
4. Pen and Pencil Tool
Figma also has a pen and pencil tool. The pen tool is similar to any other vector design application like in Adobe Illustrator. The pencil tool is like a brush tool, which is easier to use with a drawing tablet rather than with a mouse. But Figma does have smoothing enabled which makes the lines appear smooth even with a mouse.
You can edit the pen tool strokes by pressing the Enter or Return key. Figma also has a Bend tool for editing the anchor points and handles in the stroke.
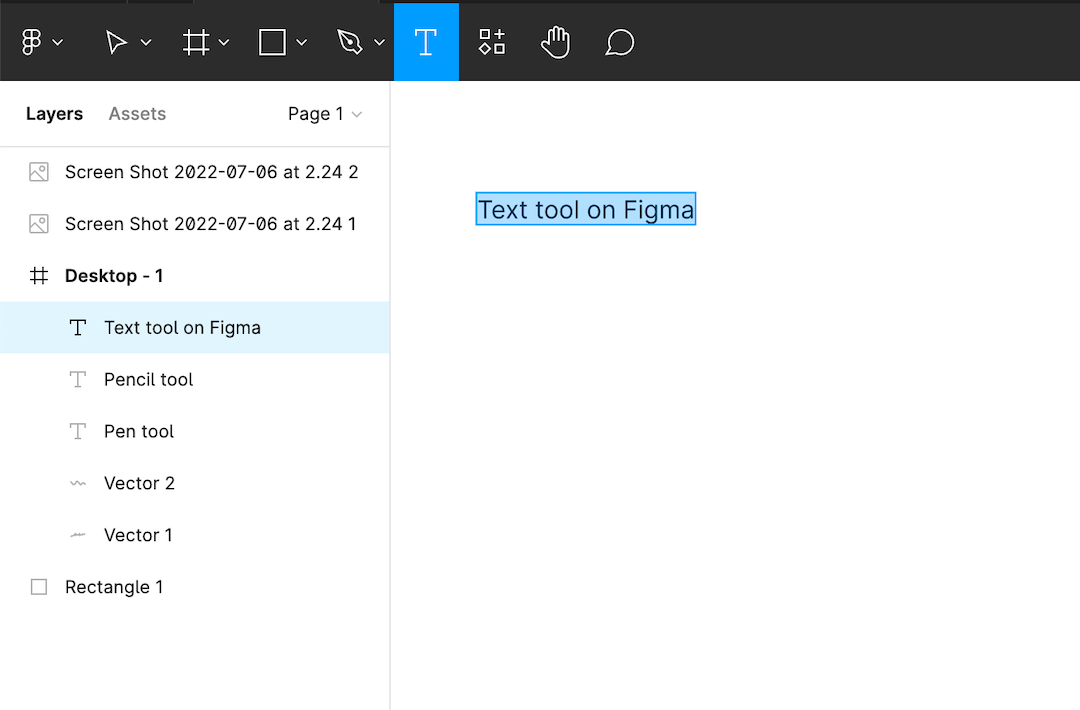
5. Text Tool
The text tool on Figma is pretty straightforward. Once you've typed out a text, you can change its properties on the Text panel on the right-hand side.
6. Navigation and Hand Tool
You can hold Space and drag your mouse to pan around on the canvas or you can use the Hand Tool. Once you click the hand tool, your cursor will turn into the hand, and clicking and dragging will pan your view around the canvas.

You can also zoom in and out easily by holding ⌘ or Ctrl and scrolling with your mouse, instead of using the ⌘/Ctrl and +/- buttons.
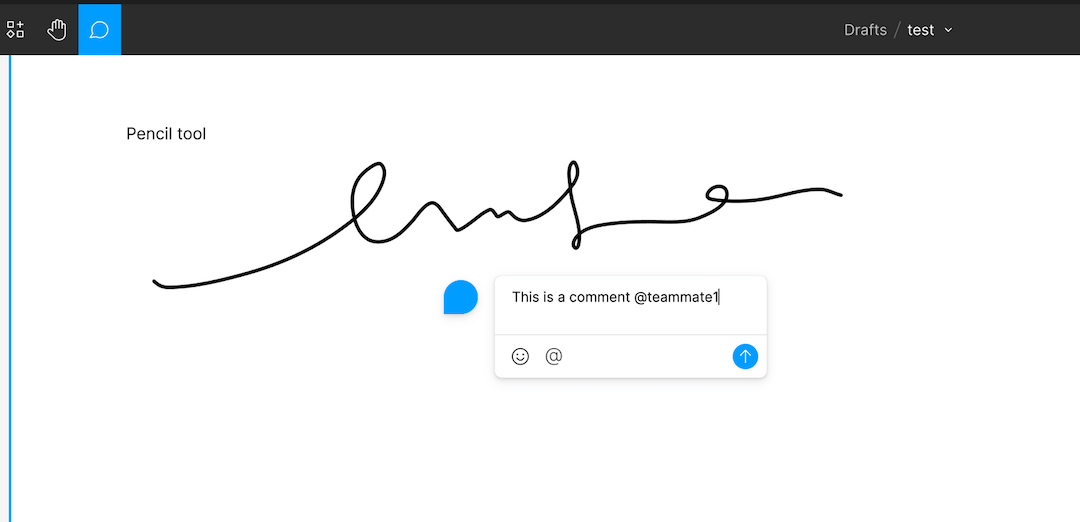
7. Comment Tool
Since Figma allows unlimited collaborators in a project file, there is also a comment tool. You can also mention team members by their username as such @team-member-name.
This tool is really helpful for communication between team members.
That's all for the first part of this article! We have gone through Figma's basic tools and navigation. For the next part, we will be exploring more features on Figma, so stay tuned for that update!
Thanks for reading and catch you in the next one! Don't forget to subscribe by clicking the buttons below if you liked what you read.