
DOTween is a fast and efficient object-oriented Unity animation engine. Compared to its predecessor – the HOTween engine – the DOTween animation engine is faster by almost 400%. It also has a more advanced feature set and is snappier overall.
From the DOTween Official website: DOTween is a fast, efficient, fully type-safe object-oriented animation engine for Unity, optimized for C# users, free and open-source, with tons of advanced features.
Setting up DOTween on a Unity Project
Today, we will be learning how to set up the DOTween engine in Unity so we can start using it in a project.
Installing the DOTween(HOTween)v2 Plugin
- Go to the Unity Asset Store and download DOTween(HOTween)v2.
- Import the downloaded plugin into the project.
DOTween Setup and Settings
After the DOTween plugin has been imported to the project, a panel appears informing you of the steps for setting up DOTween.
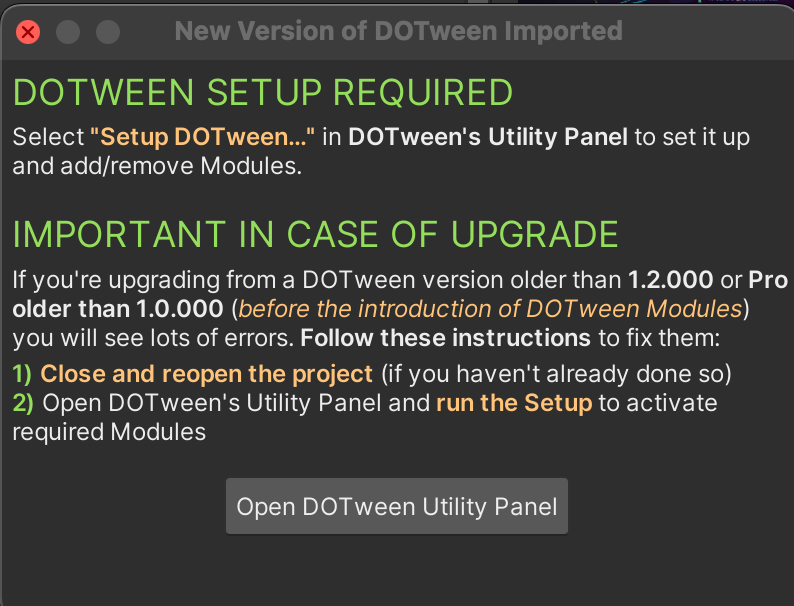
You get all the information required for a fresh install or upgrade of the DOTween plugin from this window. So, lets follow the steps provided in the panel.
After reading the instructions, click on the Open DOTween Utility Panel button to start setting up DOTween.
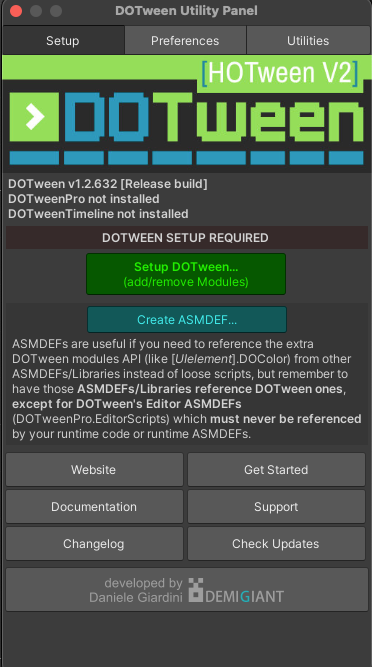
There are three tabs in the DOTween Utility panel. We will only be using the first two tabs to setup DOTween, which are:
- Setup: The addition or removal of the DOTween modules in the project
- Preferences: The ability to enable safe mode, DotWeen's TimeScale, Debug mode, etc.
Adding/Removing Modules
Select the Setup tab and click on the Setup DOTween... button. A new DOTween Utility Panel will appear. Here, you are prompted to add or remove the modules you require.
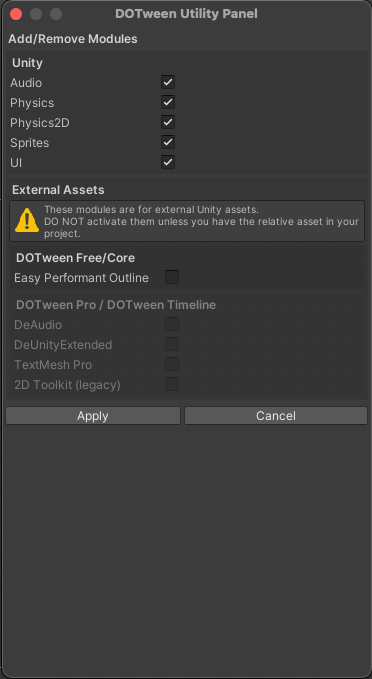
Try to only add modules you want to manipulate in the project using DOTween. For a beginner, you should add everything first and eventually remove the modules you rarely find yourself using.
Click on the Apply button, and the first DOTween Utility Panel will reappear, from where you can move to the next step.
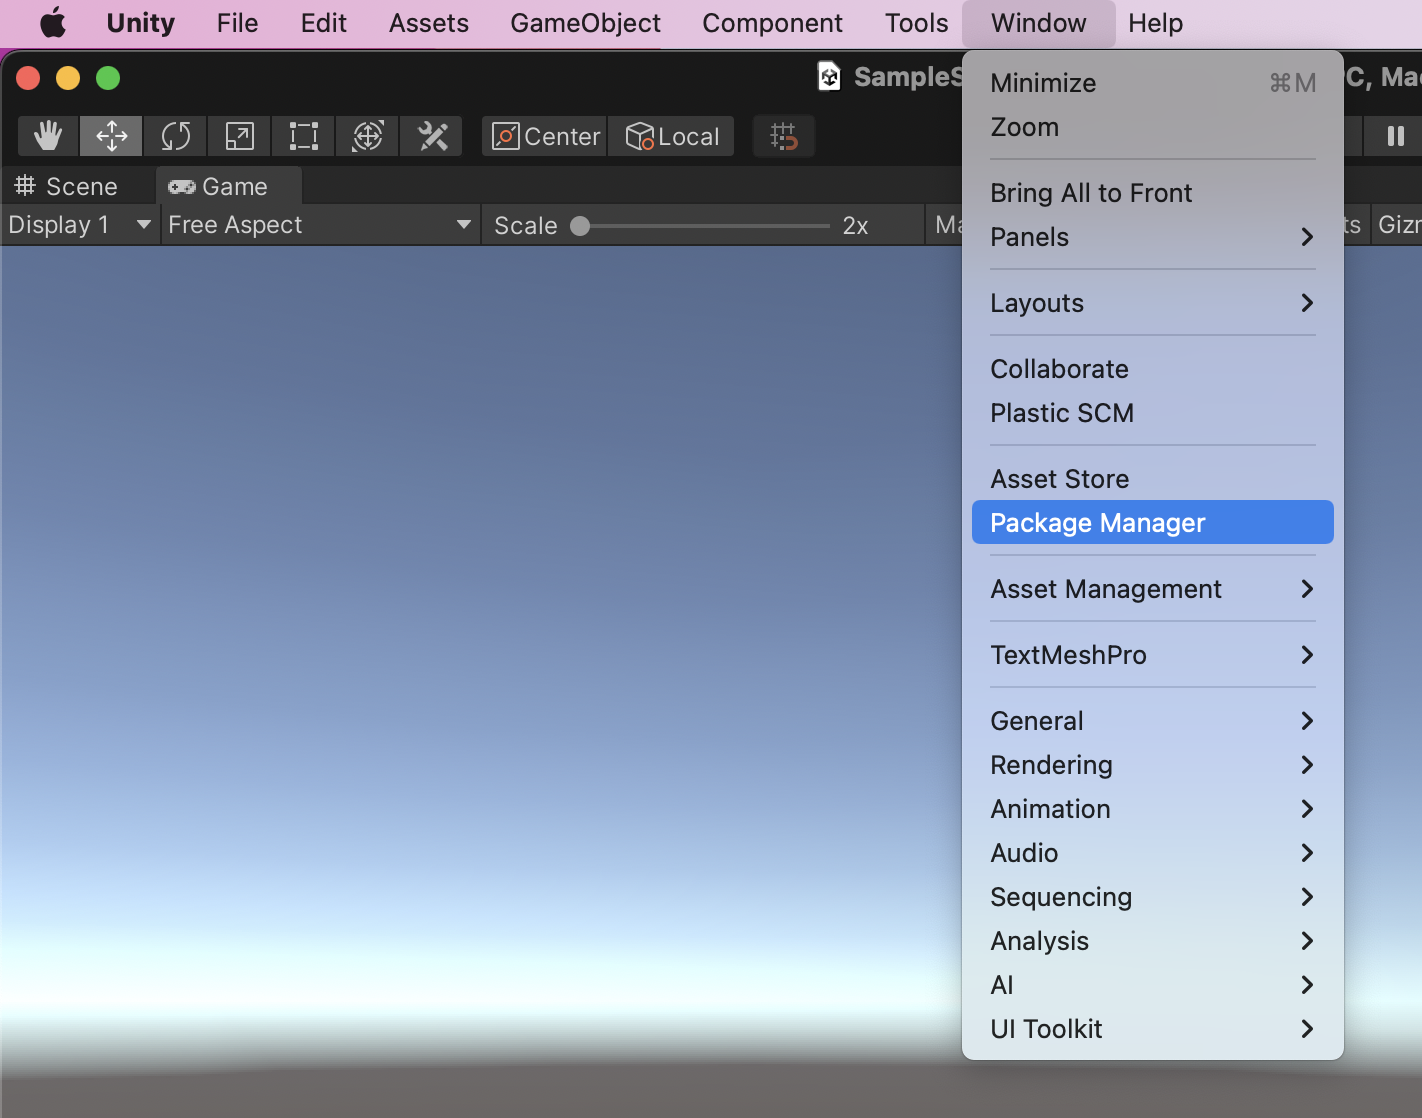
Opening the DOTween Utility Panel
Do the following if the DOTween Utility Panel doesn't appear when following the steps above.
- Go to the menu at the top of the Unity editor and choose
Tools>Demigiant>DOTween Utility Panel - Click on the
Setup DOTween...button, and the utility panel will appear.

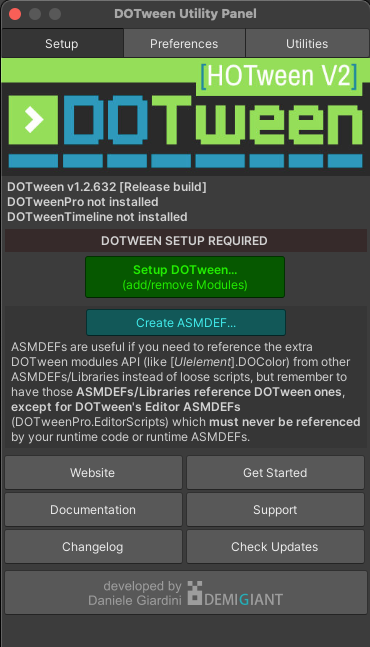
Creating Assembly Definitions (ASMDEF)
Re-open the Uitility panel by following the steps above, then click on the Create ASMDEF button. It helps you to use extra DOTween module APIs (like [Ulement].DOFade()) from other ASMDEF/Libraries instead of loose scripts. Thus, creating ASMDEF will help in this regard. This is an additional but required option to increase the usefulness of the DOTween plugin.
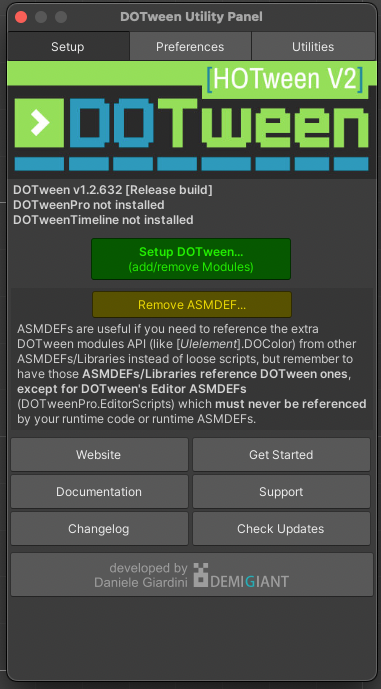
If you need to remove ASMDEF, just re-open the DOTween Utility panel and click the Remove ASMDEF button. Clicking on it will remove ASMDEF from your DOTween plugin.
That is all. You are now ready to use DOTween in your project.
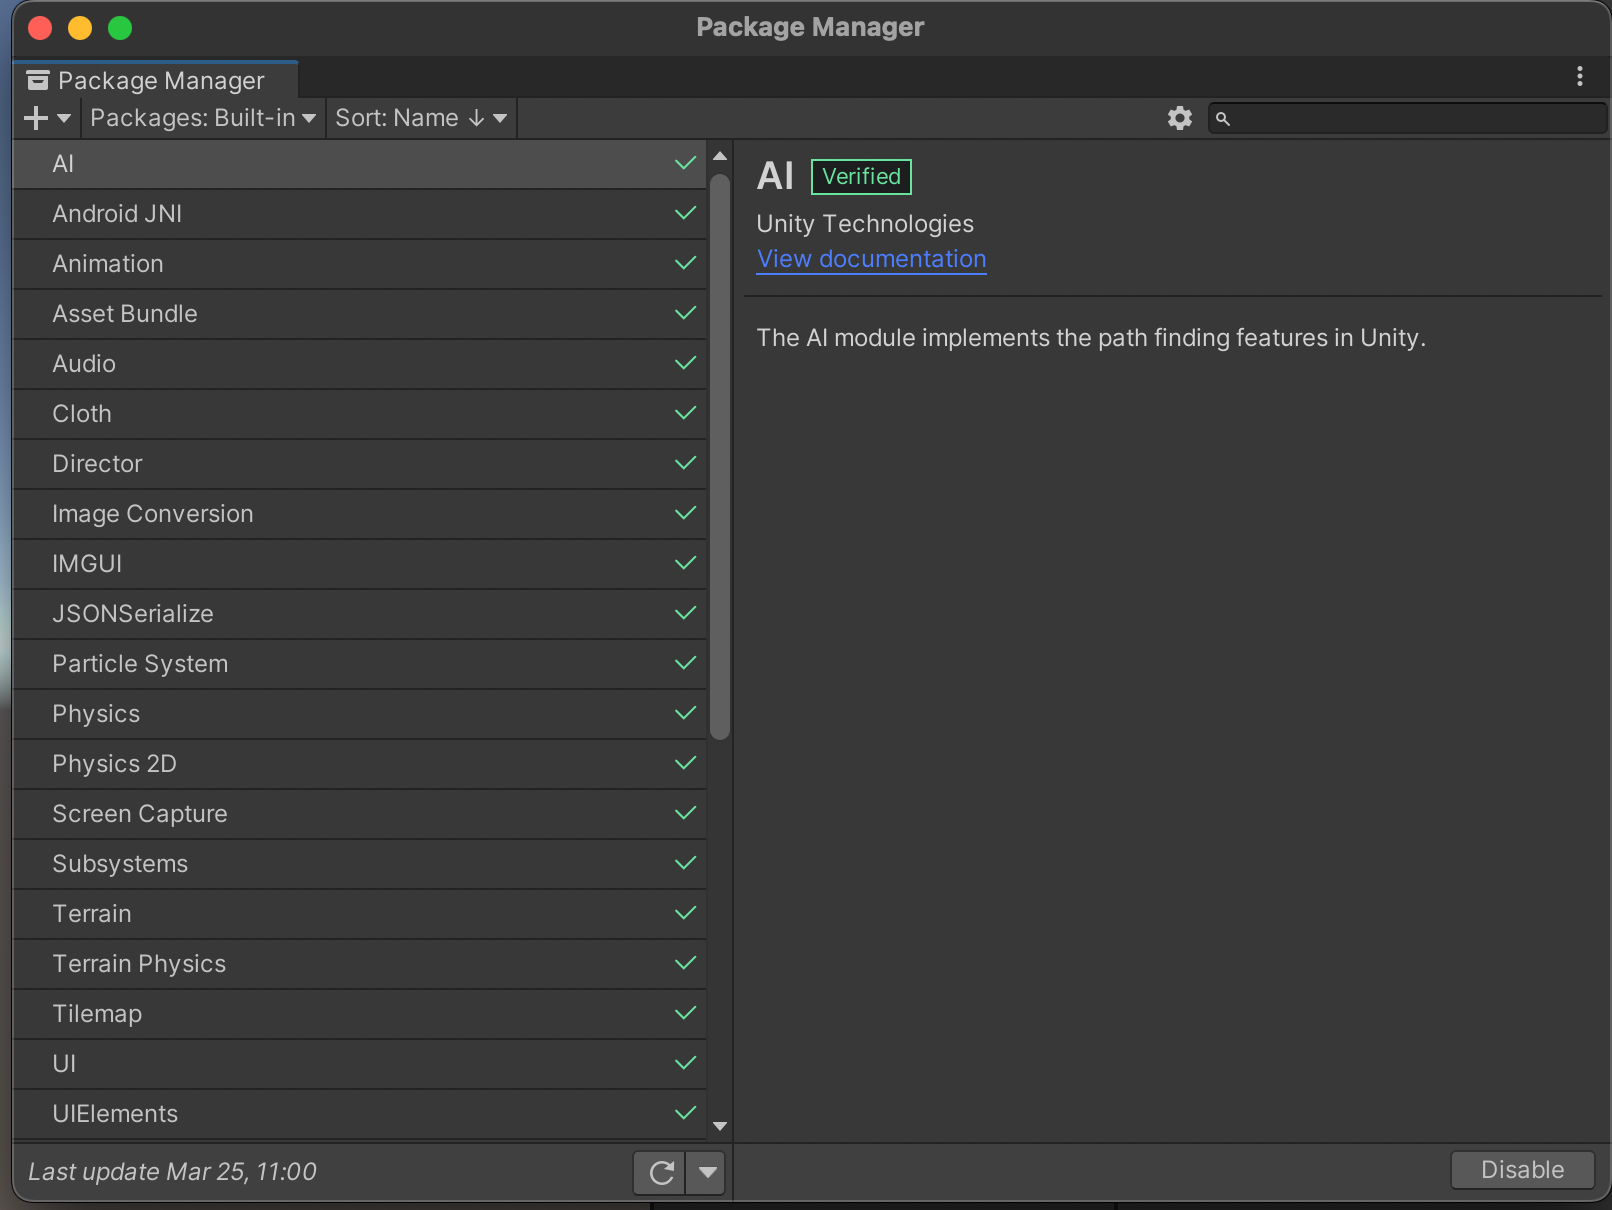
Optional: Checking the Required Modules of a Project
Generally, all required modules in a new project are aleady active by default. However, if you have disabled some modules previously, then you can check what modules are active from the Package Manager.
Select Build-in for Packages in the Package Manager and check whether the required modules have a tick mark next to them or not. If the required modules are not activated, you can go ahead and activate them.
That's all for now. In the next part, we will learn about basic usage of DOTween with a few examples.