
This article will teach you how to create snakes of different shapes and sizes in Blender.
We will be using Array modifiers to repeat the snake's body and append the head and tail to it. To pose the snake, we will be using a curve modifier that references a bezier curve. We can adjust the twist and thickness of the curve to pose the snake, as all the changes on the curve will be copied over to it.
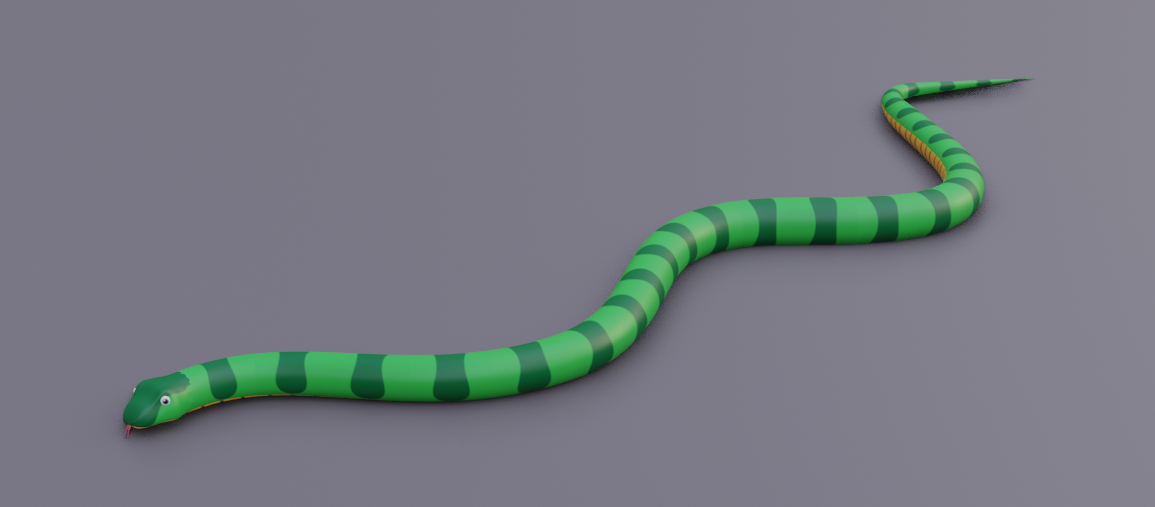
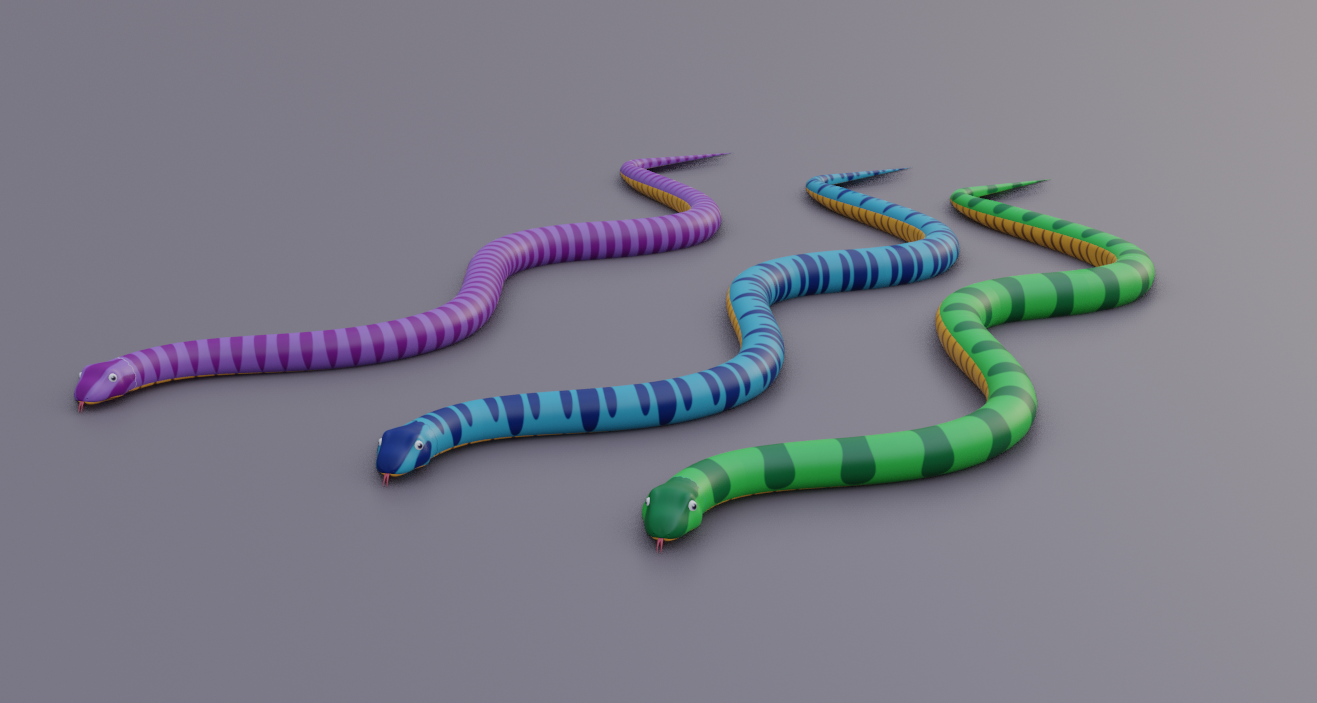
You can create many snakes that look like the image below by the end of this article.
Step 1: Body Modelling
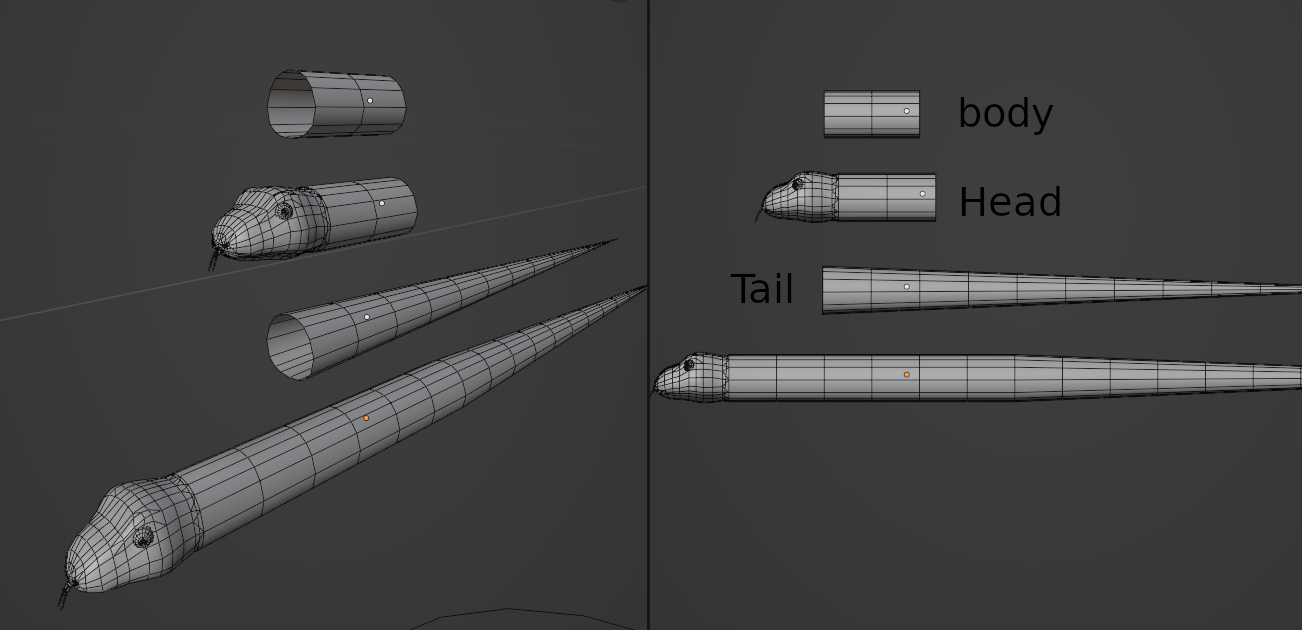
First, you need to model the snake body. Create a simple snake model, then duplicate the snake body two times; one part will be the tail, and the other will be the head. Make sure the origin of these objects remains the same.
You can also model an actual "head" in front of the duplicated body.
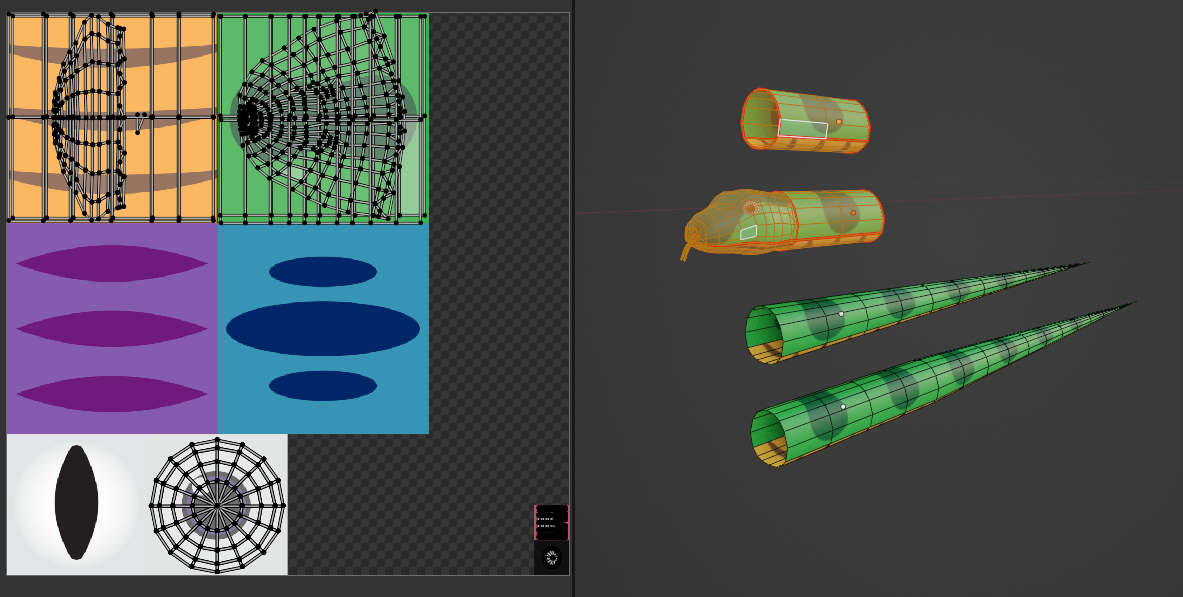
Now, unwrap and map a seamless texture for the body. You should see to it that the texture repeats perfectly. I first made a seamless texture and then applied a slightly different variant for the bottom and top parts of the snake. The head texture doesn't need to be complicated either.
Step 2: Making the Tail Using Array Modifiers
To make the tail, you can either model it on the back of the duplicated body or use modifiers to achieve the same effect. We will be using modifiers as it is much easier.
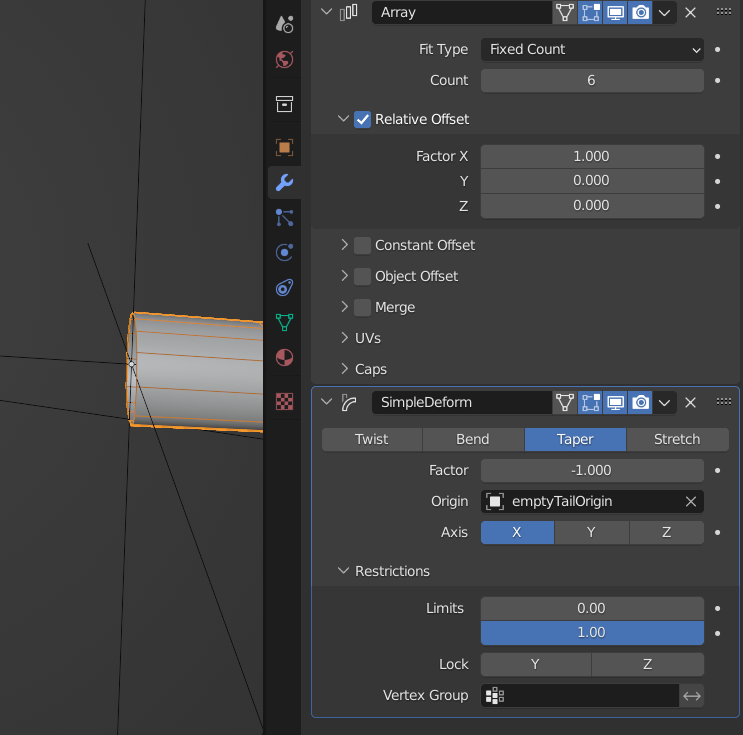
Use an Array modifier to define the tail length, and a SimpleDeform modifier with the Taper option to decrease tail width along its length. Using an empty object at the beginning of the tail will taper the tail starting from the empty object position. Here are the values I used for the tail modifiers.
Step 3: Snake Assembly
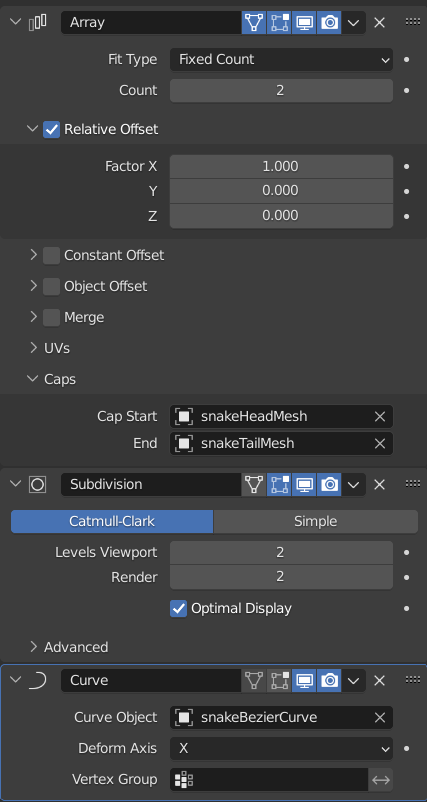
Now we need to assemble the main body. We will be using an Array modifier to define the length of the snake. Under the Caps option of the Array modifier, select the head mesh you created above for Cap Start, and select the tail mesh for End.
Create a bezier curve object at the same origin as the snake. Add a curve modifier to the snake body and select the newly created bezier curve under theCurve Object modifier option. Now the snake will follow the bezier curve.
If the snake doesn't follow the curve properly, you may need to change the Deform Axis value. Move the snake body on the same axis as the Deform Axis value to adjust the snake offset.
You can also add a Subdivision modifier before the curve modifier if the snake isn't deforming along the curve properly. Adjust the subdivision value as needed.
Step 4: Posing the snake
Pose the curve you created above as you wish, and the snake will follow. We can select individual bezier curve points to adjust the curve shape. You can even twist and adjust the curve thickness, and the snake will also copy that change.
Use CTRL+T to twist any selected point of the curve and use ALT+S to scale any selected point.
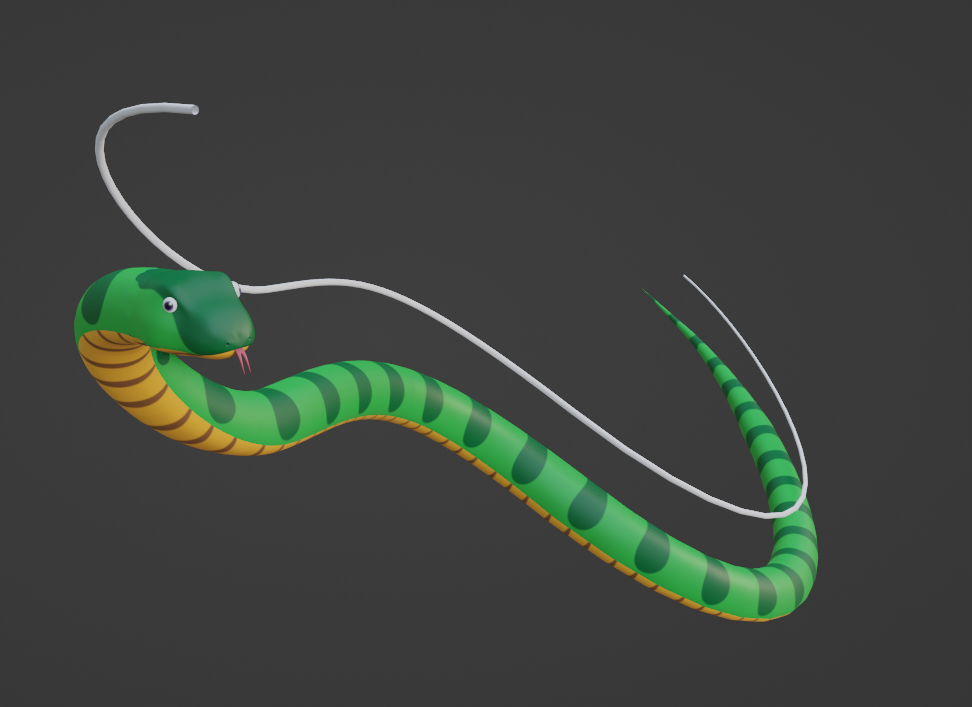
As you can see, the snake is following the curve perfectly. I have duplicated and moved the curve upward in the image above to show the curve. The original curve is inside the snake.
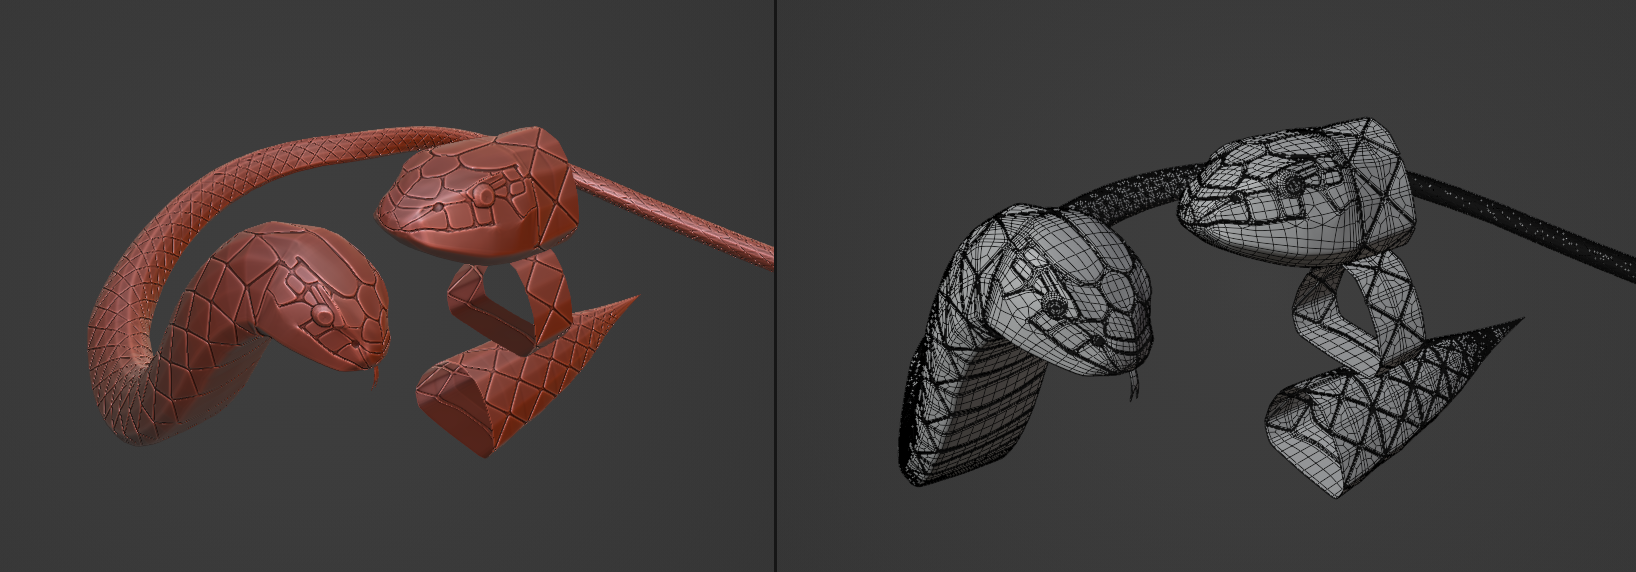
As a bonus, we can also use the same method to model snakes with details. Just make sure the body has a pattern that can be repeated seamlessly, and the origin points and width of all mesh are the same.
A wide variety of snakes can be easily created using this method. We can swap textures and details, or adjust the snake's width, length and twist to get different looks easily. Modelling a lot of snakes in bulk should also be easier for you now.
Hope you enjoyed reading this article and can now create snakes of your own design. I'll be sure to add more tutorials soon!