
To make an environment in any genre of game, there must be an interactive set of props. The props must be affected by the player so that the environment has a sense of interaction for the player to have an immersive experience. This tutorial is divided into two parts – the first part is for creating 3D assets based on the requirement of this tutorial, and the second part consists of implementing 3D assets and some coding for creating functionality for the destructive environment.
In this blog, I will try to make the workflow easier and more understandable. If you're unfamiliar with Blender, some terms may be new. It's recommended that you have a basic understanding of Blender to follow along. However, the workflow is straightforward, so let's get started.
Asset Organization
Before creating 3D assets, let's organize Collections in Blender – A parent folder for props. This will be helpful in the long run while creating many props. It might seem out of the objective for this tutorial, but it's a good practice for organizing your assets file. Let's take a look at my collection structure.
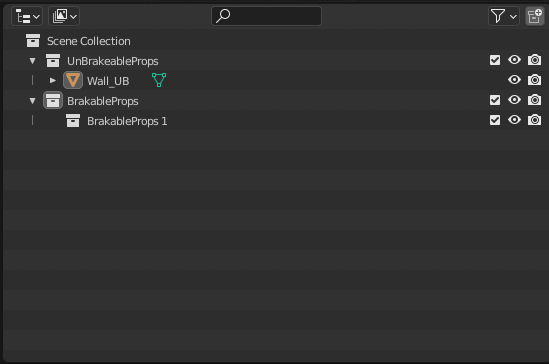
The Scene Collection is, by default, the parent folder for all other collections.
The Unbreakable Props is a parent collection for all non-destructive objects, which will be used for static visualization.
The Breakable Props is parent collection for all sub-collection of destructive objects, which will be the core part of this tutorial.
3D Asset Creation
Non-destructive asset creation
I will create three assets, providing a workflow that can be applied to any asset you want to create for your project. The first prop will be a wall, the second will be a pack of glass bottles, and the third will be a humanoid whose modelling will not be included as it's a topic.
Wall prop
Step 1: First, delete your default cube so that we can have a fresh start. Add a new cube using the default-shaped cube. I will create a simple wall by modifying a cube.
Step 2: Modify the cube by increasing the size on the x-axis and z-axis and decreasing the size on the y-axis. You'll end up with a rectangular-spaced cube.
Step 3: To add some lower base detail in Edit Mode, select all faces, then copy it and make it look like a prop, as shown below. The same process is applied for modifying faces, but you must select and scale a face based on the axis.
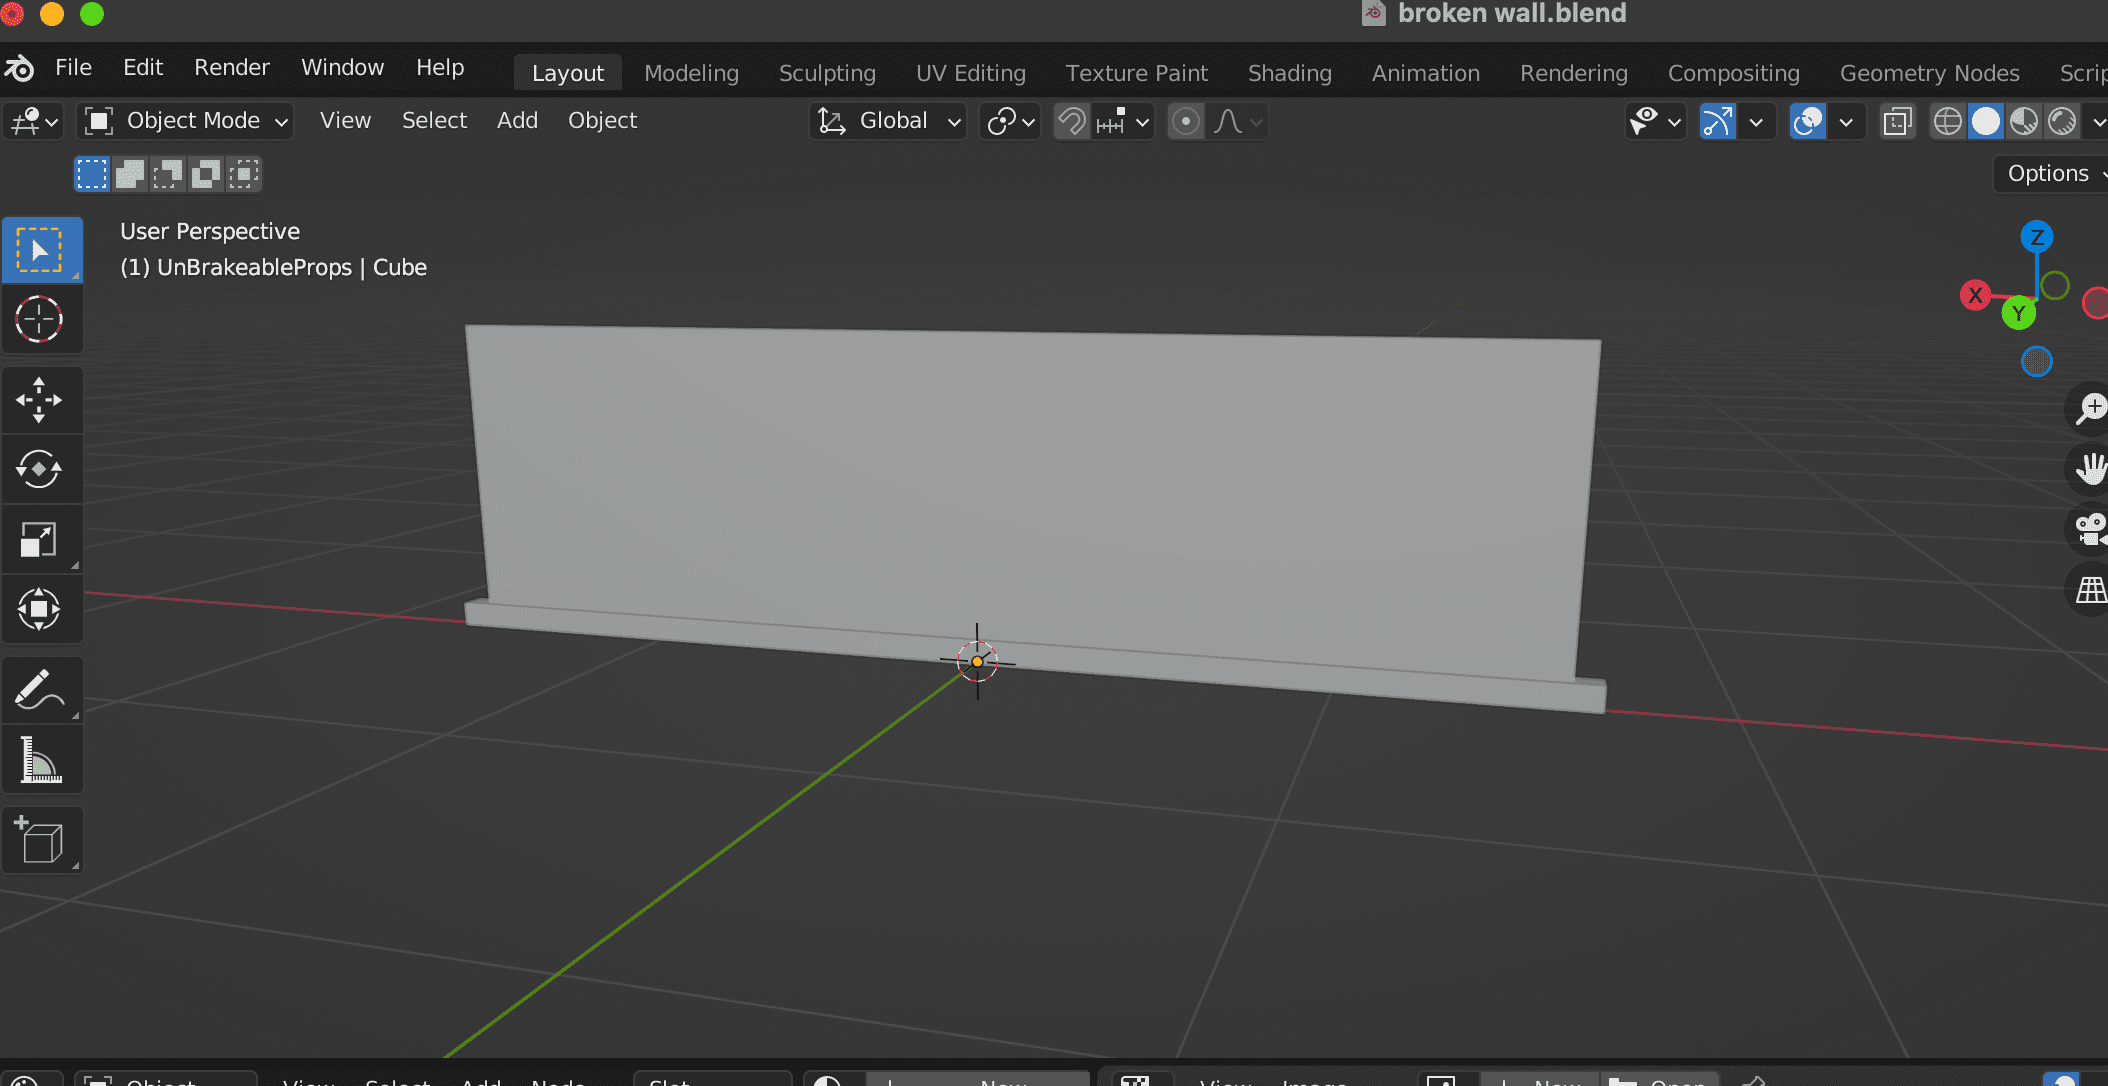
Step 4: Name it according to your preference after getting this shape. I named it wall_UB.
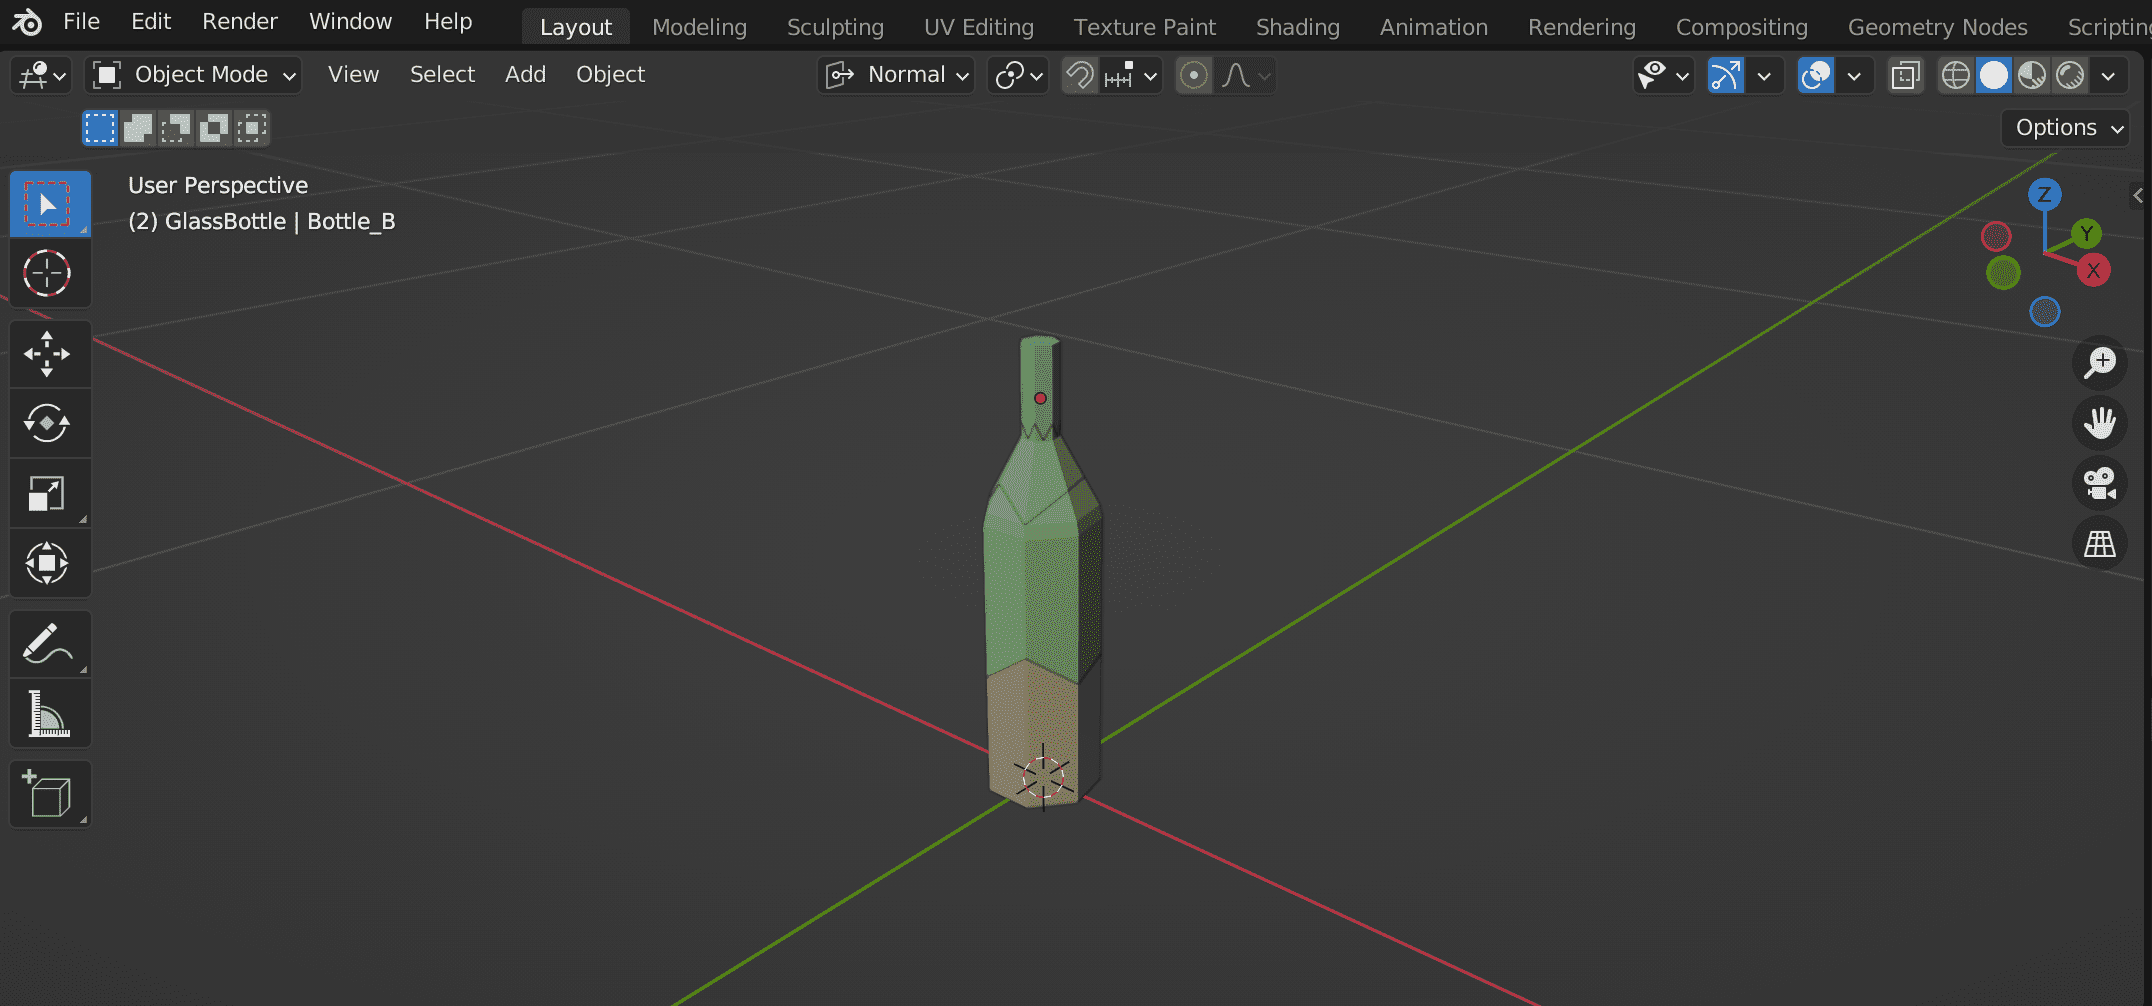
Glass bottle prop
Let's get a complex shape and add a cylinder to your scene. This prop will be low poly as possible and stylized.
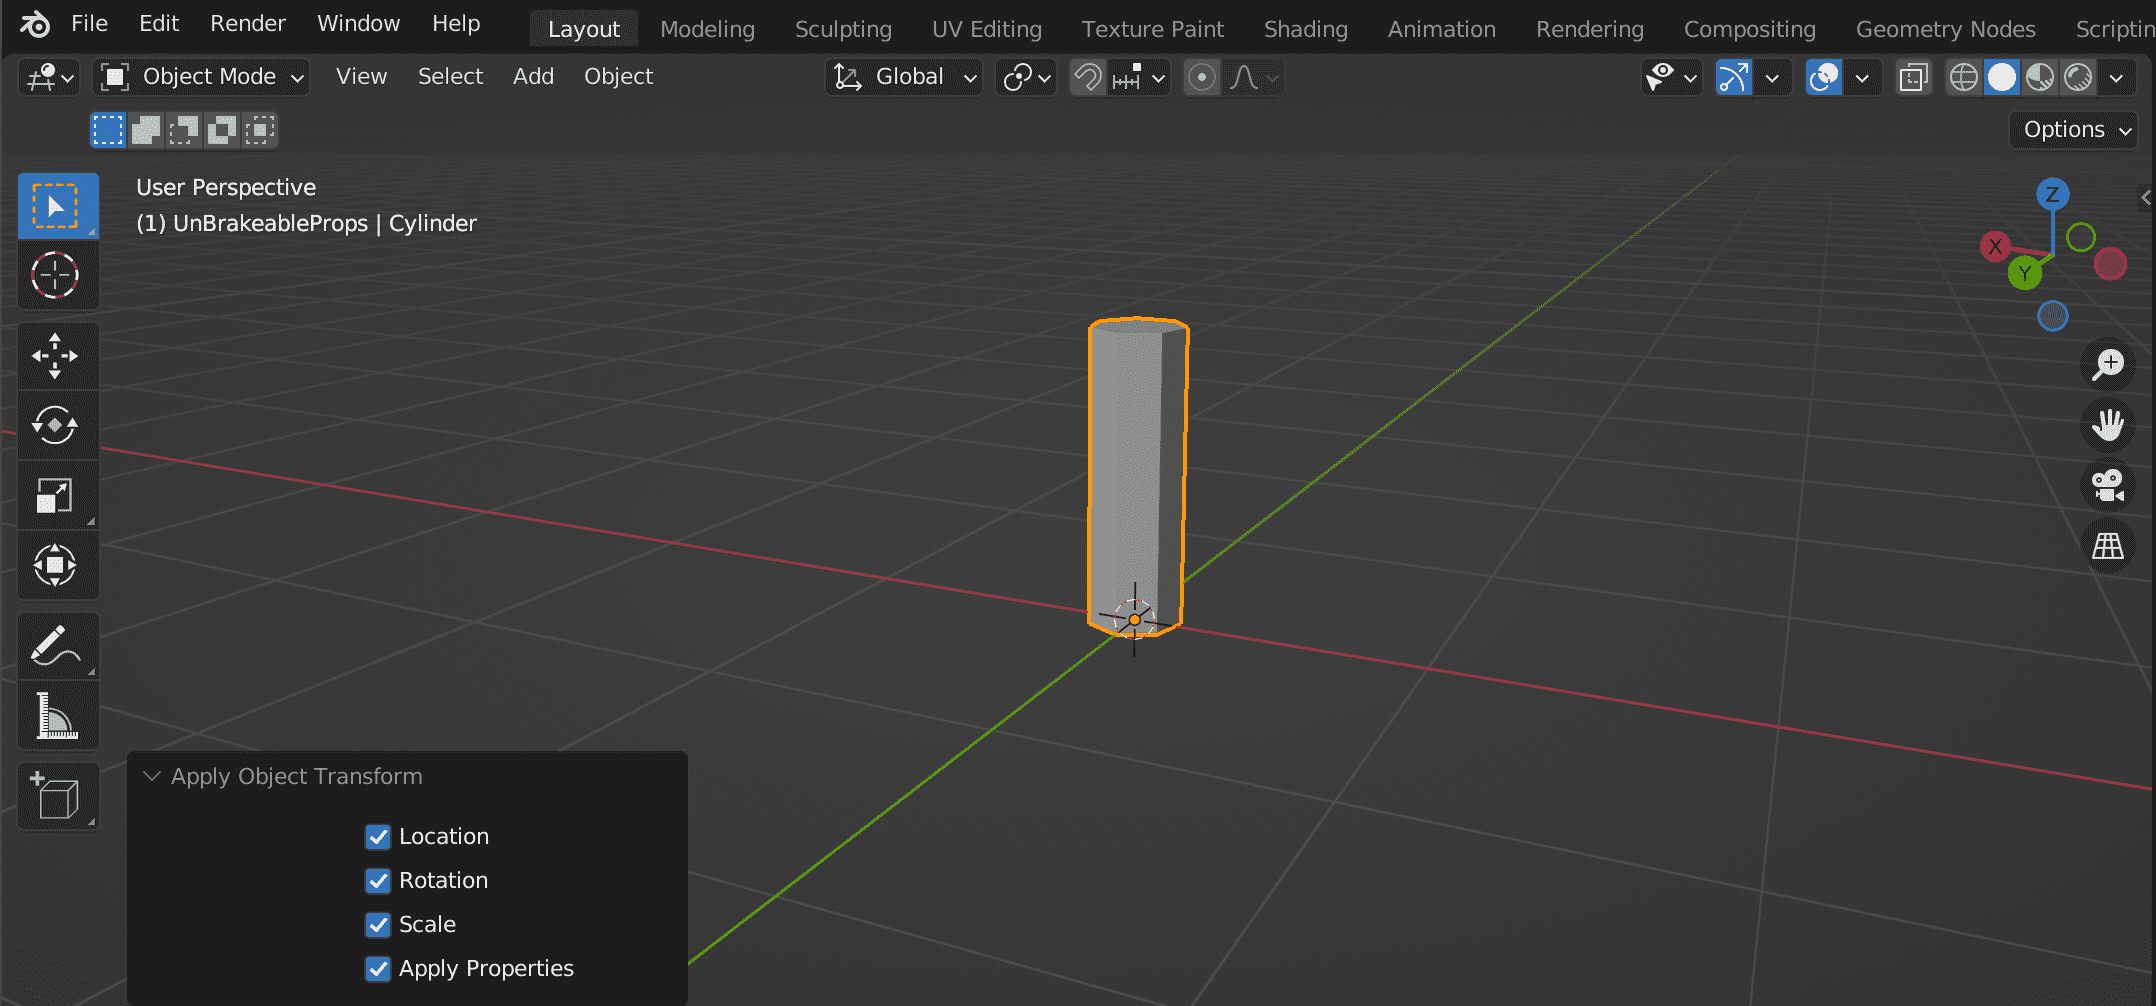
Step 1: Add a cylinder with the following properties. Here, we will use smooth shading, which is optional and scale it in all axes after making its centre at the bottom of the cylinder.
Step 2: Now, by pressing S and Shift + Z, we can scale the cylinder in the x-axis and y-axis and vice versa for each axis to be scaled. Apply All Object Transform to the model so that there won't be any issues with exporting or UV maps in the future.
Step 3: It's still not looking like a bottle, so we need to add 2 loop cuts near the top face, size its top face and extrude it to get the shape of a bottle.
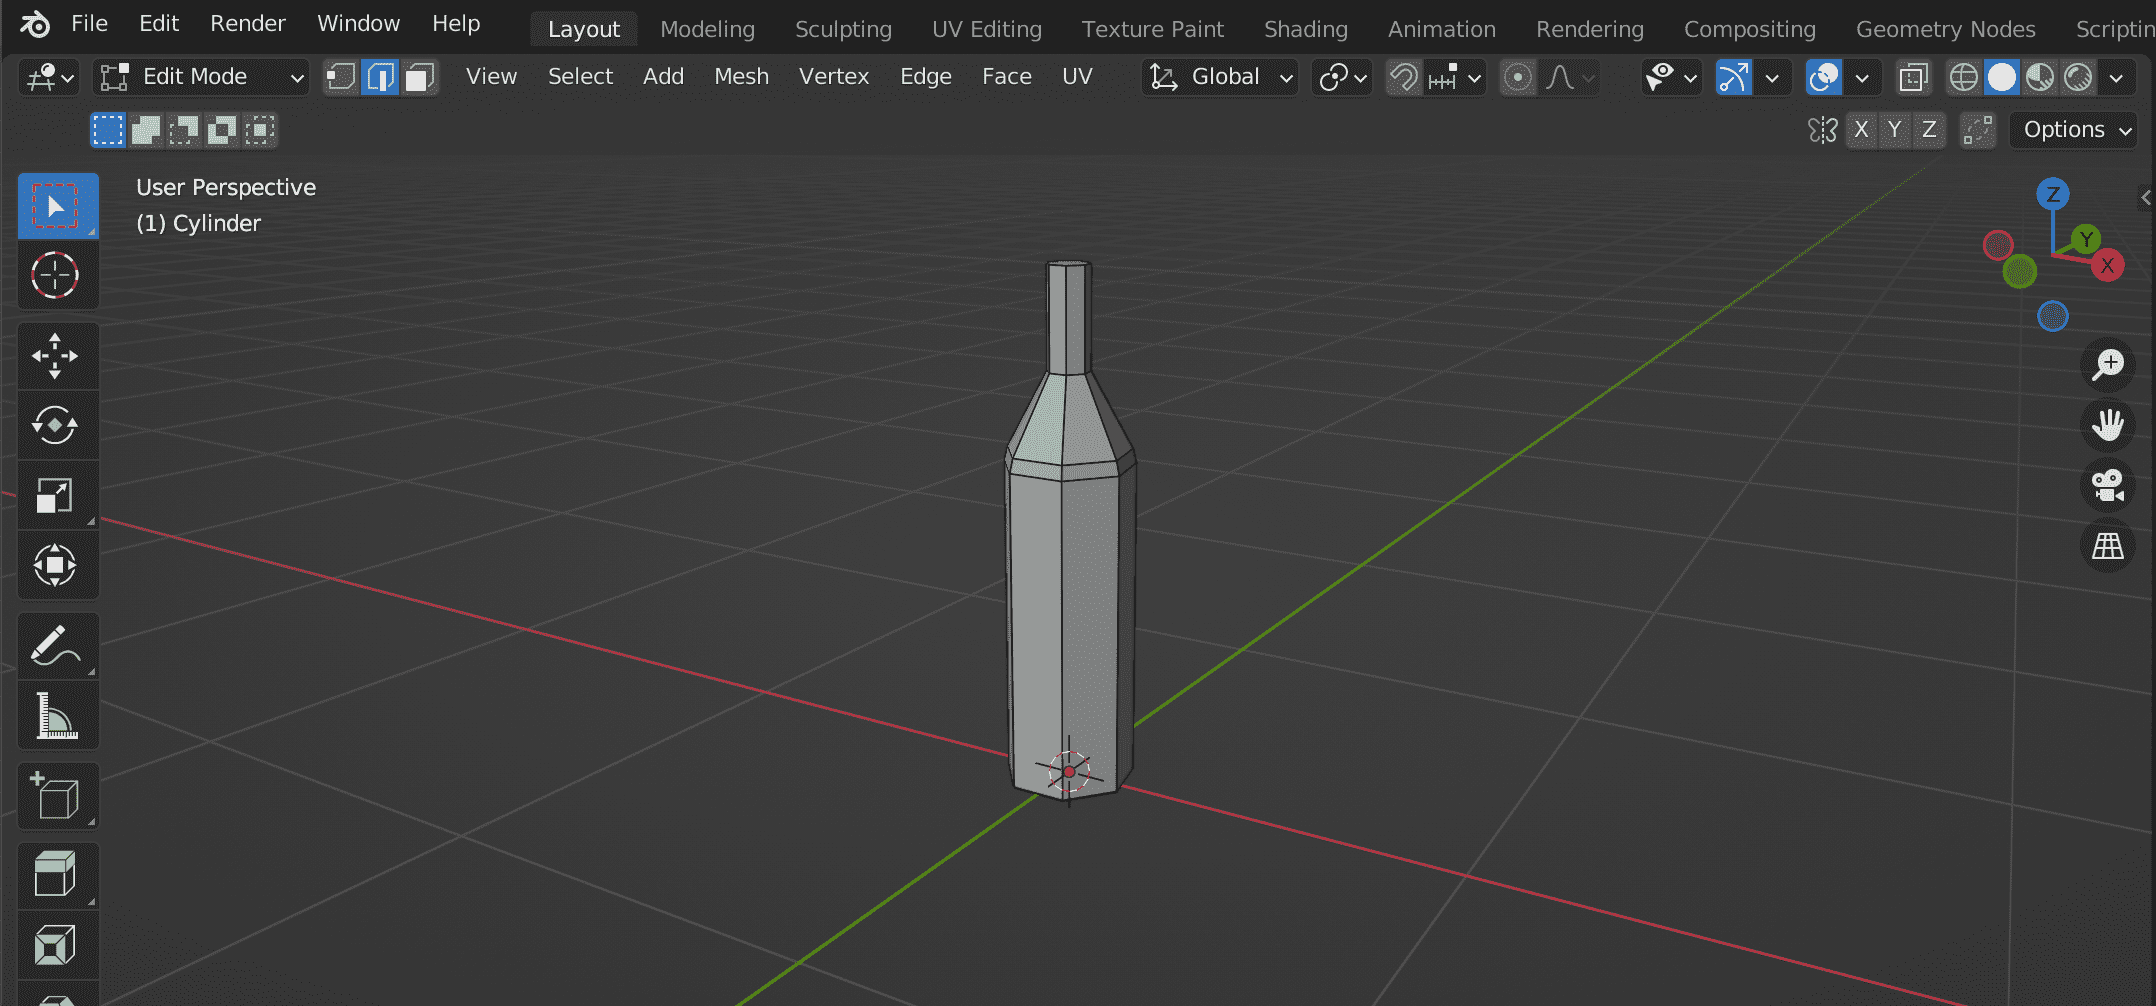
Edit Mode to show loop cuts and extrusionI have named the prop Bottle_UB. The shortcut key for naming mesh in Blender in Windows is F2, and in macOS is fn + F2.
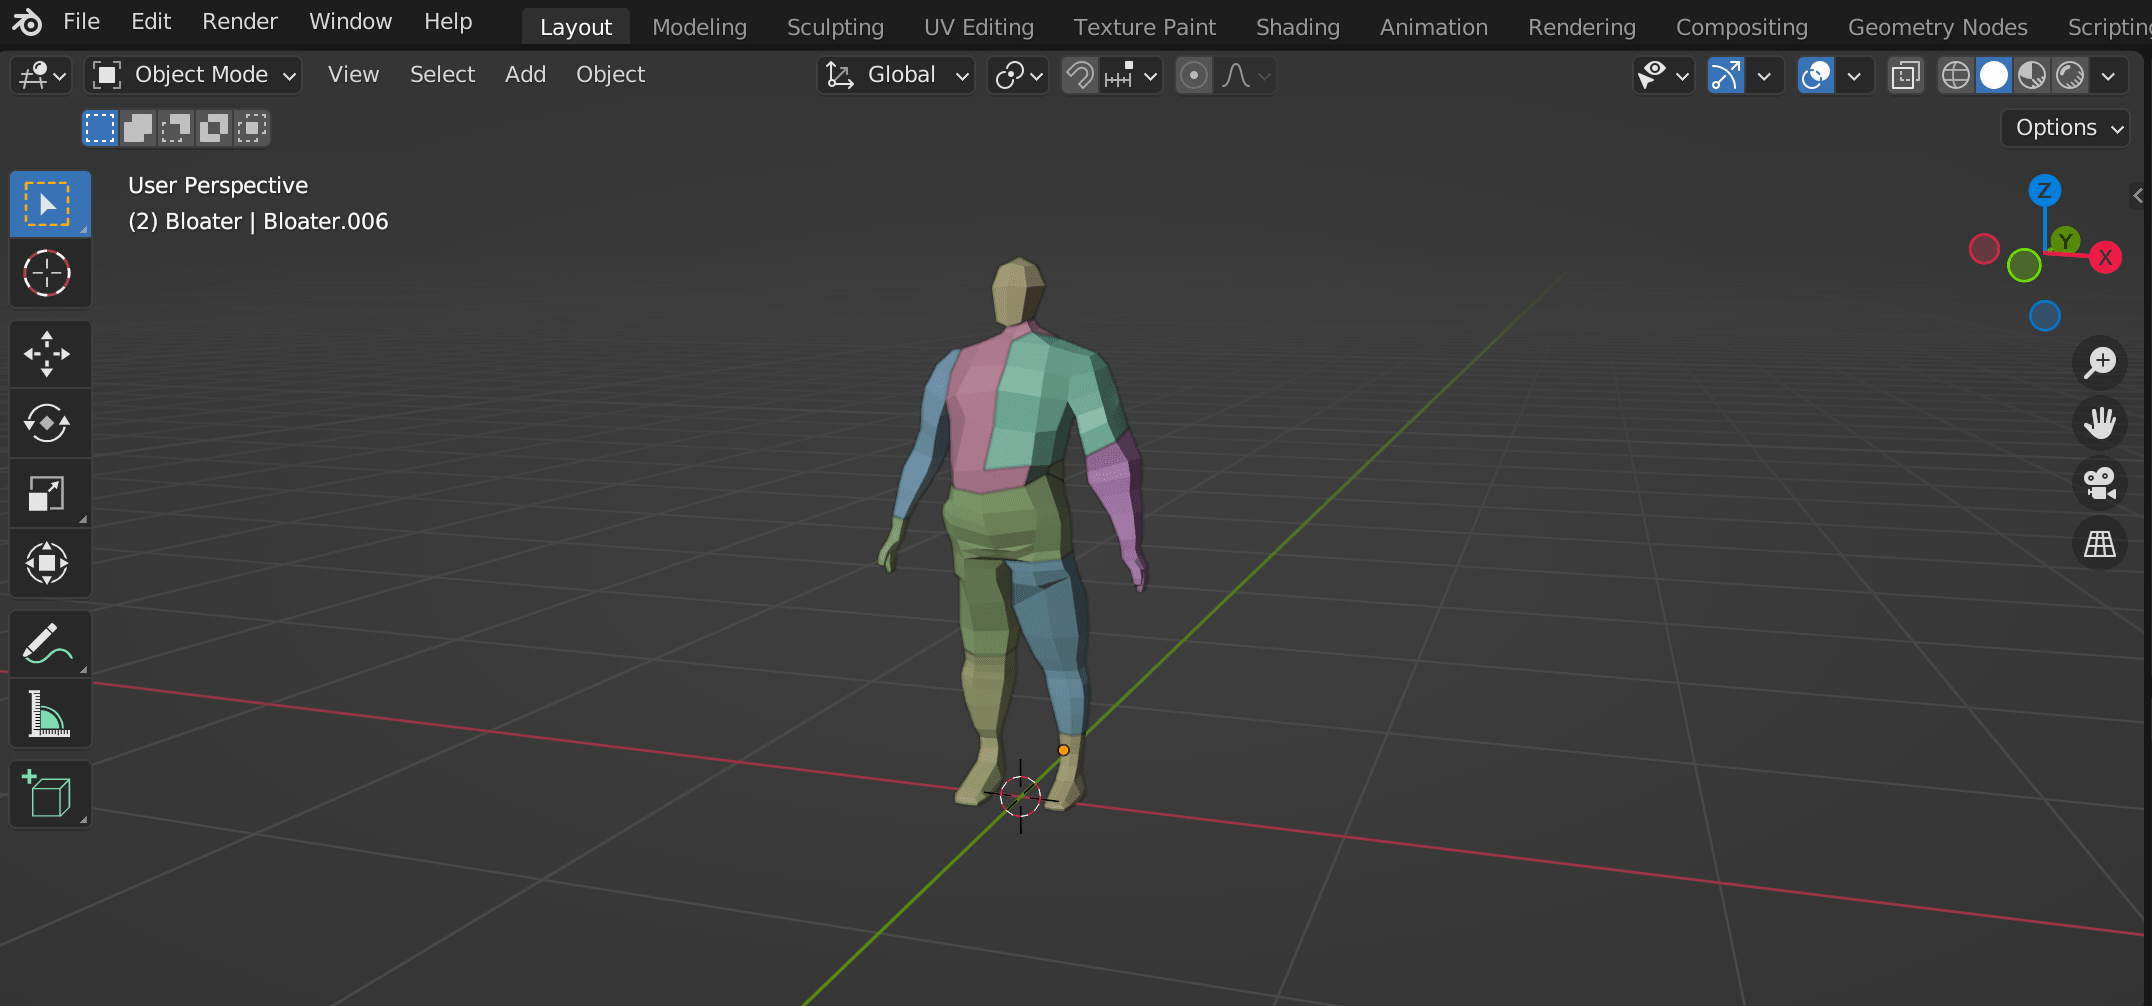
Humanoid prop
For this prop, I will not demonstrate any modelling process as it's a topic on its own. However, I will show you how to create a destructive humanoid body for it. I used an existing model I made a while ago for demonstration purposes.
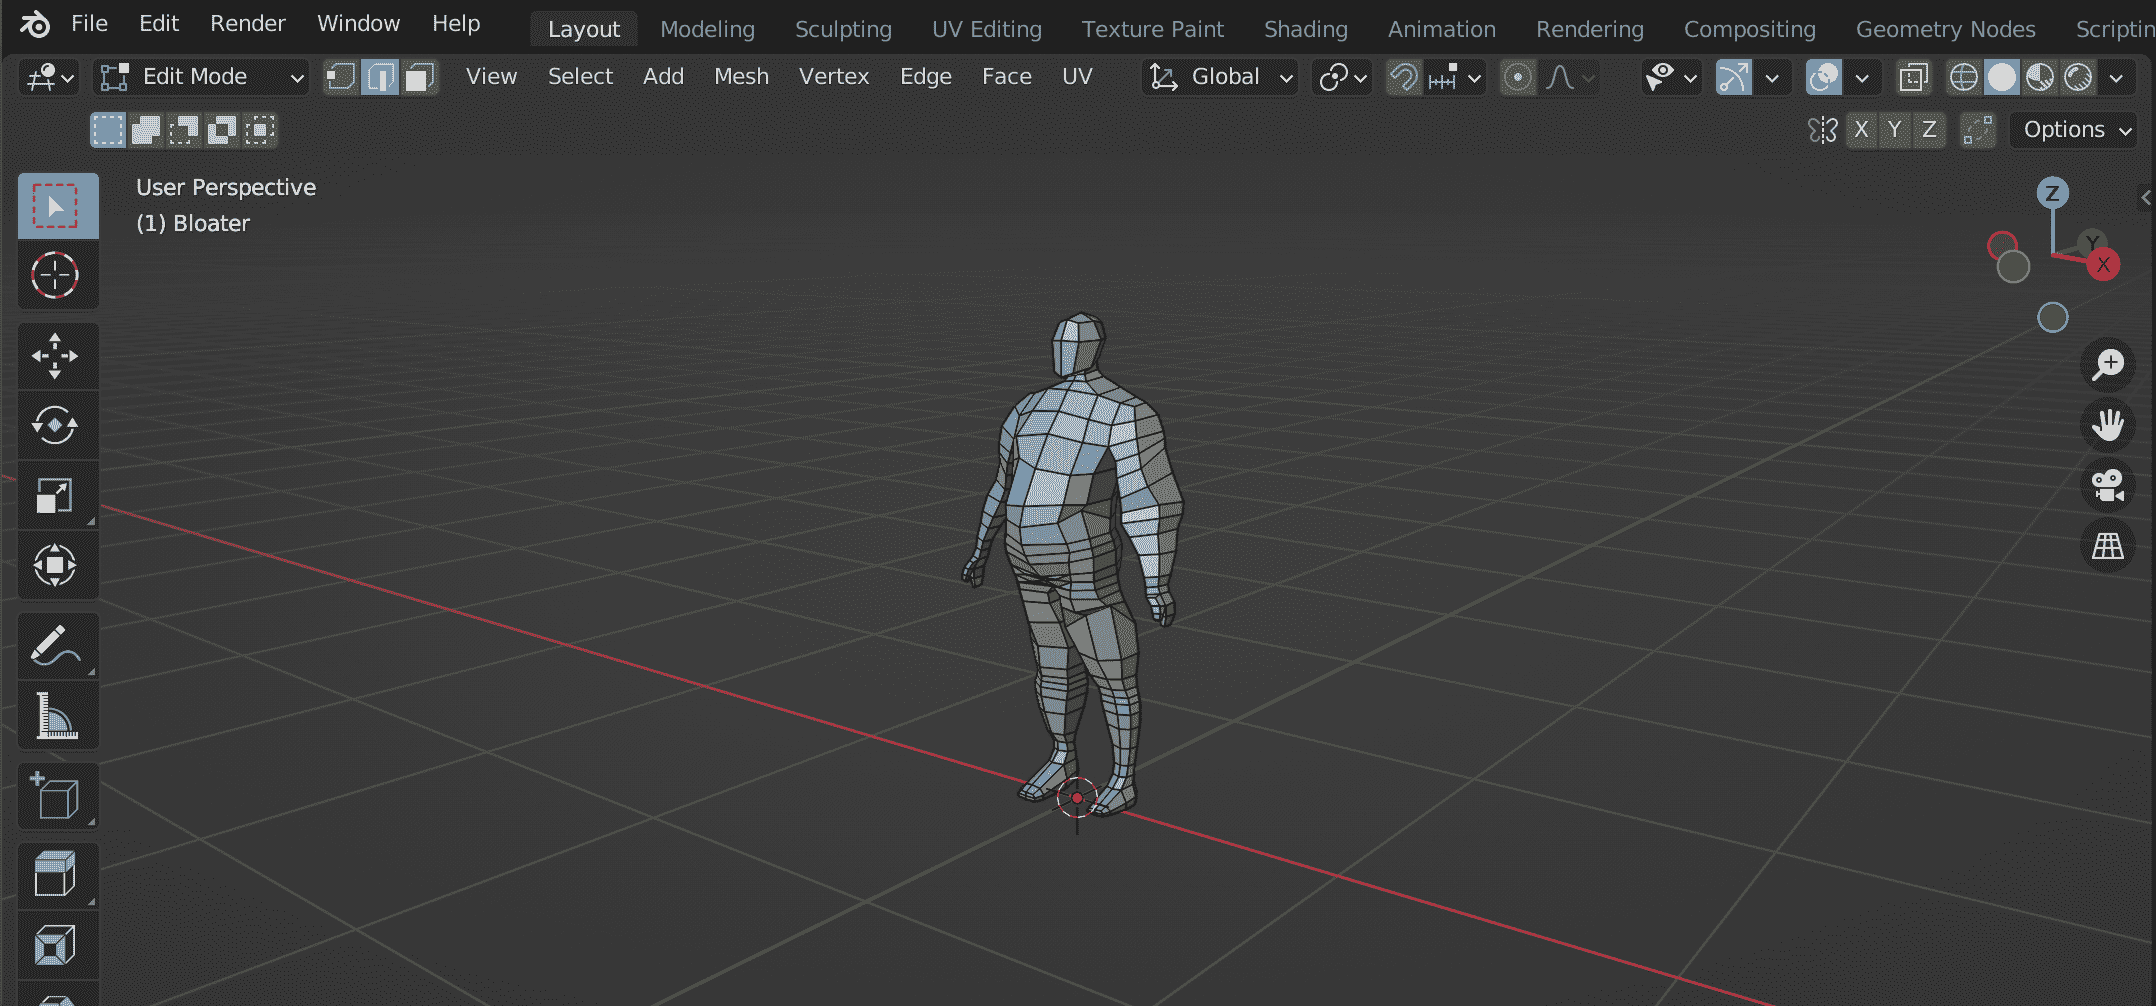
Let's rename it to Bloater_UB.
Destructive assets creation
The core part of this tutorial lies in this part, so get ready to create destructible assets. Here, I will create three destructible assets parallel to the assets created above, and their back extension will be _B . The core point to remember is to cut randomly for humanoids in a non-geometric fashion, whereas random structural building cuts must be geometrical.
Destructive wall prop
Step 1: Create as many collections as required for each mesh with extension _UB, so that it can store all breakable objects in a single collection.
Step 2: Create a copy of wall_UB, created in the above section and name it wall_D. Just remember, organizing props is good for the long run, so add it to its sub-collection with its name.
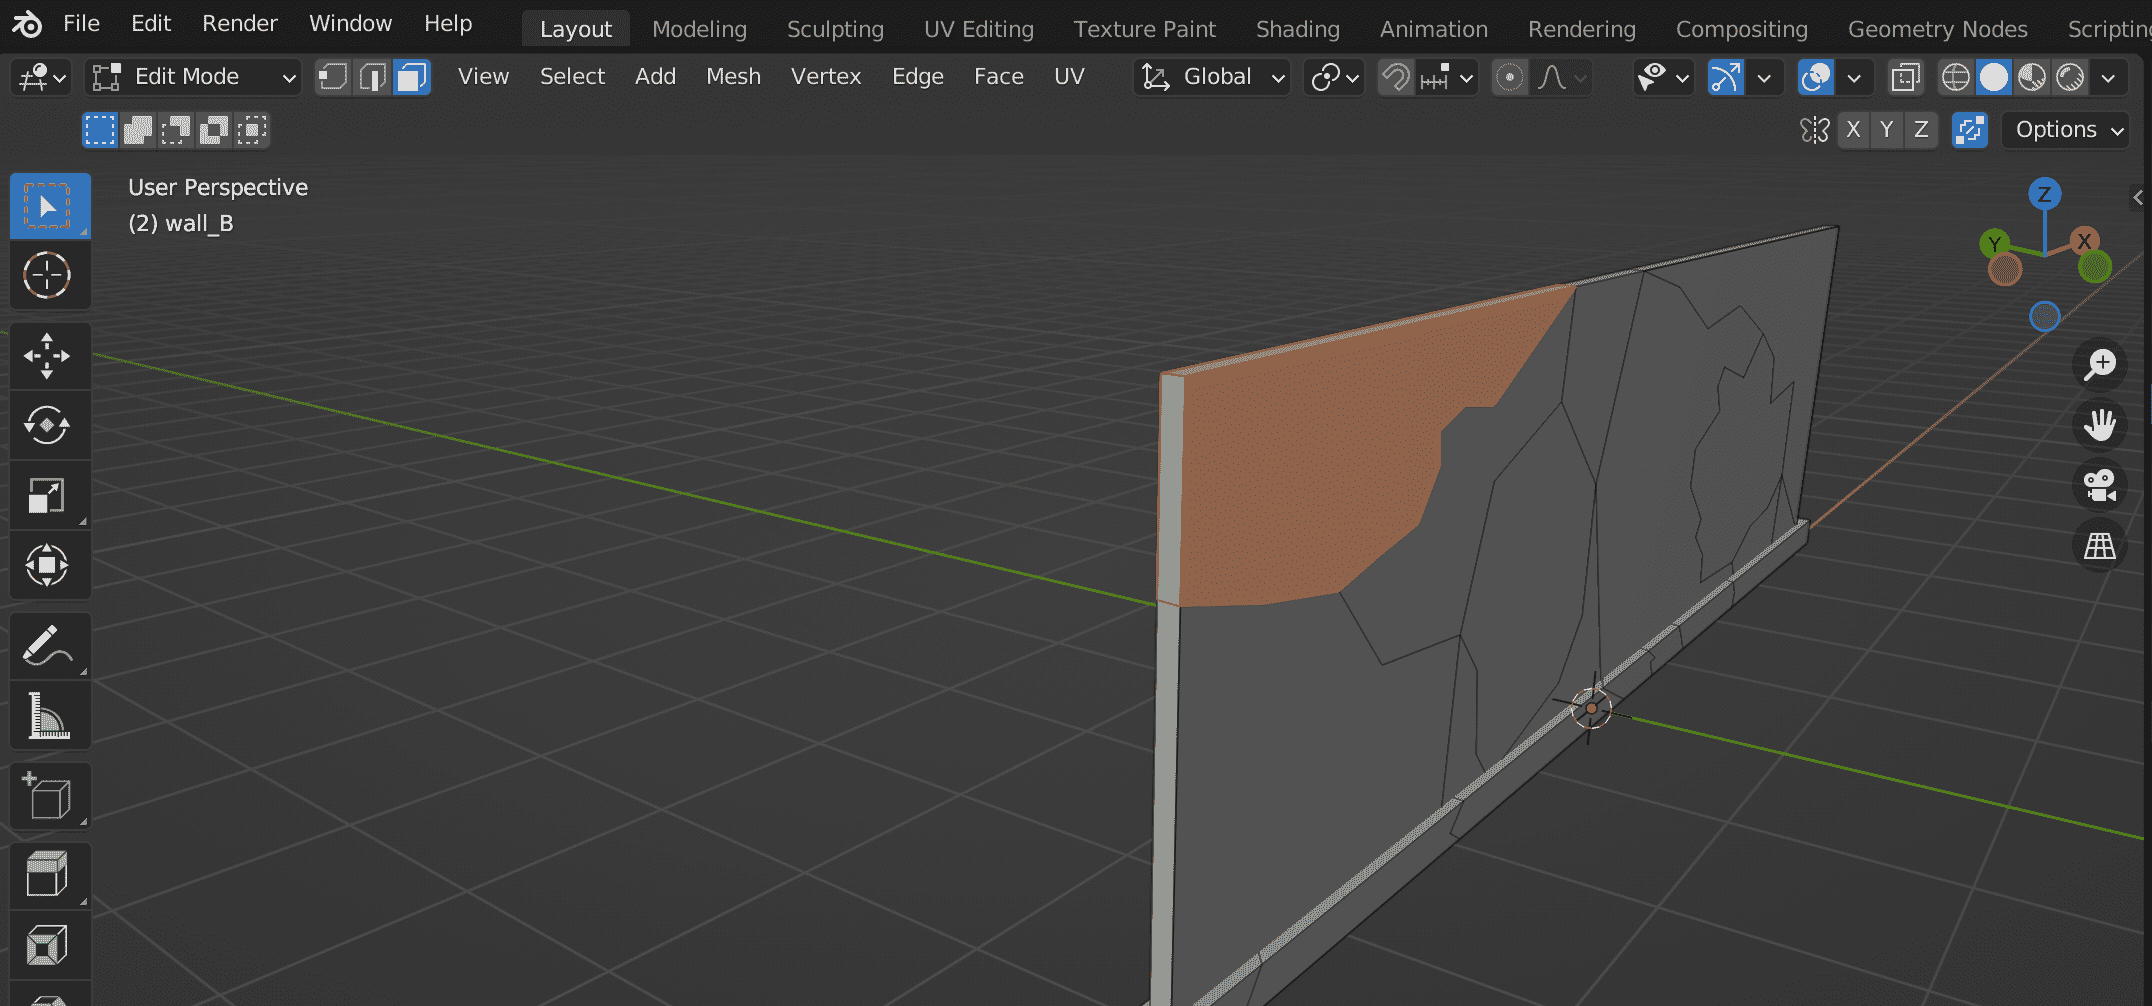
Step 3: Go to Edit Mode and start editing faces by using the Knife Tool as much as you can. Make some pieces smaller and some larger. My best suggestion for creating breakable parts is to cut the main mesh into half and divide them into smaller portions. Use references of destroyed walls for cutting mesh into different portions. The process will look something like this:

Knife ToolStep 4: After cutting all the parts, differentiate them into different objects by selecting faces which are connected, as shown below.
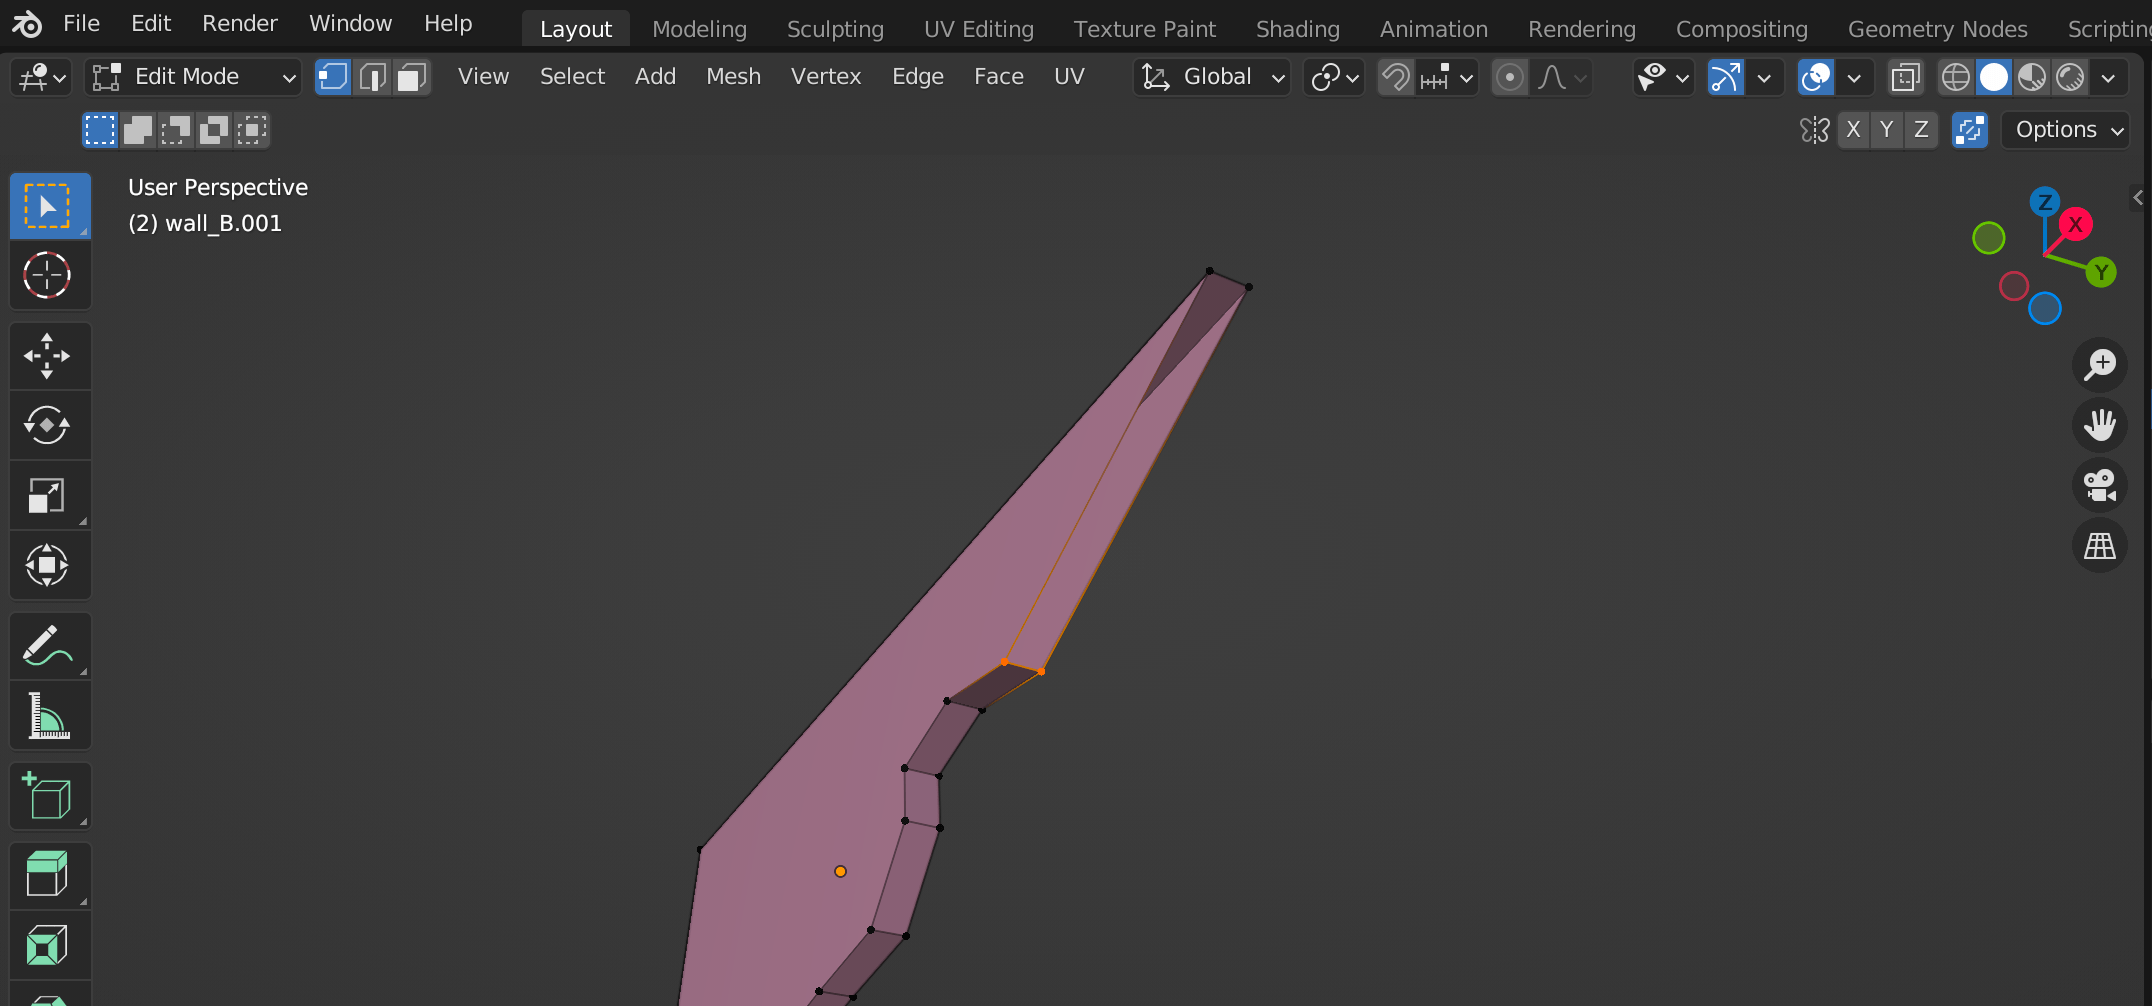
Step 5: After selecting a block of connected faces, separate them by pressing P key and then click on Set Origin > Origin to Geometry. Do this for all faces until all connected faces become a separated mesh.
Step 6: After all the destructible parts have been cut, we need to fill the mesh with required faces so that there is no Backface Culling while implementing it in Unity. For this, select two vertices of a face with no continuity of faces after those vertices. Then, press F which will create faces towards the next vertices aligned to the selected vertices. If it doesn't work, then you might need to select four vertices where there are no faces and repeat the same process until there are no vertices left with no faces. Do this for all other meshes, and you will get a destructible prop for your game project.
Destructive glass bottle prop
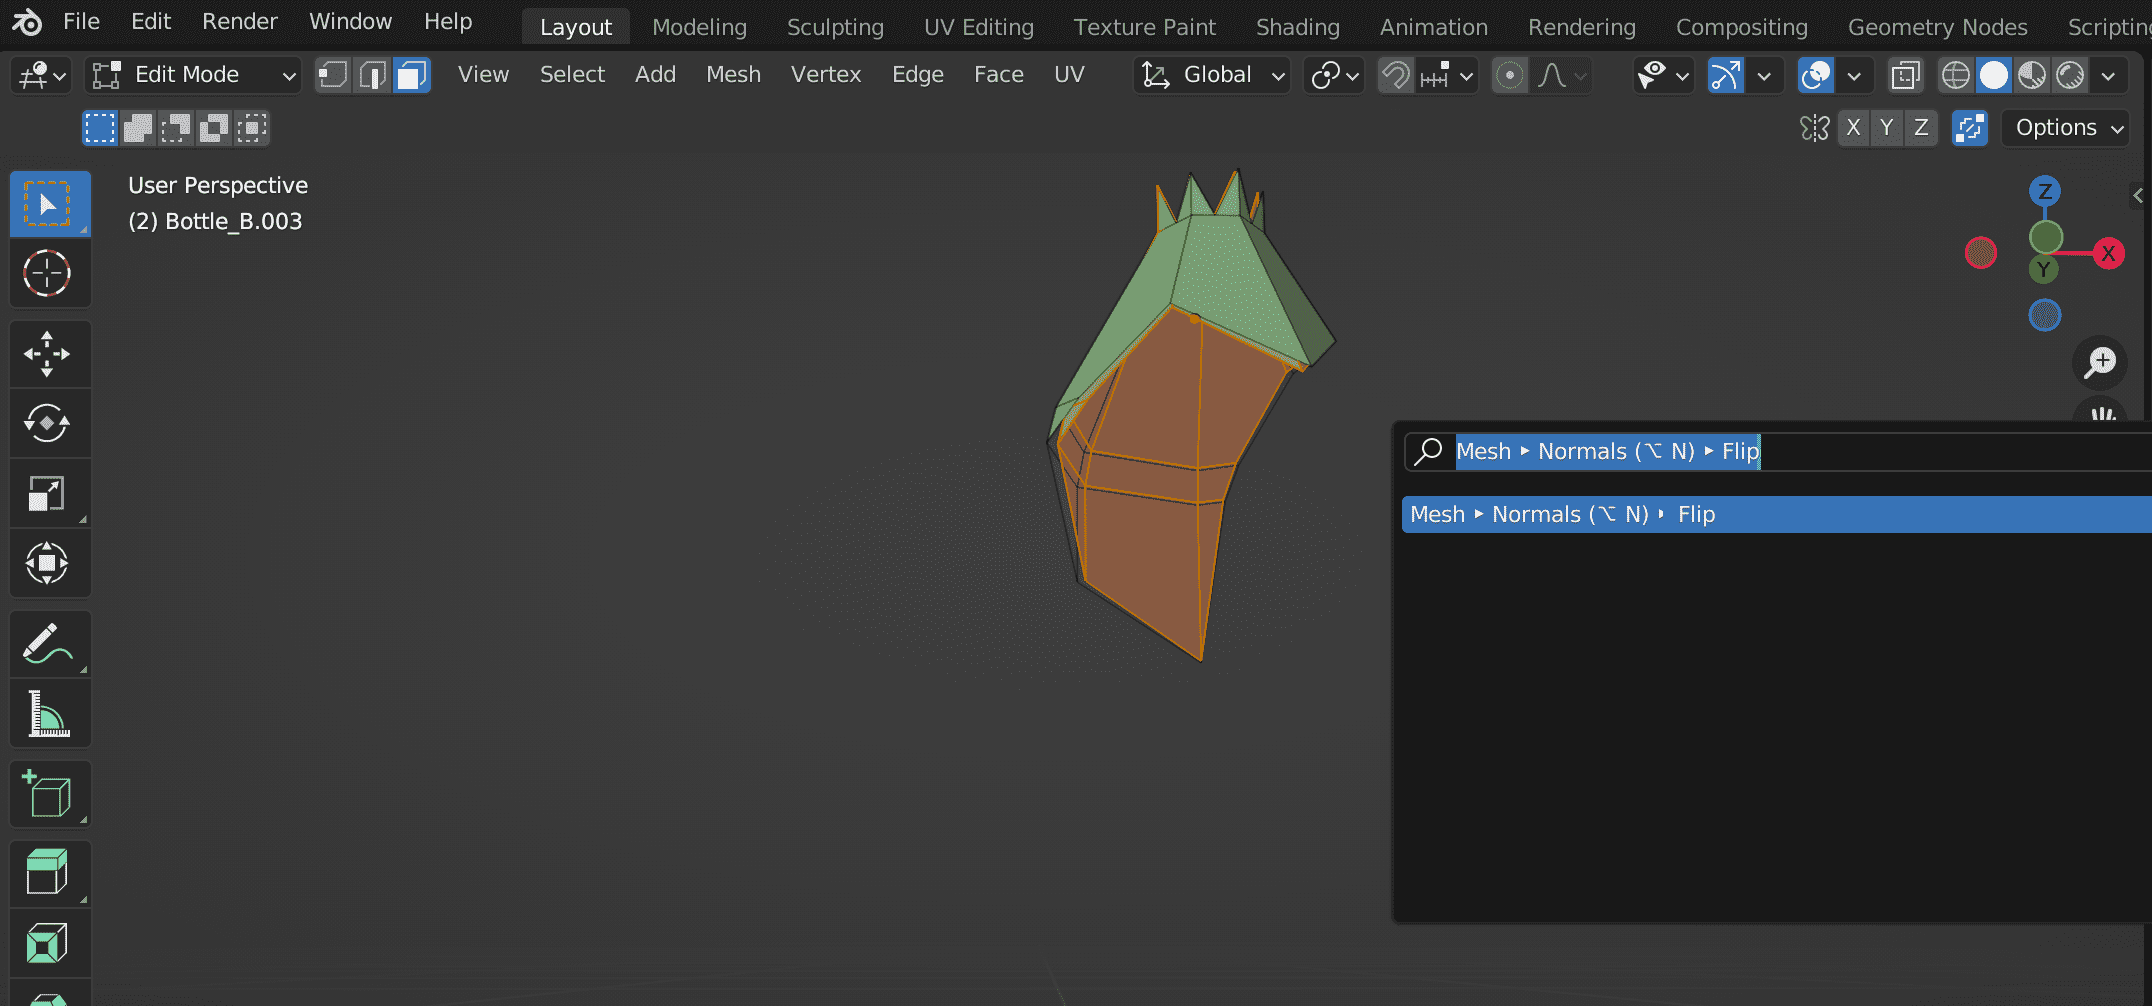
Making a breakable glass bottle prop consists of the same steps taken to make the destructible wall in the above example. Here, I will only show the completed mesh of the glass bottle prop.
For this prop, there might be difficulty correcting Backface Culling. Make a duplicate of the edited cut mesh and duplicate it. Then in Edit Mode, scale the duplicated mesh smaller in the x and y-axis by pressing S and Shift + Z and then decrease the height and flip normal. You'll get a shape like the one shown below.
Destructive humanoid prop
The same steps apply to the humanoid prop as we cut a single mesh into the different meshes. Follow the steps shown in the above examples to complete creating a destructive humanoid prop.
For this prop, the only extra step I took was to make each part centre where the force would be applied and the direction the centre was facing.
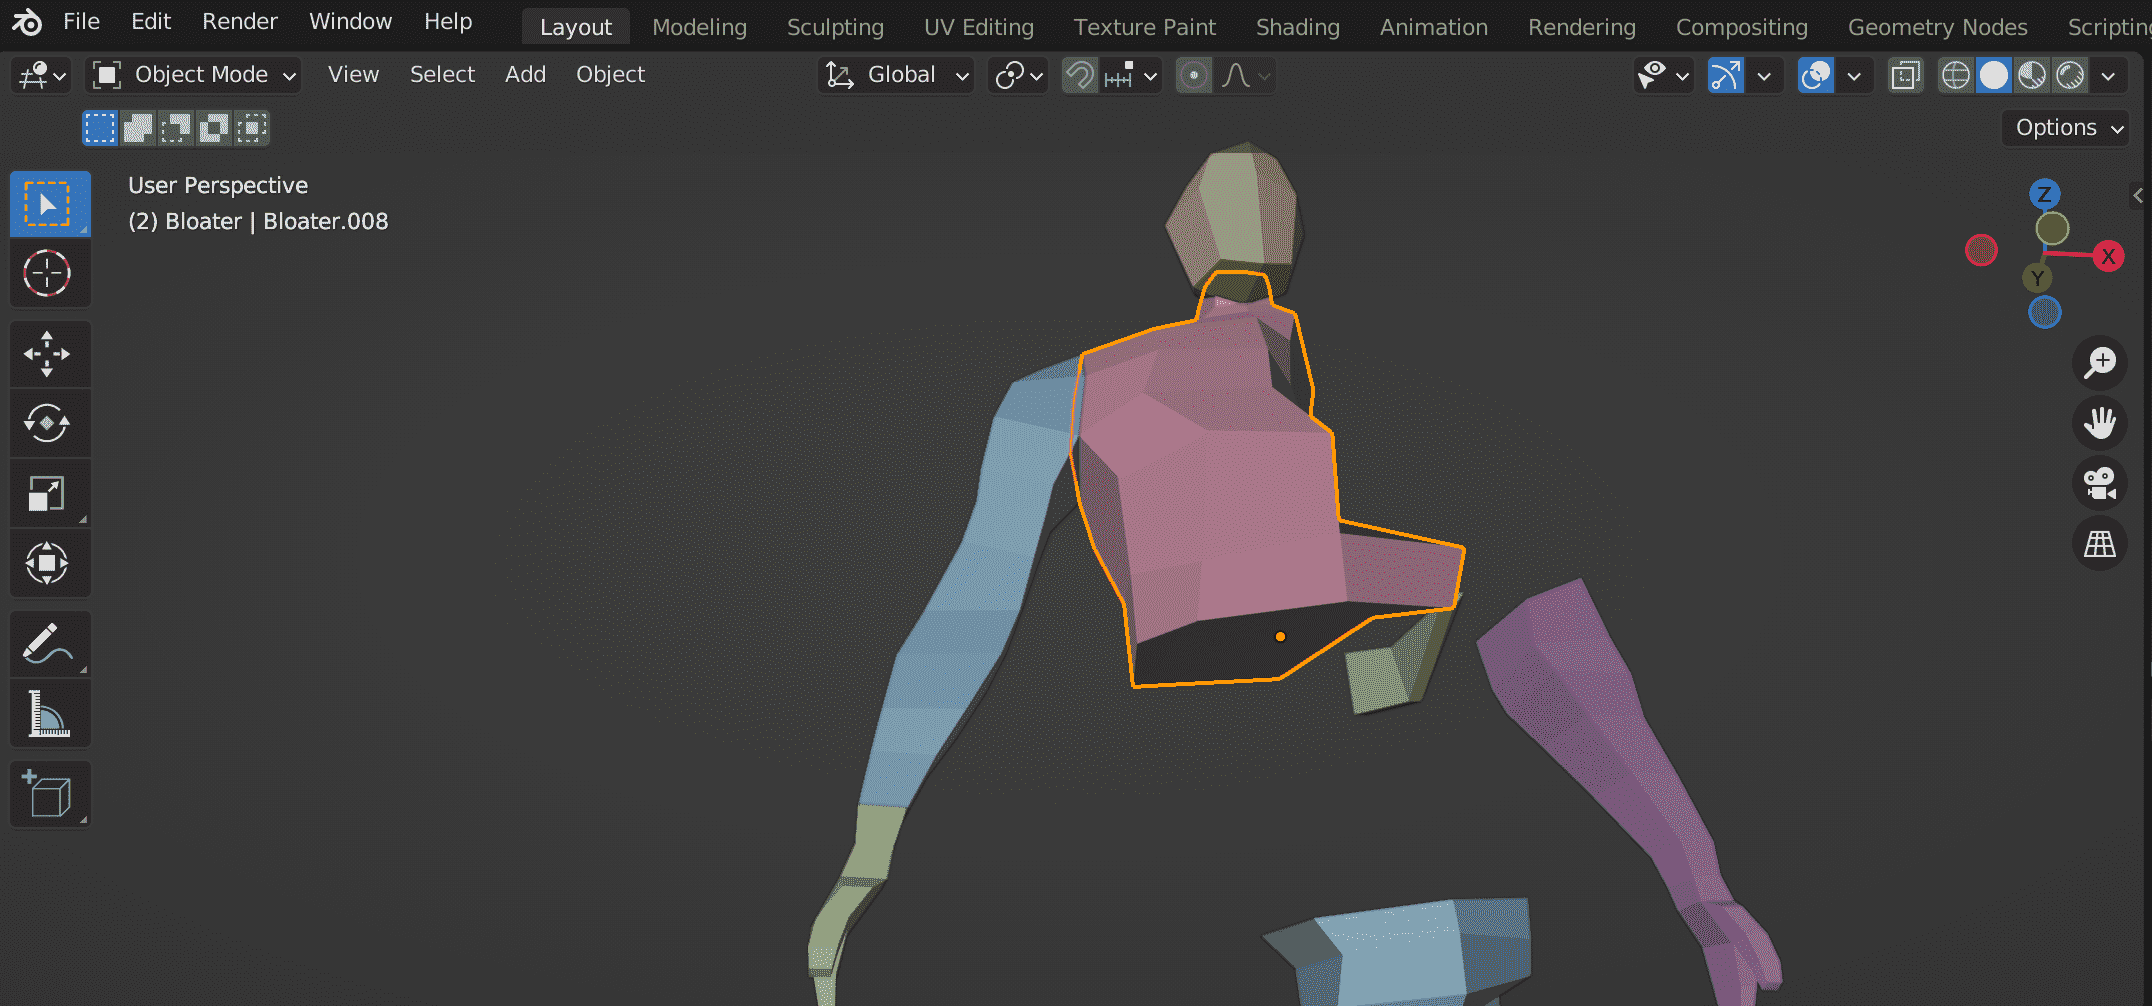
In the above image, the upper torso has its centre at the bottom middle portion, which will be useful for applying force and giving direction for force to be applied.
Conclusion
We have finally completed creating props for both destructible and static. Now, they are to be implemented in Unity for creating a destructible environment and AI. There are some hard curves that you might face, but if you're reading this, then I hope you have learned implementation on destructible props for any game project.
We have created the required asset for the destructive environment. Now the only task remaining is to implement it in Unity and do some coding. Tune in for part 2, where I will explain how to implement a destructive environment in Unity.
Thanks for reading! If you face any difficulty in the process, let me know by commenting below.