#Mermay is a drawing challenge hosted by Tom Bancroft on Instagram and mermay.com. Each year artists from all over the world draw mermaids every day during the month of May. This year was the first time I decided to participate in the challenge.
Here is the prompt list for this year, 2022.
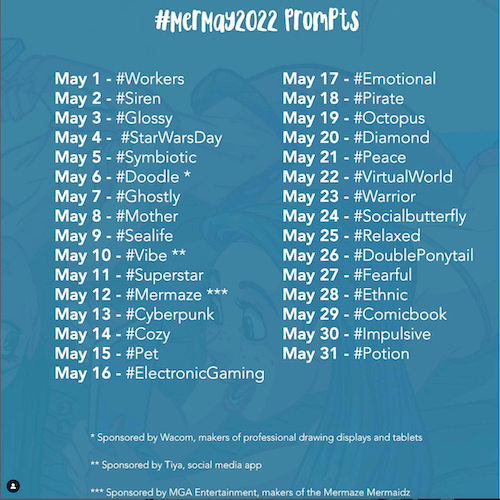
Artists create their own mermaids based on these prompts and post them on Instagram, using the #mermay hashtag.
After my trials and tribulations over learning how to rig a few months ago *sighs*, I am always looking forward to testing my skills. This was the perfect opportunity!
So, I decided to go with 3D illustration rather than 2D. There were two benefits to this: I could reuse the base model for all the mermaids and the same rig for posing all the mermaids.
Breaking Down the Process
Here is a little breakdown of how I created the rig:
- Create a rig for the upper part of the body with octahedral bones.
- Create a bendy bone rig for the tail, parented to the upper body rig.
- Create empty object proxies for attaching all the extra objects to the main rig.
- Parent, parent, and parent, and your rig is ready!
Notice how there is no weight painting? I am using empty objects as bone proxies to eliminate the need to weight paint the extra objects such as the eyes, ears, nose, and eyebrows...
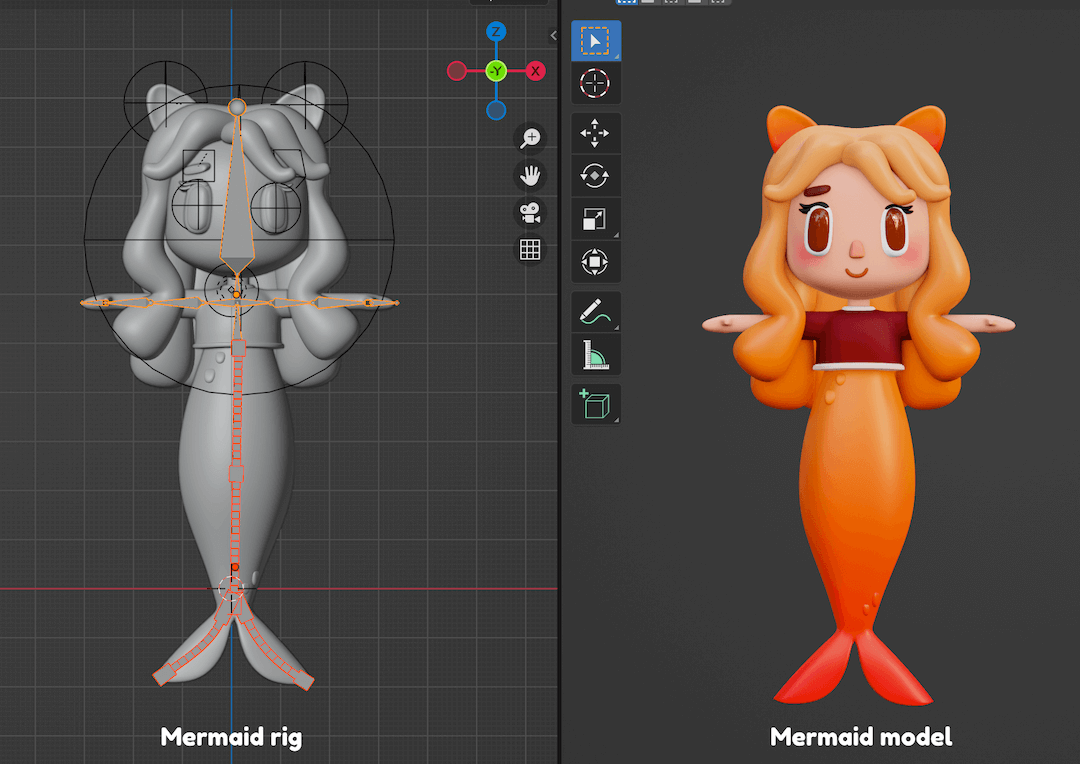
Rig For the Upper Body

I started with a single bone for the upper body, then extruded the bone upwards and sideways to map out the skeleton. Each bone should correspond with the part of the body that should bend with it. Then the mesh can be parented to the skeleton with automatic bone weight assignment.
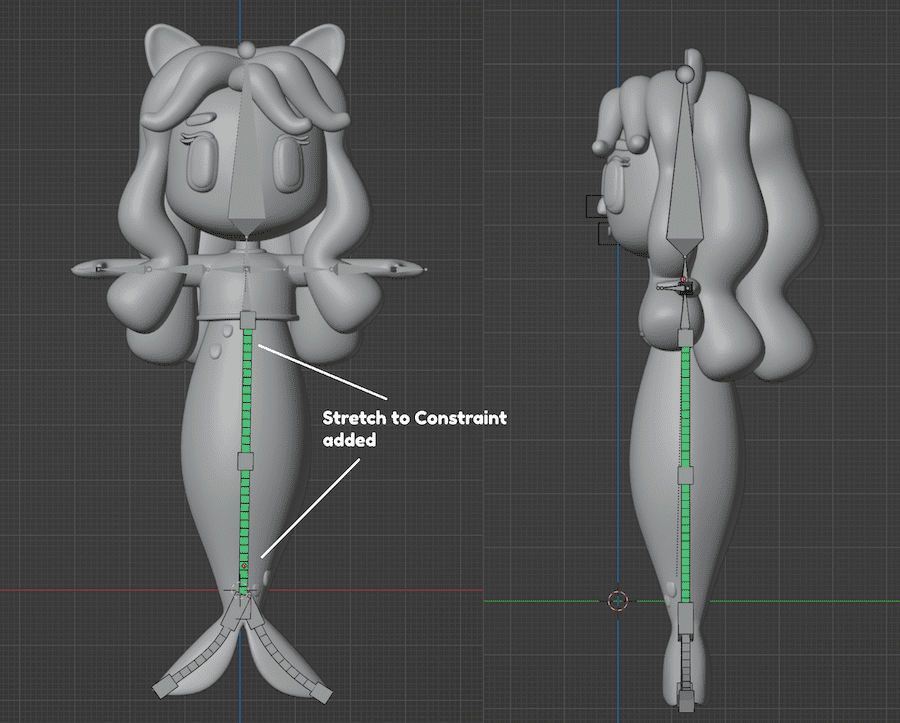
Rig For the Tail
I decided to go with bendy bones for rigging the tail instead of the default octahedral bones. This would make bending and posing the tail much easier.
I decided to add two major bendy sections for the tail and two more for the fins at the end. After creating the bone, I parented the tail mesh to the rig with automatic weights.
Adding Extra Objects
The upper body and the tail are now rigged. Now, let's move on to adding all the extra meshes to the rig. Extra objects include the hair, eyes, eyebrows, mouth, nose, and other fins on the tail.
One way to do this is to create a rig for each part, such as the eye, nose, mouth, or hair. However, since I will not be animating the mermaid, each extra part doesn't really need an extra bone for the rig. Instead, I am using an empty object as a proxy.
Here's the breakdown of the process:
- Add an empty object for each extra object. i.e. eyes, hair, nose, mouth, ears, and eyebrows.
- Parent the extra objects to the upper skeleton rig as bone.
- Parent the corresponding extra object to the empty object as an object.
There we have it! The extra objects are now parented to the main rig. This eliminates having to go into each separate object to add the weight-paint details.
Now, all we have to do is parent the tail rig to the upper body rig as an object. And we're done! All rigged and ready to pose without having to weight-paint a single bone!