
Dialogue systems are a feature that is present in games of all scopes, from mobile games to the most famous AAA games. They are used for various purposes, from displaying conversations between players and characters in the game, or giving an overview of various story segments.
Usually, dialogue systems come with the implementation of a dialogue tree, allowing players to decide what to say and, in turn, making sure that said decisions have overall effects in the game environment. This blog will review the fundamentals of creating such a text-based dialogue system.
Setting up the UI
Step 1: Display the dialogue system
Firstly, we must ensure a proper UI to display the entire dialogue system. For this, we will make a simple white text box that will allow text to be displayed in it.
Step 2: Create a dialogue box
Create a new project. After doing so, create an empty GameObject in the canvas and call it the DialogueBox.
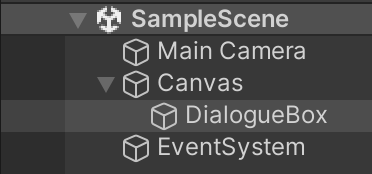
DialogueBox as an empty objectThen, the DialogueBox needs to be anchored to the bottom centre of the screen. To do this, click the DialogueBox GameObject, go to its RectTransform and click the anchor presets button. Press Shift+Alt on Windows or Shift + Option on Mac and select the bottom centre preset.
Step 3: Set the canvas's reference resolution
Now, go to the Canvas in the hierarchy, and set the Canvas Scaler's UI Scale Mode to Scale with Screen Size. Also, set the reference resolution to any design you have in mind. In this case, we are going to set it to 1920x1080. Next, set the width and height of the DialogueBox as necessary. In this case, we are going to set it to a width of 1600 and a height of 300.
Step 4: Add a background to the dialogue box
Now we are going to add a background to the DialogueBox. For this, right-click the DialogueBox in the hierarchy and add an image by going under UI > Image. To fill the entire DialogueBox with this image, set the Anchor Preset of the image to Full Stretch.
Step 5: Add a text component to the dialogue box
After this, we are going to add a text component to the DialogueBox. To do this, repeat the same procedure as above, but go under UI > Text > TextMeshPro. To make the text visible, set its Vertex Colour to Black in the inspector. Once again, set the Anchor Preset of text section to Full Stretch. Also, rename this object to DialogueText.
Import TMP Essentials button.Implementing Dialogue Data
Step 1: Storing blocks of dialogue
We will now start adding all necessary components to store the dialogue to be displayed in the game. For this, we will first create a class called DialogueLine. This will contain the string that acts as one dialogue block displayed to the user at a time.
using UnityEngine;

[System.Serializable]
public class DialogueLine
{
    [TextArea] public string dialogue;
}
The DialogueLine class
The reason this class is made serializable is so that it is visible later in the Unity Editor when we need to visualize and edit any objects of the DialogueLine class.
DialogueLine class, such as the name of the speaker and the current sprite. This will allow a system in which such variables enable making changes to other dialogue aspects, like the speaker's name and sprite, along with the current line of dialogue.Step 2: Storing multiple dialogue lines
After that, we will create a class called DialogueObject. For now, this class will only consist of an array of DialogueLines. The order in which the DialogueLine objects are in this array will be the order in which blocks of dialogue are displayed to the player.
using UnityEngine;

//The following line allows you to create a dialogue object from the Unity Editor itself
[CreateAssetMenu(menuName = "Dialogue/DialogueObject")]

public class DialogueObject : ScriptableObject
{
    public DialogueLine[] dialogueLines;
}
The DialogueObject class
Also check: Integrate Image with Text Using TextMeshPro
Scripting to show text in the UI
Step 1: Create the dialogue displayer and add references to it
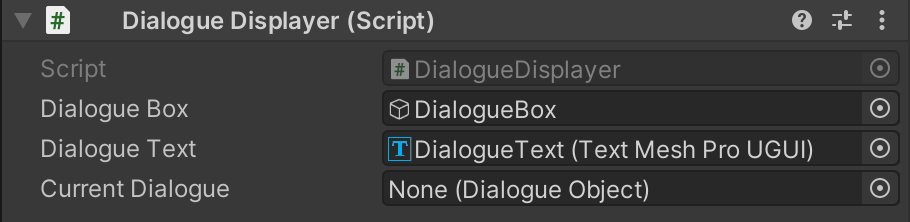
Now, create a script called DialogueDisplayer and add it to Canvas to display the dialogue text in the UI. Inside the script, add a reference to the DialogueText and DialogueBox. Also, add a public reference to the current DialogueObject as follows:
using System.Collections;
using System.Collections.Generic;
using TMPro;
using UnityEngine;

public class DialogueDisplayer : MonoBehaviour
{
	[SerializeField] private GameObject dialogueBox;
	[SerializeField]private TMP_Text dialogueText;
	public DialogueObject currentDialogue;
}
DialogueDisplayer script
Next, going back to the Canvas in the hierarchy, drag and drop the DialogueText object to the DialogueText field and the DialogueBox to the DialogueBox field.
DialogueDisplayer fieldsStep 2: Create a system to move through individual dialogue lines
We need some way to move through each DialogueLine in the DialogueObject. For this, we will add the following coroutine in the DialogueDisplayer script.
private IEnumerator MoveThroughDialogue(DialogueObject dialogueObject)
{
    for(int i = 0; i < dialogueObject.dialogueLines.Length; i++)
    {
    	dialogueText.text = dialogueObject.dialogueLines[i].dialogue;

        //The following line of code makes it so that the for loop is paused until the user clicks the left mouse button.
        yield return new WaitUntil(()=>Input.GetMouseButtonDown(0));
        //The following line of code makes the coroutine wait for a frame so as the next WaitUntil is not skipped
        yield return null;
    }
    dialogueBox.SetActive(false);
}
MoveThroughDialogue Coroutine
This coroutine will go through each of the DialogueLines in the DialogueObject one by one, only moving to the next one when the player left-clicks the mouse. When there are no more DialogueLines to move through, the DialogueBox is disabled.
To start the displaying of dialogue data, we need to provide the current dialogue field with a DialogueObject. We also need a function to start the MoveThroughDialogue coroutine. For this, we will create a function called DisplayDialogue and use it to start the MoveThroughDialogue coroutine with the current dialogue as the DialogueObject. This function will be called at Start.
public void DisplayDialogue(DialogueObject dialogueObject)
{
	StartCoroutine(MoveThroughDialogue(dialogueObject));
}
DisplayDialogue Function
Final DialogueDisplayer Script
In the end, the DialogueDisplayer script should look like this:
using System;
using System.Collections;
using System.Collections.Generic;
using TMPro;
using UnityEngine;

public class DialogueDisplayer : MonoBehaviour
{
    [SerializeField] private GameObject dialogueBox;
    [SerializeField] private TMP_Text dialogueText;
    public DialogueObject currentDialogue;

    private void Start()
    {
        DisplayDialogue(currentDialogue);
    }

    private IEnumerator MoveThroughDialogue(DialogueObject dialogueObject)
    {
        for(int i = 0; i < dialogueObject.dialogueLines.Length; i++)
        {
            dialogueText.text = dialogueObject.dialogueLines[i].dialogue;

            //The following line of code makes it so that the for loop is paused until the user clicks the left mouse button.
            yield return new WaitUntil(()=>Input.GetMouseButtonDown(0));
            //The following line of codes make the coroutine wait for a frame so as the next WaitUntil is not skipped
            yield return null;
        }
        dialogueBox.SetActive(false);
    }

    public void DisplayDialogue(DialogueObject dialogueObject)
    {
        StartCoroutine(MoveThroughDialogue(dialogueObject));
    }
}
DialogueDisplayer Script
Creating the Dialogue Objects
Now, we will need to create a DialogueObject. To do this, go to your project window, right-click and go to Create > Dialogue> DialogueObject. Then, name it and add the lines of dialogue. In this case, we are going to call it TestDialogue and add four lines to it.
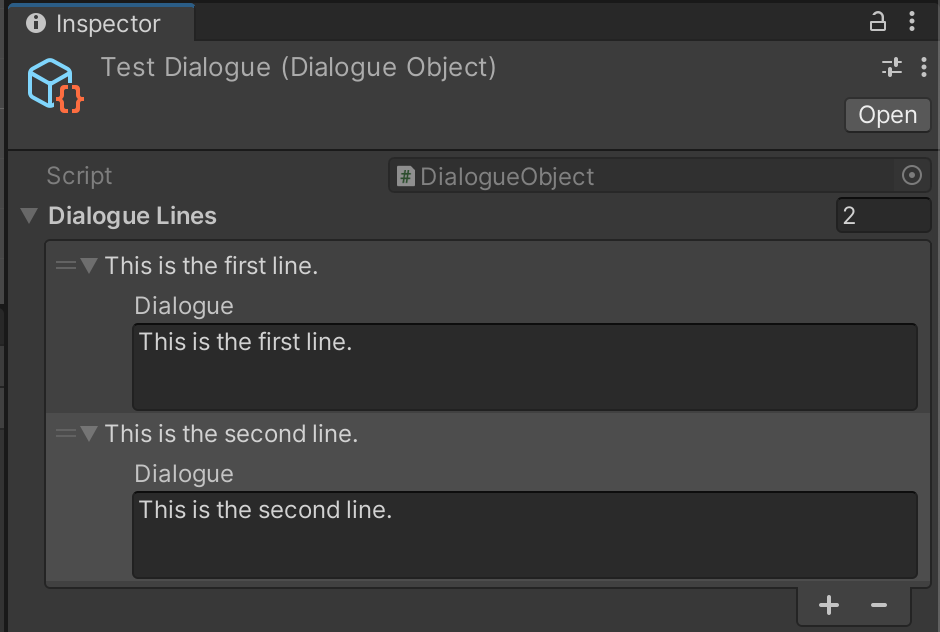
TestDialogue Dialogue ObjectTo initialize the dialogue, add this DialogueObject to the current dialogue field under the DialogueDisplayer script in your Canvas.
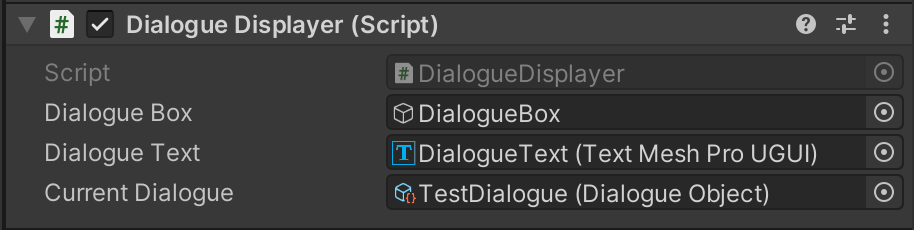
TestDialogueWant to improve your game performance? Check out 5 Tips to Improve Game Performance in Unity.
Conclusion
On pressing play, you should see the dialogue lines displayed one by one until the end, after which the dialogue box disappears.

With this, you can make a functional dialogue system. Next time, we will implement responses and make the dialogue branch out accordingly.
Subscribe to stay tuned for part 2!