If you ever wanted to create fluffy pillows, there is an easy way to do so in Blender. You will learn how to setup mesh and simulate the mesh to create pillow shape using cloth simulation. You will also learn further modifications to the mesh to take it to the next level.
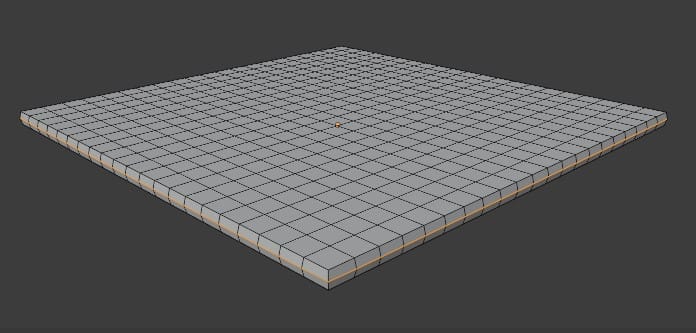
First of all, add a plane with about 20 subdivision loop cuts, then extrude along the z-axis. Add a loop cut at the midpoint of the mesh CTRL + R and ALT + S (scale along normals) to scale the cut slightly outwards. You should end up with a similar mesh as the result below.
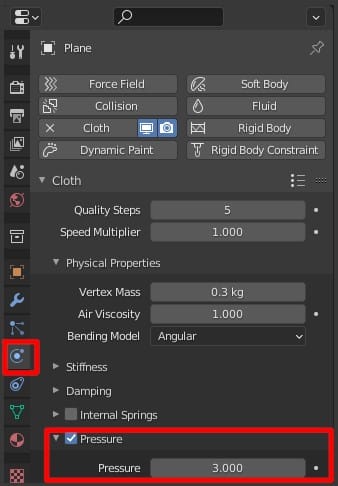
Use the Physics Properties tab to add a Cloth modifier to the model. Turn Pressure setting on and input the value. Through some experimentation, I have found a pressure value of around three works fine. Also, turn on Self Collision to avoid overlapping artefacts and set the Gravity value to zero so the object doesn't fall down when the simulation begins.
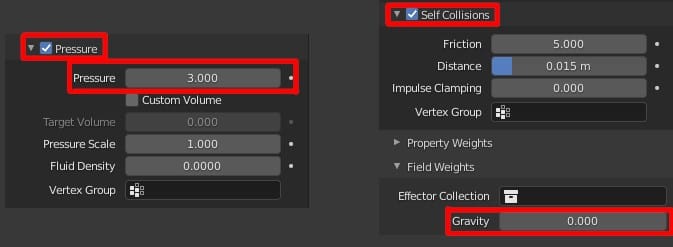
The cloth setup is done; just press play and the simulation begins. Once you find a good spot on the simulation, pause it.

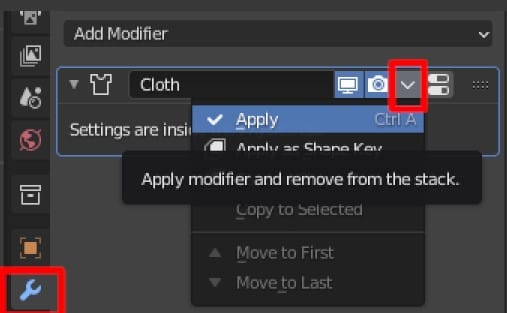
Then Apply the cloth modifier from Modifier Properties tab.
Add a Subdivision modifier and shade smooth. Select the loop cut you made before and bevel using CTRL + B . Three line bevel will work, you can change the number using a mouse wheel. Select the middle loop and ALT + S again to scale it inwards. This will model a seam on your pillow. You can set the subdivision level as needed and apply the modifier if you want.
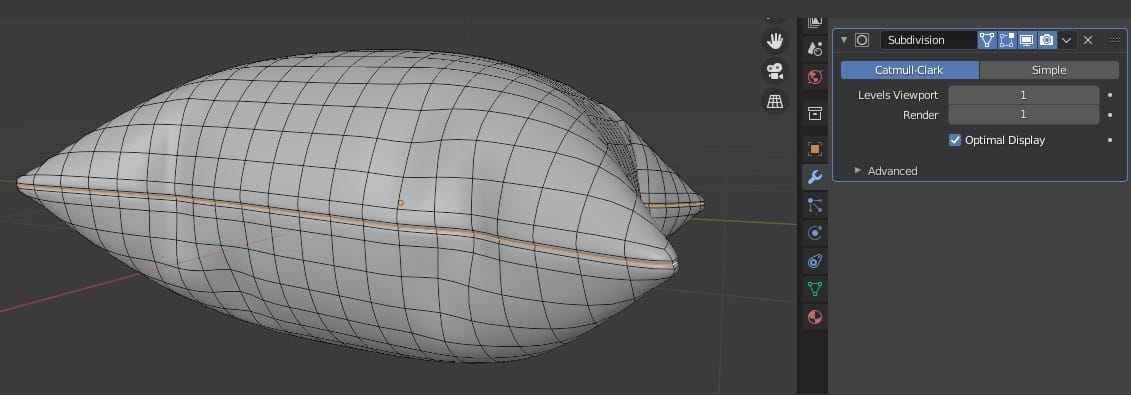
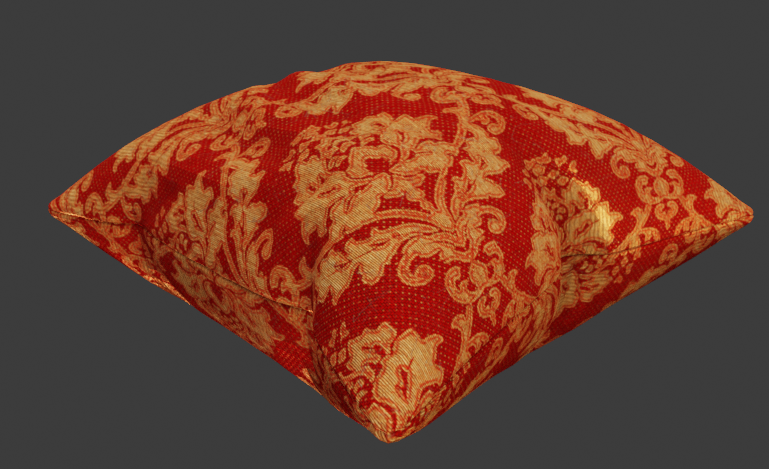
Now you have a base mesh ready this quickly. You can further sculpt some cloth details and texture them to make them look better. You can also vary the dimension of the base mesh to get different results, like a rectangular pillow or of many other shapes and sizes. Here is a result I got just by applying a simple texture on the mesh.
Thank you for following. Please leave comments if you've any queries regarding this article.
