
Do you want to make a button in your game a lot more special than other buttons using particle effects inside it? Do you want the particles to be born inside of your button and not outside of its bounds? Then you're reading the right article, we will tackle one of the most exciting and useful uses of particle systems inside a button.
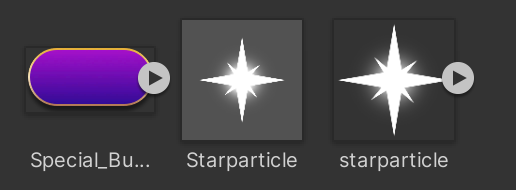
We will be using material and images for the button and particles in Unity. Check them out below:
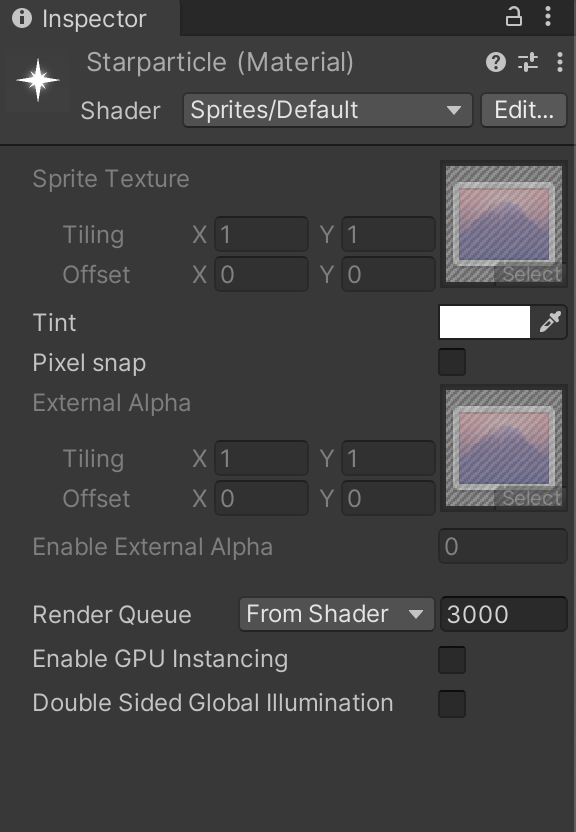
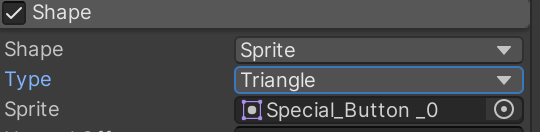
The material settings in the Inspector are as follows:-
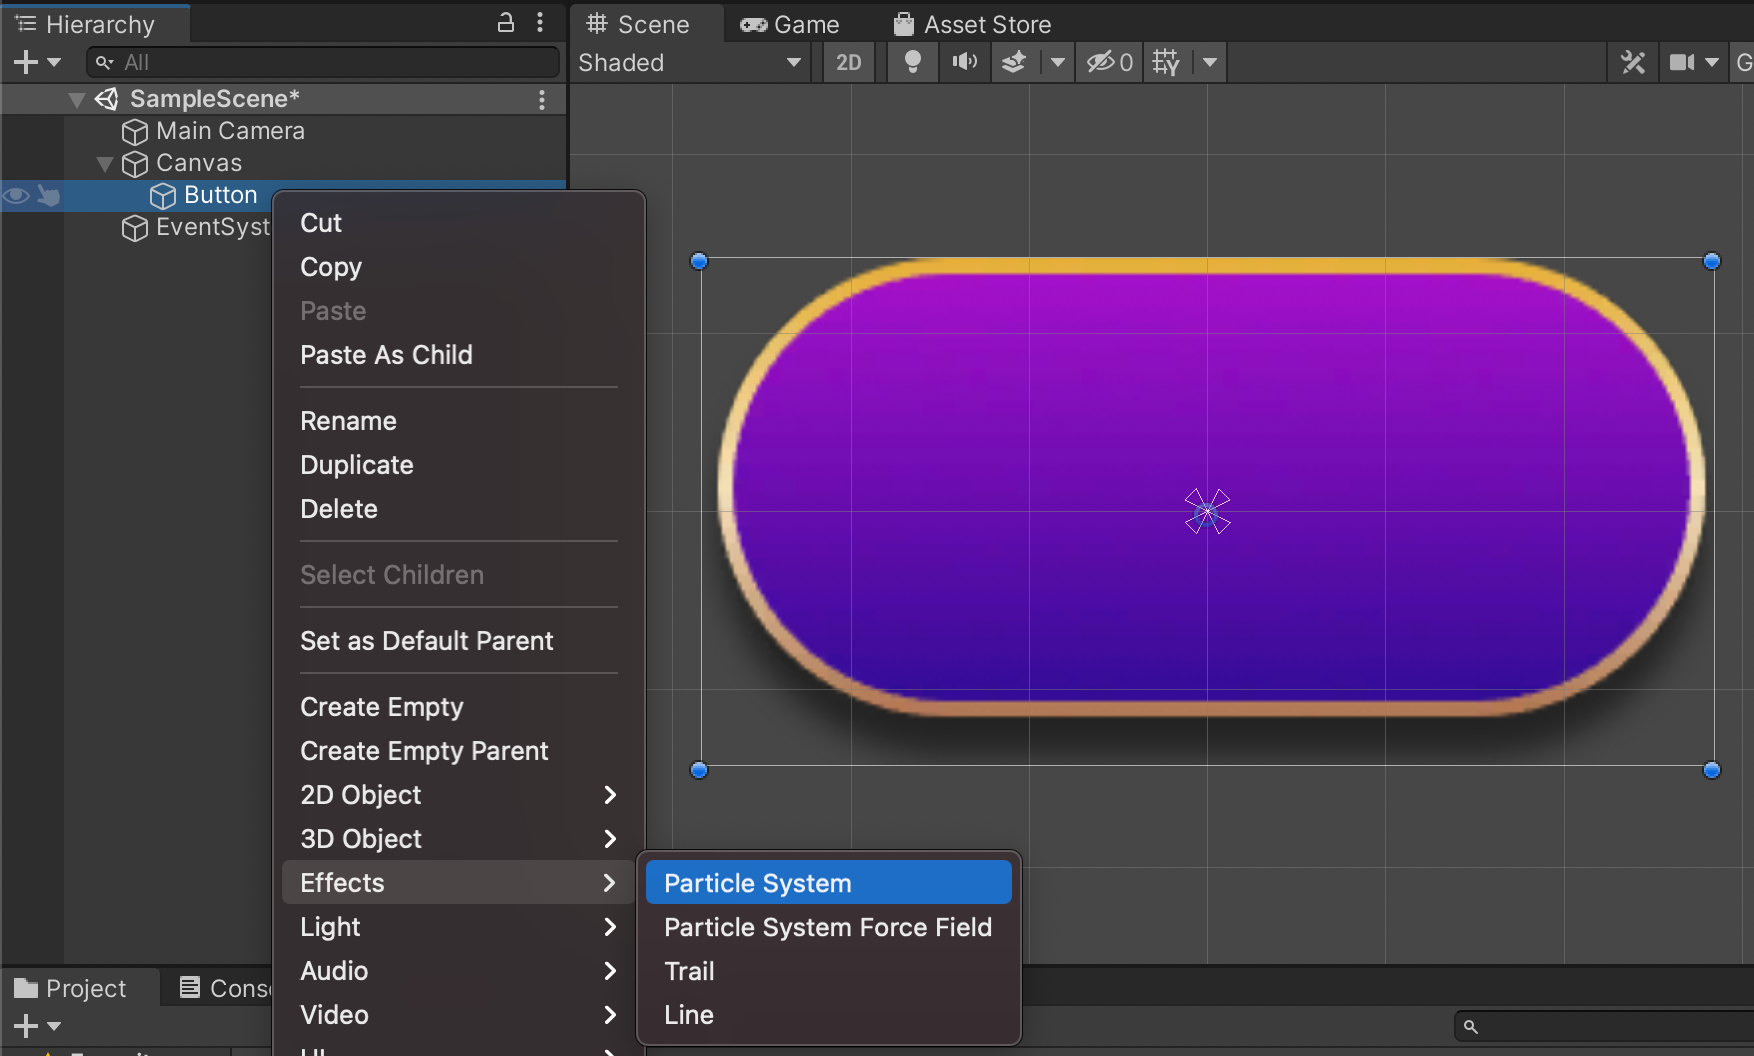
First of all, we put our button in the scene and create a particle effect child inside of our button.
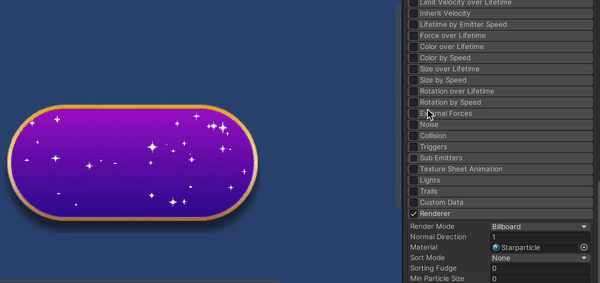
Now we put the Order in Layer of the particle system to be in front of the button. Since the Order in Layer of the default canvas is 1 we put it as 2 for now. We can find the Order in Layer parameter inside Renderer of the particle system on the Inspector.
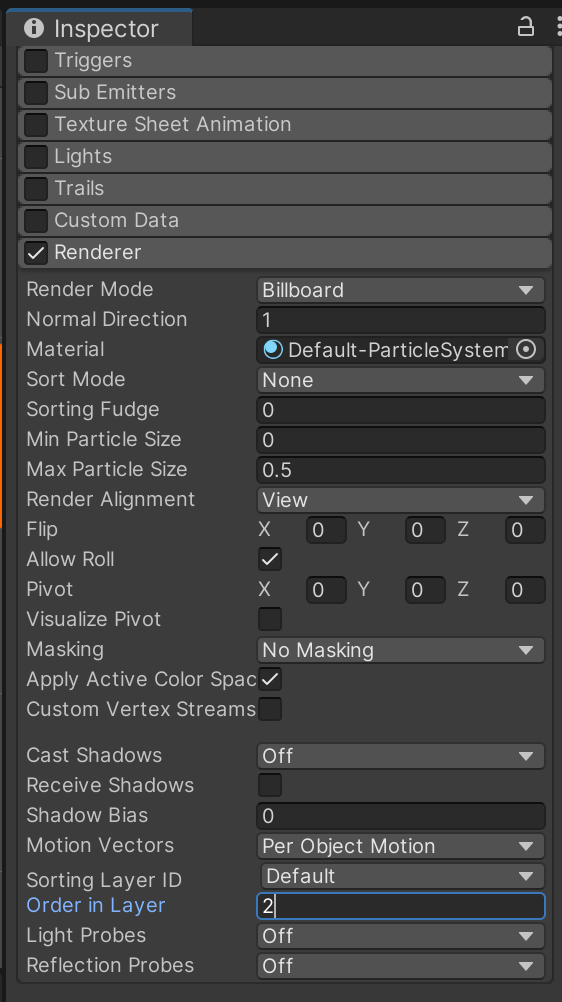
order in layer to 2Next, we put the particleMaterialwe made in place ofRenderer > Material
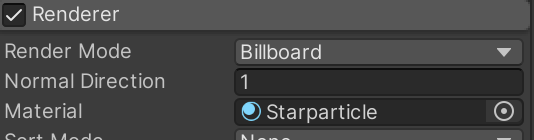
material parameterFollowing step by step we will get the results as below:
Also read: Unity Addressable for Assets Management
Next, we need to change the shape of particle system to control how the particle system emits the particles. Since we plan on making the particle system emit particles according to the shape of the sprite we have, we will choose the Sprite option from the dropdown menu on shape parameter.
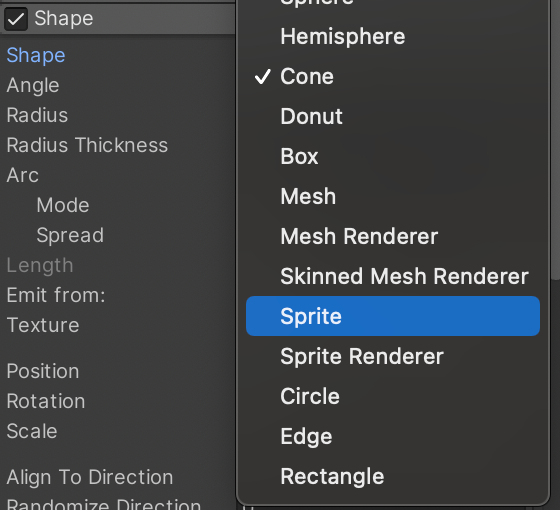
Next, we will get the option to choose a sprite where we will choose the sprite of the same button we are using.
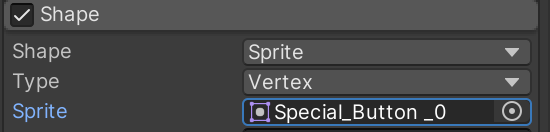
Since we are planning to emit particles from all over the button, not just the vertex, we need to change the Type parameter to Triangle.
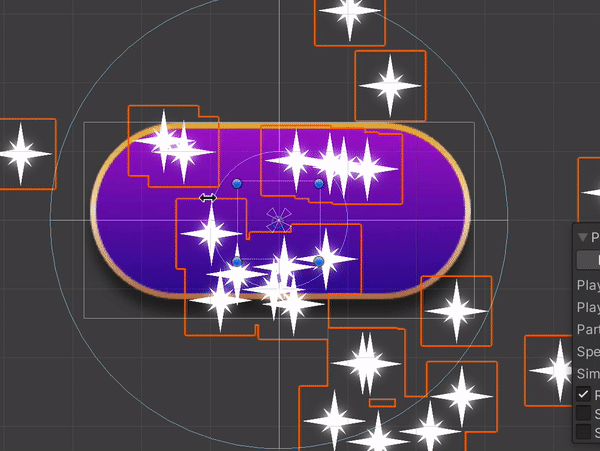
After this, we can the shape of the button we are using and can clearly see that the particles are emitted from within the shape of the button. But the problem may arise, i.e. the shape of the button mesh seen inside the button is smaller than that of our button.
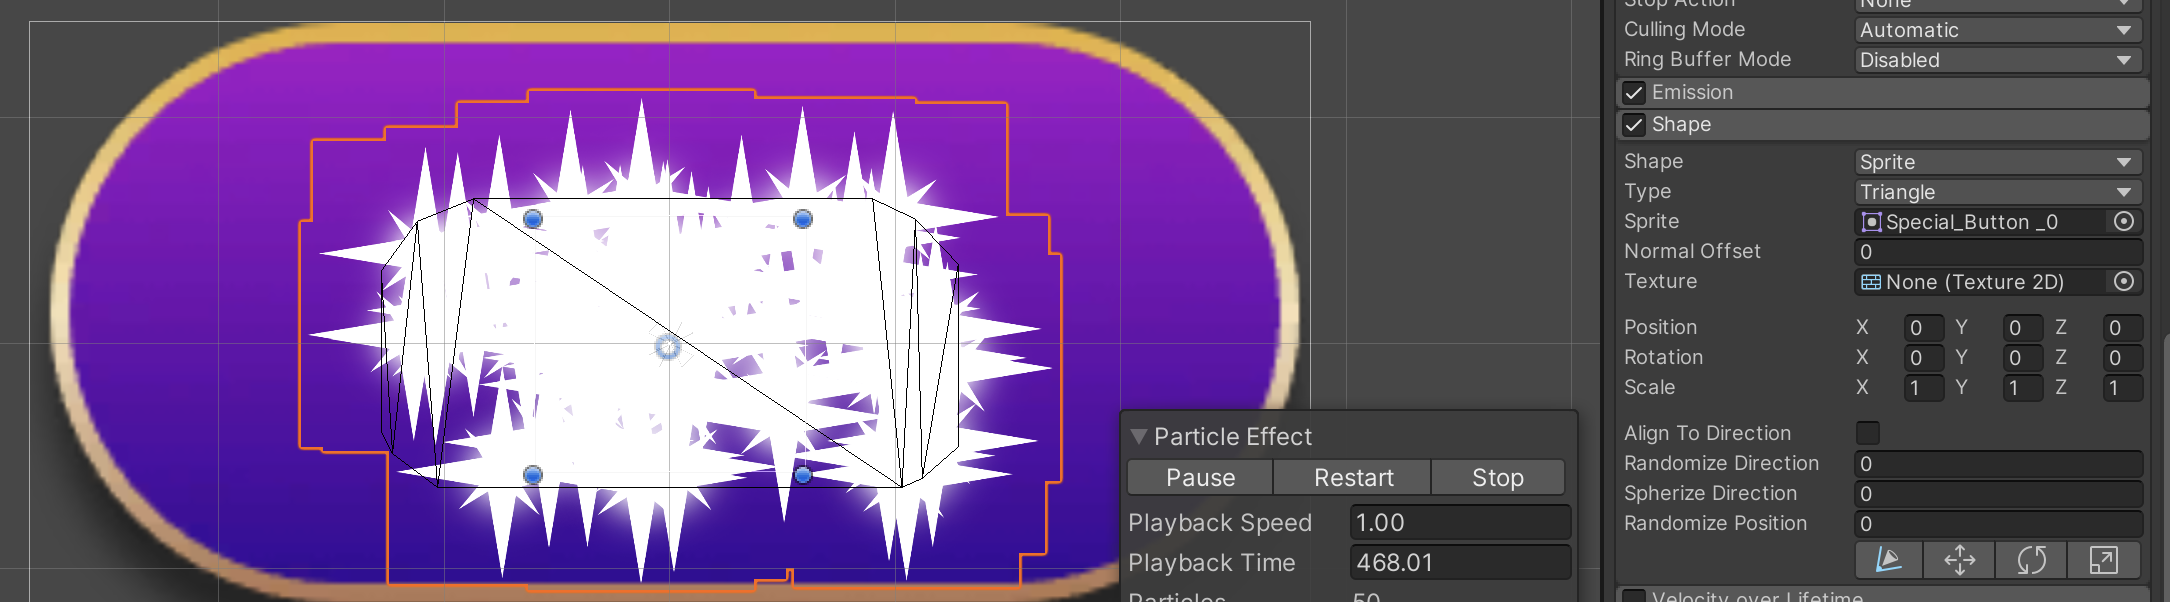
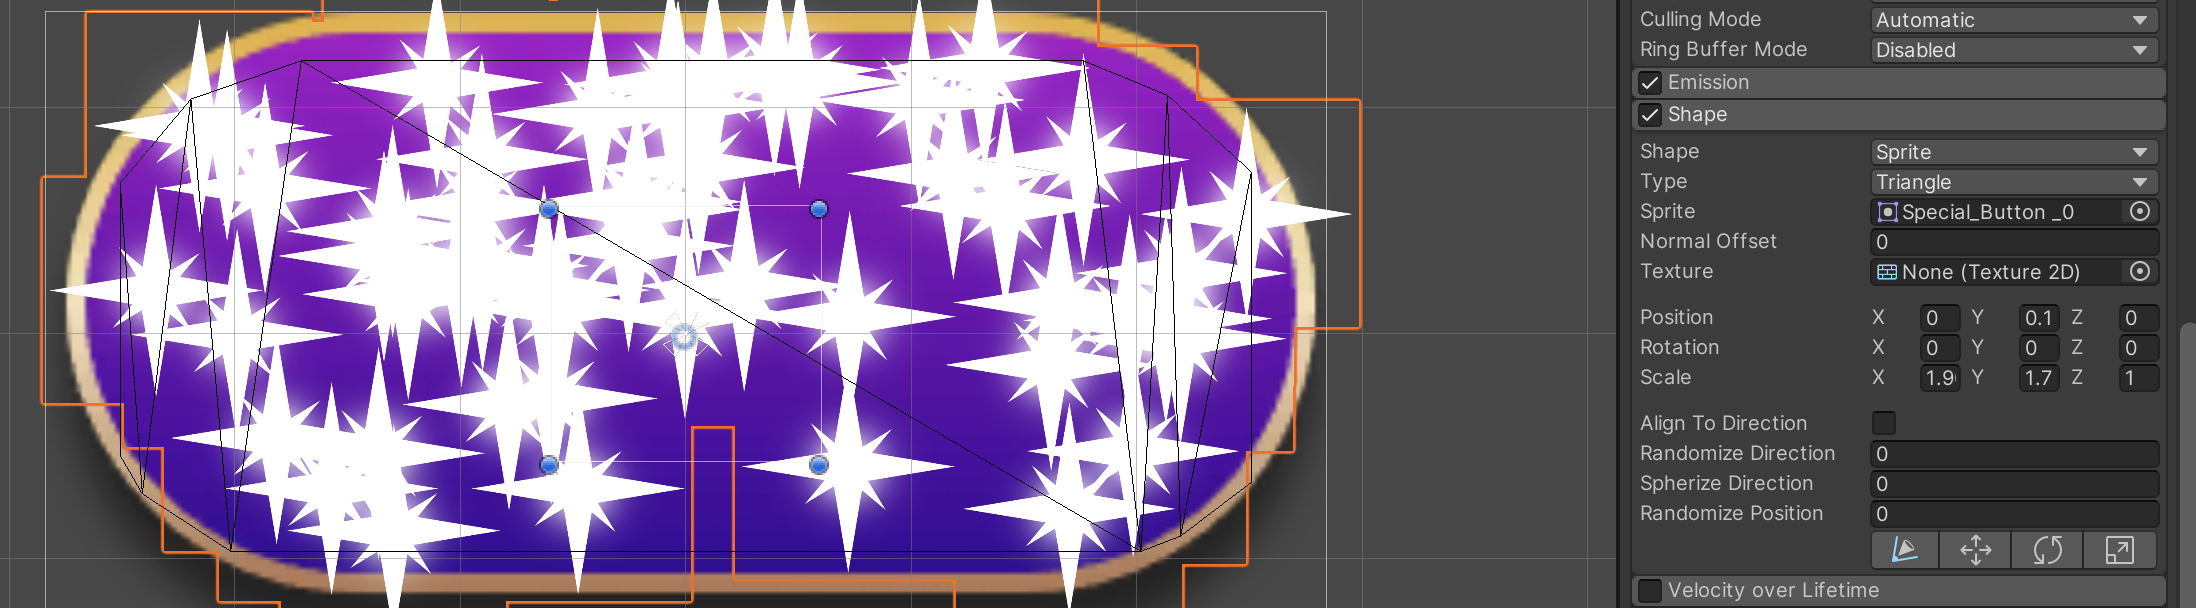
So we have to scale up the small shape nearly to the shape of the button; the resized size must not exceed the button so that the particles will not emit outside of the button.
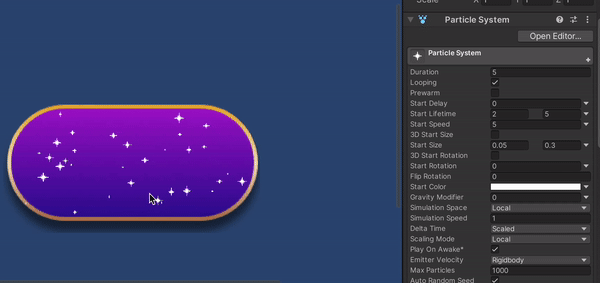
Now let us tweak more settings of the particle system to make it more appealing to the eye. Click the drop-down arrow on the left of different parameters like Start size and Start Lifetime and make adjustments as per your need. Below is how I put the settings according to my needs.
Start Size and Start lifetimeYou might be satisfied with this if you are looking for a quick and simple approach to the problem you sought out the solution for. But the most exciting part of the particle system is that there are just too many things we can tweak to make particles seem lively and attractive. Some of the most famous tweaks we can put in most of the particle systems that we will further dive into are:
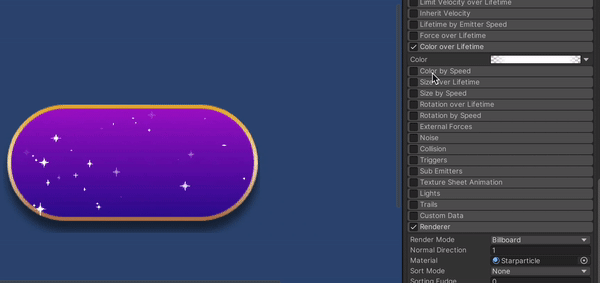
- Colour over lifetime: what colour will the particle become over its active period or "lifetime"
- Rotation over lifetime: how much will the particle rotate over its lifetime
- Size over lifetime: Determines what size will the particle take throughout its life
Colour over lifetime
Since we can see on the above gif that the stars just suddenly appear and disappear on the button, we can use this parameter to make the button appear transparent during its birth and death so that it will look like it appears and disappears by fading in/out.
Related article: Realistic Button Click Animation in Unity
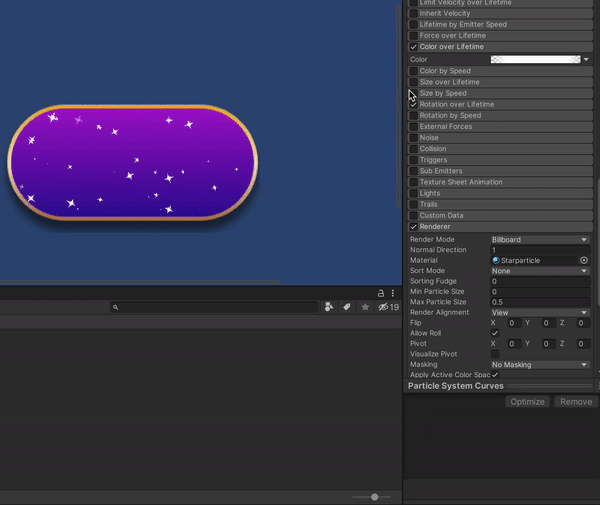
Rotation over lifetime
To make things look more dynamic, it is better to add a rotation to the star particles we have. Dropdown from the right of the rotation parameter and select Random Between Two Constants and put values that seem to fit the situation.
Size over lifetime
This will make the size of the particles vary over their lifetime. This will help us make the particles look more lively. Let us use the curve here to make the particles start small and then become large and then become small again when their lifetime comes to end.
We can see here that the particle system took a drastic change after applying the above three changes and we got what we were looking for. We have our very own shiny and attractive button with stars inside of it.
Thanks for reading. Stay tuned for more.