
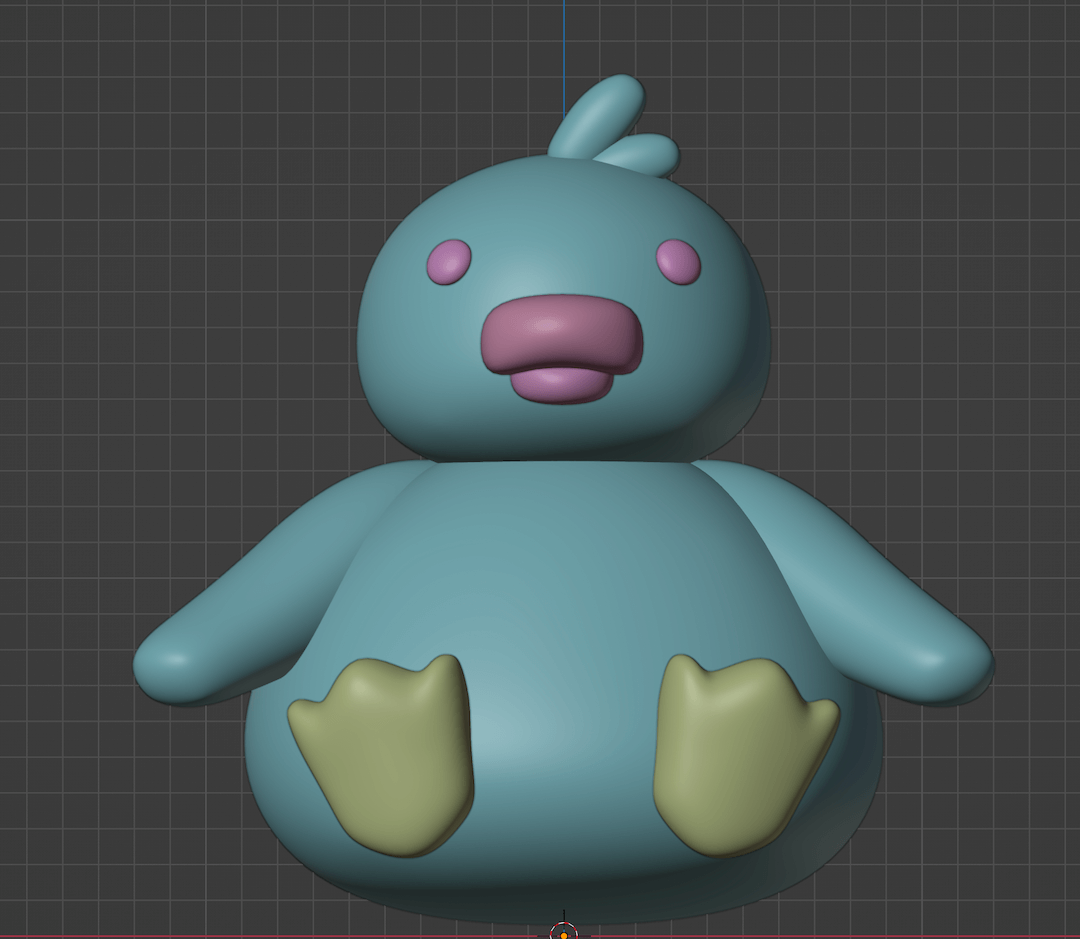
As the title suggests, this article will focus on using various sculpting tools in Blender to sculpt a duck. Learning to sculpt is my current obsession, and practice is the only way to improve. And what better subject than a cute duck?
Creating the Base Model
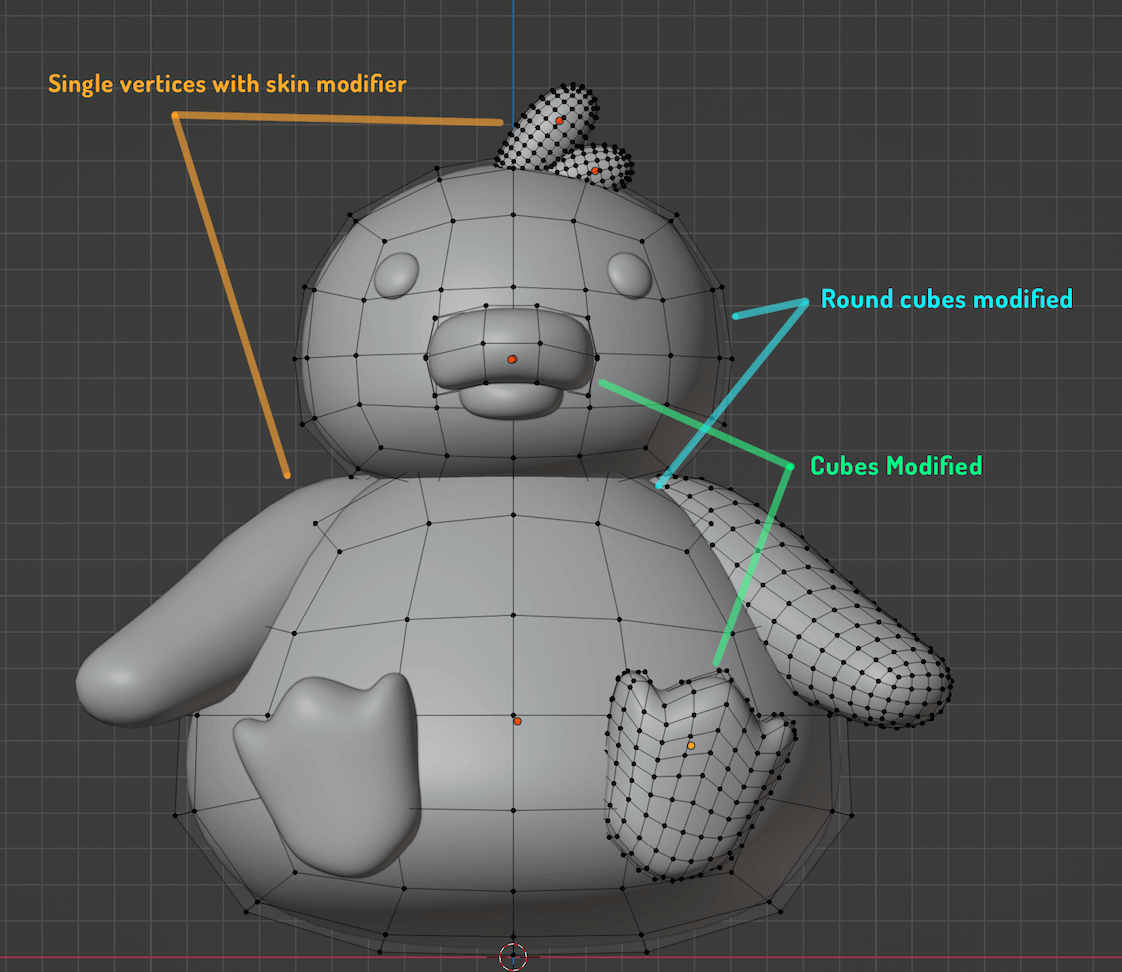
First things first, we will create a base model for the duck using simple shapes like round cubes and cubes.
Here is a breakdown of how I created the duck model using different base objects from Blender.
Preparing the Model for Sculpting
In this step, we will join the duck body with the head, the arm, and the little furry hair on the top. The snout, feet, and eyes will remain separate objects. Then we will apply all the modifiers and transforms so that we have no problems with our mesh while sculpting.
Before moving on to sculpting, we need to ensure that our model has the following:
- All modifiers are applied
- All transforms are applied
- Object's origin is at the centre of its geometry
Sculpting
This is a very simple model, so the sculpting process will utilise only the most basic tools.
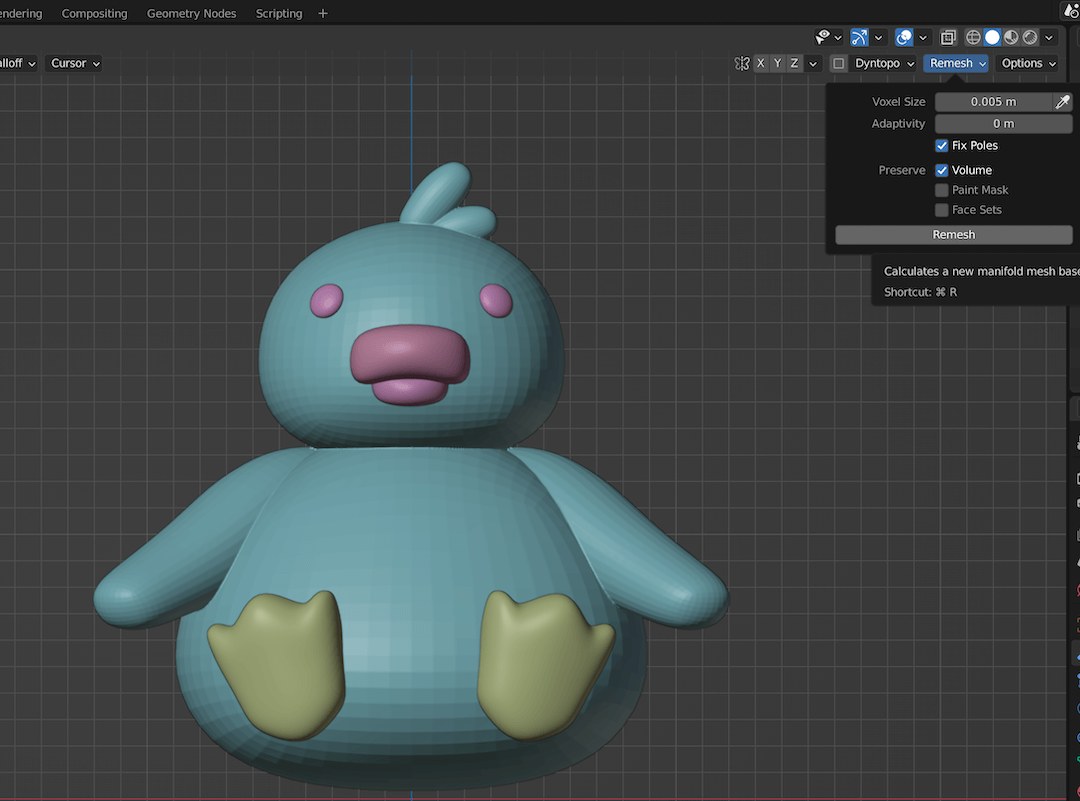
Remesh
Sculpting requires a lot of vertices. So before trying any tools, we must Re-mesh the object so that it gets more vertices and the sculpting process works out as intended. To do that, select the duck body, tab into Sculpt mode.
On the top, right-click Remesh and Set Voxel Size to '0.005' and press the Remesh button. The voxel size determines the number of vertices, the lesser the number greater the vertices in the mesh. During the sculpting process, you need to Remesh use the mesh a lot of times, so try and experiment with the voxel to get the result you want.
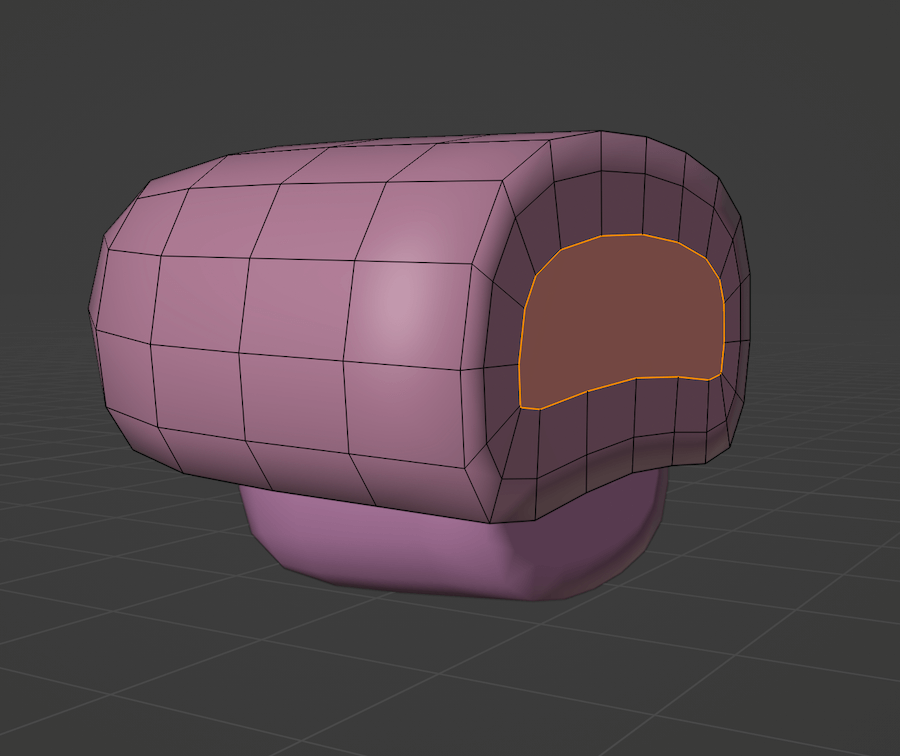
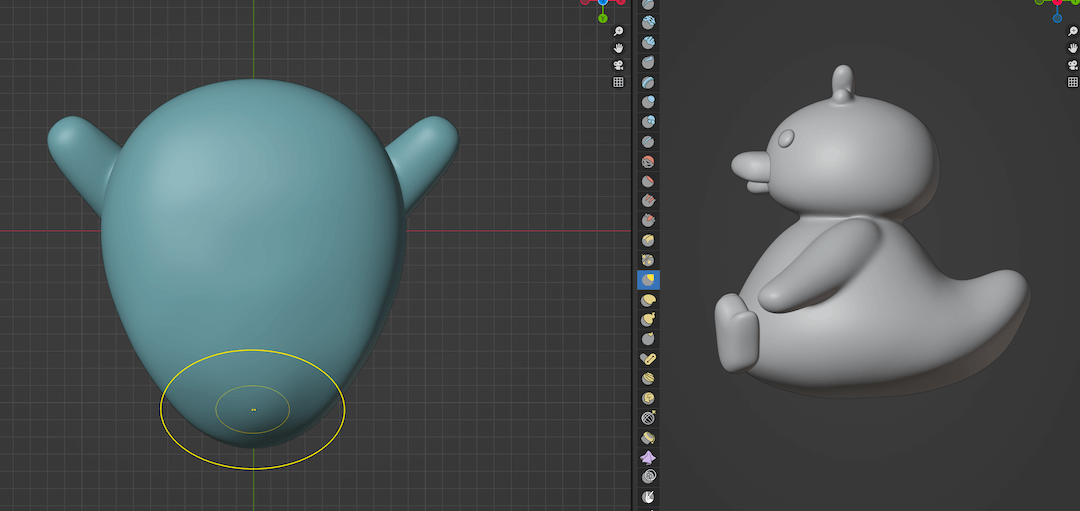
In my mesh, the duck's snout had a hole in the back part, so I am fixing the mesh by adding a Face to close the hole before re-meshing.
Smooth Tool
Smoothing is currently my most used tool. With any tool selected, if you press Shift, then the brush will now perform a smoothing operation on the mesh.
Grab Tool
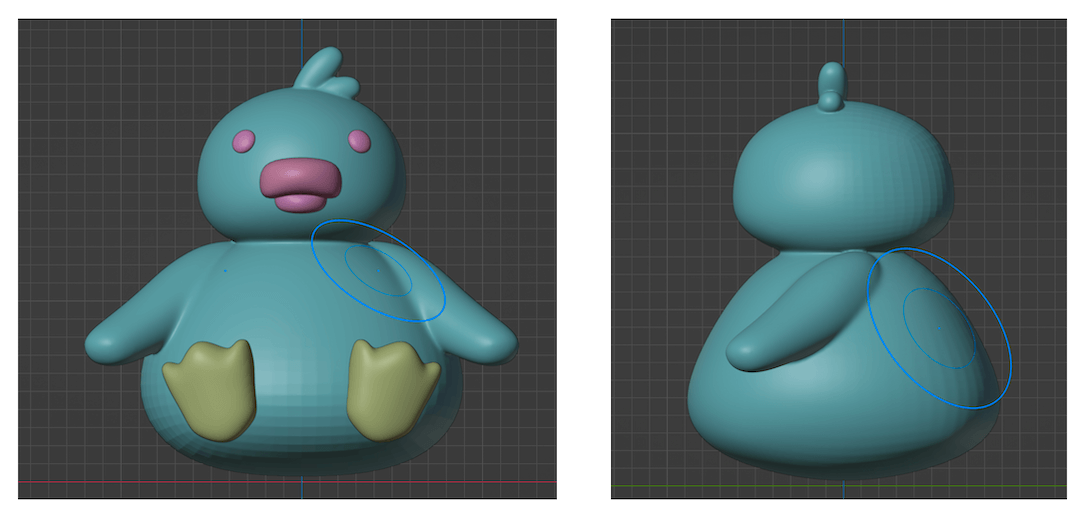
Select the grab tool from the menu or by pressing G. Then click and drag on the mesh to grab the vertices around. We are using this process to create the tail for the duck.
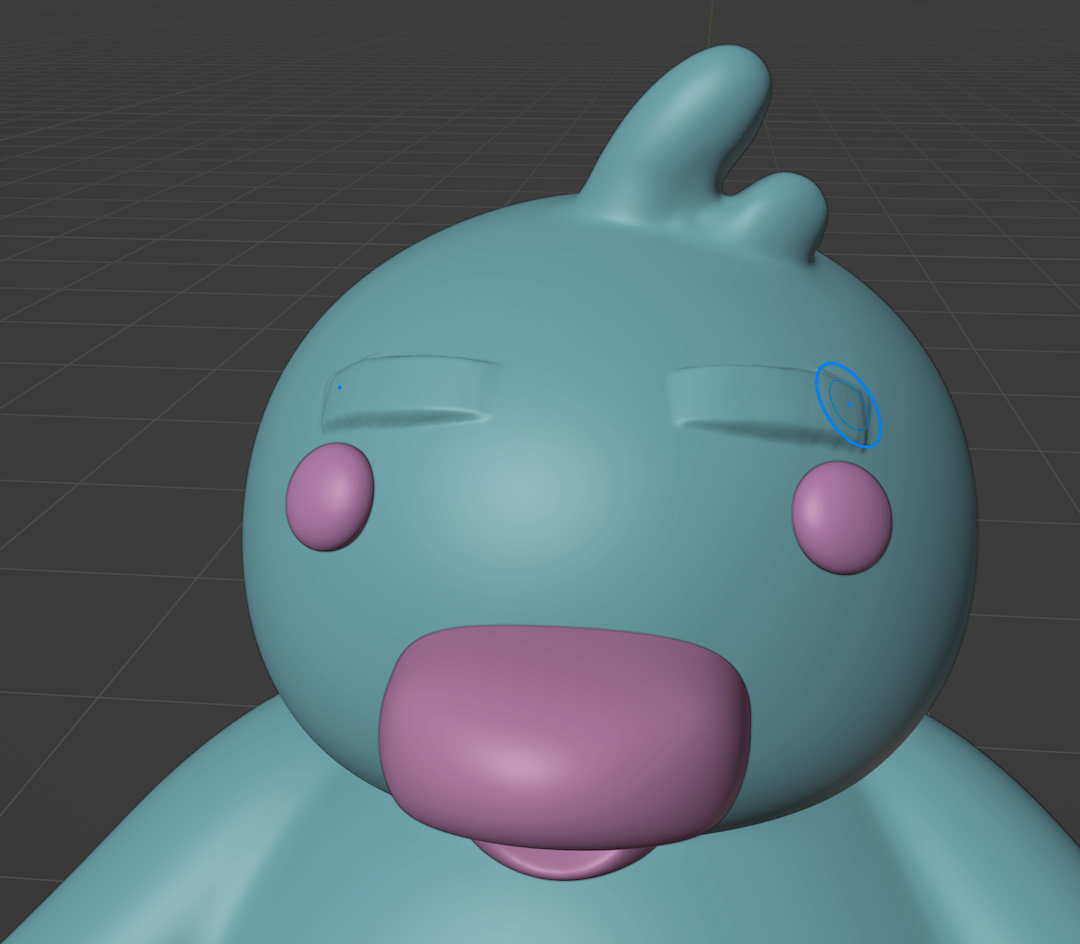
Pinch Tool
The pinching tool is great for defining the shapes in the mesh. Press P to use the Pinch Tool.
The smooth tool usually blurs out the mesh features a lot. Using the Pinch tool, you can redefine the shapes. For instance, here I am using the pinch tool to define the shape of the head, which was blurred out and mixed with the hair/fur when I used the smooth tool.
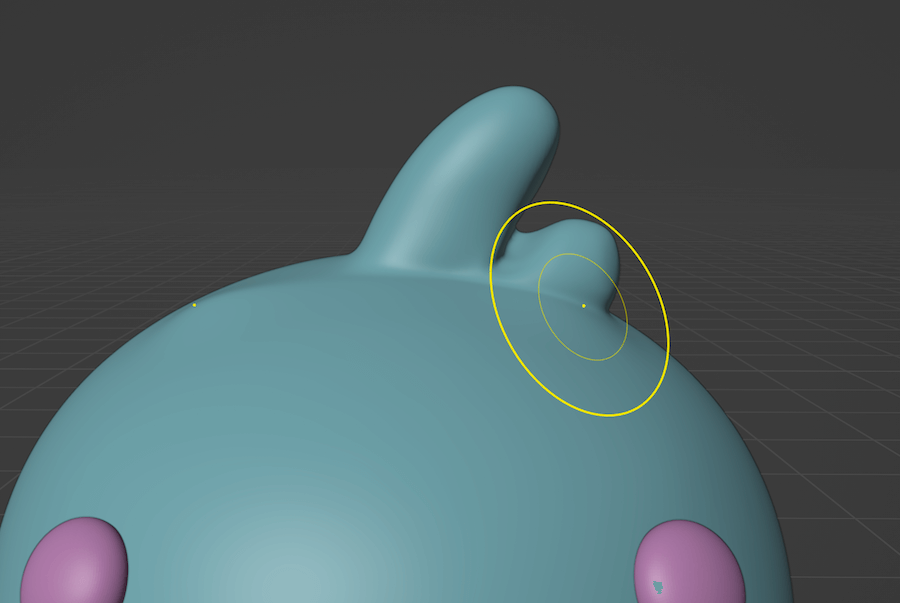
Clay Strips Tool
The clay strips tool does exactly what its name suggests. It adds geometry to the mesh as strips. This is a great way to add extra geometry wherever you need it in the mesh.
After adding the eyebrows, the duck's body is pretty much done. After that, you can tab into sculpt mode for the snout and then the feet and smooth them out after Remeshing.
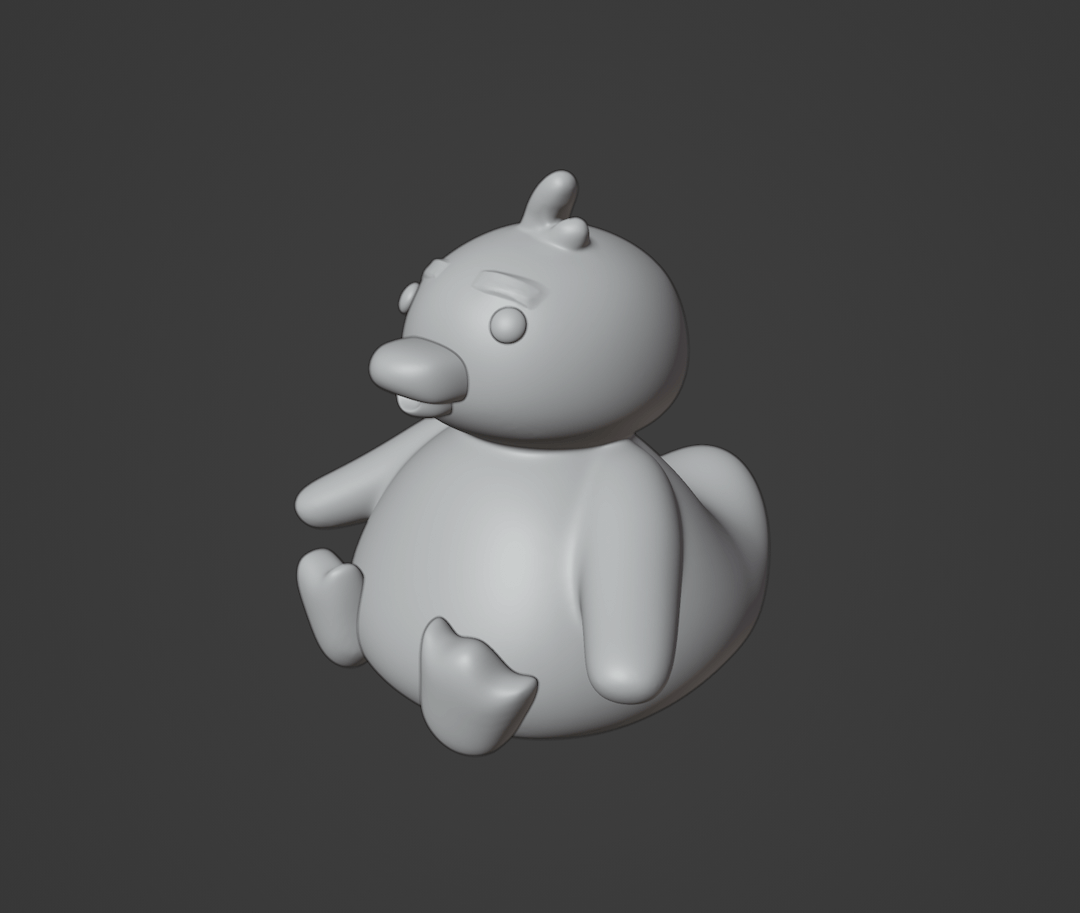
And we're done!
Sculpting is mostly just adding geometry, smoothing it out, and redefining it. The sculpting tools are not that intimidating once you use them a couple of times!
Thanks for reading and happy sculpting!