
Artboards are like virtual containers with the help of which we can have multiple canvases in a single document. It was added in Photoshop since the CC 2015 version. They act like Folders but you can also place folders inside them. They save a lot of time if you’re working on front-end designing websites, apps or games that have to appear on multiple devices with screens of different sizes like iPad and other mobile devices.
Creating Artboard
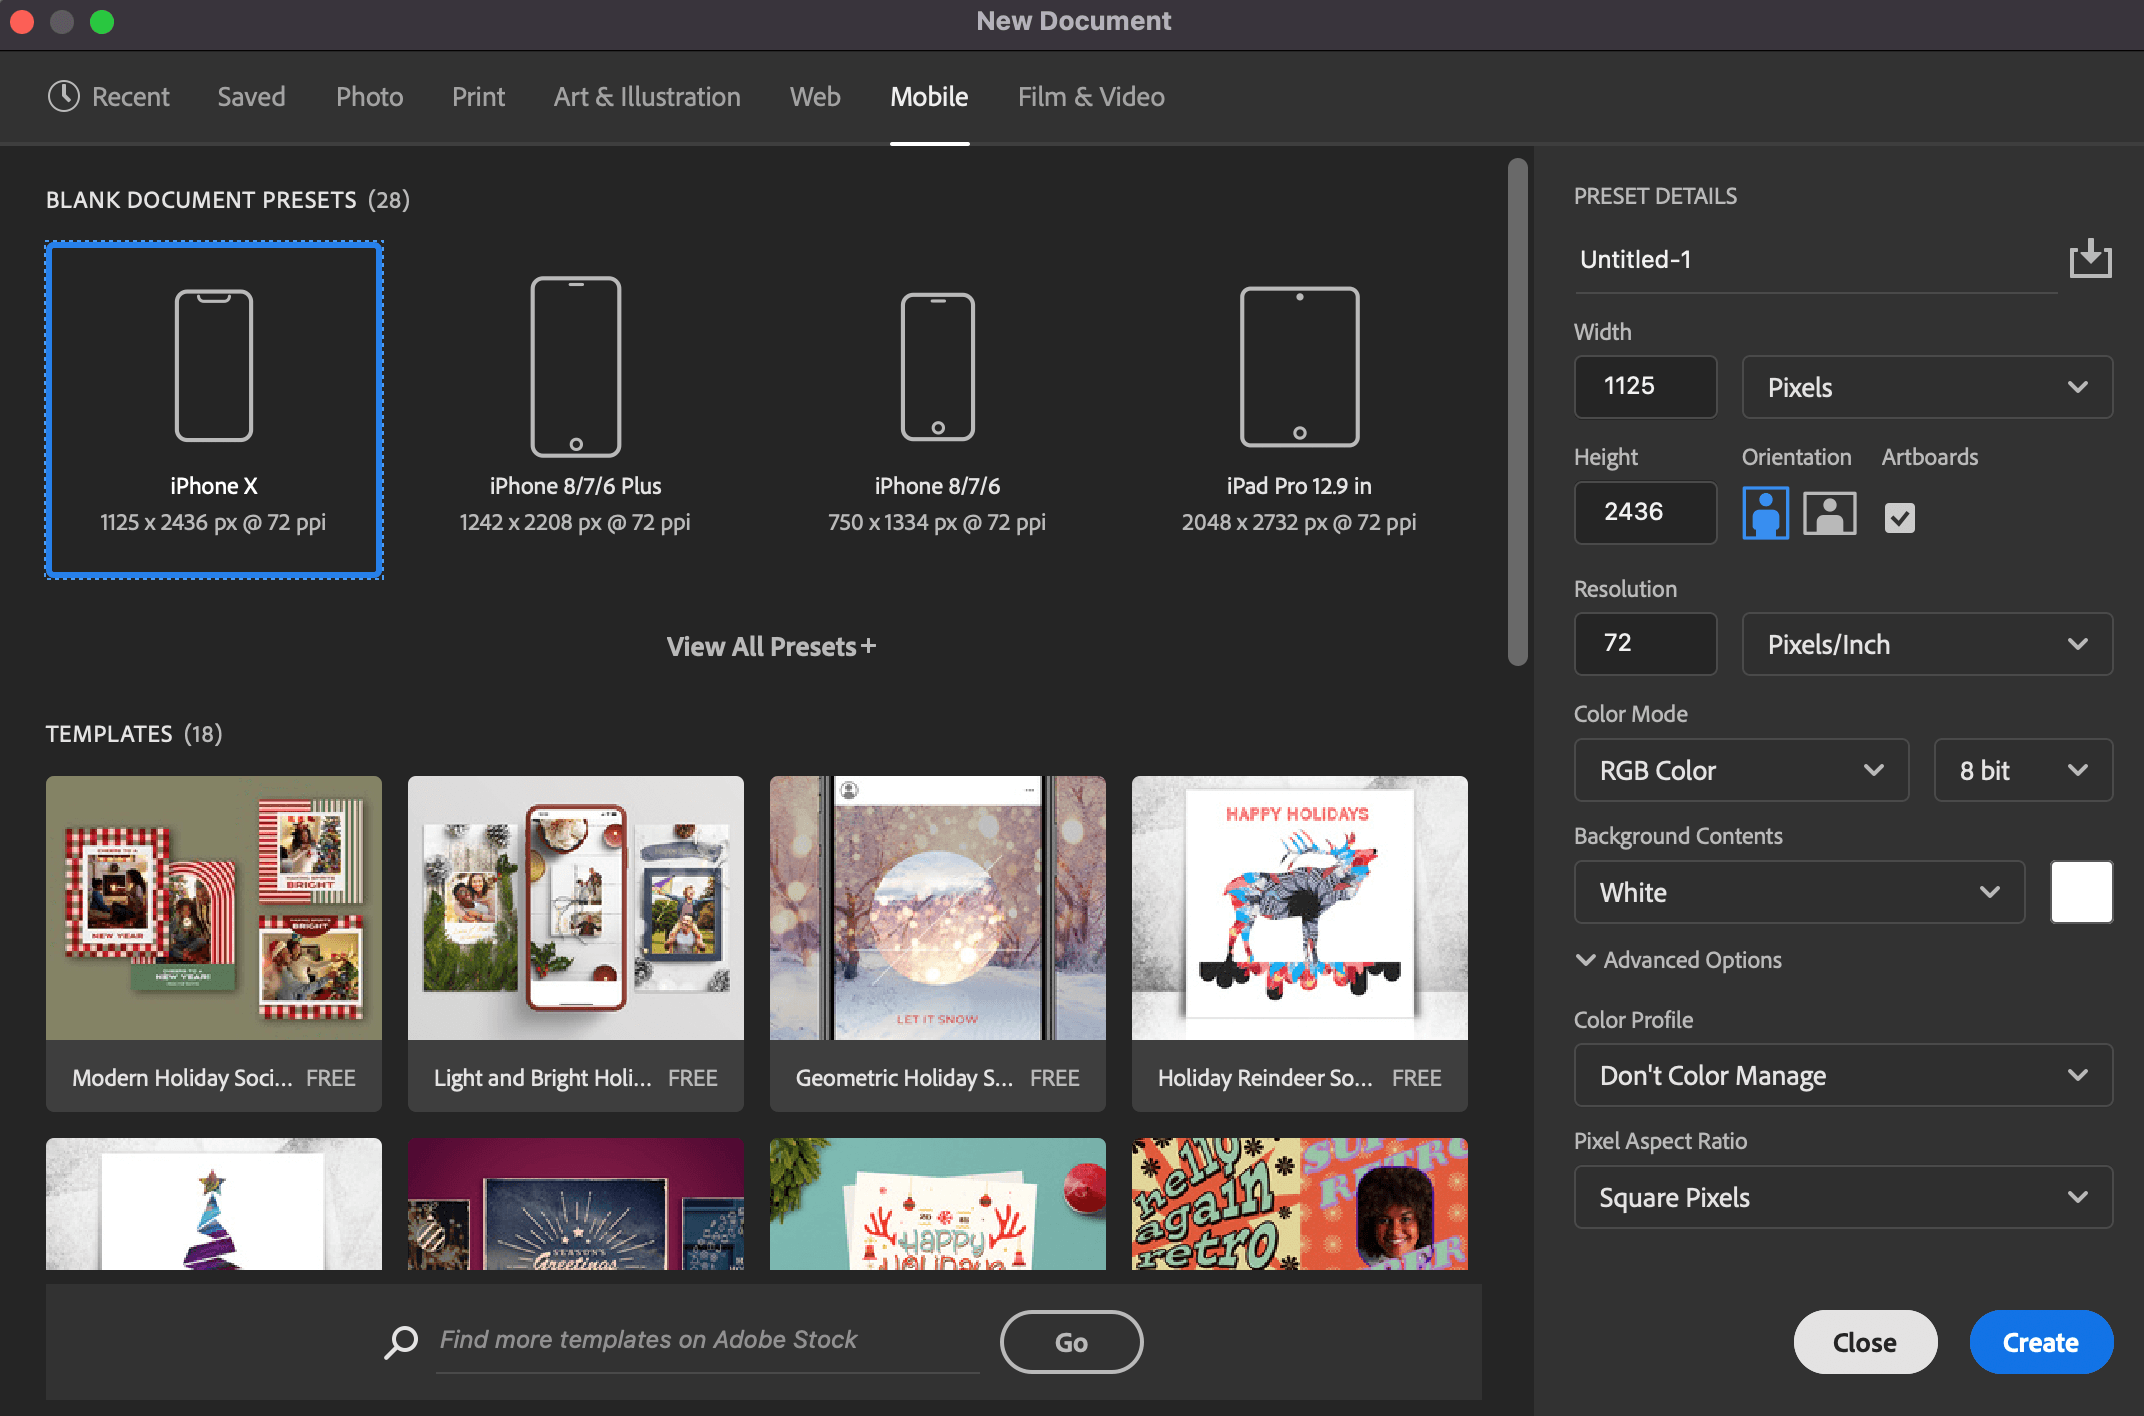
When creating a new document in the New Document Window, there are many different presets for various purposes. The Artboards are turned on by default while working on Web and Mobile document.
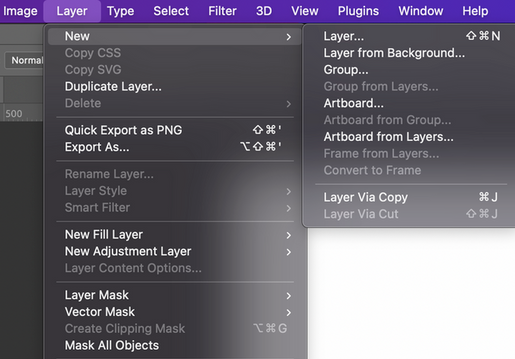
If you are already working on a document, you can create an artboard by clicking on New from the Layer menu at the top. Click on Artboard and then you can select the size for it. Click on Ok and a new artboard will be created.
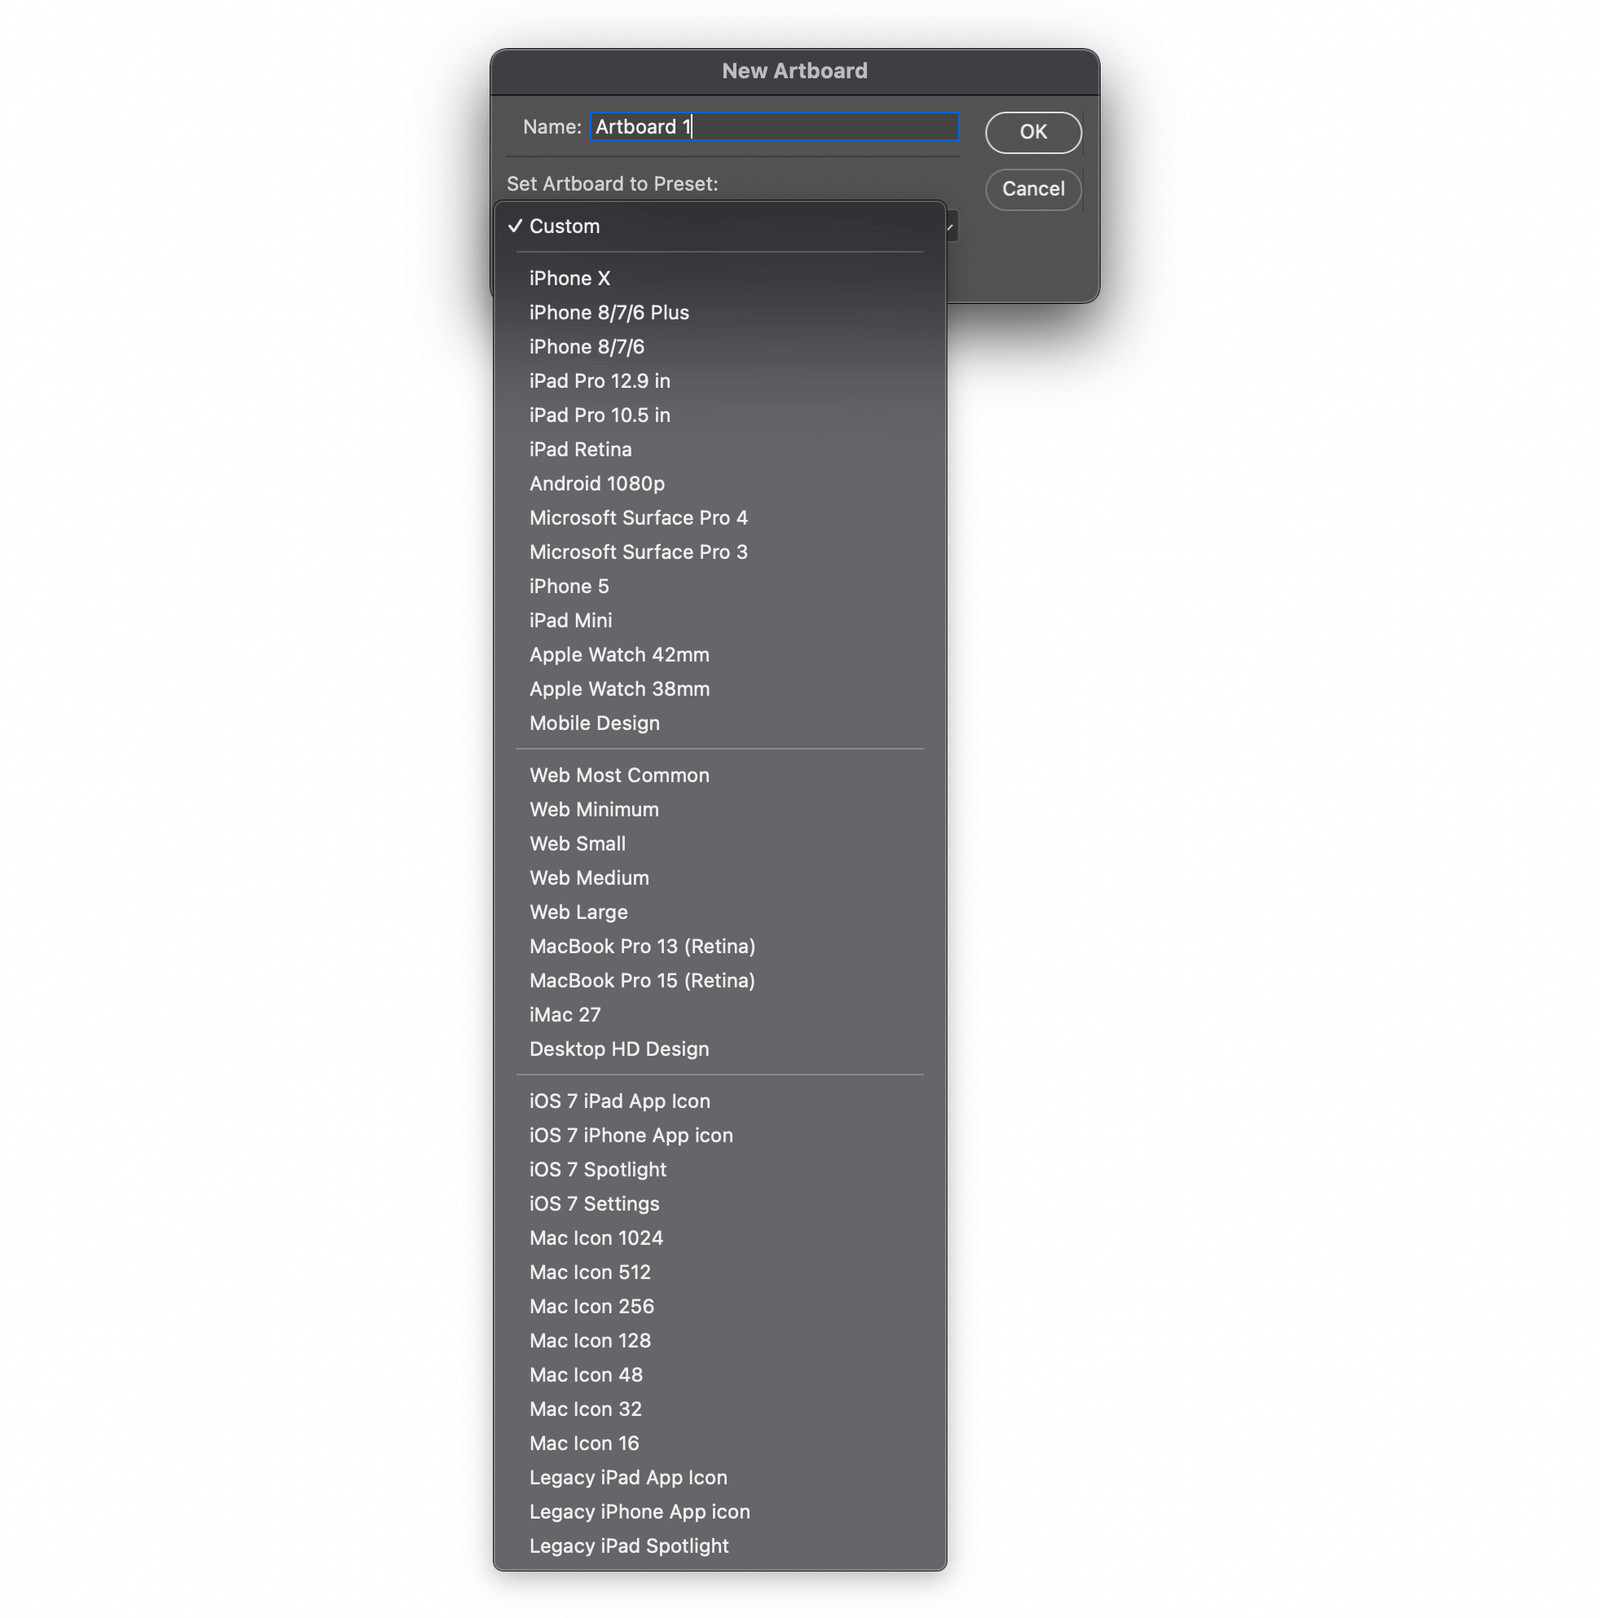
After selecting artboards, a new window opens where you can pick the artboard size. It has preset sizes for multiple devices like Apple (iPhone, iPad, Apple Watch, Macbook etc.) and other common devices. If you aren’t working on these device or screen sizes, you can also put in custom width and height.
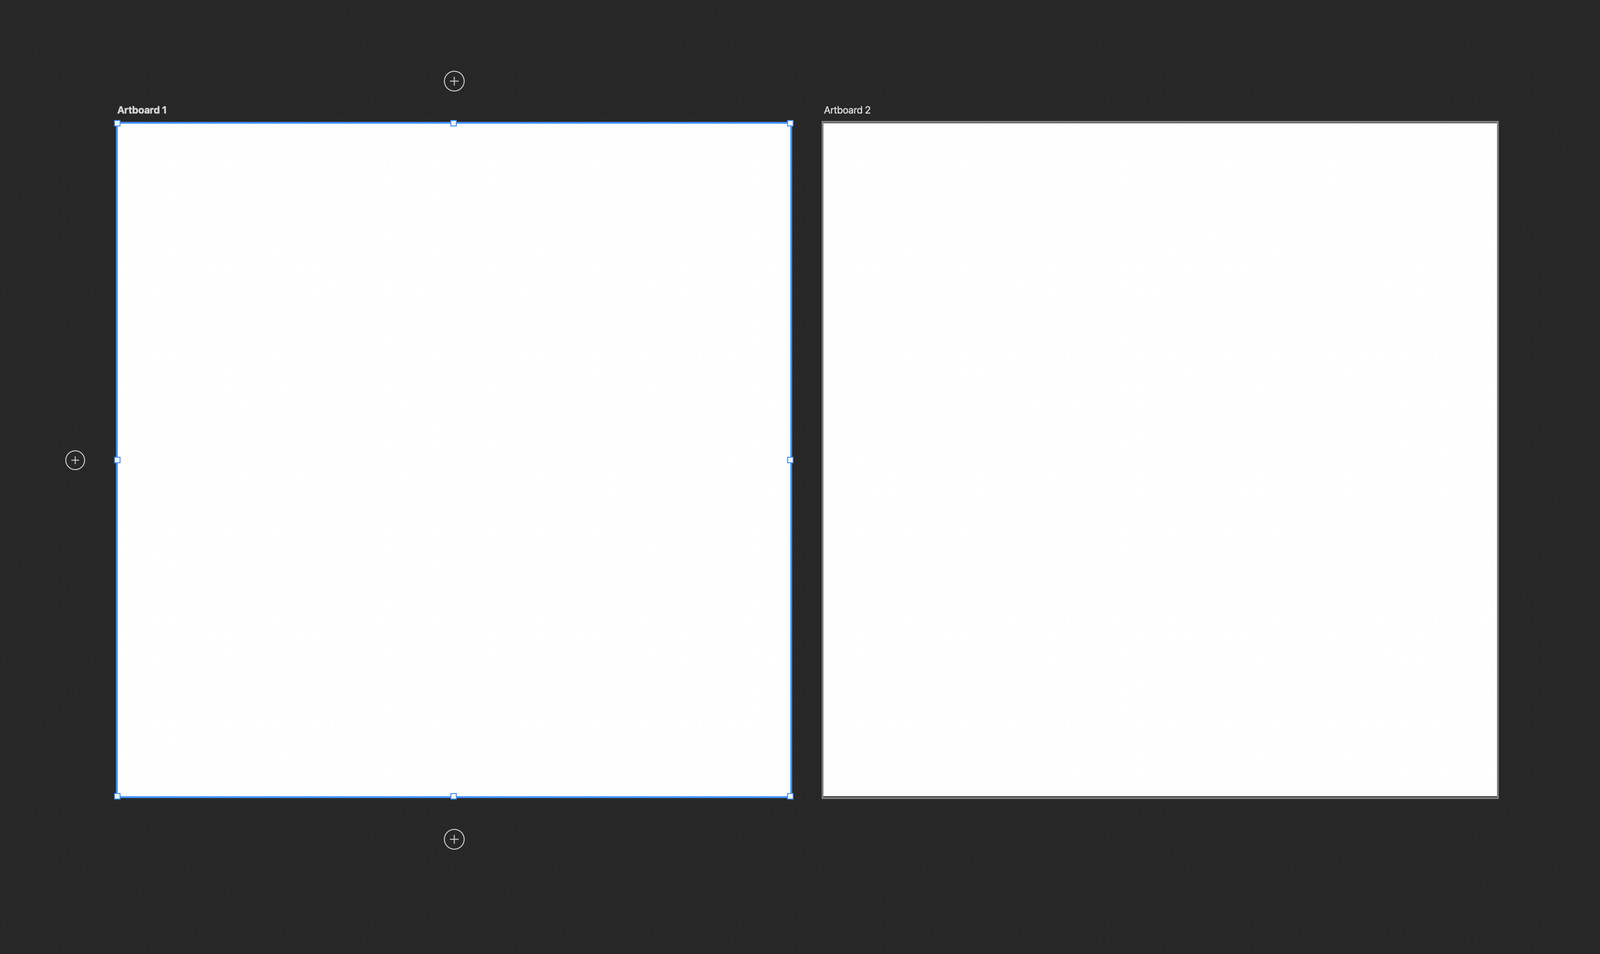
If you want to create an artboard with the size of the previous one, there is an easy way to do it without going to any menus. Click on the Artboard name (Artboard 1 on the image below) with your mouse, your tool will change into Artboard tool. This tool can also be found in Move tool's drop-down menu by right-clicking it. After selecting the artboard tool, click on the Plus sign + besides the existing artboard, it will duplicate and create a new artboard of the same size.
Use of Smart Objects and Libraries
Smart objects and libraries are useful if you want to have consistent buttons or designs across multiple screens. Changing the color or design in it will change that design in all documents you have used it on.
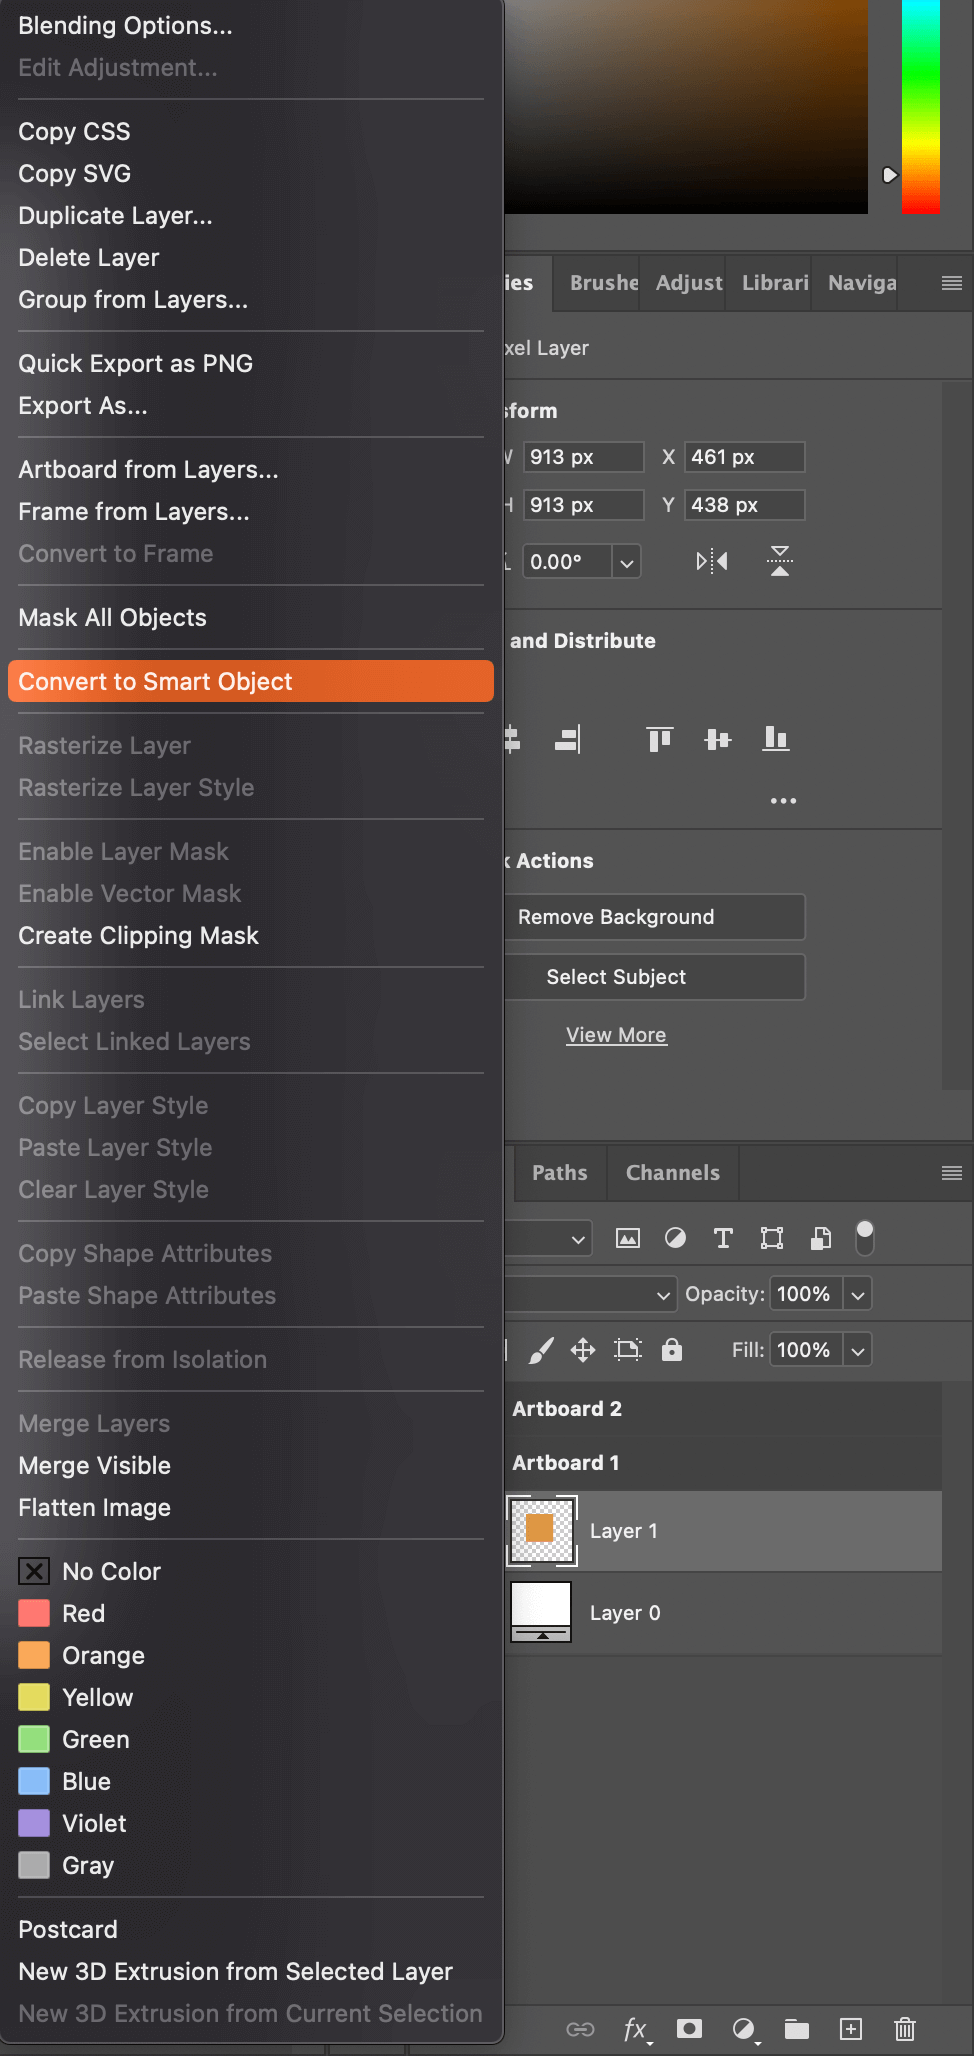
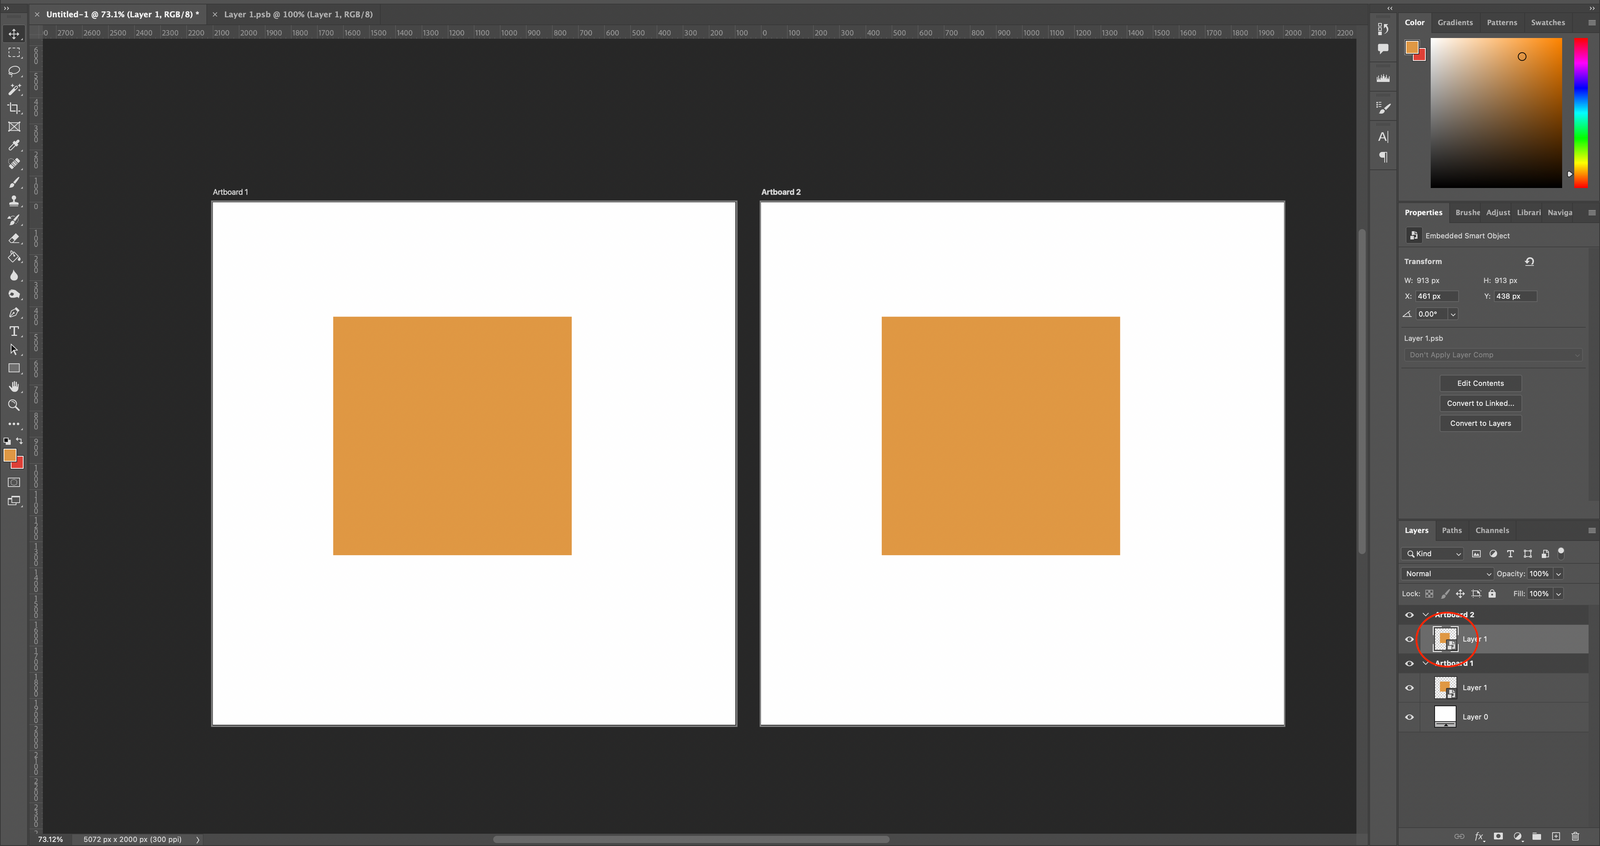
Making a layer or group into a smart object will make it easier to work for multiple screens since updating it will update the contents in all artboards as long as it is duplicated and placed inside the specific artboard. To make something into a smart object, right-click on a layer or group and then select Convert to Smart Object.
The smart object will act as a layer even if you’ve made a group into a smart object. You can duplicate the smart object or any layer by clicking, holding Option (macOS) or Alt (Windows) and dragging the layer. Then place it into another artboard folder in the Layers window.
Double-clicking the smart object's thumbnail in the layer window will take you to another window where you can make changes to the content within that layer or group. After saving that smart object document by clicking Command-S (macOS) or Control+S (Windows), the changes will appear in anything it was placed in. If you have duplicated it and made a change, it will affect all the artboards it is in. Resizing the smart object will not affect its resolution which will be helpful for scaling the designs for different sized screens.
There is another way to do this by using the Libraries. Libraries can be used across any document. The window/tab is found in the same area where Properties lie. If it's not there, you can activate it from the Windows menu on the top bar. After creating a layer, you can add it to the library by clicking on the + sign and hitting Graphic.
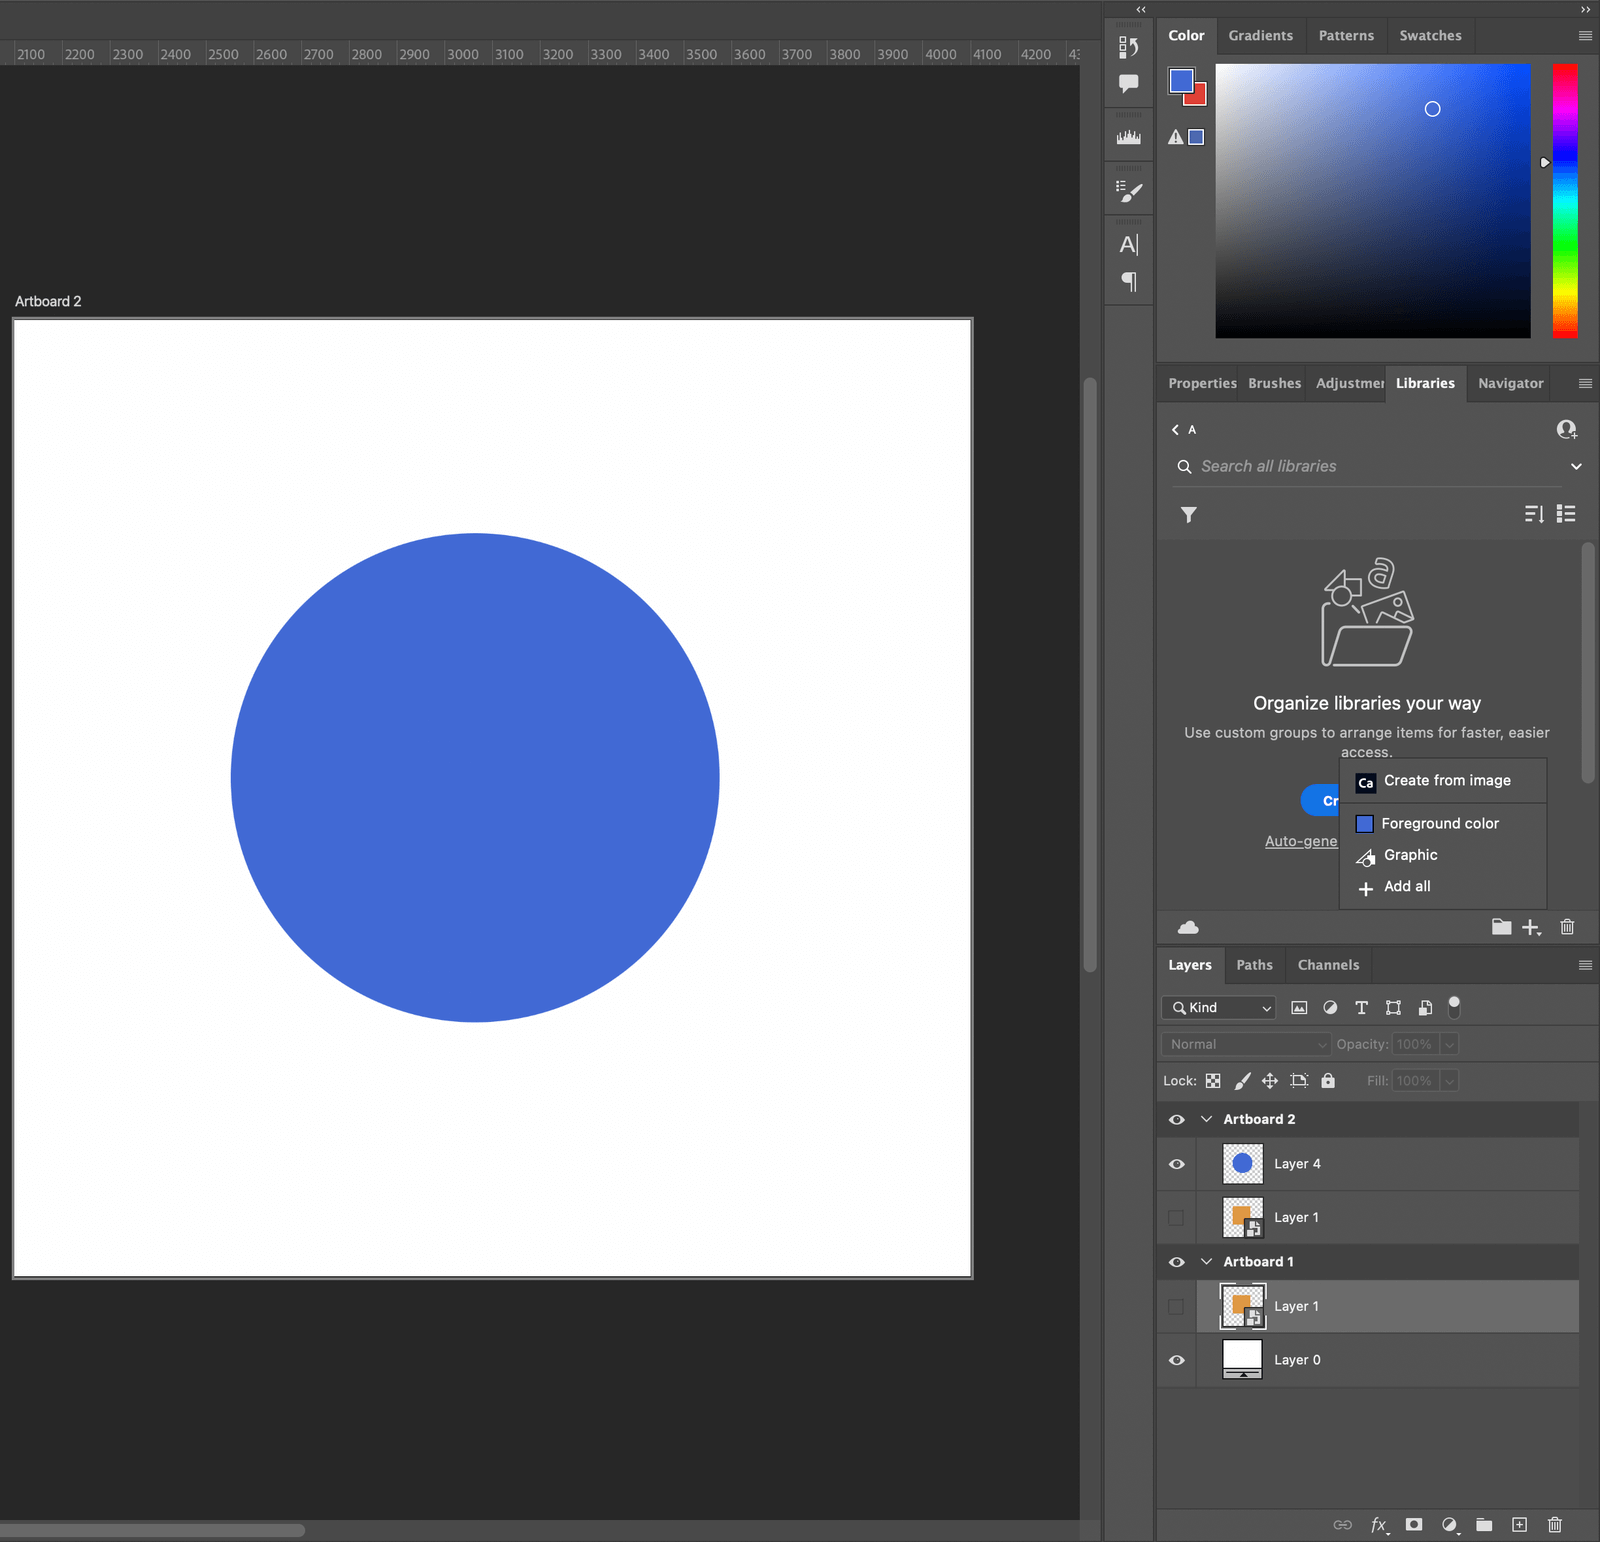
If we place a layer in libraries and take it out into a document, it will become a smart object. So making changes to it, it will update the content of that layer in every document it is placed. You can also share the objects in your Libraries with other people through Adobe cloud sync.
Designing for Games
If you’re making games for mobile, you will need to keep in mind how the game will look on a variety of mobile devices since they have different screen sizes. While the iPhones or other mobile devices may have shorter widths and longer heights, iPads or tablets are more in both height and width.
In this tutorial, I’m making a board game screen. The board needs to be in the centre and the background around it needs to complement it. The board has to be put in such a way that it is not cropped on any screen or doesn’t appear too small.
As I had explained above about creating artboards, I have created 3 artboards - iPad, iPhone and Android device. Since I made the board game design group into a smart object and duplicated it to every artboard if I make a change in it; it'll be changed on all three screens.
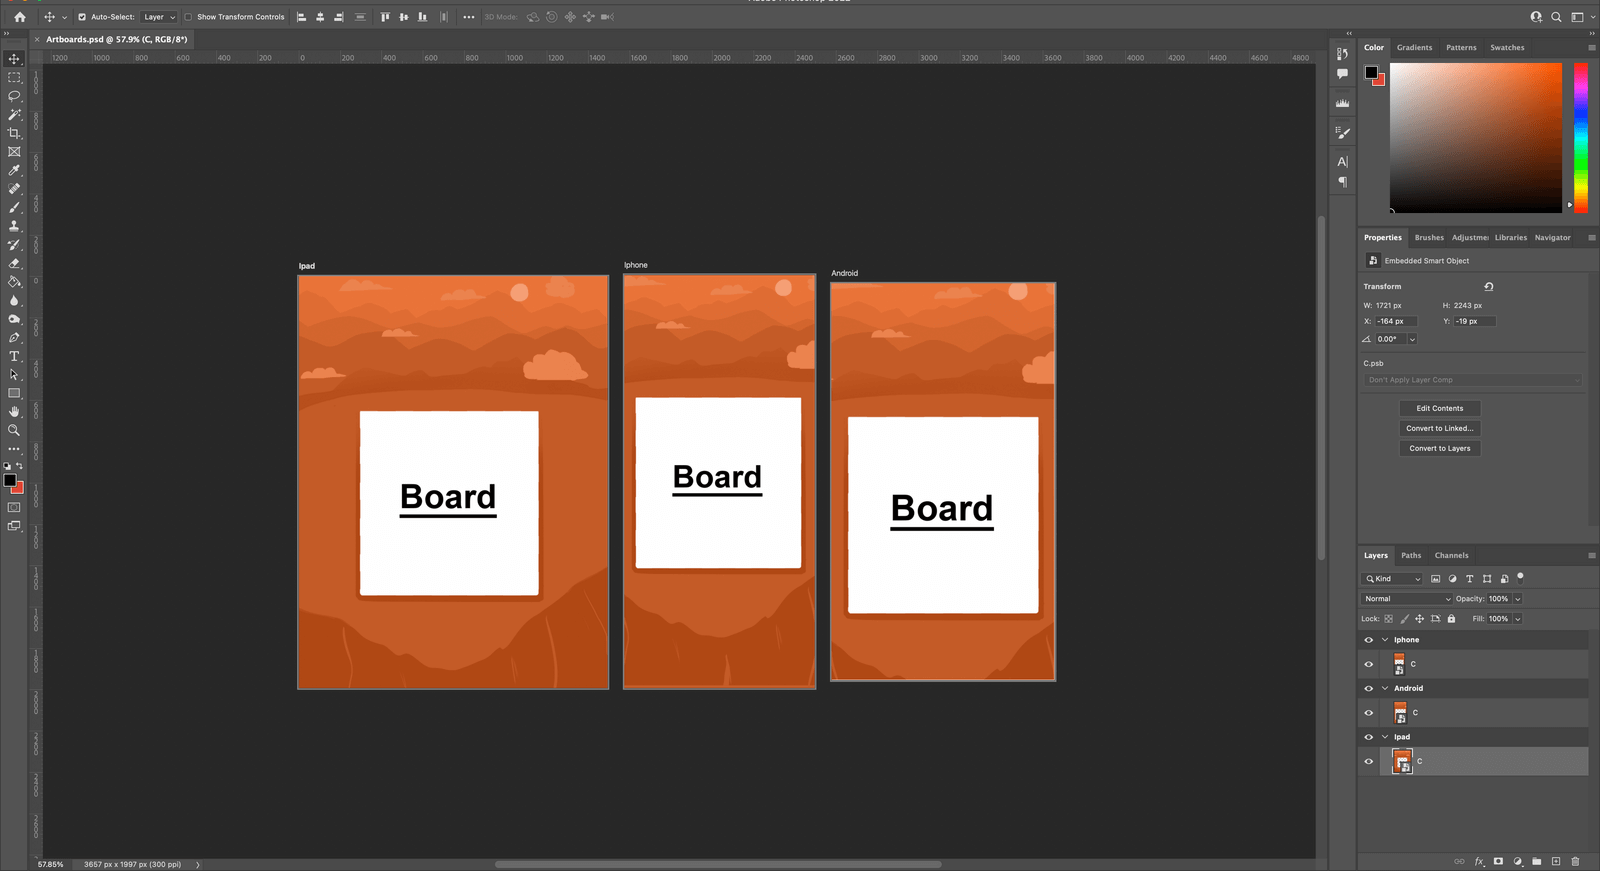
Since iPad or tablets have wider screens or square screens, make the initial design bigger and wider with more details at the sides so it doesn’t look empty on iPad. Those contents will be cropped out of mobile and iPhones so they shouldn’t be important details. They will be designed just to fill the empty area.
Exporting Artboards
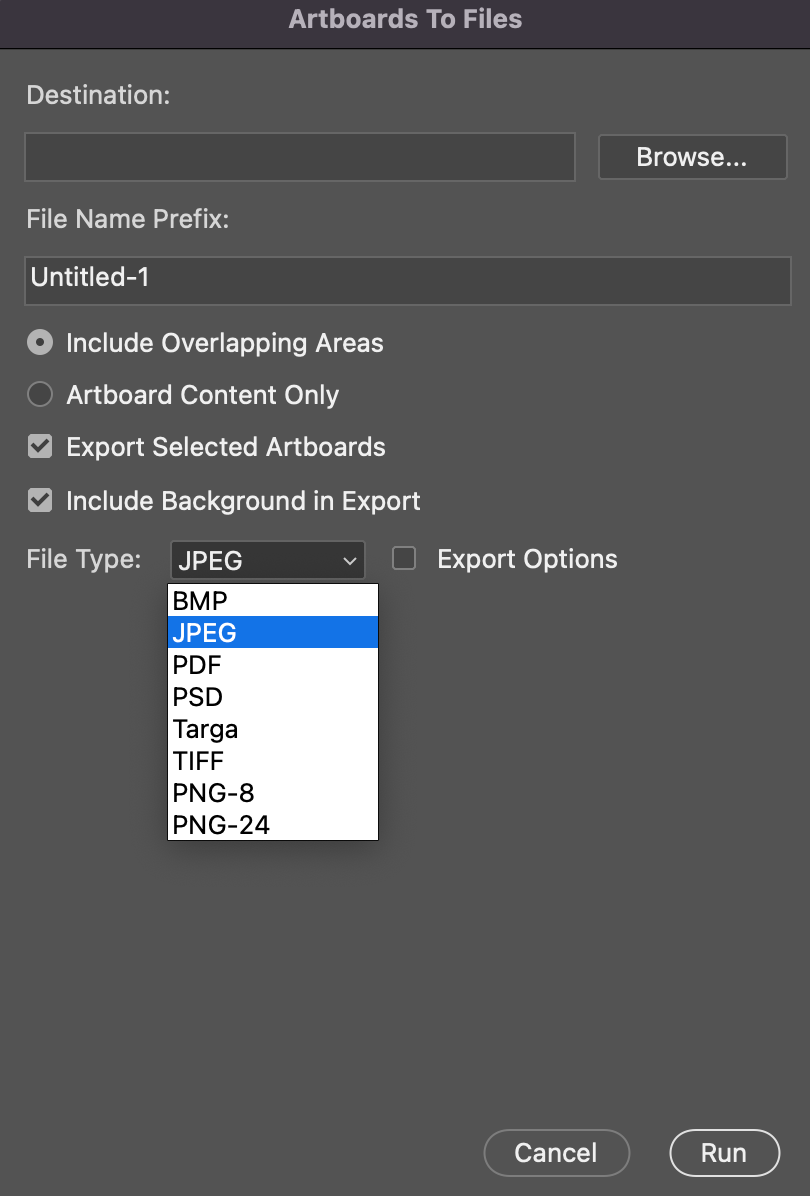
You can export all the artboards at once in Photoshop. First select the artboards you want to export, click on File menu, then select Export and from the drop-down menu, click on Artboards to Files.

You can select the location, name and file type in this window. It will take some time to process depending on the contents, number and size of the artboards.
With the use of Artboards, you can work on multiple canvases in the same document or create designs to preview them in various screen sizes.