Designed with a beginner-friendly approach, this guide is especially curated for developers experienced with Unity who are seeking to smoothly transition their skills to the Godot engine. In this informative article, we will walk you through the process of setting up a basic 3D scene in the Godot game engine. Our focus will be on implementing a feature that allows the spawning of a 3D box at the precise position where the mouse is clicked.
Comparing Godot and Unity
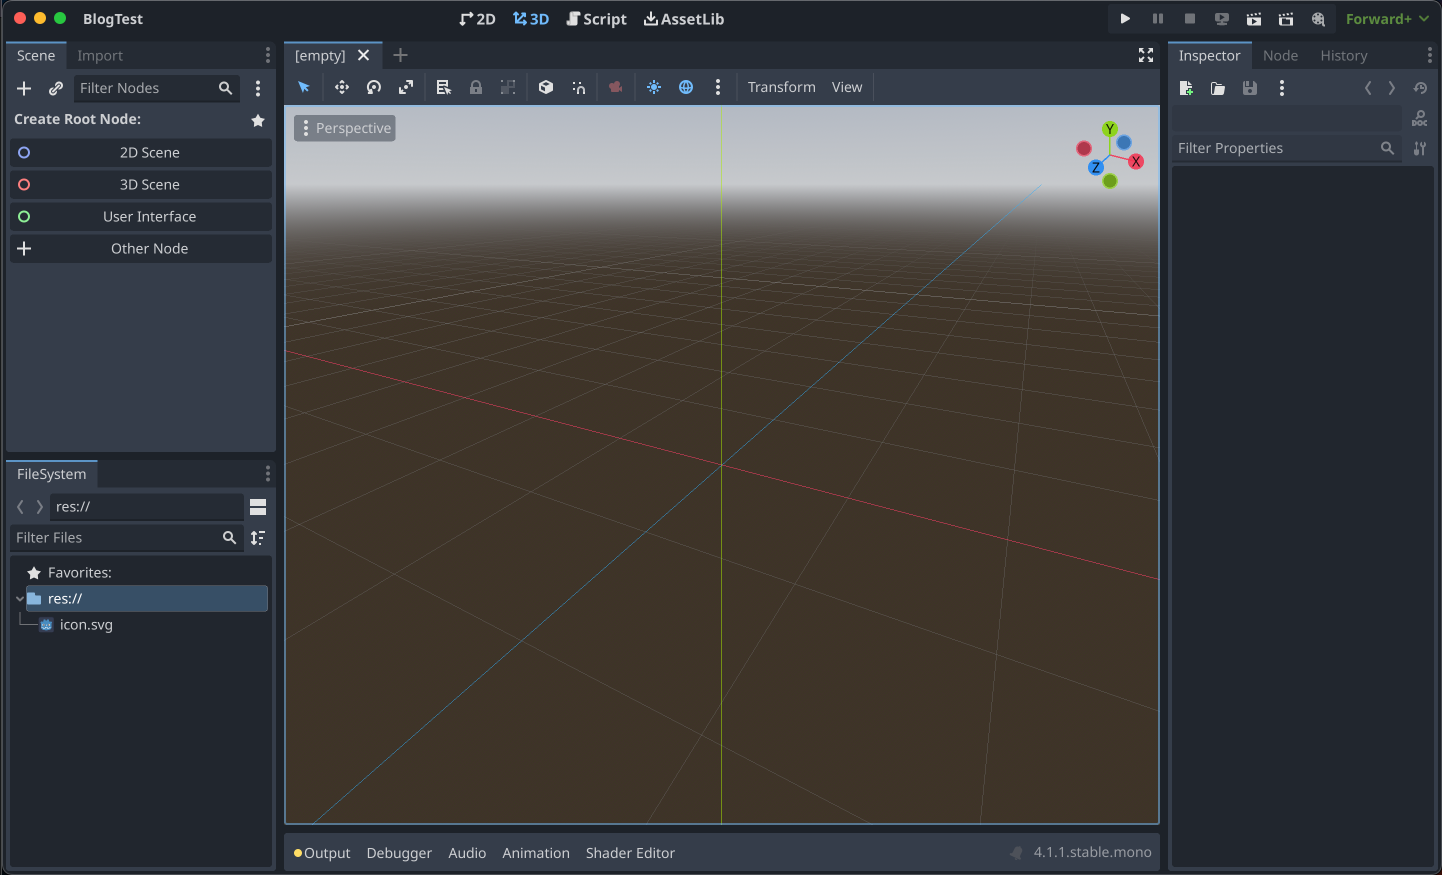
After creating a new project in Godot, you'll find yourself in the following window:
- The left side of the screen, called
Scene, is similar to Unity'sHierarchy, where scene objects are organized. - On the right side, you have the
Inspector, which is analogous to Unity'sInspector. - All project assets can be accessed through the
FileSystemtab, which is akin to Unity'sProjecttab. - You can switch between 3D and 2D scene views using a button at the top of the window.
- Godot comes with its own scripting language and editor, eliminating the need to install additional software for script creation and editing.
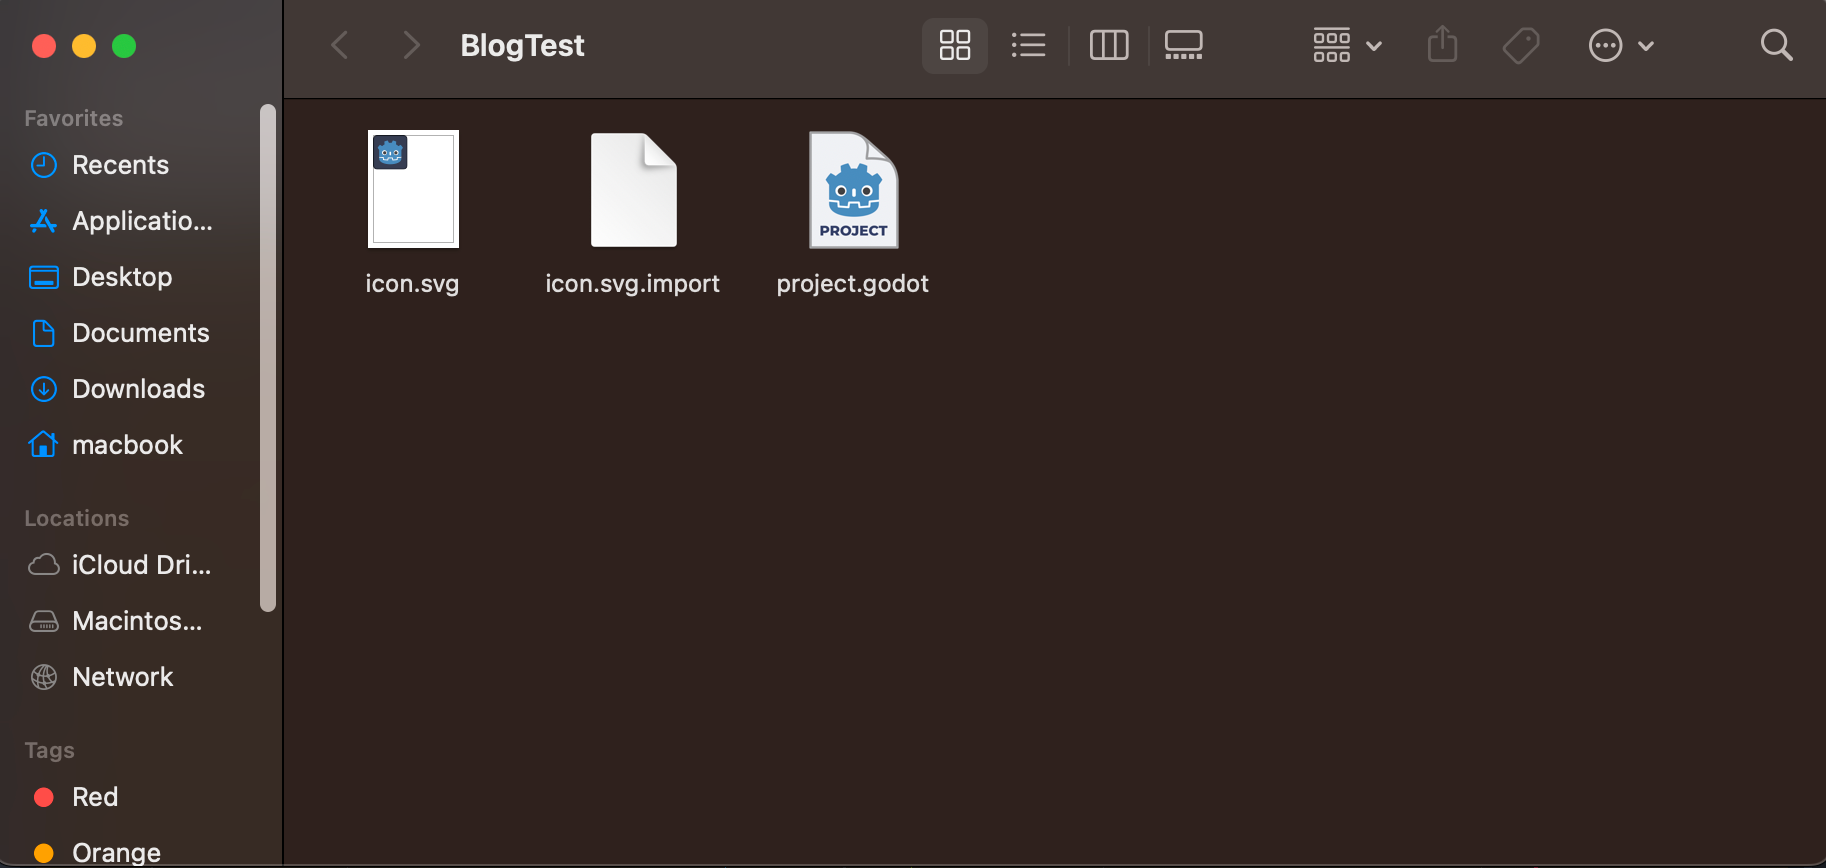
In Unity, project-related assets were stored inside anAssetsfolder, whereas in Godot, everything is contained within theprojectfolder.
Setting Up 3D scene
- Let's start by creating a 3D scene from the
Scenetab. Clicking on3D Scenewill generate a new empty node namedNode3D, which serves as the foundation for all 3D-related nodes in the scene.
Everything in godot is a node
- You can add new nodes by clicking the
plus iconin theScenetab or by pressingCommand+A(Ctrl+Aon Windows). This action opens a comprehensive list of available nodes in Godot. You can either scroll through the list or use the search function to find the desired node. For our scene, we'll add a 3D camera and a directional light. - You can adjust the light's direction by modifying the rotation of the
DirectionalLight3Dnode in theInspector. The rotation property is located under theTransformcomponent, similar to Unity.
Creating a floor/plane
Creating a floor in Godot differs from Unity's approach. Here's how to do it:
- Add a
StaticBody3Das the floor, as it represents a static object. - Attach
CollisionShape3Das a child ofStaticBody3Dto detect collisions. - In the
Inspectortab, select the desired shape for collision detection. In our case, we'll chooseBoxShape3D. - Add a
MeshInstance3Dto give a visual representation of the floor. - In the
Inspectortab, selectBoxShape3Dfor the shape of the mesh. - Adjust the size of the box by clicking the box icon in the
Inspectorpanel and selecting your desired size.
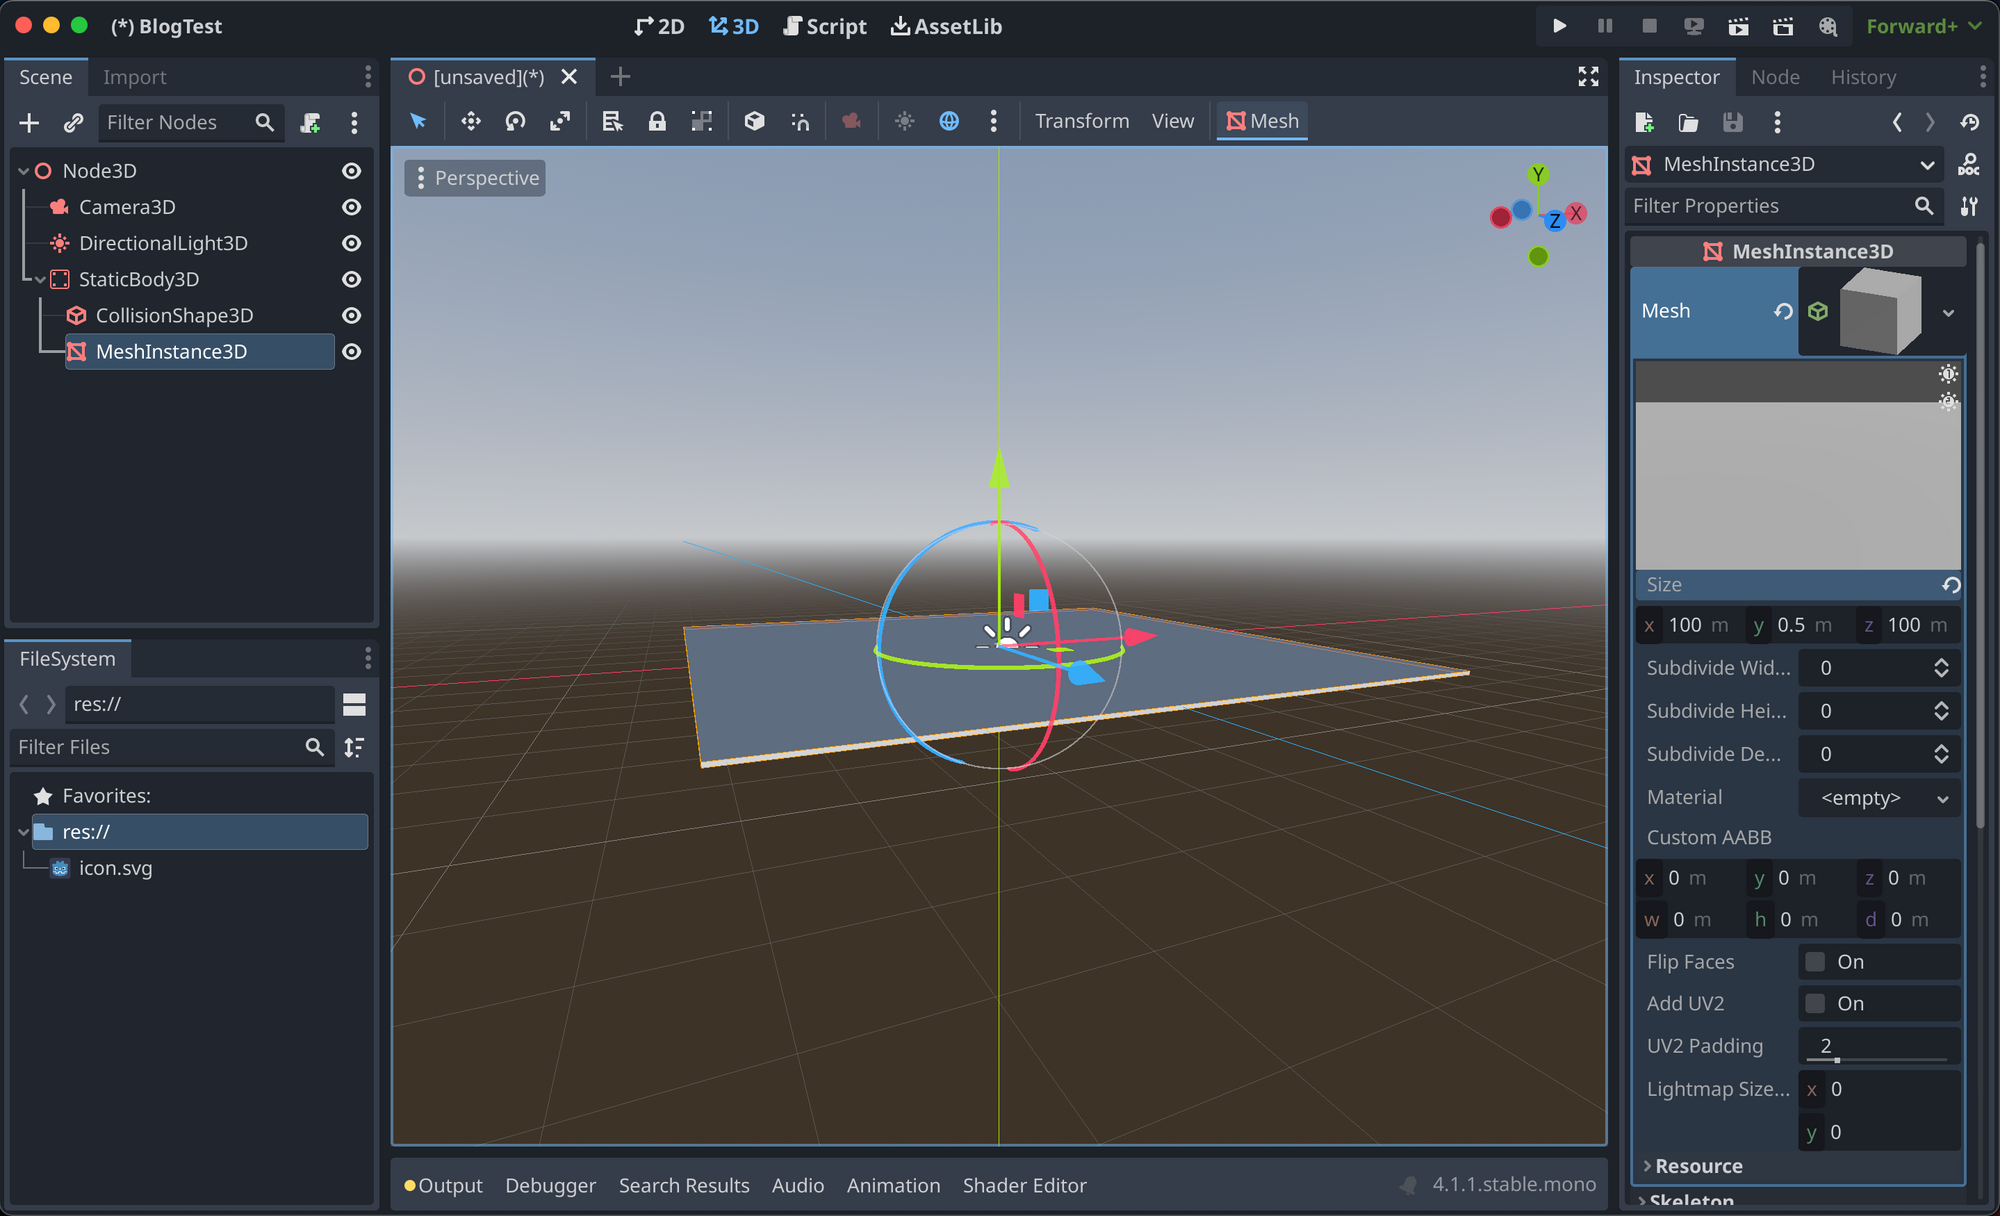
Make sure to match the shape of the box in the CollisionShape3D to that of the mesh and collider.Creating 3D Box
Now, let's create a 3D object and save it as a scene (similar to Unity's prefab) so that we can instantiate it on a mouse click:
- Add a new node called
MeshInstance3Dand rename it toBoxScene. - Select
BoxMeshas the mesh in theInspectorpanel. - Save
BoxSceneas a scene by right-clicking it and selectingSave Branch as Scene. - After saving, delete the
BoxScenenode from the scene.

Adding Script To The Node
Scripts can be added by selecting the floor node and then clicking on the Add Script icon in the Scene tab. Alternatively, you can create a new script in the Inspector by specifying it in the Script field.
By default, there are two functions already present in the script:
extends StaticBody3D


# Called when the node enters the scene tree for the first time.
func _ready():
	pass # Replace with function body.


# Called every frame. 'delta' is the elapsed time since the previous frame.
func _process(delta):
	pass
Adding a script to the node
_readyis similar to Unity'sStartfunction and runs at the start of the game._processis akin to Unity'sUpdatefunction and runs every frame. Thedeltaargument represents the elapsed time since the previous frame, which can be used to normalize values, similar to Unity'sTime.deltaTime.
Listening to Events In Script
You can listen to events by connecting an event to a script. Here's how:
- Select the floor node.
- Go to the
Nodetab on the side of theInspectorpanel. - Choose
input_eventand then clickConnectat the bottom of the panel.
You can name the function that will be called when that event occurs or use the suggested one. The newly created function will take parameters such as camera, event, position, normal, and shape_idx.
func _on_input_event(camera, event, position, normal, shape_idx):
	pass # Replace with function body.
This event contains various event information. You need to check if it's a mouse button event and if it's a mouse button press:
func _on_input_event(camera, event, position, normal, shape_idx):
	if(event is InputEventMouseButton):
		if(event.pressed):
			print("Pressed")
Spawning a 3DBox On Mouse Click
To spawn a 3D box on a mouse click, follow these steps:
- Preload the
BoxScenein the script using thepreloadfunction. - Instantiate the preloaded node, set its position (for now, to
Vector3.ZERO), and add the instantiated node as a child:
extends StaticBody3D

var BoxScene = preload("res://BoxScene.tscn")
# Called when the node enters the scene tree for the first time.
func _ready():
	pass # Replace with function body.


# Called every frame. 'delta' is the elapsed time since the previous frame.
func _process(delta):
	pass


func _on_input_event(camera, event, position, normal, shape_idx):
	if(event is InputEventMouseButton):
		if(event.pressed):
			print("Pressed")
			var BoxInstance = BoxScene.instantiate()
			BoxInstance.position  = Vector3.ZERO
			add_child(BoxInstance)
Spawning a 3D box on mouse click
Getting 3d Position from Mouse Click
To obtain the 3D position from a mouse click, use a raycast from the mouse position in the direction the camera is facing to find the raycast hit point on the floor:
func raycast_from_mouse(m_pos):
	var cam = get_viewport().get_camera_3d()
	var ray_start = cam.project_ray_origin(m_pos)
	var ray_end = ray_start + cam.project_ray_normal(m_pos) * 2000
	var world3d : World3D = get_world_3d()
	var space_state = world3d.direct_space_state

	if space_state == null:
		return

	var query = PhysicsRayQueryParameters3D.create(ray_start, ray_end)
	query.collide_with_areas = true

	return space_state.intersect_ray(query)["position"]
Getting 3D Position from mouse click
- First, we get the camera from the
viewport - Set the
ray start pointas the mouse pos - Set
ray end pointin camera's normal direction multiplied by 2000 PhysicsRayQueryParameters3D.create()creates the actual raycast and returns the query.
The returned position from raycast_from_mouse function is used to set the position of the spawned 3dBox.
Here is the full code
extends StaticBody3D

var BoxScene = preload("res://BoxScene.tscn")
# Called when the node enters the scene tree for the first time.
func _ready():
	pass # Replace with function body.


# Called every frame. 'delta' is the elapsed time since the previous frame.
func _process(delta):
	pass


func _on_input_event(camera, event, position, normal, shape_idx):
	if(event is InputEventMouseButton):
		if(event.pressed):
			print("Pressed")
			var BoxInstance = BoxScene.instantiate()
			BoxInstance.position  = raycast_from_mouse(event.position)
			BoxInstance.position.y = 1
			add_child(BoxInstance)

func raycast_from_mouse(m_pos):
	var cam = get_viewport().get_camera_3d()
	var ray_start = cam.project_ray_origin(m_pos)
	var ray_end = ray_start + cam.project_ray_normal(m_pos) * 10000
	var world3d : World3D = get_world_3d()
	var space_state = world3d.direct_space_state

	if space_state == null:
		return

	var query = PhysicsRayQueryParameters3D.create(ray_start, ray_end)
	query.collide_with_areas = true

	return space_state.intersect_ray(query)["position"]
The full Godot code used in the article
Thank you for reading this article. Please let me know in comments if you would like more such articles on transitioning from Unity to Godot.