
If you are a game developer or someone who uses the Unity engine a lot, you must have come across Unity's Texture Settings window. If you don't know what that is, texture settings are mostly used whenever we need to extract tileset images or use the sprite editor.
Most of the tutorials you find on these are focused on the Sprite Editor and not the Sprite Settings, so in this blog, we will be discussing the settings and features provided through Unity's sprite settings window.
You can navigate to this menu by selecting the image you want to see from Unity's project explorer.
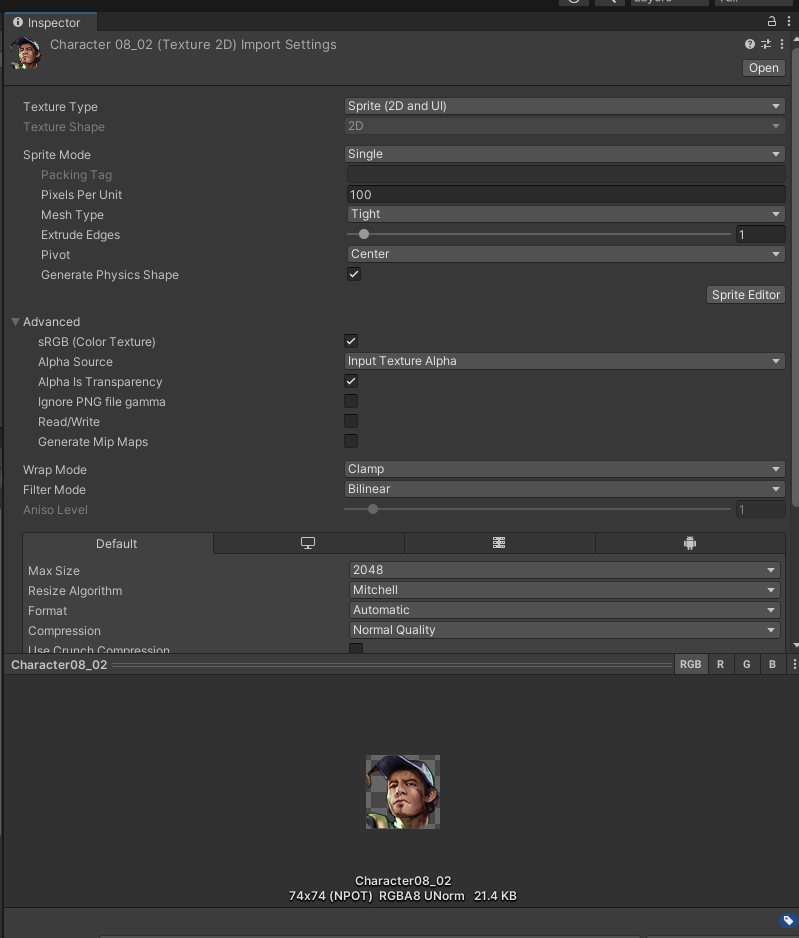
In the image above, you can see that our inspector is filled with the information and settings of the image we have selected.
In this blog, we will be separating the contents into their different sections and covering every sprite setting property in detail.
Basic Settings
Under the main window, you will find the following settings.
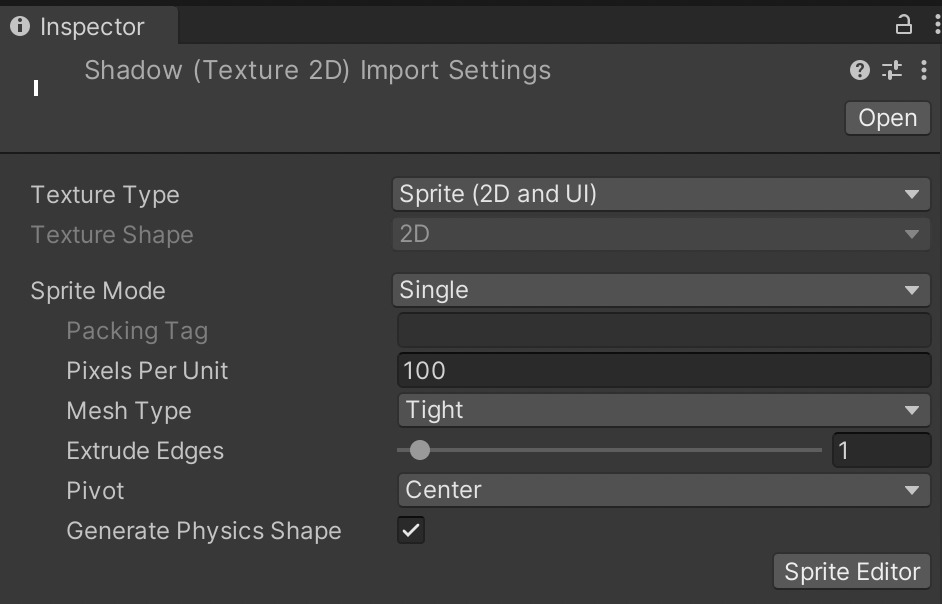
Texture Type
Texture type is the property that allows you to choose the type of texture you want from the image file. This property allows you to choose from various types like Default, Normal Map, Cursor, Cookie, Sprite (2D and UI), Lightmap, Editor GUI etc.
Texture Shape
Texture shape allows you to define and change the shape and structure of the texture. It also allows you to create other shapes like Cube, 2D Array, and 3D. Here, one of the most used texture shapes is the 2D Array which is used for optimization or combining different types of texture formats. The 2D texture shape is also used to create material albedos, GUI elements and sprites.
Sprite Mode
Sprite mode lets you specify how you want your sprites extracted from the texture. It allows you to choose from two different modes: Singles and Multiple. The Single mode treats the whole image as a single texture and generates a single asset from the image, whereas the Multiple mode allows you to define sprite slicing properties to take multiple sprites out of a single packed tileset or sprite sheet.
Packing Tag
This setting is used by sprite atlas to specify its name.
Pixels Per Unit
Pixels per Unity is the number of pixels of the width and height in the sprite image on the unit distance at world space.
Mesh Type
This setting allows you to generate the mesh type of a sprite. It contains two settings, Full Rect and Tight. If you create a mesh type out of a Full Rect, it generates the sprite in a quad, and if you select the Tight setting, the sprite is generated following its original shape.
Extrude Edges
This setting allows you to provide the amount of edge extrusion present during the mesh generation of the sprite.
Pivot
Changing this value will allow you to edit the image's origination pivot from presets or a custom vector value.
Generate Physics Shape
You should enable this setting if you want Unity to generate a physics shape from the sprite outline.
Advanced Settings
Under Advanced Settings, you will find the following options.
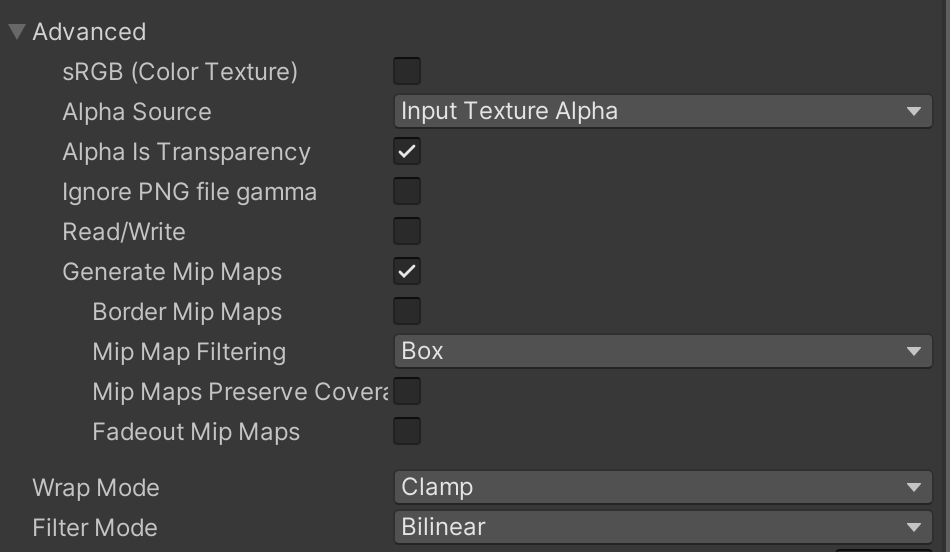
sRBG (Color Texture)
This property allows you to specify that the texture is stored in gamma space. Gamma space is a space that adapts the computed colours to the transfer function of the monitor used for output.
Alpha Source
This property helps you determine the alpha source of the image, which ranges from Input Texture Alpha to Grayscale. Here, if the image's alpha source is Input Texture Alpha, Unity extracts the alpha out from the provided texture. If the source is grayscale, the alpha is generated through the average of the texture's RGB values.
Alpha is Transparency
Enabling this property will dilate the colour and avoid filtering artefacts on the edges.
Ignore PNG File Gamma
Enabling this property will ignore all the gamma attributes in a png file. It will ignore the file entirely if it is in other file formats like jpg, SVG, etc.
Read/Write Enabled
You will need to enable this property to access texture data, like getting and setting texture pixels through a script.
Streaming Mip Maps
This setting is used in Unity to display diffuse textures, normal maps and lightmaps for texture streaming.
Wrap Mode
This setting allows you to choose how a sprite should act when used in the tiled mode.
- Repeat: Repeats the texture in the tiles
- Clamp: Stretches the Texture's edges
- Per-axis: Control how Unity wraps the texture at U and V axis.
Filter Mode
This setting allows you to control how the texture is filtered when stretched in the 3D space.
- Point (No Filter): Makes the texture appear block pixelated from the closest pixel.
- Bilinear: Makes the texture appear blurrily pixelated from the closest pixel.
- Trilinear: Blurs the image between different MIP levels.
Ending this blog, hope you guys understood the different types of import settings of textures in Unity. I will be covering more about the compression system in my next blog.
Thank you for reading and learning with me. Please leave comments if you have any regarding this article.