
I recently started using Procreate as my go-to app for digital illustrations, paintings, and note-taking. The shortcuts the developer has included in the app are very intuitive and provide a very well-thought-out user experience. Moreover, it has made my illustration experience very enjoyable.
I have listed some shortcuts, tricks and tips for using Procreate that I have learned so far. I am sure they will come in handy for many beginners.
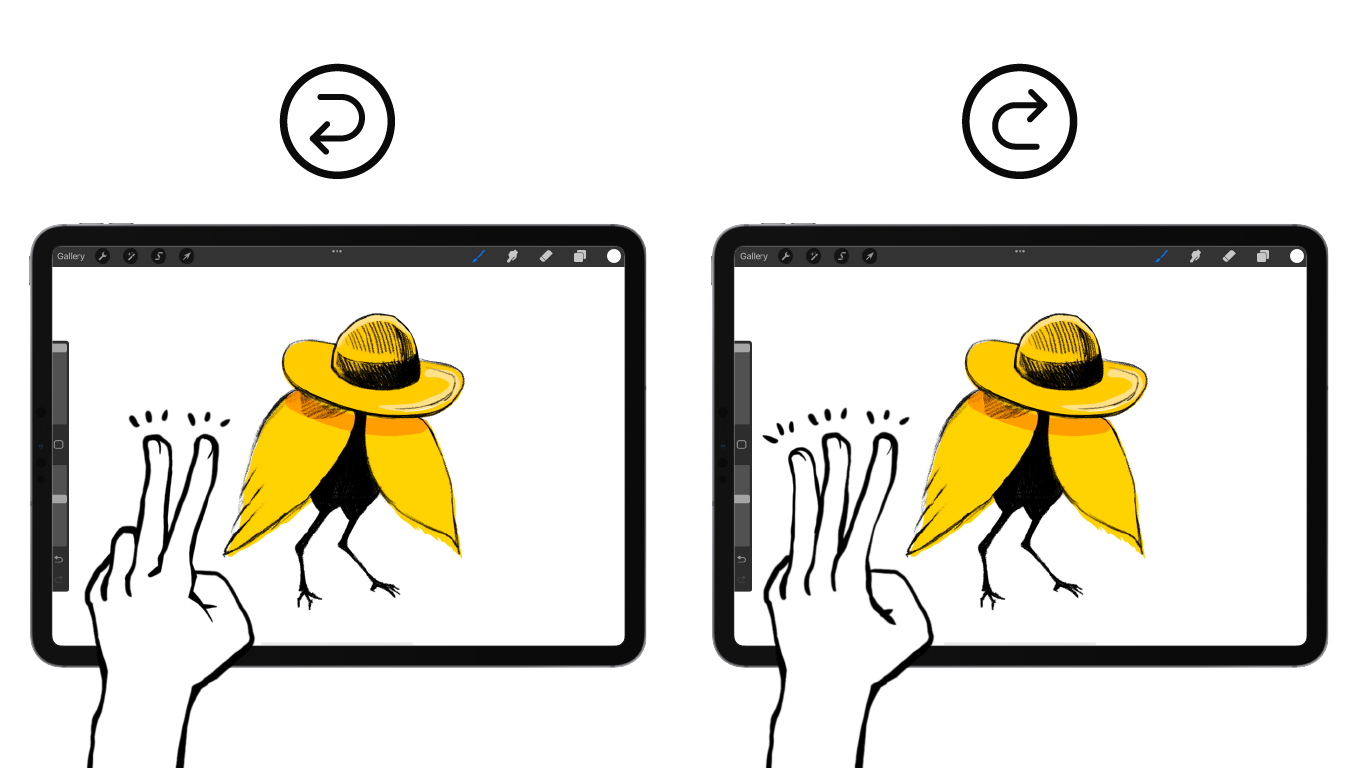
Undo and Redo
On Procreate, you can quickly double-finger tap to Undo and triple-finger tap to Redo your actions.
It is always convenient to undo the mistakes you've committed at a touch. Yes, Procreate is forgiving like that...
Quick Copy and Paste
Swiping down with three fingers on the screen gives you the option of what you want to do with the selected object in the layer: Cut/Copy/Copy all (in a layer), Duplicate (on a new layer), Cut & Paste(on a new layer), or Paste (copied item).
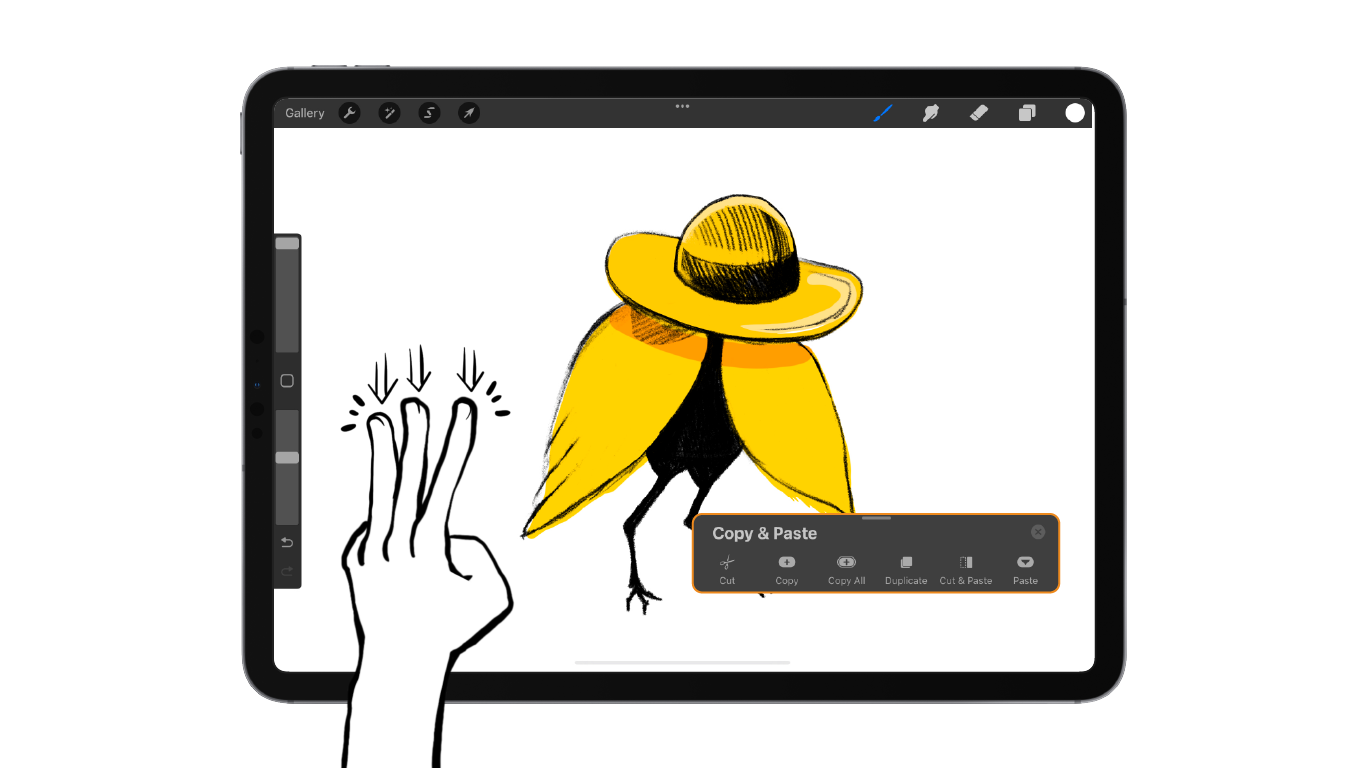
Swipe down with three fingers again to return the option to paste the object you have copied or cut. In the case of Cut & Paste, the object is directly pasted in front of the original but on a separate layer.
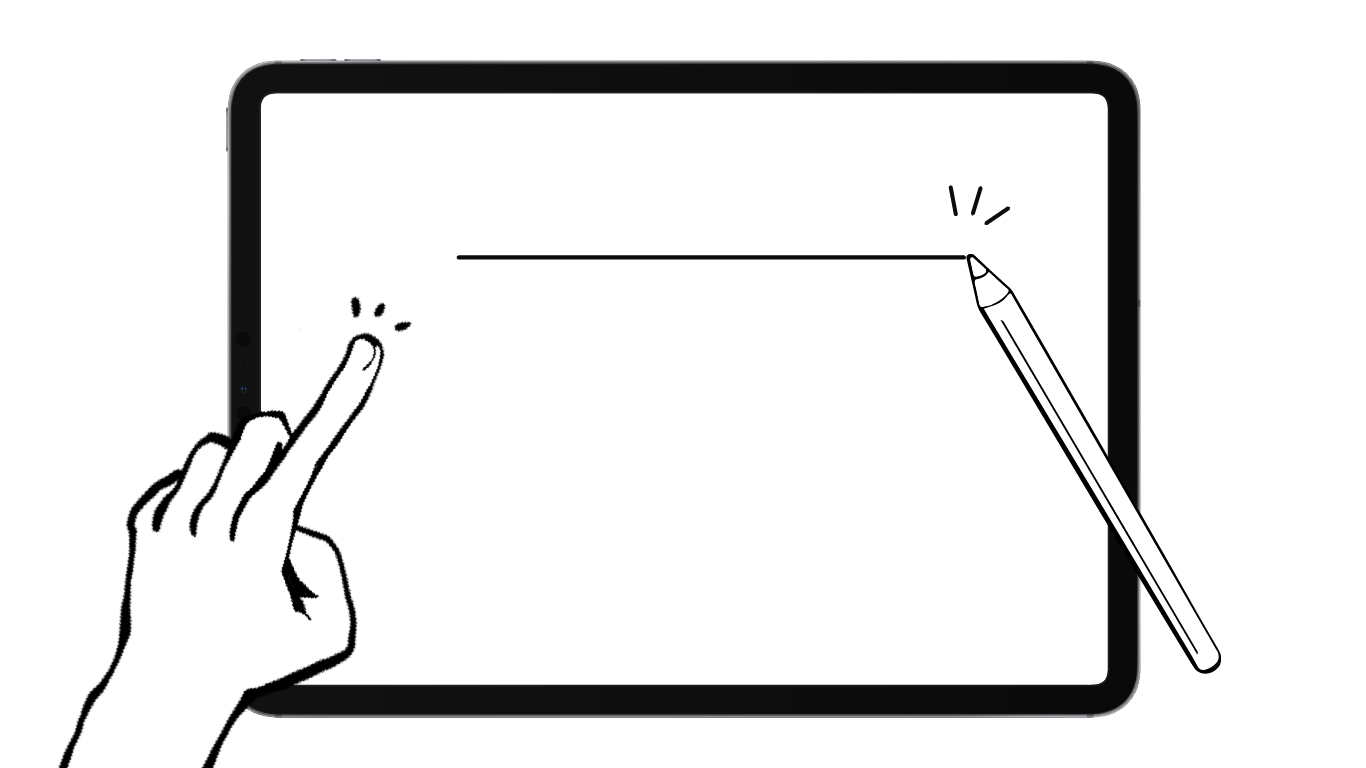
Creating Perfect Lines and Shapes
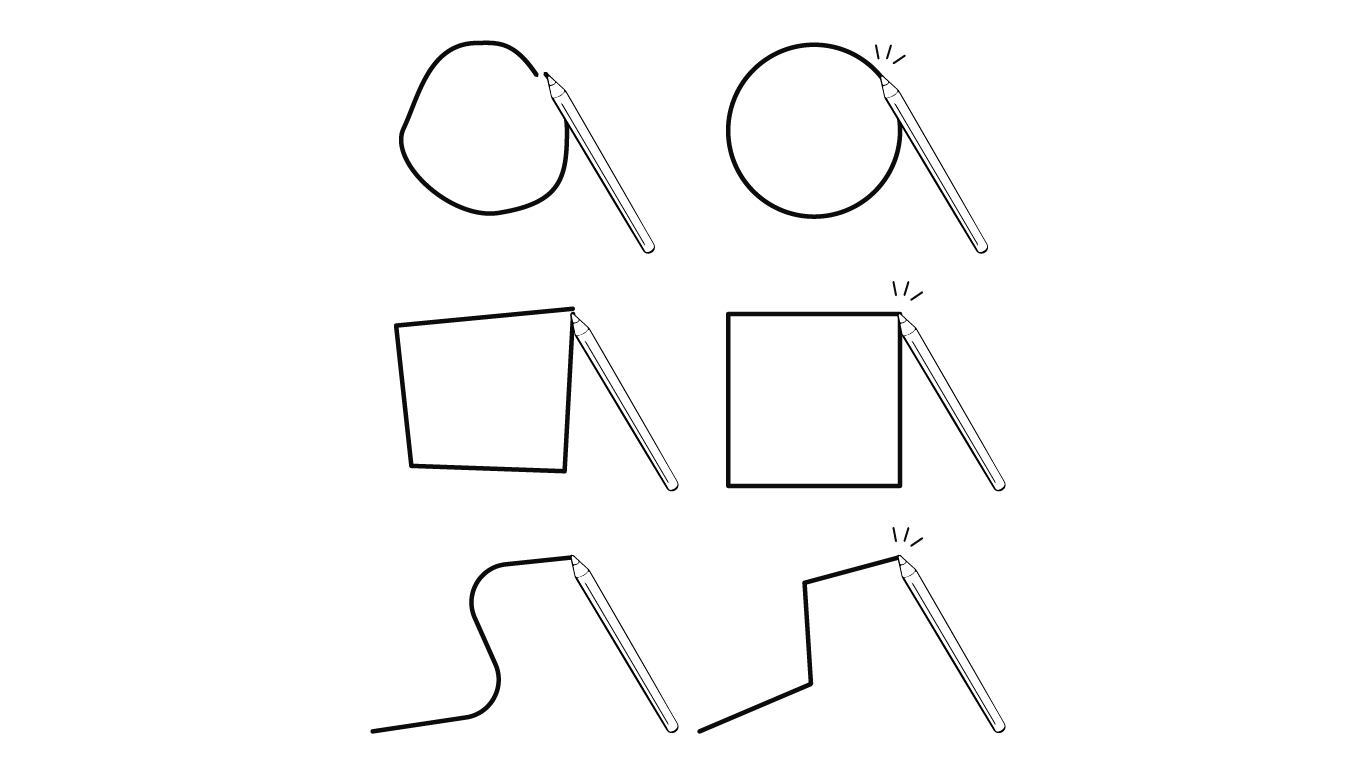
Draw any kind of line and hold the position for a while (without lifting your Apple pencil) until Procreate corrects the trajectory of the line. Imperfect lines are easily turned into straight lines. If the line is curved, it will also turn it into a smooth arc. Wavy lines are turned into jagged/zigzag lines.
Pressing another finger while the line is still active lets you snap the line at a certain angle like a physical ruler. You can drag the point where the pencil tip is touching till you are happy with the line.
Procreate also corrects shapes; the app detects the closest shape you want to draw and corrects it. You can also modify the shape by tapping the option on the top of the screen. In the case of a rounded shape, it provides you with the option of an ellipse or a perfect circle.
Eye Dropper Tool
Long press with one finger to pick a colour from a specific area. You can also adjust the timing of the finger press from the app settings.

Quick Coloring (Color Fill)
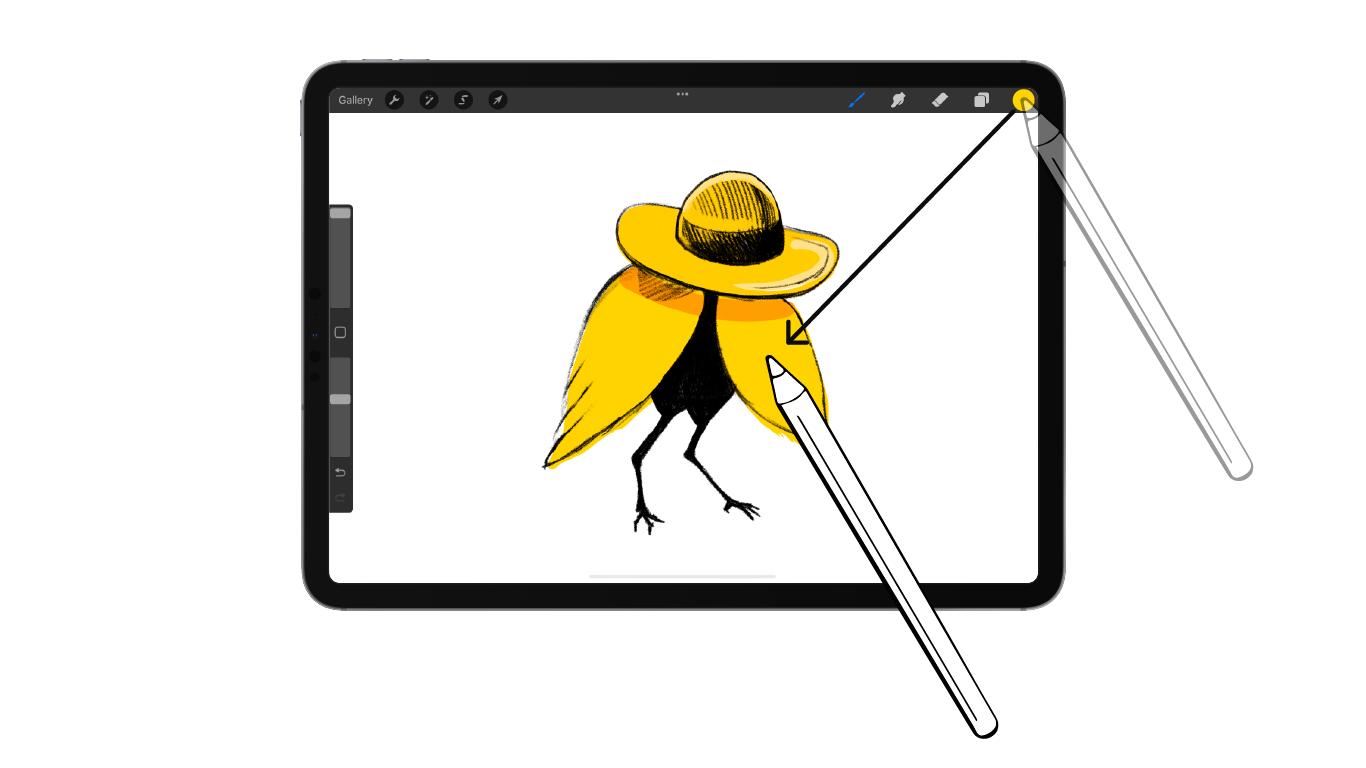
Tap, hold, and drag-drop from the colour palette and fill an area like a bucket tool.
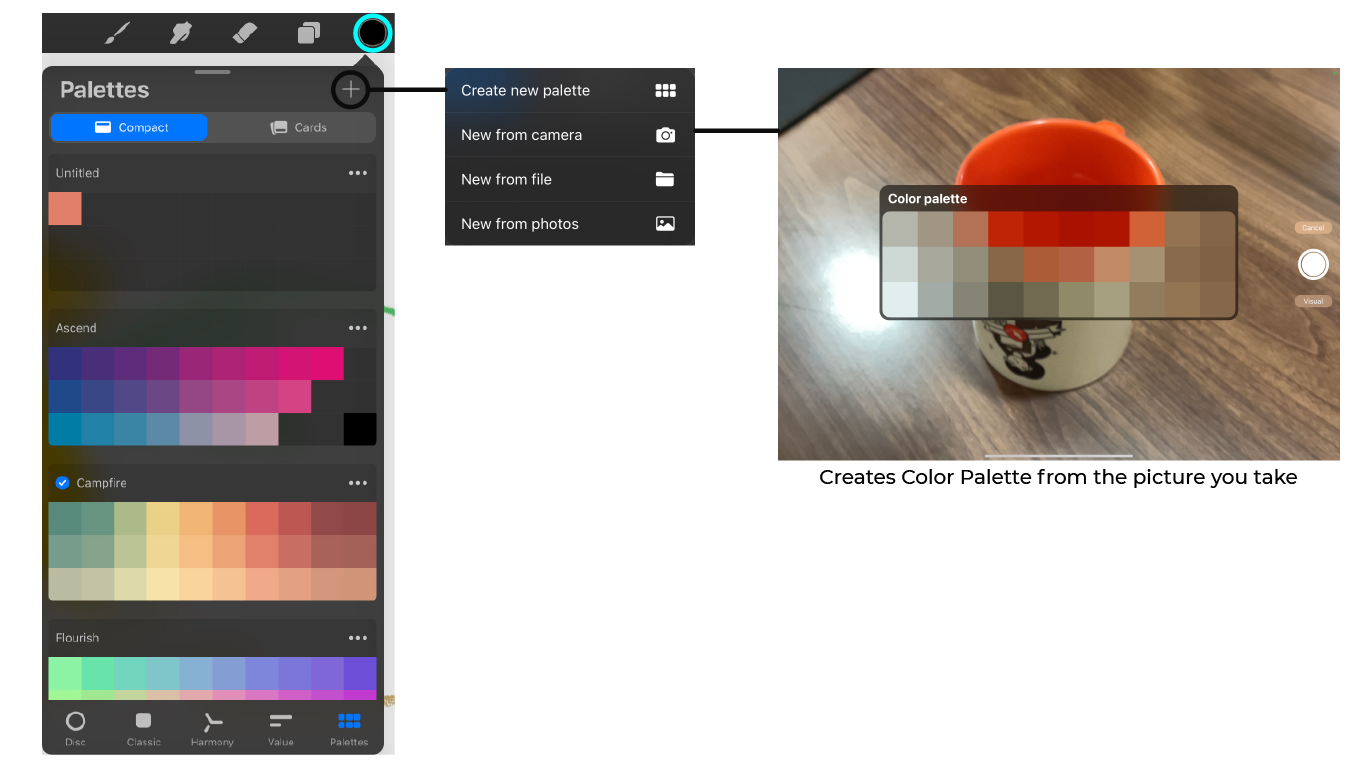
Creating Color Palettes from Camera or Photos
There are many modes of making your own colour palettes or libraries in Procreate.
A mode that comes in handy is creating a colour library from the device's camera. It can be useful when you are doing an observation drawing/painting, as specific colours are required.
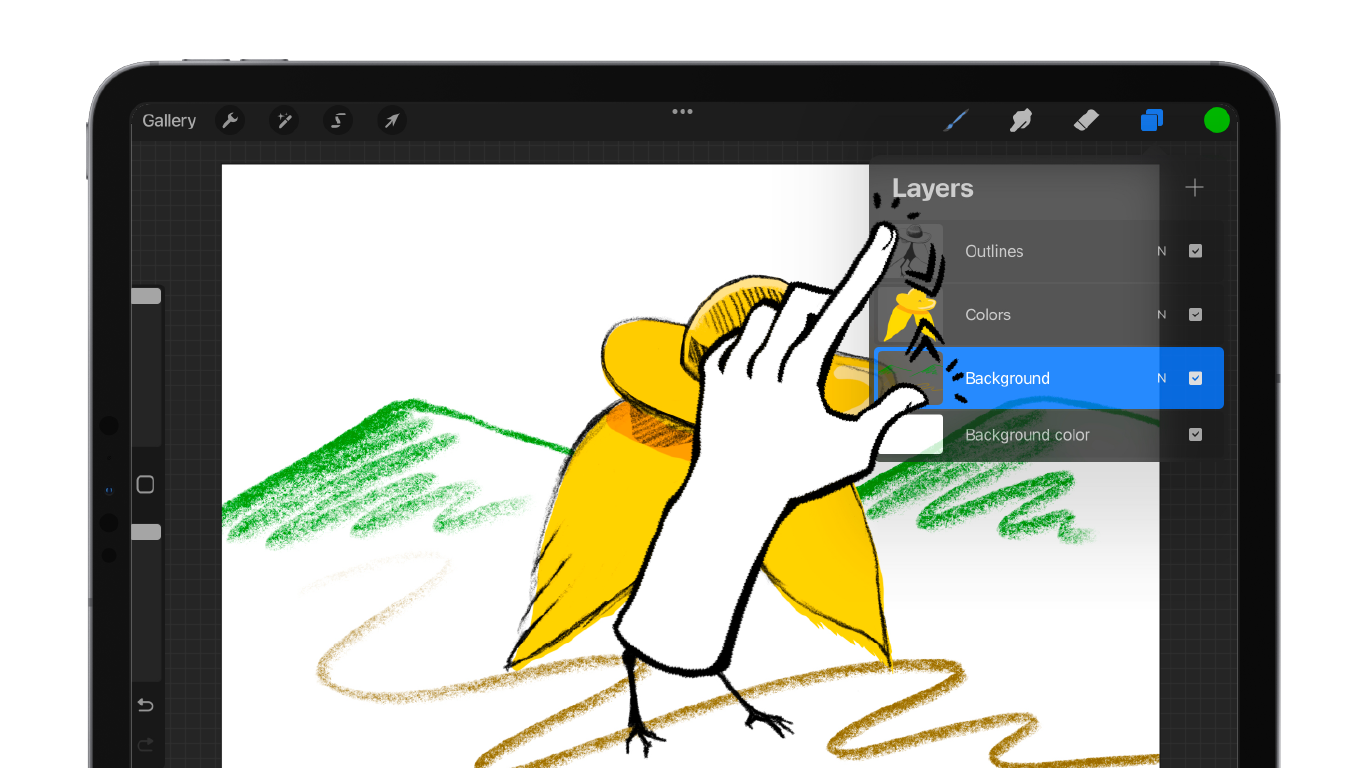
Merging Layers
Pinch the range of layers you want to combine and close your fingers to merge them.
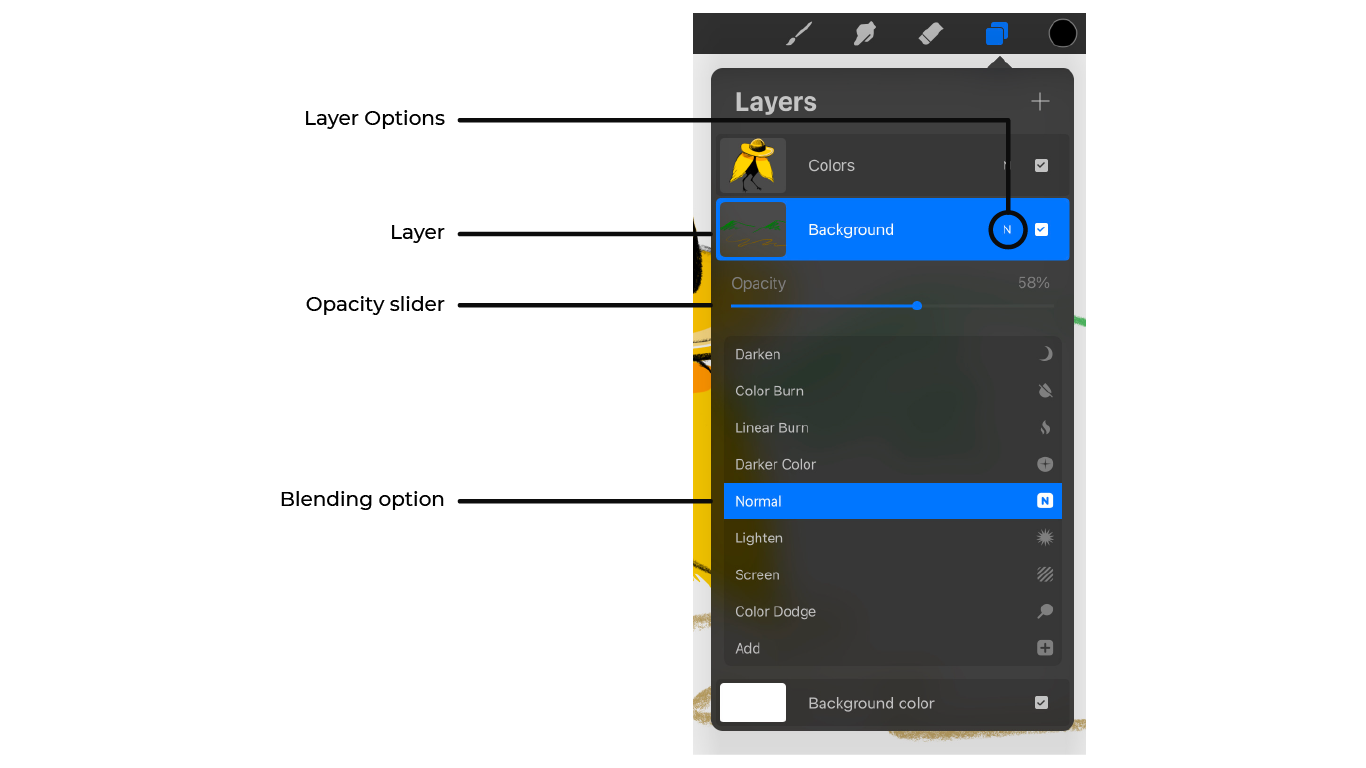
Changing Layer Opacity and Blending options
Open layers and tap on the N letter. Options for modifying the layer appear.
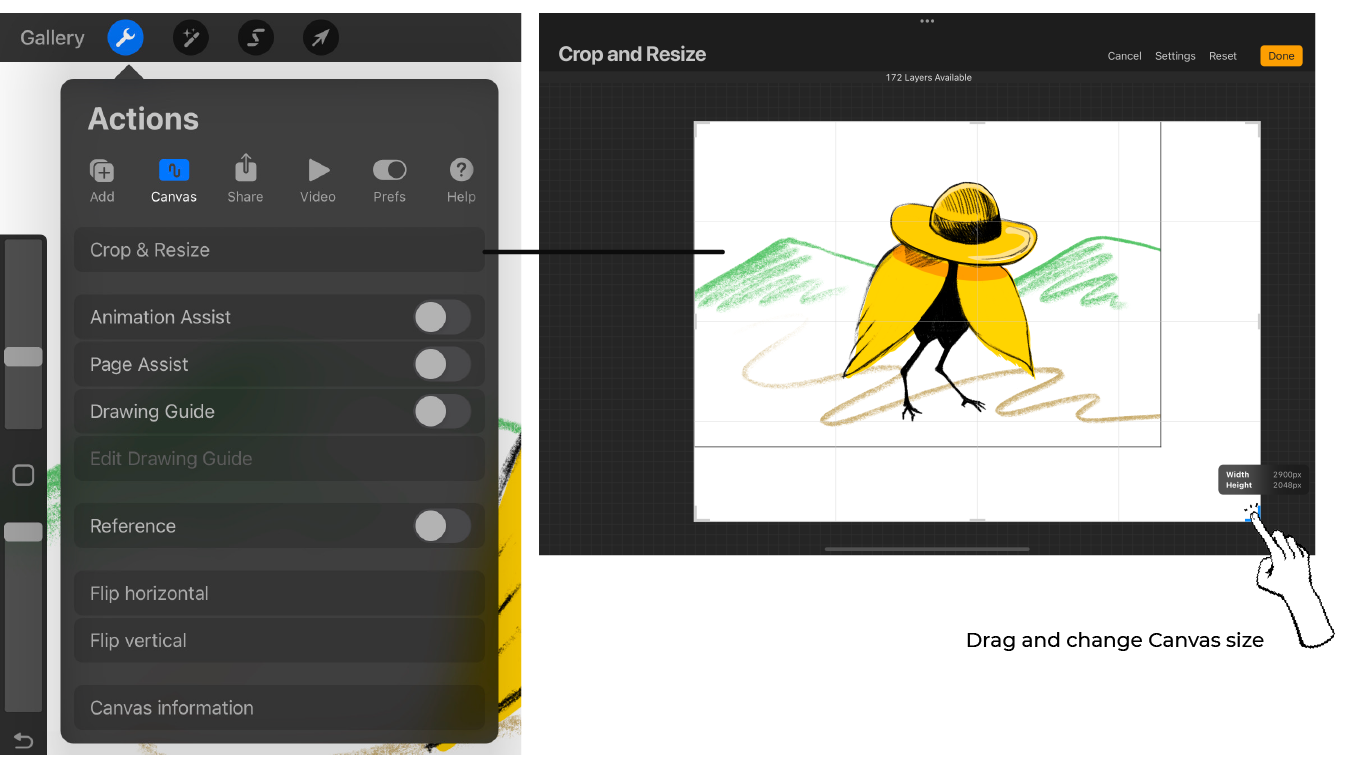
Adjusting Canvas Size
Tap Settings > Canvas > Crop & Resize. This option allows you to change the canvas size by either dragging or putting in a numerical value (from Settings).
That's as much as I have learned so far! I hope some of these tips will be useful for any new Procreate user.
Keep drawing, I'll be back with more tips soon!