
Hello devs, today we are going to change the shape of our camera in which it renders in Unity. You must be bored with the normal rectangular shape of the camera, but after you read this post, you can give it the shape of a star or a flower if you like!
How is it Useful?
Suppose you want to make a car racing or driving game or any other vehicle game requiring a back camera. Well, you would need a back camera with a rectangular shape. This is where this method comes in handy.
First, we will create an overlay with an easier method but without flexibility in shape. This will help us understand the actual process much better.
Step 1: Set Up Camera and Model
We will have three cameras in our game, one to render the forward view and two to render the back view in-game.
In an empty scene, let's add three cameras. Oh, I nearly forgot, let's also get our car first! You can get many 3D models online for free, and I have also used one in the project.
Step 2: Easy Method (No Shape Control)
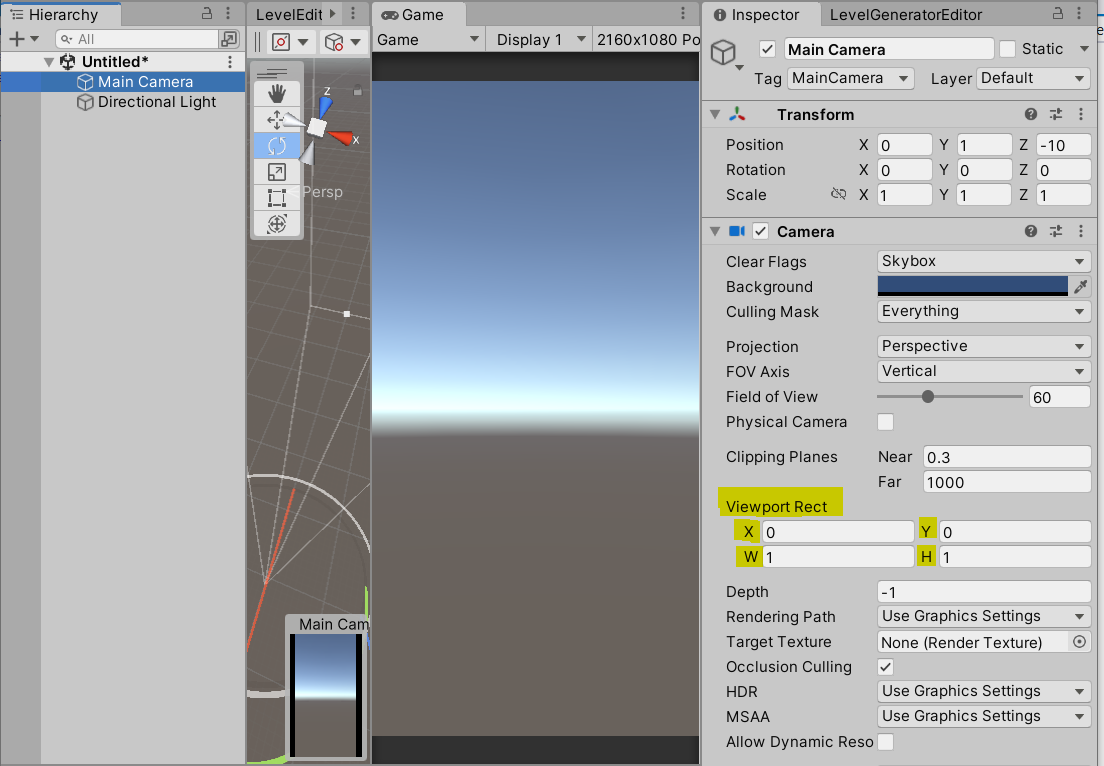
After adding the cameras, click on the camera and look at the Inspector Window. At the bottom of every camera component is a section called Output.
Here, we are interested in the Viewport Rect option in the Output section. We see four fields, X, Y, W, and H, representing the X position, Y position, Width, and Height of the camera, respectively. But they use a separate unit for these values, with respect to screen size, where 0 indicates the bottom left corner and 1 indicates the top right corner.
So if X, Y is (0.5,0.5), the camera will be at the centre of the screen, and if it is (0,0.5), the camera will be at the left centre of the screen. Similarly, if W, H is (1,1), the camera will render the full screen, but if it is (0.5,0.5), the camera width and height will be half the size of the screen.
You can modify it according to your needs. However, you will soon realize the limitations of this method. You can only create rectangular cameras!
But we are more interested in another method where we don't have to deal with those values. So, let's hop into that.
Step 3: Overlay Method For any Shape
Setup Cameras and RenderTexture
We start by creating a Render Texture, as shown in the image below.
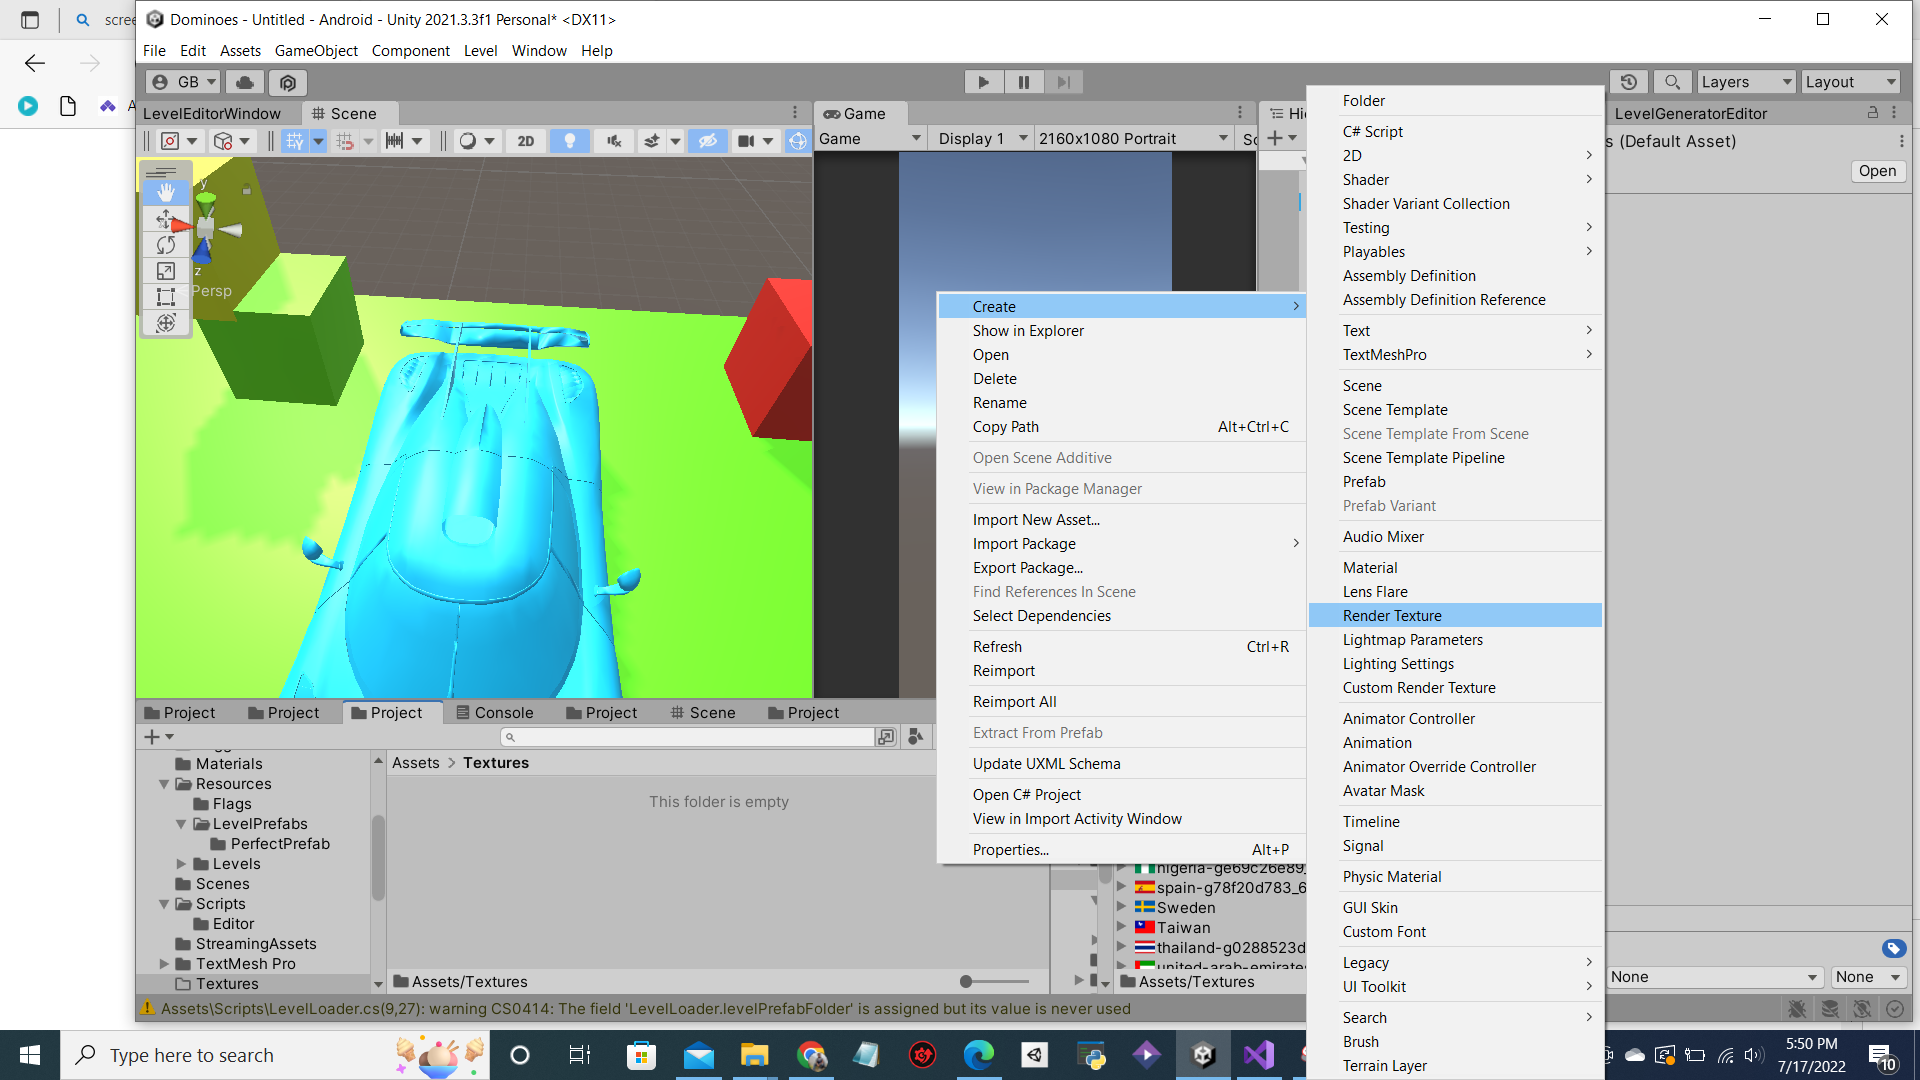
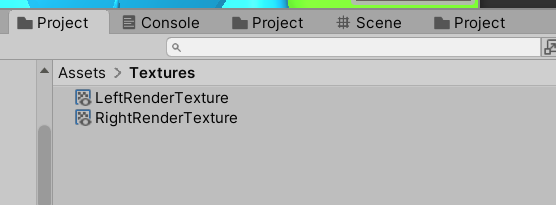
We are going to create two Render Textures for two overlay cameras and name them LeftRenderTexture and RightRenderTexture.
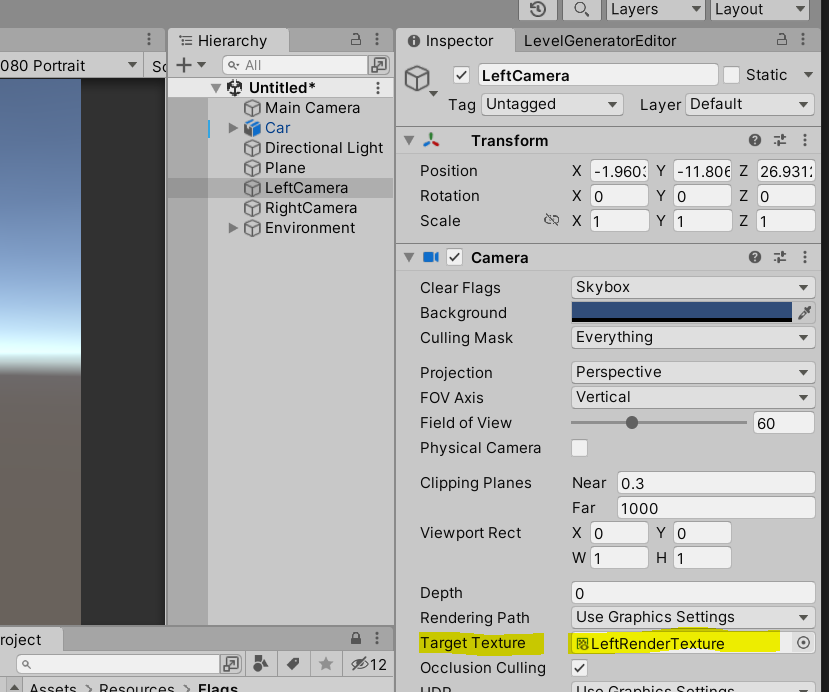
Now, we create two cameras and name them LeftCamera and RightCamera.
So, by now, there must be 3 cameras on the scene. For both LeftCamera and RightCamera, we assign LeftRenderTexture and RightRenderTexture respectively to the field TargetTexture.
GameObject Setup
Then we add an image GameObject in canvas and name it Image1. We then change the size and anchors of Image1 to be in the top left corner.
You can see its properties in the inspector below.

Now let's assign the sprite of Image1 to any sprite of choice that would work as a frame. I have used the InputFieldBackground sprite, which is in Unity by default.

Now we add another image inside Image1 and name it Image2. We add the Mask component to it, and the sprite we provide will control the shape of the camera rendering.
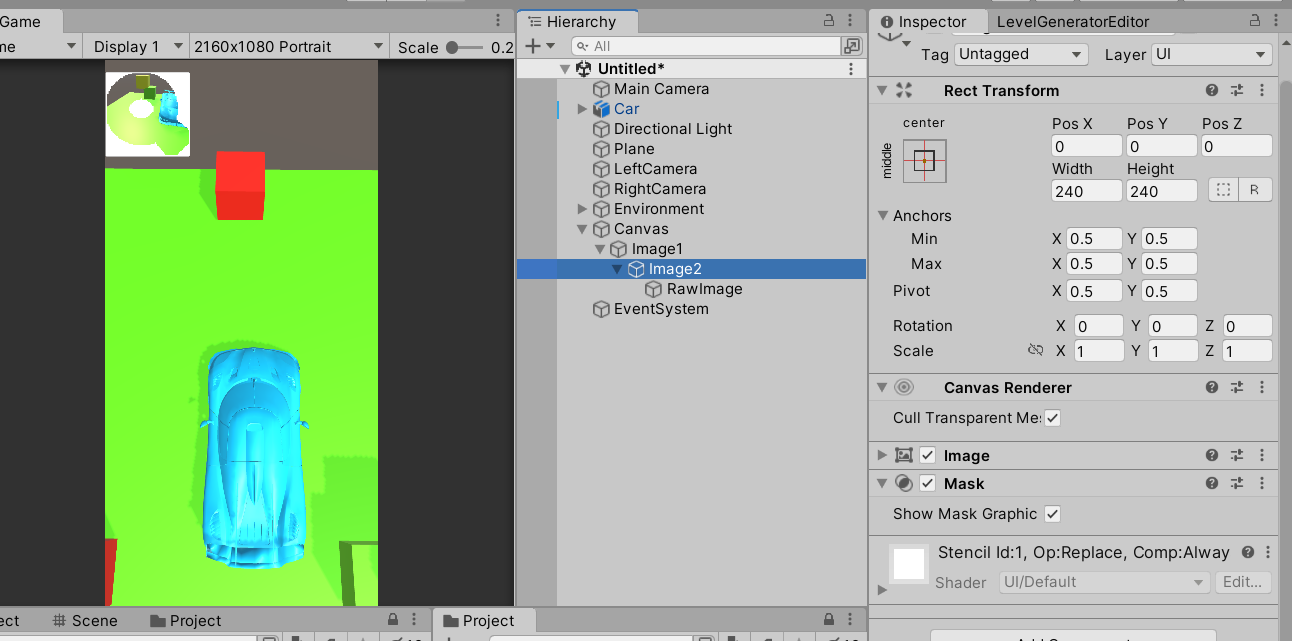
Image2. Now try changing the view of the left camera so that you would know it is the rendering of the left camera.
Putting it All Together
You may notice that you haven't even seen a camera render in the image until now. That's because we have not linked a camera render to any of our images on the canvas. All the steps above set up the shape for the camera render.
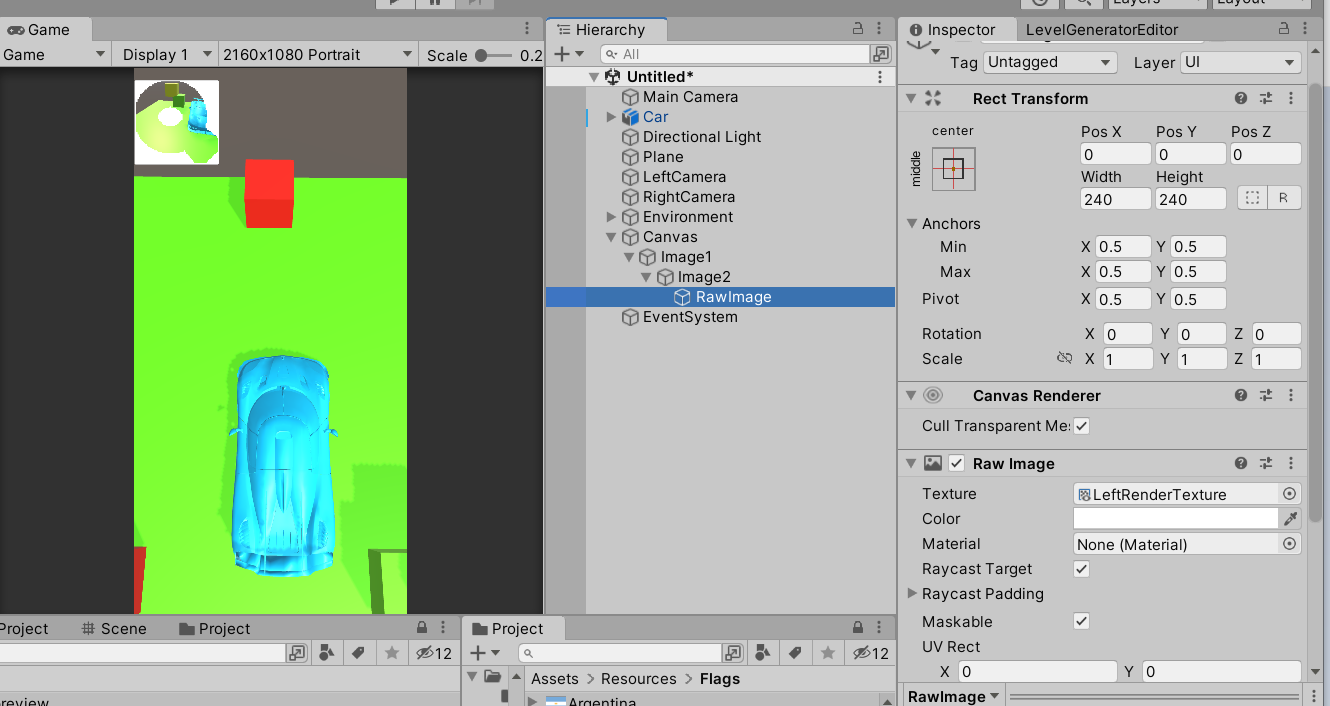
So, finally, we will add a RawImage to view the camera's render.
Create a Raw Image inside Image2. In the properties of RawImage, we will see a field called Texture. In that field, we assign the LeftRenderTexture we set up before.
Let's work on LeftCamera and provide a Render Texture to it too. So, select the left camera, and look for Target Texture in the Inspector window. Once you find it, assign LeftRenderTexture to it.

The process is complete for the left camera, and you can see the camera view in the top left corner.
We do the same for the right camera, but to cut it short, we duplicate Image1, rename the duplicated Image1 to ImageRight, and change its position to the top right corner.
We will provide a different shape sprite to the Image2 component of ImageRight, and I have used a hexagonal shape sprite.
Finally, assign the Texture of RawImage of ImageRight to the RightRenderTexture.
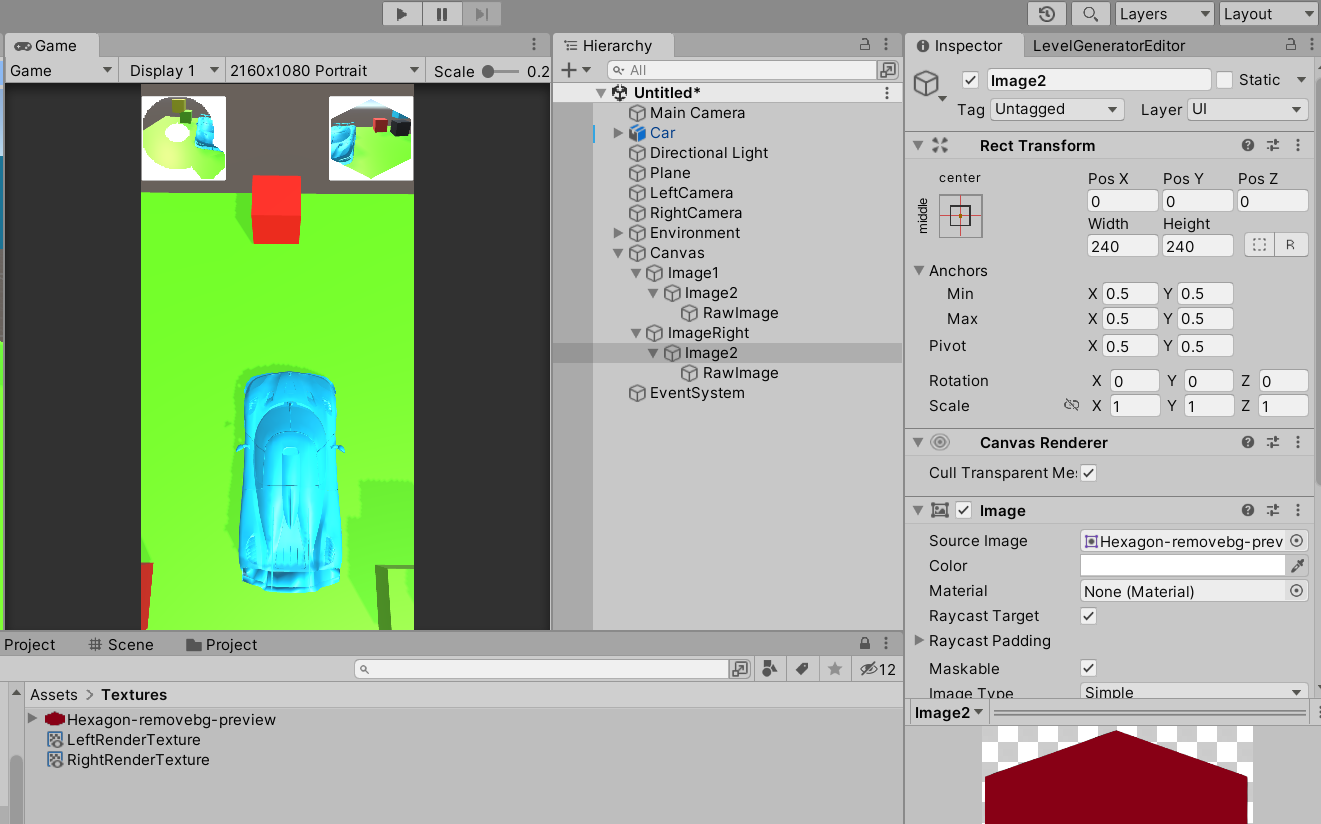
Now you can see that both our cameras have shapes attached to them!
I hope this tutorial was useful to you. Subscribe using the buttons below!