
What is Virtual Hosting?
Hosting several domains within a single web server is known as virtual hosting. We can save costs and administrative workload by using virtual hosting. There are several options for virtual hosting like IP-based virtual hosting, name-based virtual host, running multiple Apache instances on one machine, etc. But in this tutorial, we will walk through name-based virtual hosting. So let's begin.
Prerequisites
For this tutorial, I have assumed that you have already installed apache2 in Debian; if not, set up your environment first.
Step 1: Setting up Pages
I am currently on a Debian box, and I will show you how to set up a name-based virtual host.
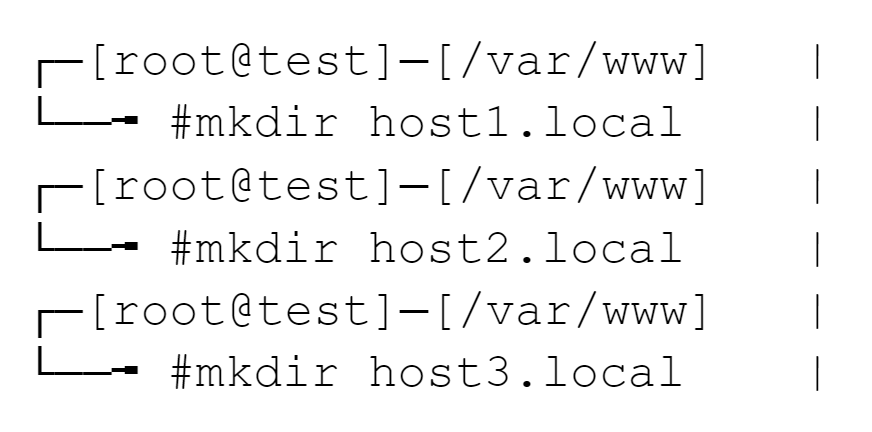
First of all, I will create three different directories for three different sites with domains. We can do this by creating host1.local, host2.local & host3.local in the following locations.
.local filesNow I will create index pages for the three sites in the following locations:
Host 1

<html>
<p> Message from host1.com</p>
</html>
Host 2

<html>
<p> Message from host2.com</p>
</html>
Host 3

<html>
<p> Message from host3.com </p>
</html>host*.local files.Step 2: Apache2 Server Config
Now, I will add virtual host configurations inside the apache2 server configuration.

To confirm which directory the website is in:
<Directory /var/www/>
Options Indexes FollowSymLinks
AllowOverride None
Require all granted
</Directory>Step 3: Domain Configuration Files
Now we will create configuration files for three domains in the following locations:

ServerName host1.local
ServerAdmin webmaster@host1.local
ServerAlias www.host1.local
DocumentRoot /var/www/host1.local
#Include conf-available/serve-cgi-bin.conf
<Directory /var/www/host1.local>Make new configuration files accordingly for other domains as well. For example, for Host 2, you would repeat the step above but change host1 into host2.
Step 4: Enabling Sites
Now its time to enable the site. Create new configuration files in the following locations for each domain:

Enabling site host1.local
Enabling site host2.local
Enabling site host3.local
To activate the new configuration, you need to run:systemctl reload apache2
Don't forget to disable the default configuration by running: a2dissite 000-default.conf as well.
Step 5: Finalizing
We can reload the apache server with this command: systemctl reload apache2
Finally, we have to add our entries in the /etc/hosts file:

/etc/hosts LocationAnd we will add our entries as,
[Server_IP] host1.local host2.local host3.local
Result
All done, we can now visit our site:
Host 1

Host 2

Host 3

Thank you for reading till the end. Please do not hesitate to leave comments if you have any queries or feedback.