
Text localisation is the process of translating a text from a specific language to different languages, making it easier to understand for users worldwide. This process can be extremely time-consuming sometimes, especially when the content is dynamic and needs to be updated frequently. However, we can speed up and automate the version creation process in After Effects by using a CSV file.
What is CSV?
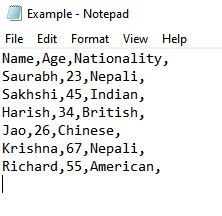
Comma-separated values (CSV) is a delimited text file that uses a comma to separate values. This file typically stores data in a tabular form where each line has the same number of fields. Every CSV file must have attributes or columns named properly, as it will act as the index or title of the particular column's content.
The data in a CSV file can be easily imported into After Effects, making it a useful tool for localising content.
Content Management and Localisation in CSV
First, create a CSV file including all the necessary attributes or titles of the content. A CSV file can be created using any word or spreadsheet editor such as Microsoft Word, Google Docs, Notepad, Microsoft Excel, Google Sheets etc. However, spreadsheets would be a better choice for content management simply because of the tabular data format structure.
Creating a CSV in a spreadsheet
Step 1: Write the content title or attribute name per your project requirement. Our project uses mainly two colours, white and yellow. So, for text/title styles, we will name our titles white text and yellow text. You can name the attributes, anything you find significant or relatable.
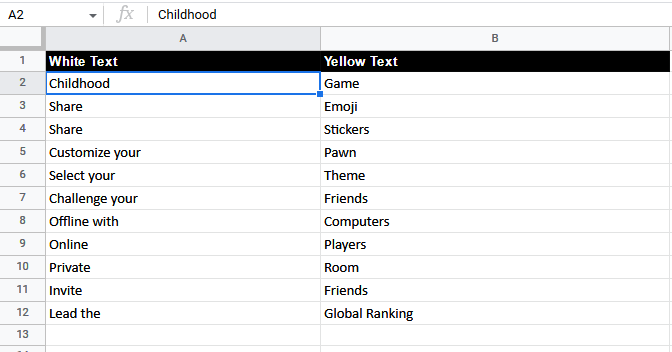
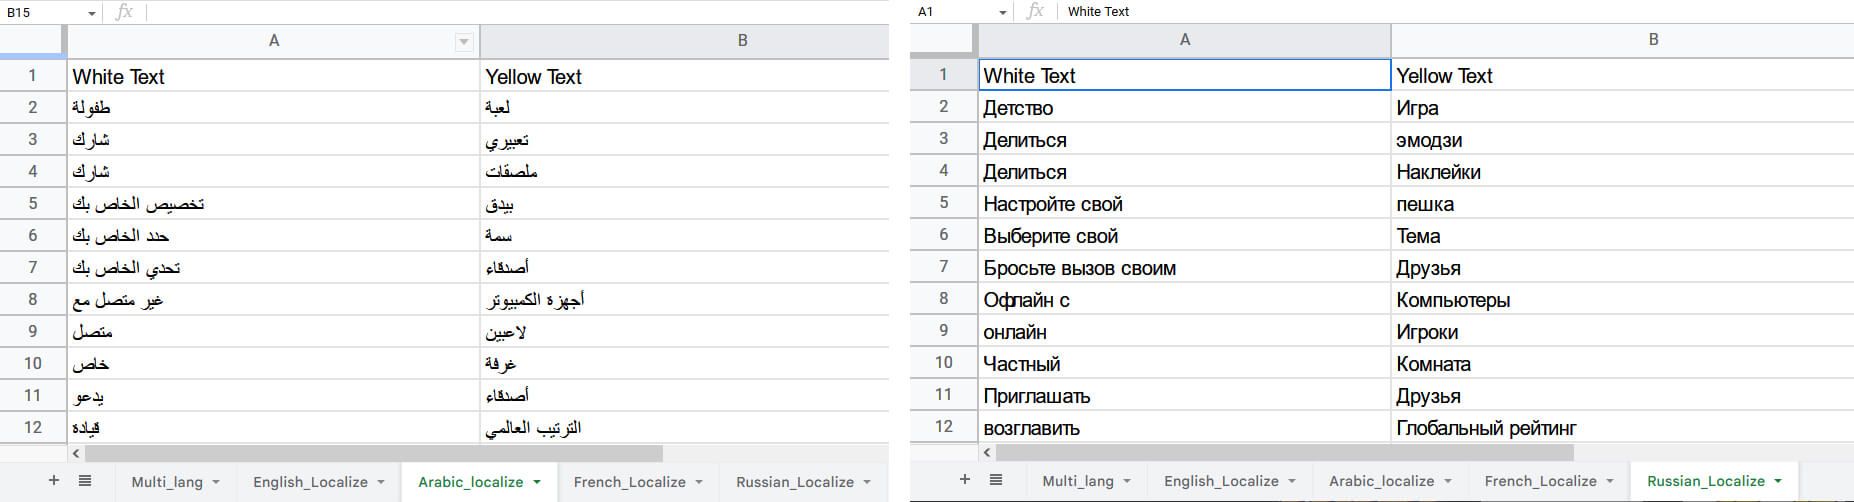
Step 2: Prepare your content as per your project script. We will make one CSV file for each language per our localisation process.
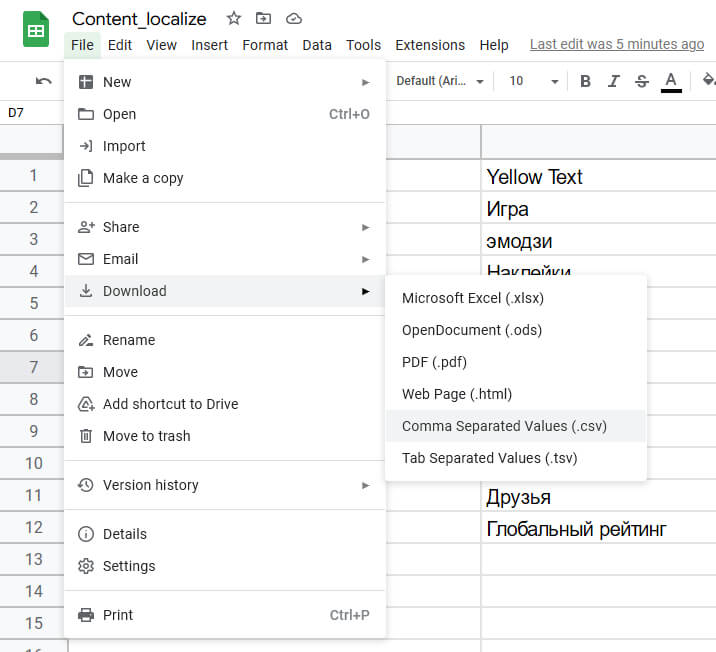
Step 3: After your content is ready, save them as comma separated values or .csv format.
Importing CSV and using Pick Whip in After Effects
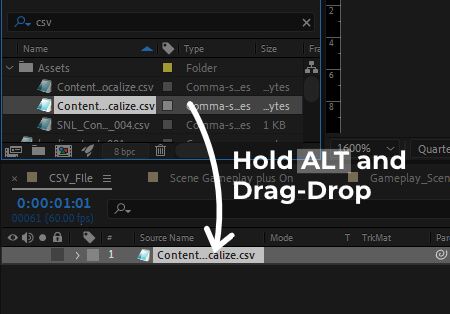
CSV files can be easily dragged and dropped to After Effects project assets or imported manually by clicking on Files > Import > File and browsing your .csv file. This will add the CSV file to your project assets and make it available for use.
Steps to compose texts and link to CSV data values
Step 1: Precompose the .csv file, since this file will be the one to be replaced for localisation purposes as per the language required.

Step 2: To use the text from the .csv file, you need to create a text layer in After Effects. You can do this by going to the Layer > New > Text.
Step 3: Apply the expressions or link the CSV data value to the text layer. To do this, click on Text Layer > Text > Source Text.
Step 4: Now, we need to drag the Pick Whip feature of the source text to the required data value inside the CSV layer. Make multiple composition sections for easy drag and pick. Open CSV layer > Data > Your Preferred Data Value. The values are displayed in array format; thus, we must pick the required data value. For example, 1 row of CSV data represents 1 scene content ( White Text 0 for scene 1 ).
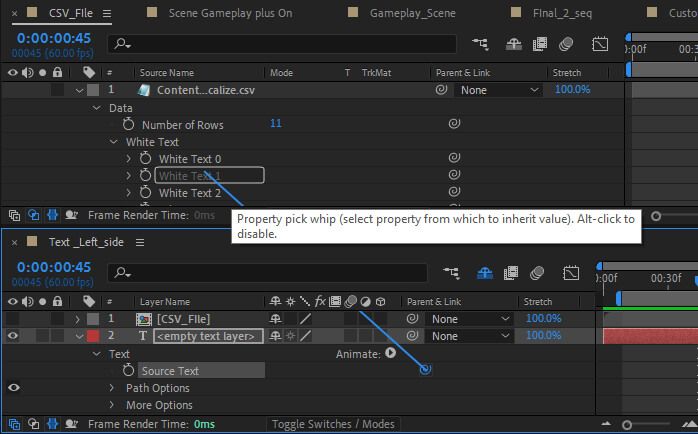
You might see this type of code on source text after the linked process:
comp("CSV_FIle").layer("Content_localize - English_Localize.csv")("Data")("Outline")("White Text")("White Text 1")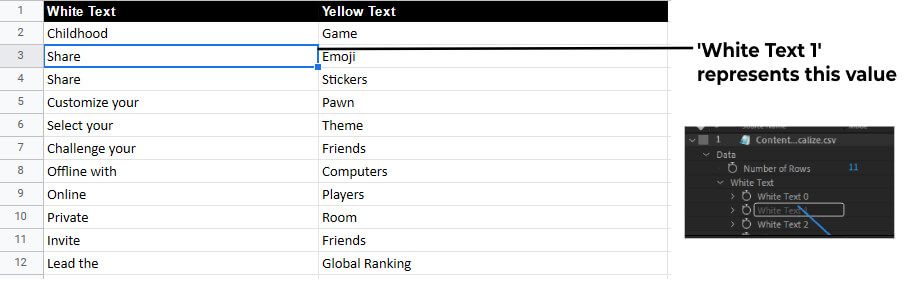
Step 5: Similarly, Pick Whip data value of each text for each composition/scene to the respective CSV data value or array.
Replacing and Creating Versions with Localised Content
Once all the text layers are linked to the CSV data value, we can change the content easily with just one file replacement. The precomposed CSV file can be replaced with a CSV file of other languages with the same attributes or title as before.
Ways to replace the content
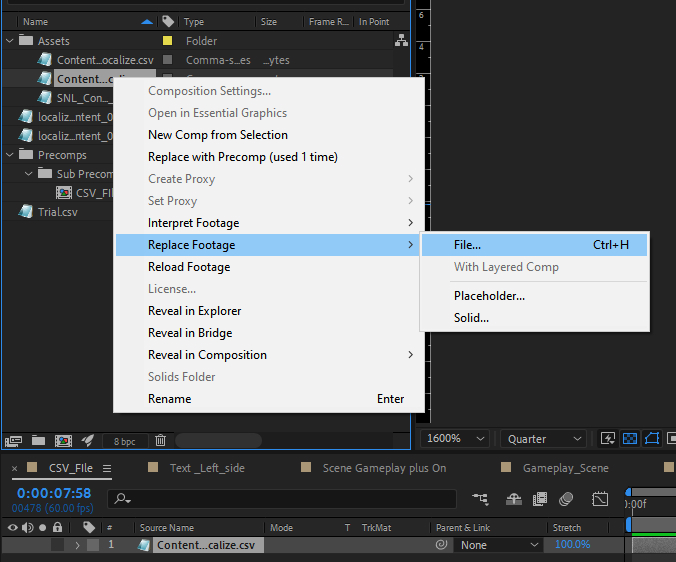
Option 1: Go to Project Assets, select the CSV file and right-click on Replace Footage > File and choose the required CSV file.
Option 2: Import the CSV file, and go to the existing CSV Composition. Then, select and replace it with the current CSV inside the previous CSV file composition.
We can save projects for each required language by replacing the CSV files, making the localised version creation process swift. Some languages may vary in scale or size, which might need a little tweak here and there. However, CSV is a time saver, especially when the project needs to be converted to multiple languages.
Final Results: Localised Versions of the Same Scene
Following the above steps, you can easily make versions of the same file with localised textual content in After Effects using a CSV file. This efficient method allows you to make changes to the text in the CSV file and have them automatically reflected in your project.
Creating versions of the same media with different textual content in After Effects can be complicated and time-consuming. However, using a CSV file can simplify the process and make it much more efficient. Whether working on a large or small project, using a CSV file is a great way to automate the version creation process and ensure that your text-based content is accessible to a wider audience.
Thank you for reading! Subscribe using either of the buttons below.