
From the design to the player character, a 2D platformer video game has several crucial components. The level, which is essentially the universe where the player lives, is unquestionably the most significant factor. If there are no game levels, none of the other game elements would be useful.
Different games include different numbers of levels, while some have one complex level over the entire game. Levels vary in a variety of forms, sizes, and styles. A level may be used for a broad range of things, such as introducing a key storyline in your game design or demonstrating a new game concept.
In this tutorial, I will show you how to create levels for 2D platformer games. So, let's get started!
Prerequisites
- A photo editing software
- Unity engine
- A script editor
Level Generation: A Step-by-Step Walkthrough
Step 1: Level Map Ideation
Open an image editor (I'm using Adobe Photoshop) and take an image of any size in the editor. Then, set the brush size to 1 pixel and the opacity to 100% using the pencil tool. Once you've changed the brush's settings, start creating the map for the level however desired and save the image as a .png file when completed.
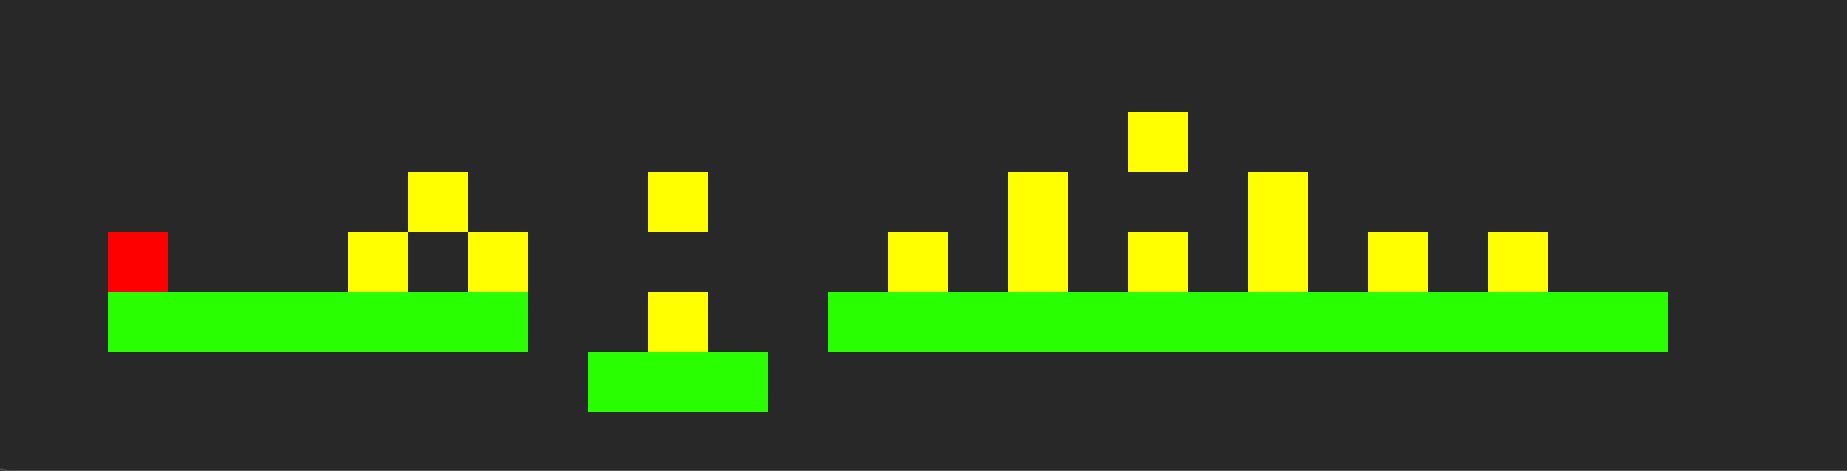
This is how I designed my map:
Step 2: Scripting
using System.Collections.Generic;
using UnityEngine;
[System.Serializable] public class ColorToObject {
  public Color ObjectColor;
  public GameObject GamePrefab;
}ColorToObject.csFirst of all, remember to make the script serializable so we can view/edit the data from the inspector. In the script, you can see we need to assign two types of values i.e Color for the ObjectColor and GameObject for the GamePrefab. Later, we'll make an array of this class to hold numerous colour mappings to GameObjects i.e., prefabs, to be more specific.
using UnityEngine;
namespace Blogs {
public class LevelCreator: MonoBehaviour {
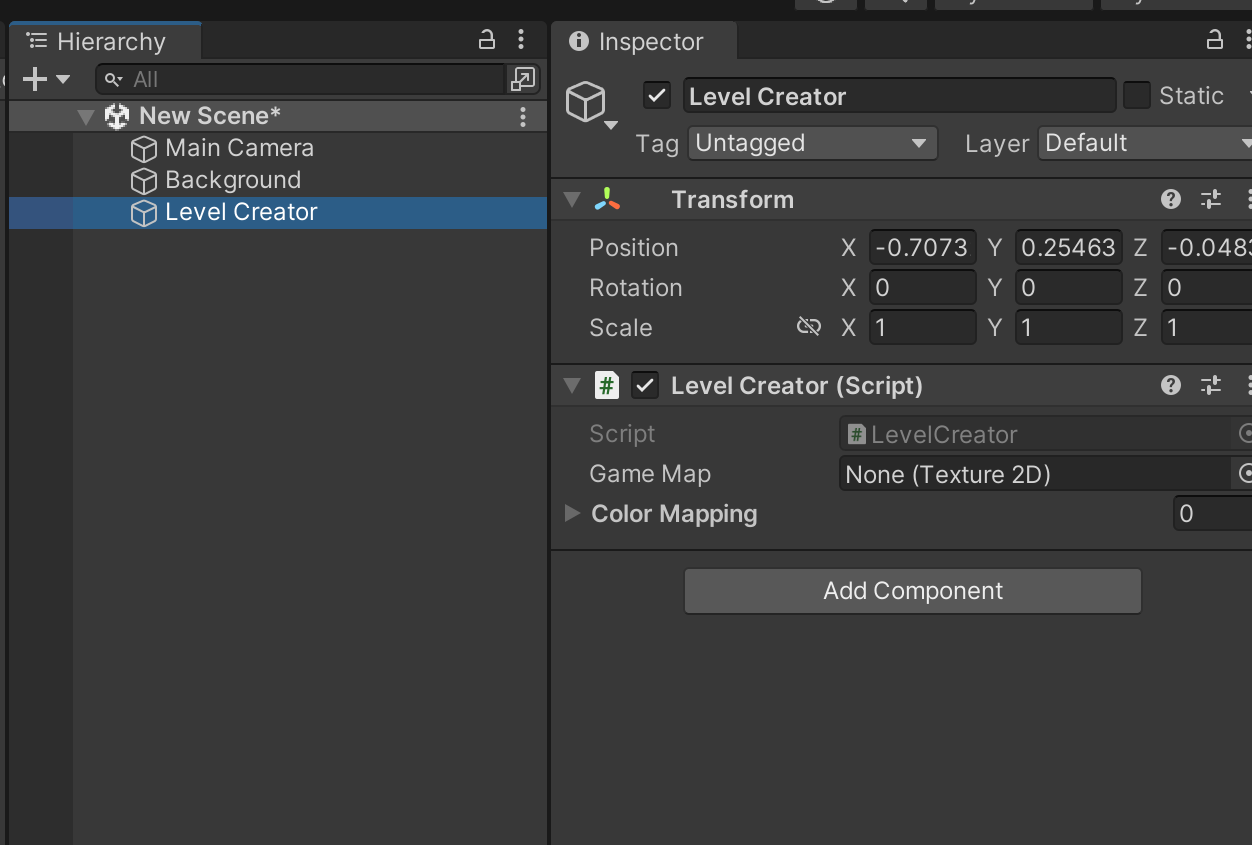
public Texture2D GameMap;
public ColorToObject[] ColorMapping;
private Color _colorPixel;
void Start() {
CreateLevels();
}
`
void CreateLevels()
{
//Scan the with & height of the given map to find the position of the game object.
for (int i = 0; i < GameMap.width; i++)
{
for (int j = 0; j < GameMap.height; j++)
{
GenerateObject(i, j);
}
}
}
void GenerateObject(int xPos, int yPos)
{
// gets the pixel color
_colorPixel = GameMap.GetPixel(xPos, yPos);
//Condition: if the alpha value of the given color is zero then do nothing;
if (_colorPixel.a == 0)return;
foreach (ColorToObject colorMapping in ColorMapping)
{
// Scan color mapping Array for matching color mapping
if (colorMapping.ObjectColor.Equals(_colorPixel))
{
Vector2 position = new Vector2(xPos, yPos);
Instantiate(colorMapping.GamePrefab, position, Quaternion.identity,transform);
}
}
}
}
}LevelCreator.csIn the above script, we have a public Texture2D as a variable that will be used to hold the image file we painted in Step 1. To scan the entire map texture, we are creating a nested for() loop. This will provide us with the RGBA colour data for each pixel of the map texture. After obtaining the pixel colour data from the map, create a GameObject at the same position.
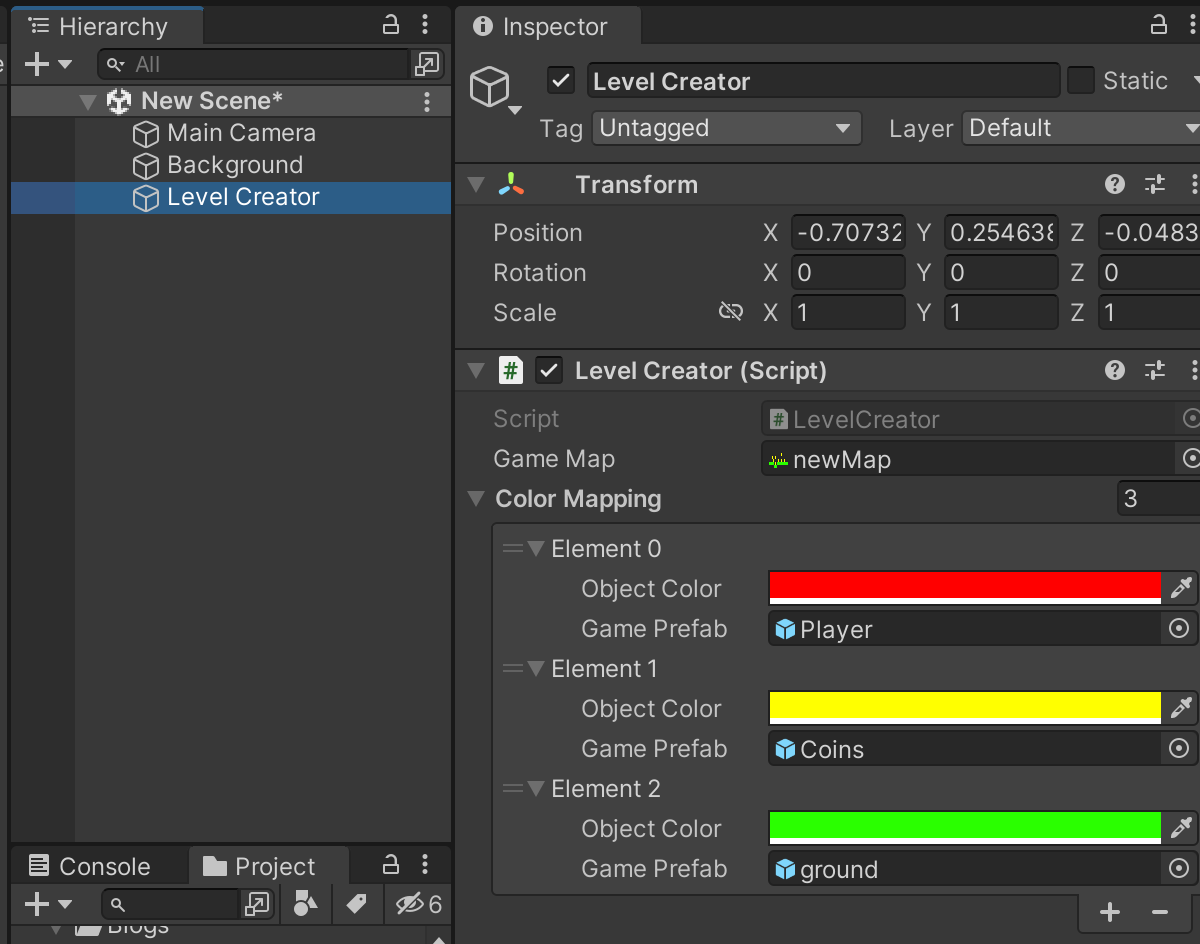
We will create the ground which holds the player, the coins in the game, and the main character. A unique colour is required for each element where the RGBA value of the colour should be known. For this tutorial, I have set the ground's colour to be green(0,255,0), the coin's colour to be yellow(255,255,0) & the main character's colour to be red(255,0,0).
Step 3: Map Texture Setup in Unity Inspector
Generate an empty GameObject in Unity's hierarchy panel. Then, add a sprite renderer in the same GameObject to create the game's background. Then, in the hierarchy, make a new and empty GameObject and assign the script we made in Step 2. Then, create a prefab of the main character, coins and the ground. Assign the prefab that we created earlier to our level generator.
Let's see the settings of the map texture that we imported earlier in the picture below.

Enable the Read/Write option by going to Advanced>Read/Write.
Also, go to Filter Mode and set it as Point(no filter).
Let's assign the value to the level creator with the correct values of colour & prefab.
Finally, we are ready to play now. Click on the play button and watch the result.
Final Results
Before Level Creation
This is how the screen looked like before level creation:
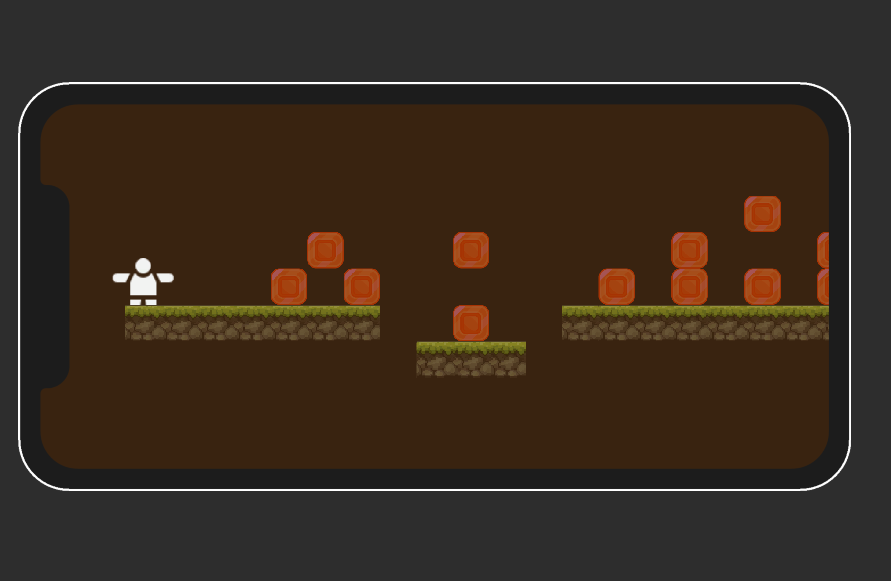
After Level Creation
This is how the screen looks like after level creation:
Extra Tip
Adjust the image's Pixel Per Unit value from the sprites you used if the items in your scene overlap.
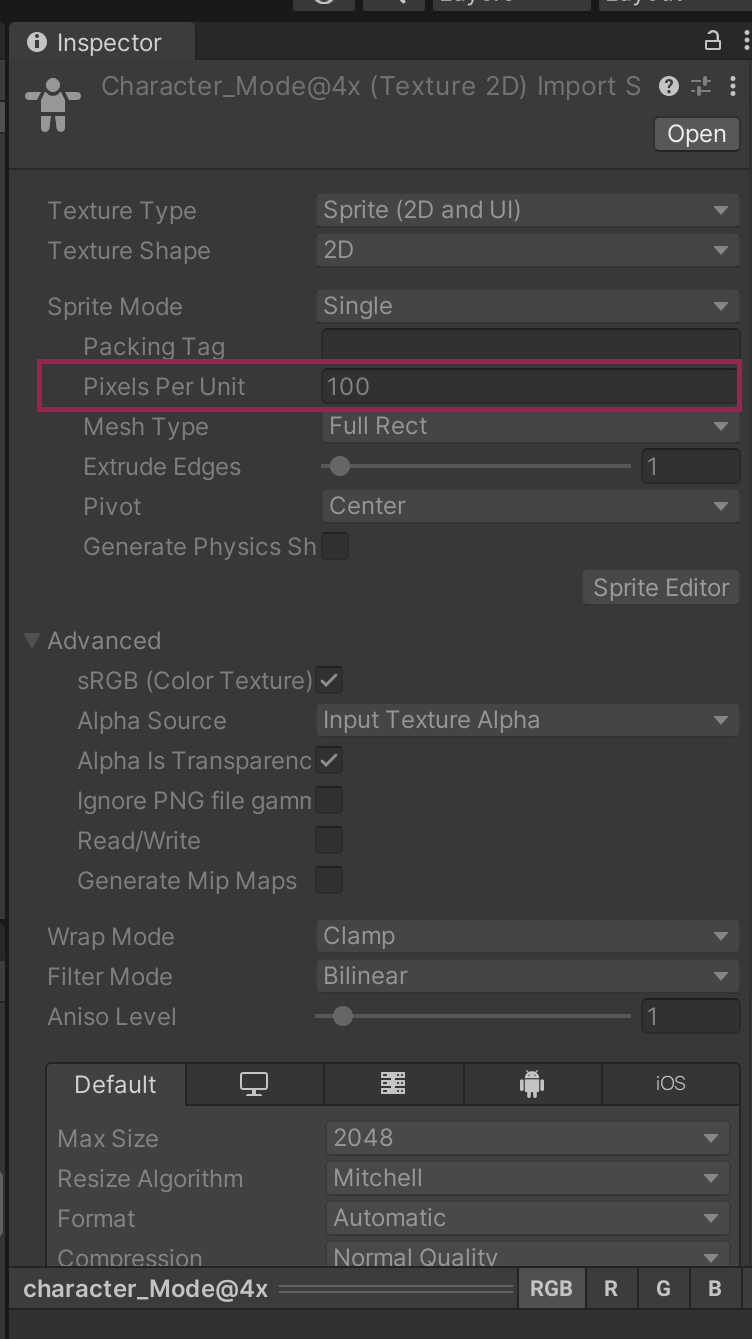
Pixels Per UnitSo, this is how you can make a level from the image texture in Unity. I'm hoping you had a similar outcome.
Leave a comment in the space below if you have any questions or want to share thoughts regarding this article!