
This blog goes through the three ways of masking in Procreate – one disruptive and two non-disruptive methods. We will also discuss when these techniques come in handy and why it is important to know the differences between these methods.
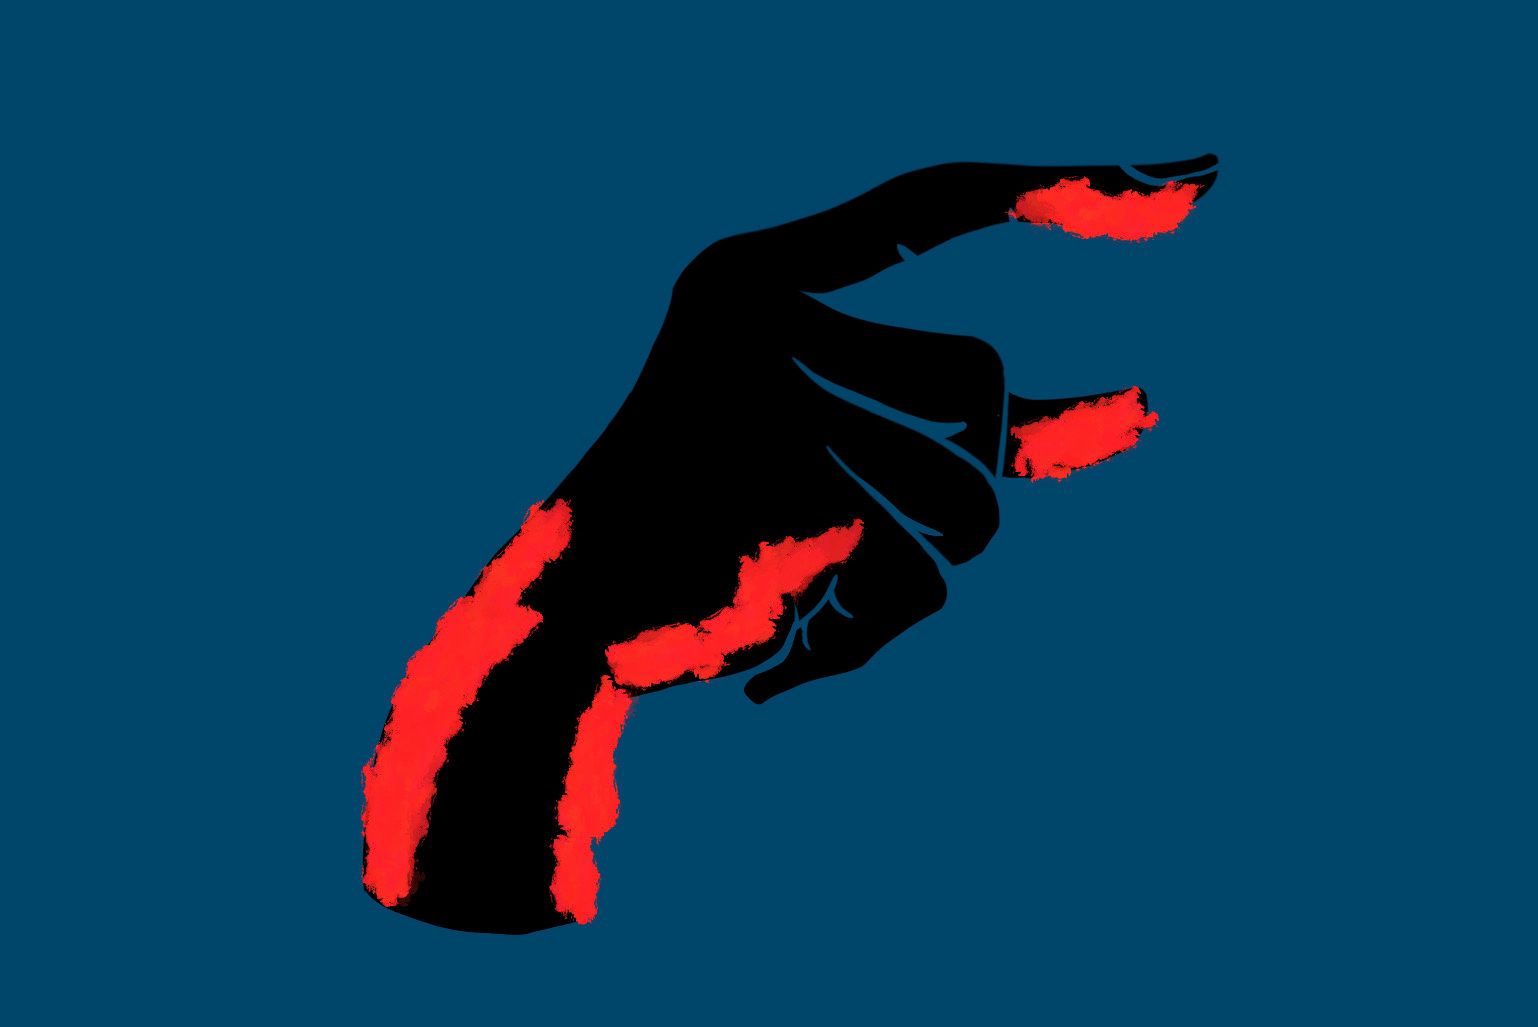
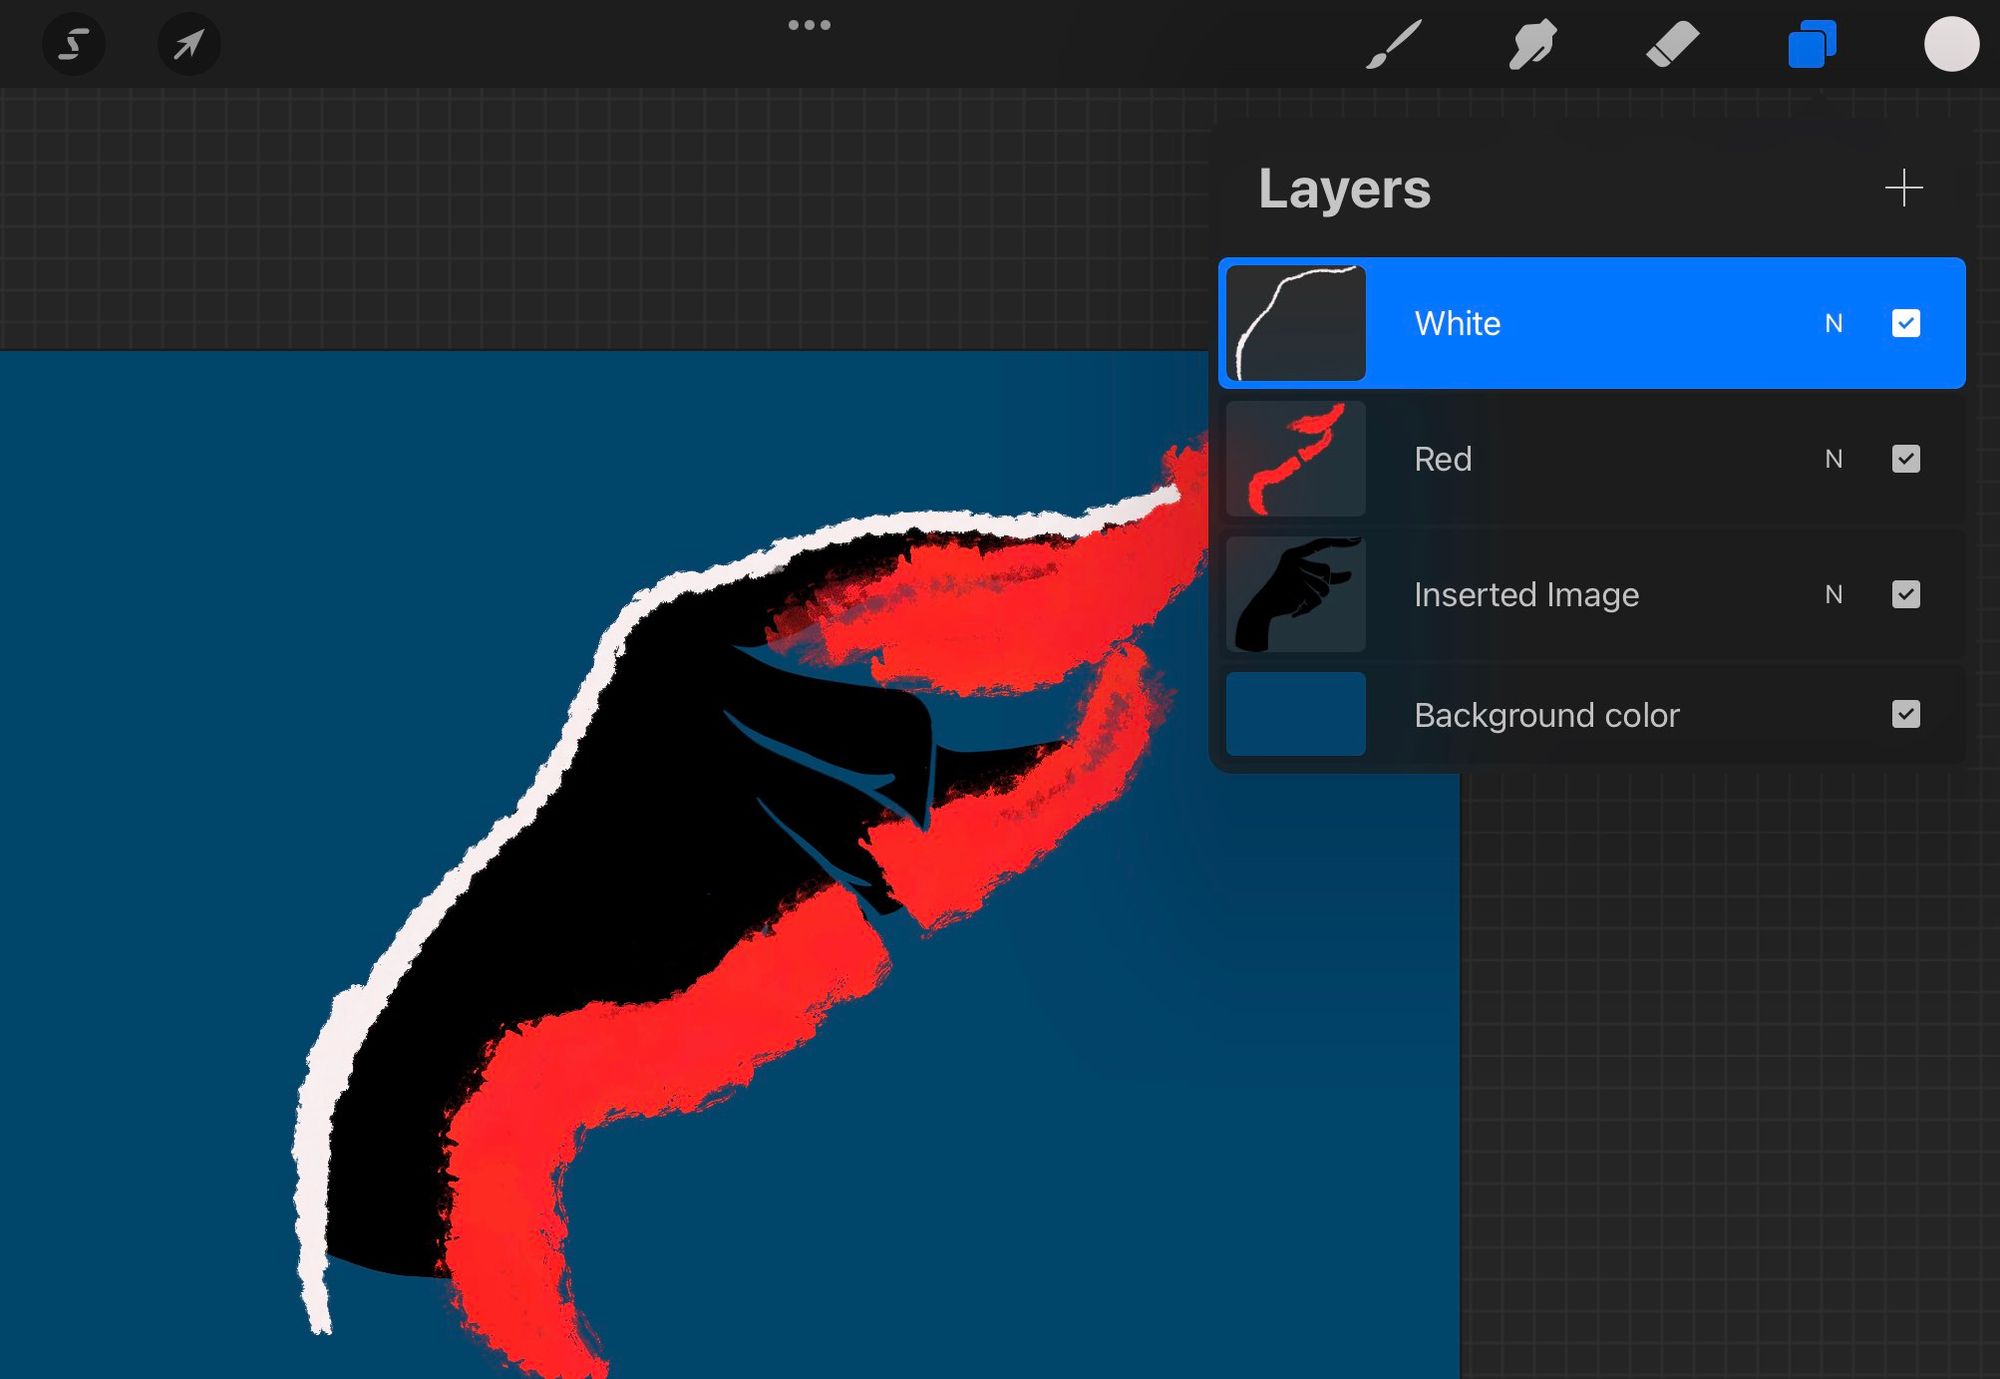
For example, painting over an image without alpha lock/masking does not define a boundary:
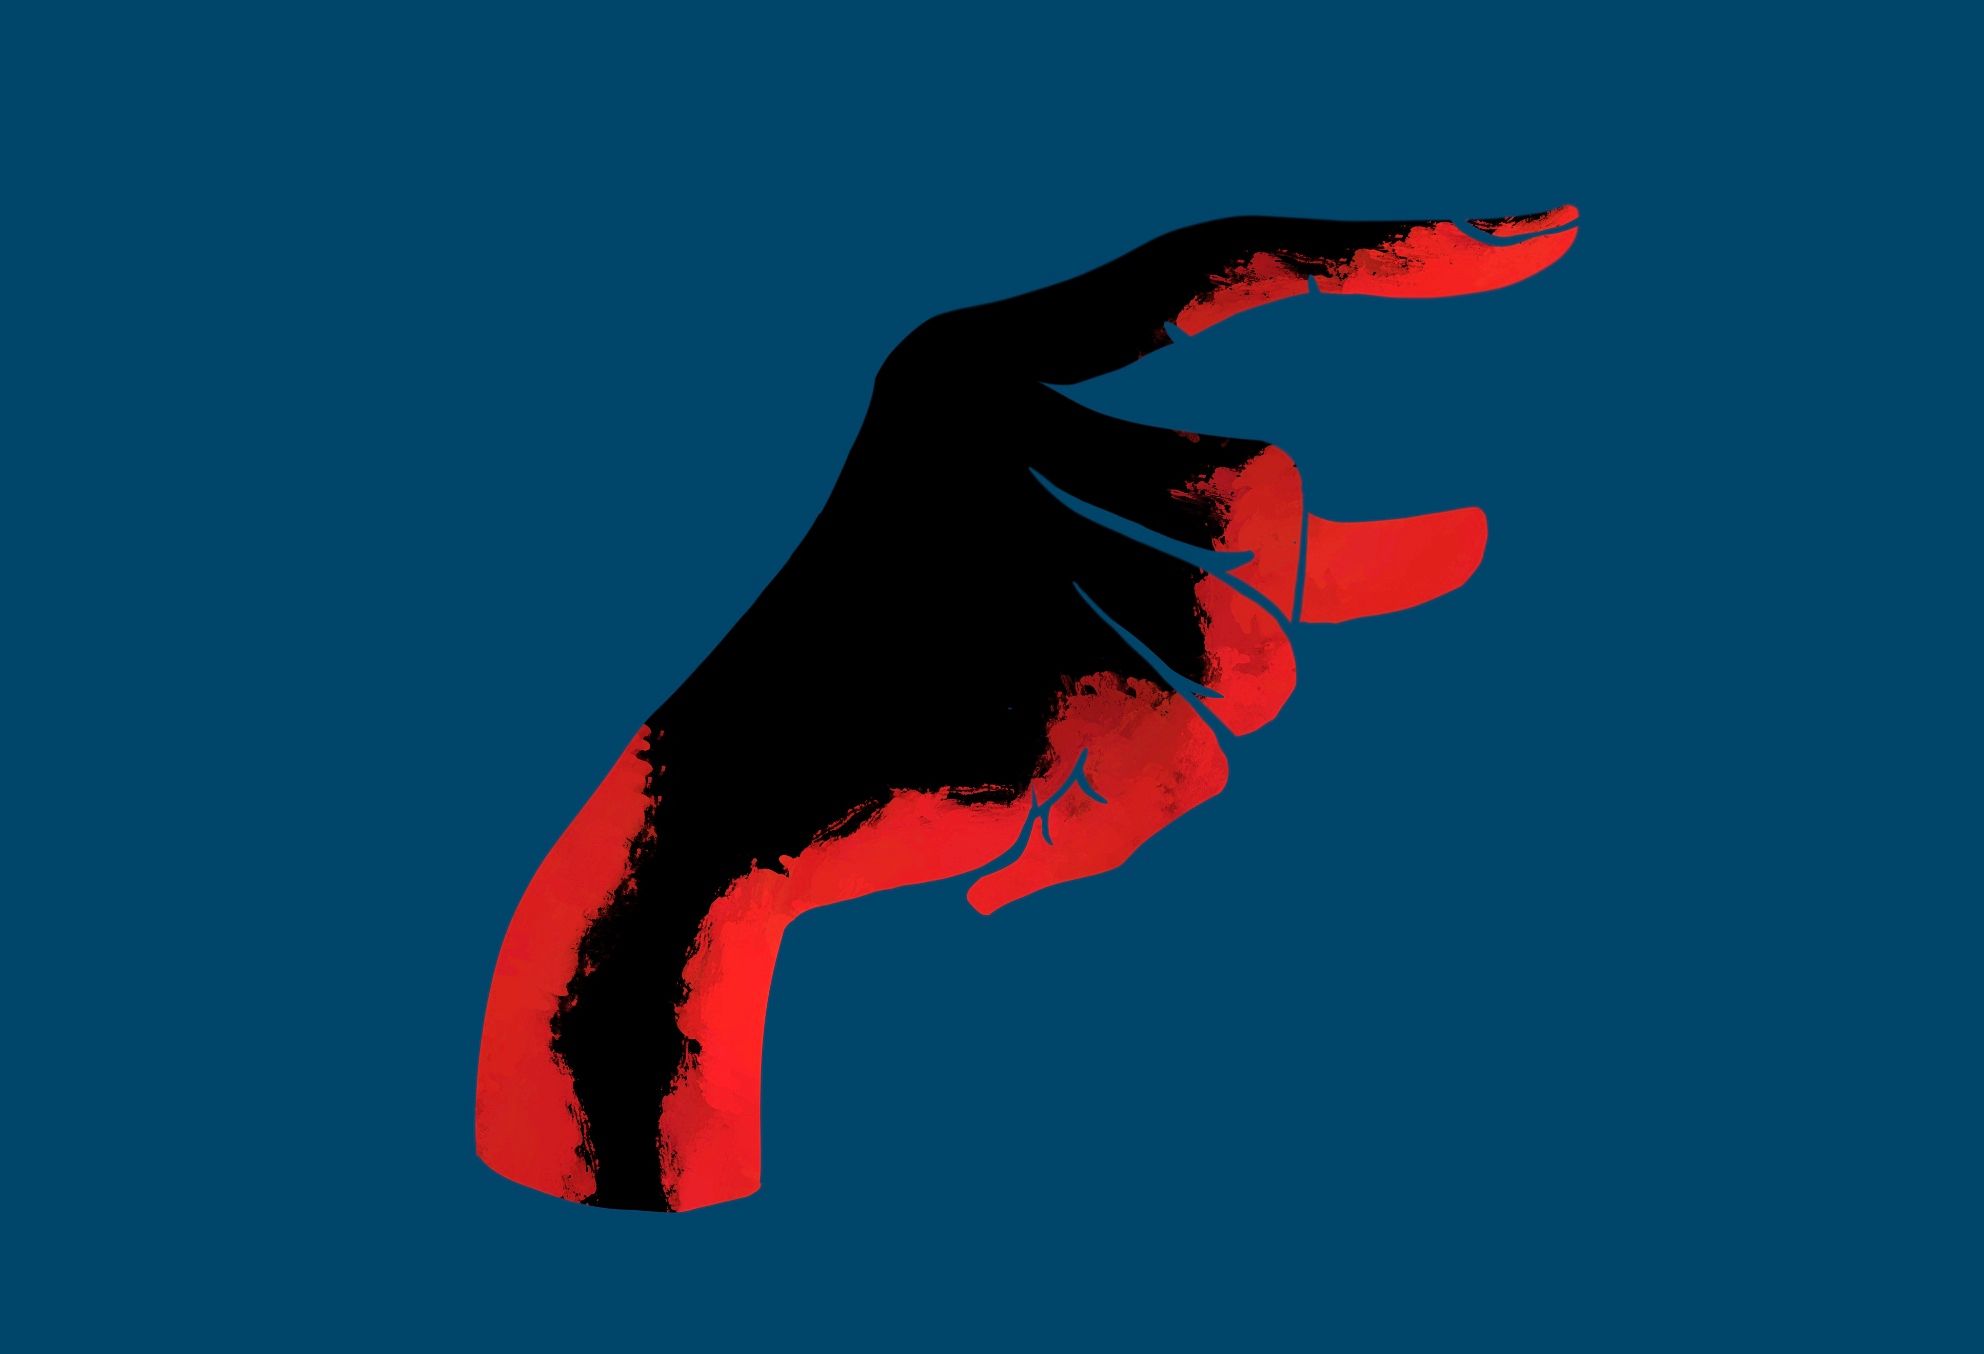
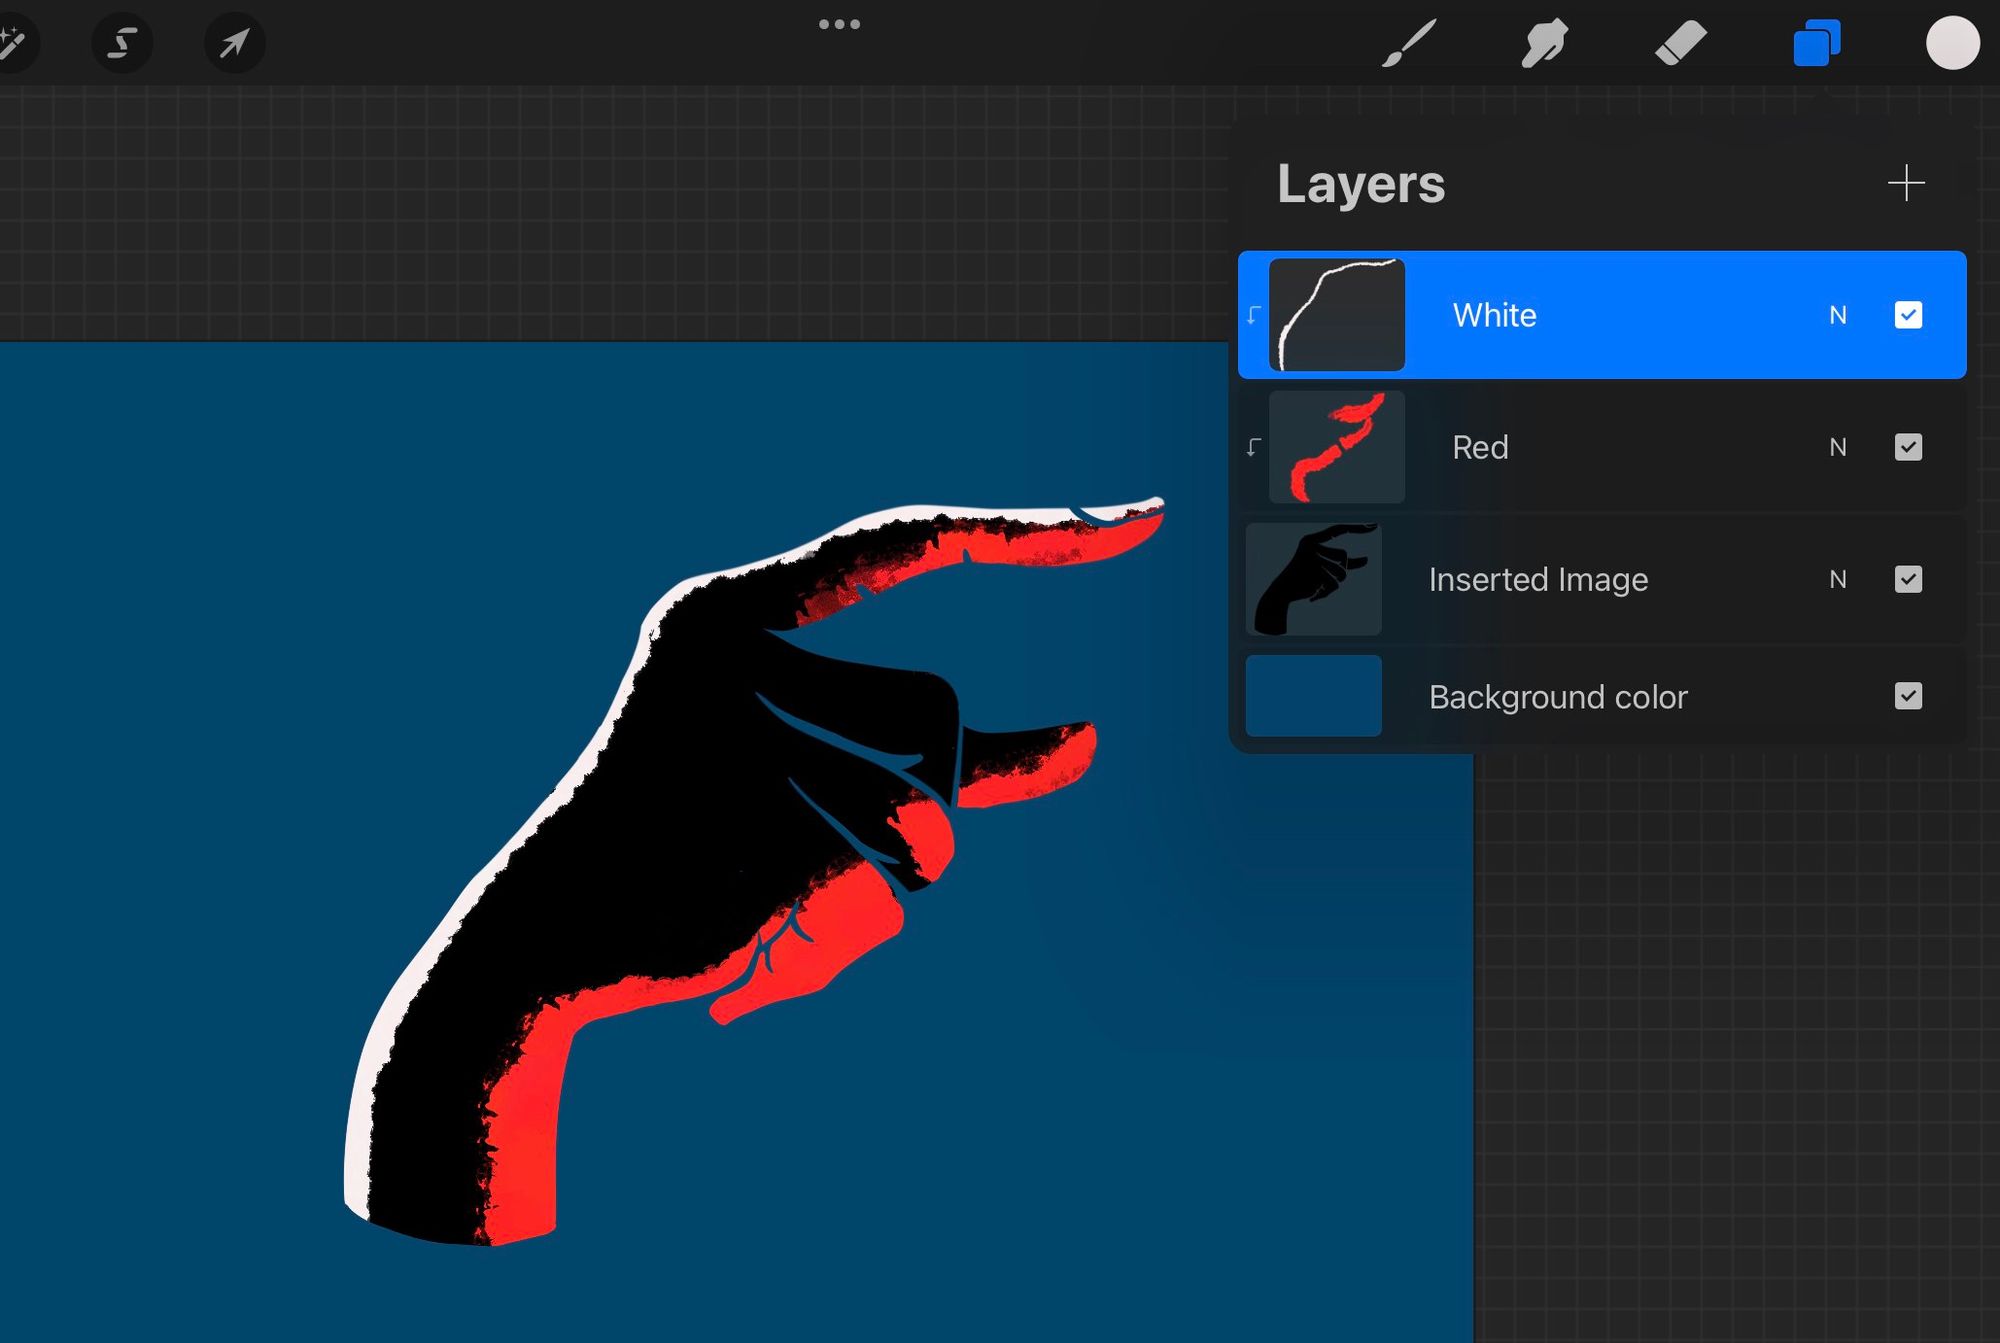
Painting over an image using alpha lock/masking allows you to paint within the boundary of the artwork:
Method 1: Alpha Lock (Disruptive)
The Alpha Lock is a method of painting over the same layer without duplicating the original layer. It is the quickest and easiest way to add elements without worrying about painting outside the boundary of the existing element.
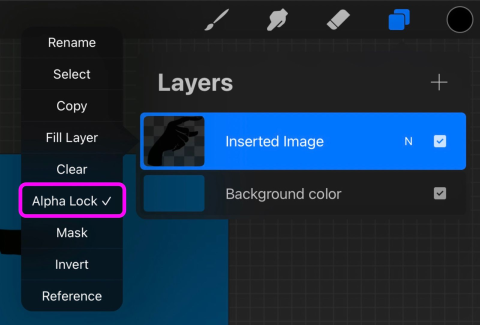
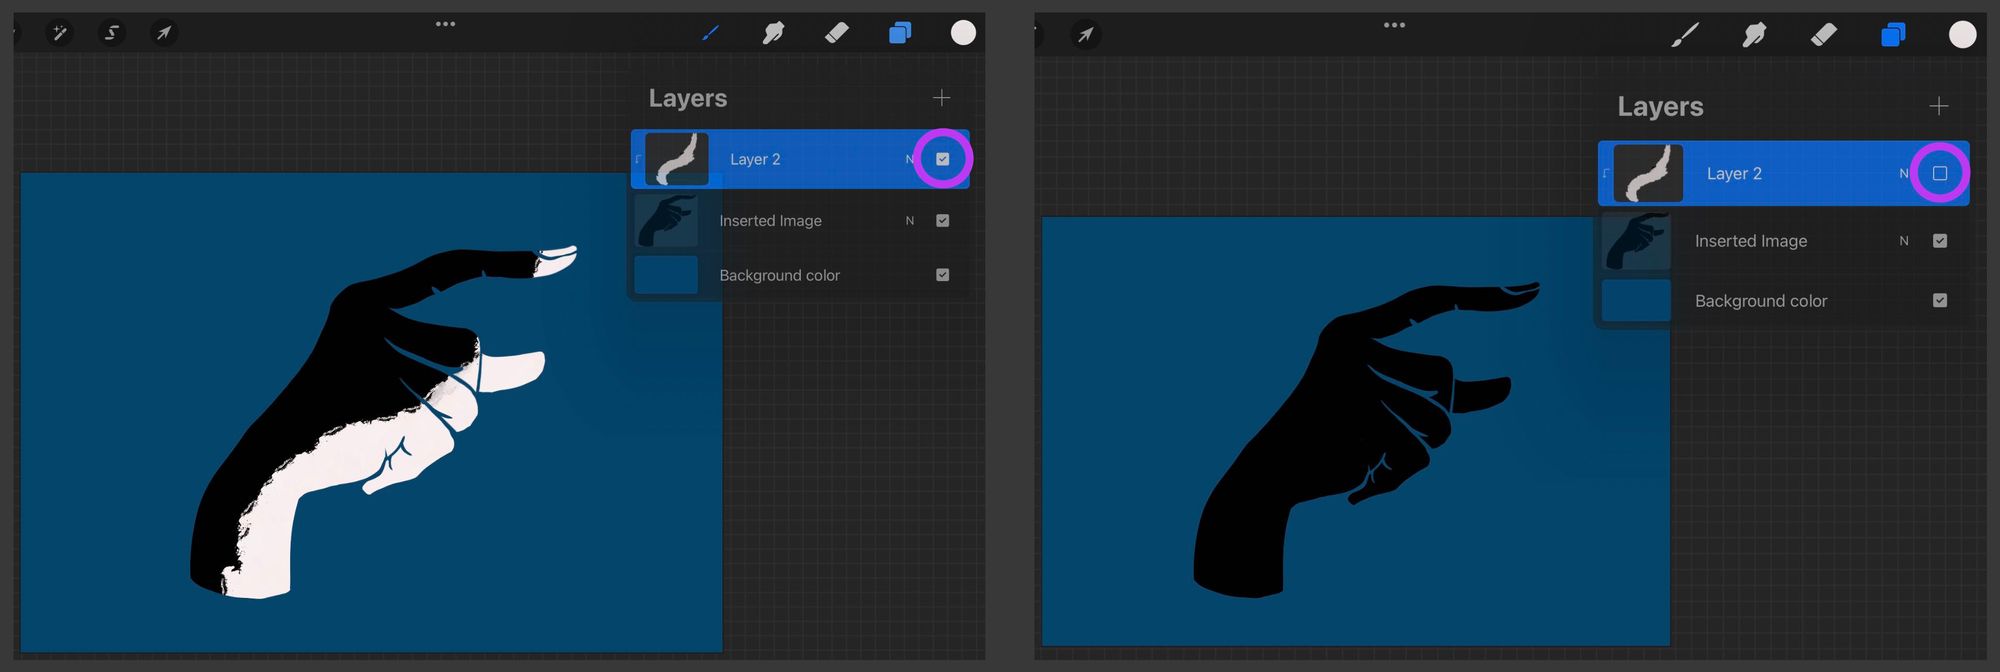
Tap on the layer and select the alpha lock option from Layers. A checkered texture appears on the preview of the layer to confirm that the alpha lock is activated.
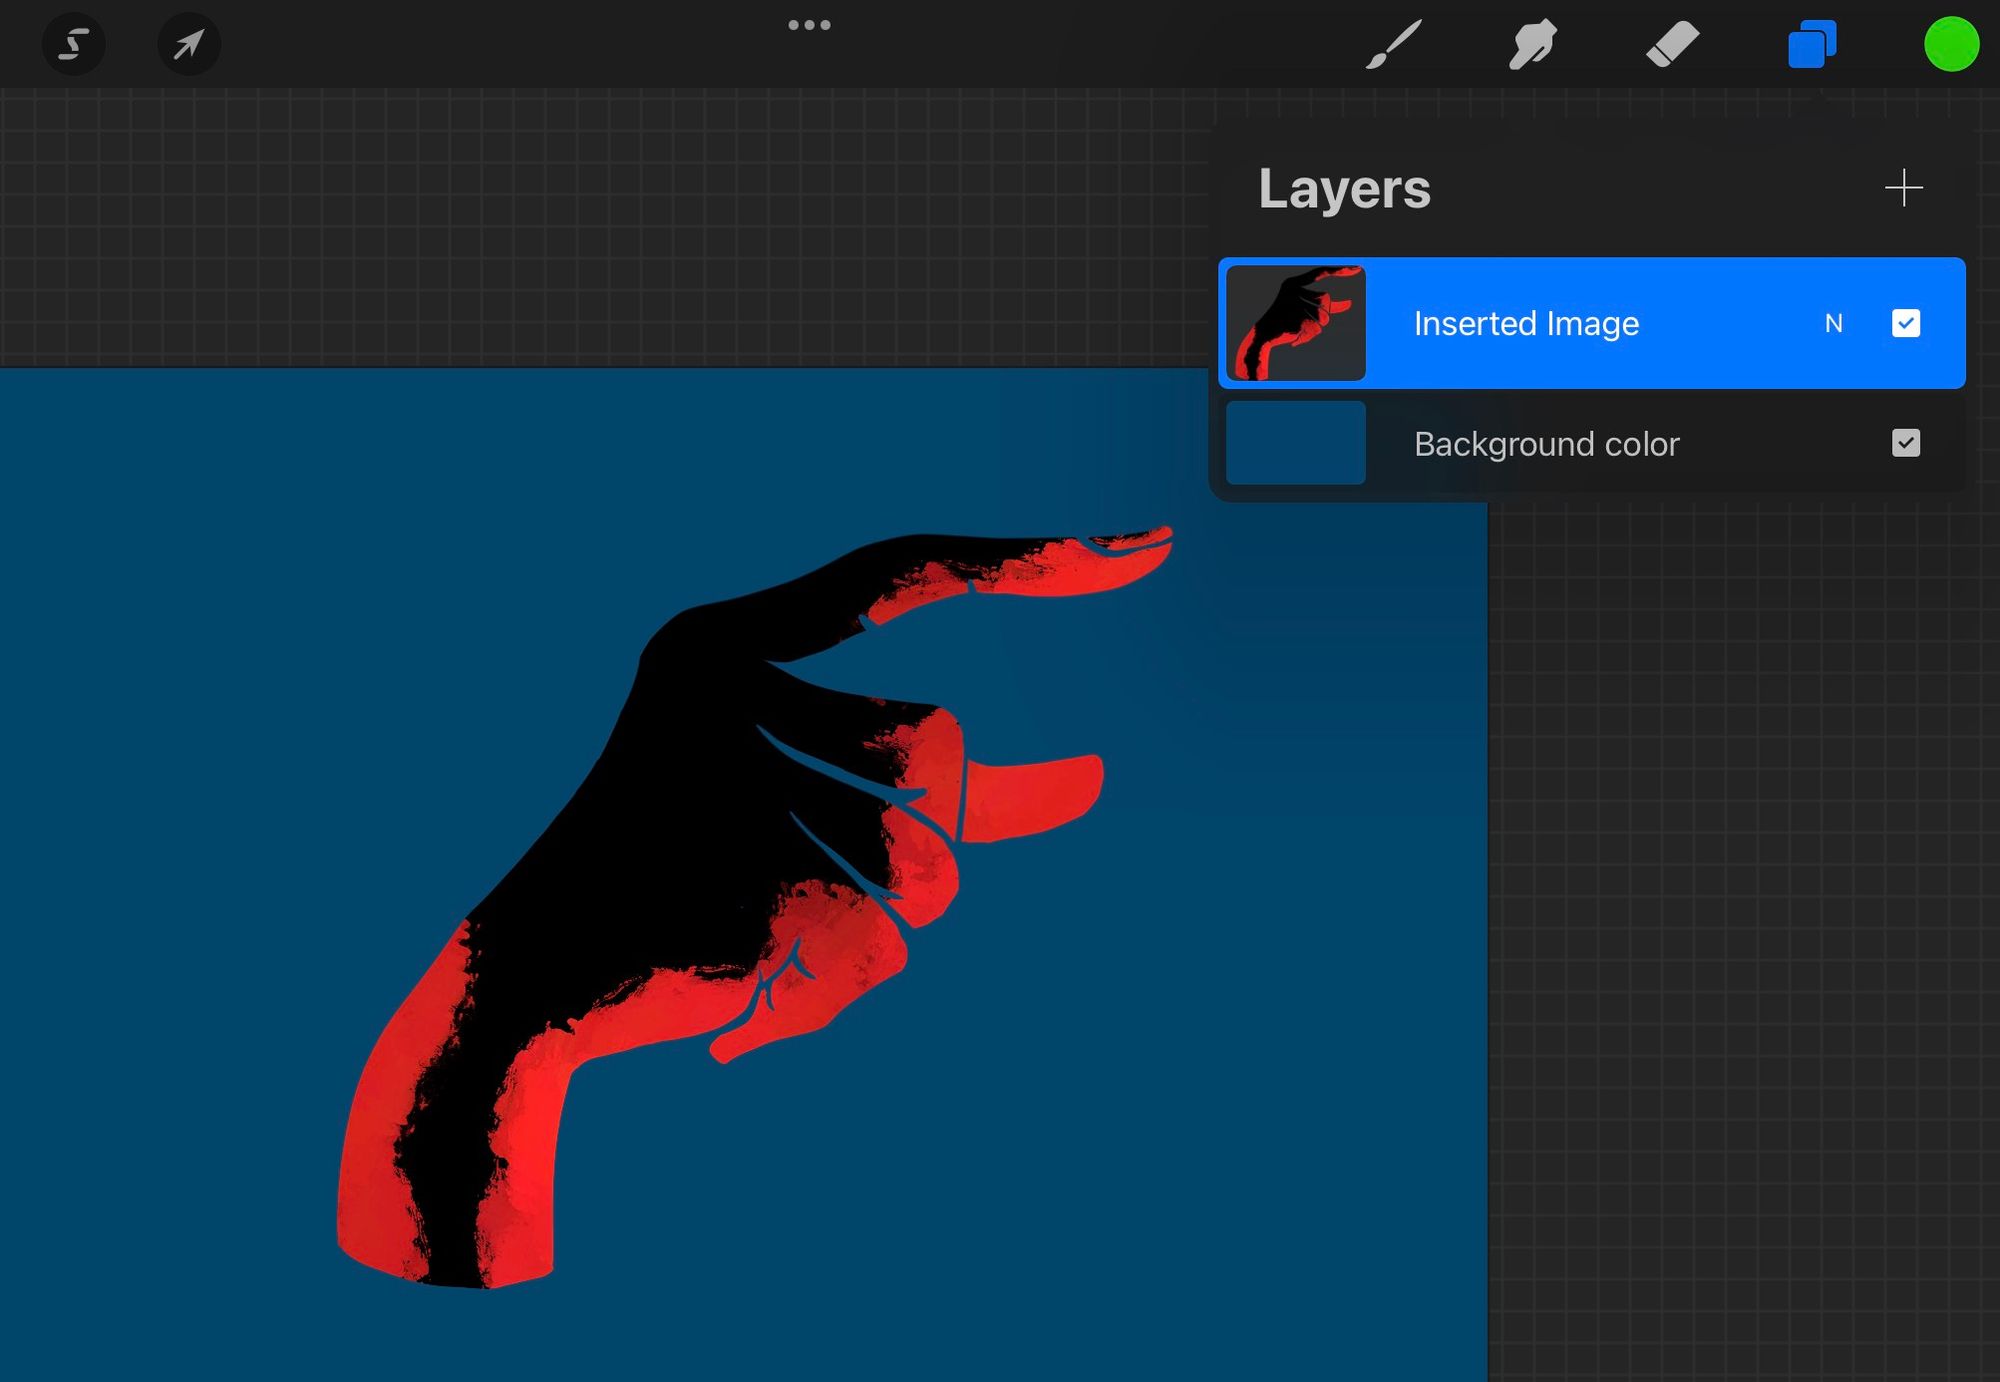
The Alpha lock method lets you draw/paint over artwork within the boundary, but it all happens in one single layer.
This method is very easy, but it becomes inconvenient when changes need to be made after completion since the changes are made on the original artwork.
The next 2 methods are non-disruptive.
Method 2: Clipping Mask (Non-Disruptive)
This method is considered a non-disruptive method of working since the changes are made on a separate layer added on top of the original artwork. The Clipping Mask is arguably the most used masking technique by most professionals since it is the most flexible.
This method makes the illustration process easier to modify in the later stages; moreover, it allows you to make changes and add more elements (shadows, highlights, textures, etc.) without affecting the original artwork.
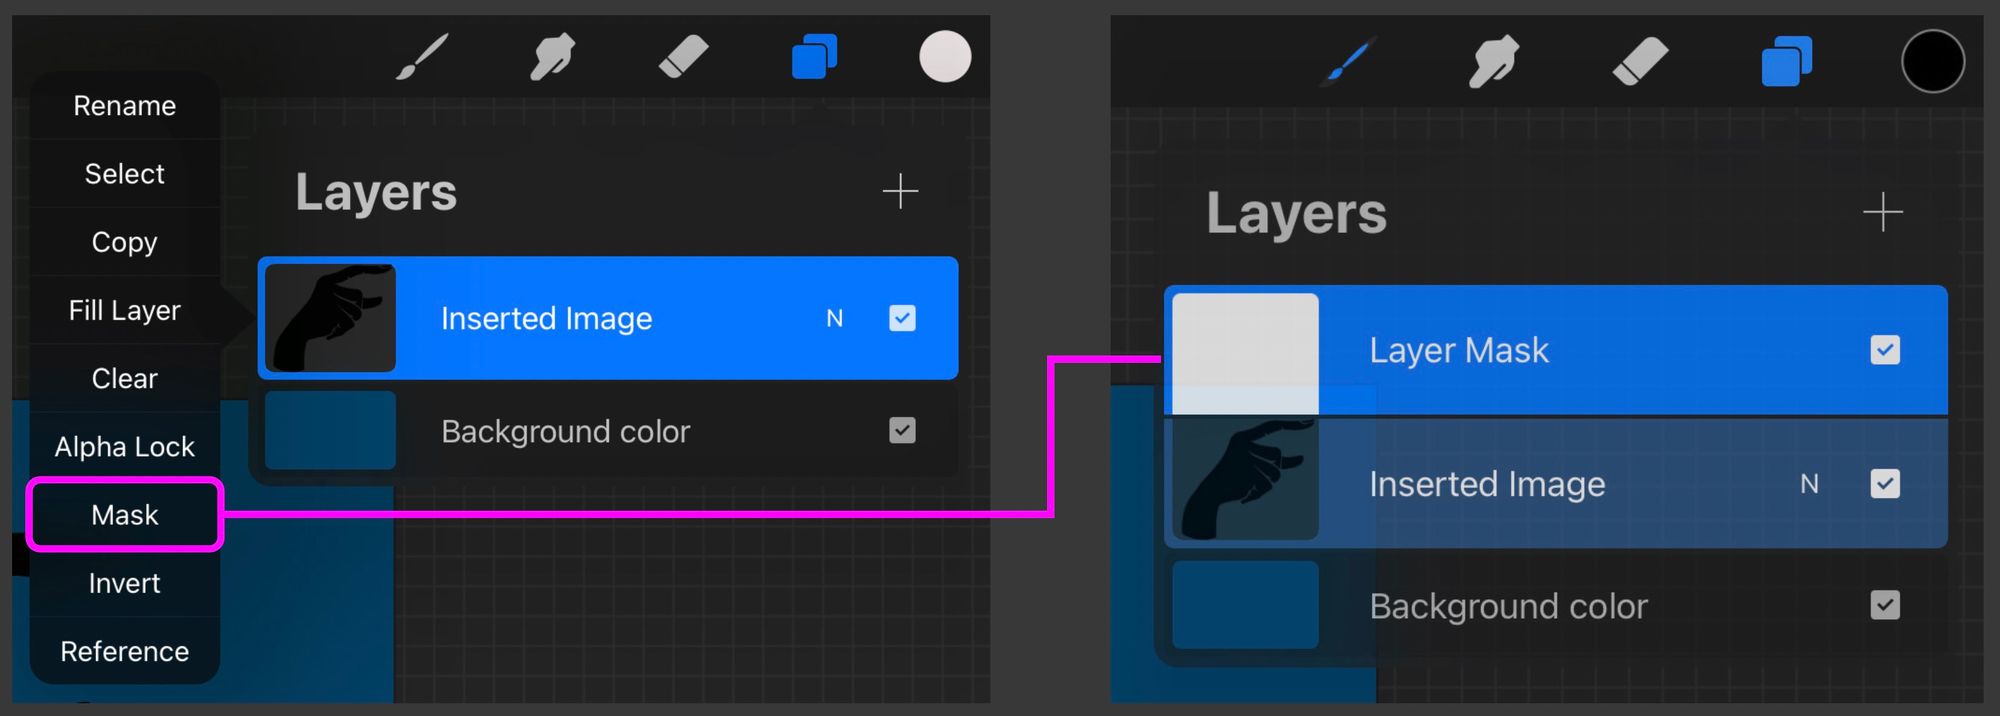
First, add a layer on top of the artwork, tap the Mask option, and an indicator will appear next to the layer.

Elements added on the separate Layer mask will not disrupt the original layer.
Adding more clipping mask layers allows you to add more effects or elements without disrupting the original artwork underneath.
You can also release the mask by tapping the masking layers: Release Clipping Mask.
Method 3: Layer Mask (Non-Disruptive)
Layer masking is another method of making non-disruptive modifications to an artwork. It allows you to modify (erase) your original artwork without actually bringing any changes to the layer.
Think of it as an eraser that works on a separate layer. This erasing can be undone by making the layer invisible. It is not used frequently as the Clipping mask method, but it may come in handy when parts of the original layer require changes.
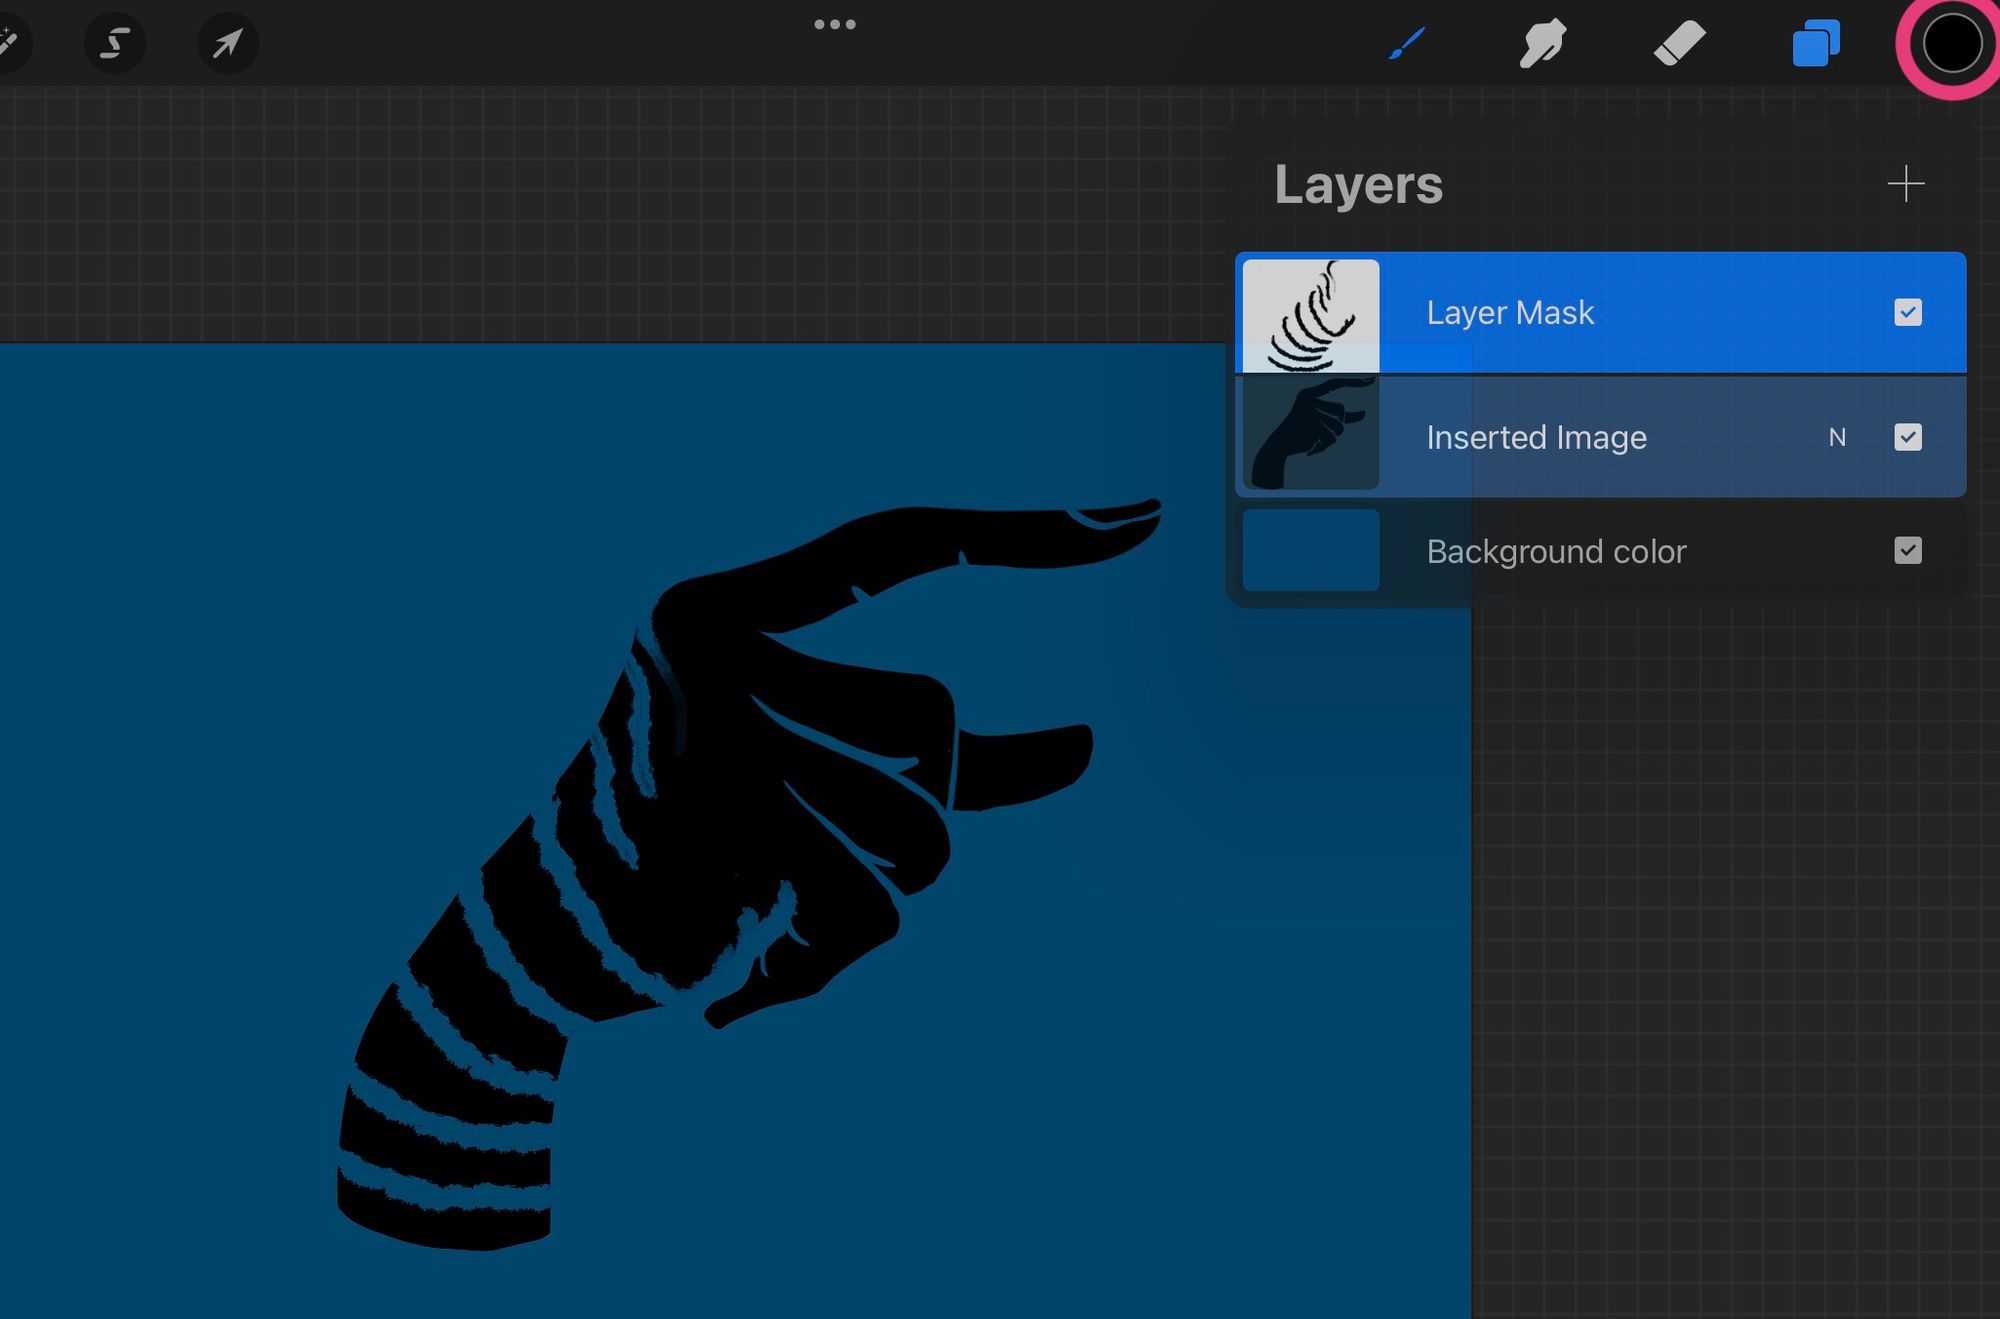
Tap on the desired layer and select the Mask option to get a Layer Mask. It will create a separate Layer Mask:
Using either Black or White obscures or reveals the artwork underneath respectively. Grey or any other mid-tone colour only partially obscures the layer underneath and would require a little more understanding of how your final artwork will be in use.
Using Black obscures/hides the artwork underneath, making it look like it has been erased:
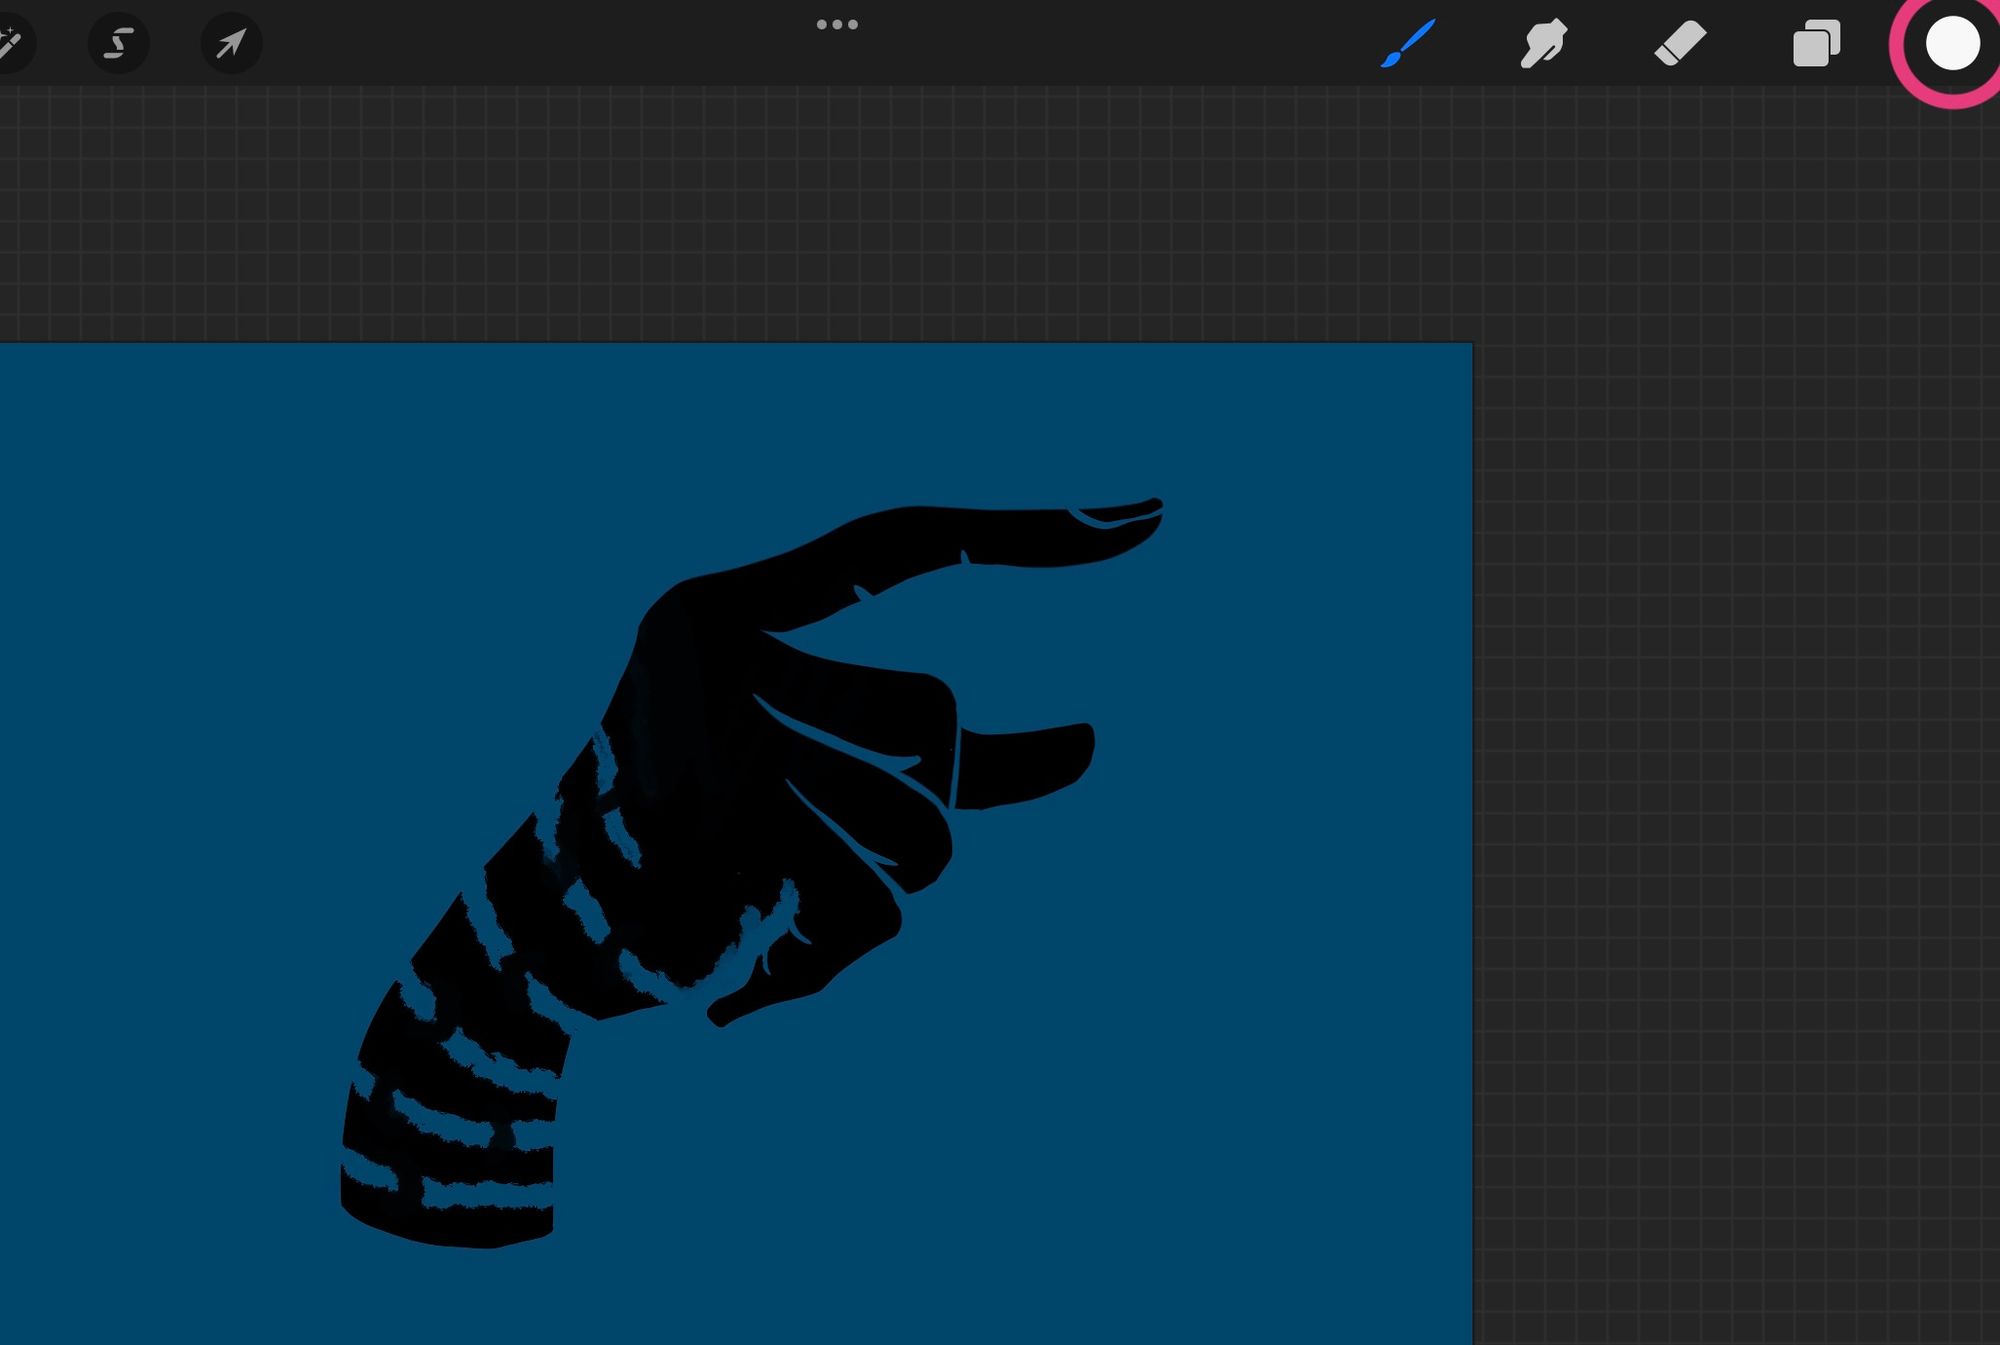
Using White reveals the artwork underneath. It works like an eraser on the masking layer:
The use of Black or White is recommended since any other mid-tone colour gives a similar effect to a partial opacity mask, which is not a desirable effect when creating a flat coloured image.
Hope you learned something new! See you in the next one!