
Layer Masking is a non-destructive process of editing an image by hiding parts of it. It is a way of combining images. By hiding parts of an image, it reveals the parts of the images below it. Masking in Photoshop means controlling the opacity of parts of a layer by using black, white and grey colors. You can change the opacity of a layer from the opacity menu but with masking, you can work on specific areas of that image. As it helps to play with the transparency of different areas of a layer, it can also help to create transparency gradients.
It is non-destructive because we can go back and re-edit the mask without losing any of the image's original pixels. Layer Masks make it easier to make reversible changes without making that edit or change permanent. If we erase or delete a part of an image, we would not be able to reverse it easily. The whole process can also be reversed by simply deleting the layer mask. It makes drawing and editing in Photoshop easier and flexible.
During the layer masking process, painting an area with white will make those areas visible whereas painting it with black will hide them. To remember this easily, you can think of it as a spotlight. The bright (white) areas will be visible whereas the dark (black) areas where the spotlight doesn’t hit will not be visible.
Creating Layer Mask
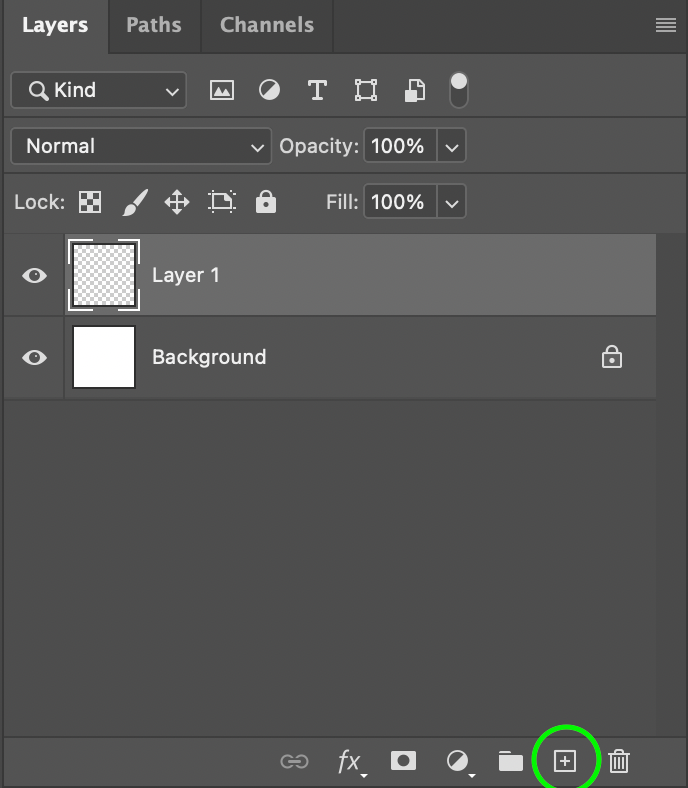
After opening a document, create a new layer by clicking on Add layer at the bottom right of the Layers panel.
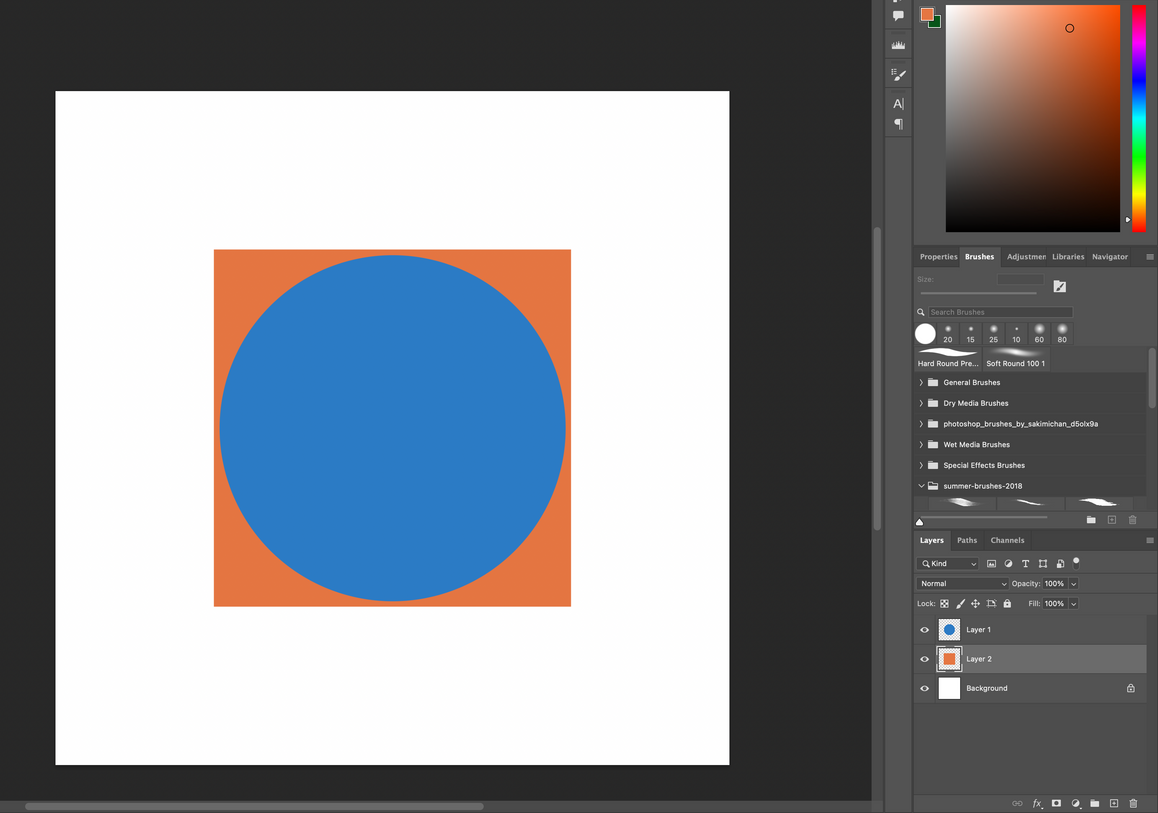
For this tutorial, you can create a simple circle in that layer (Layer 1). Then create a square in another layer (Layer 2).
- Drag Layer 2 below Layer 1 so the square is below the circle.
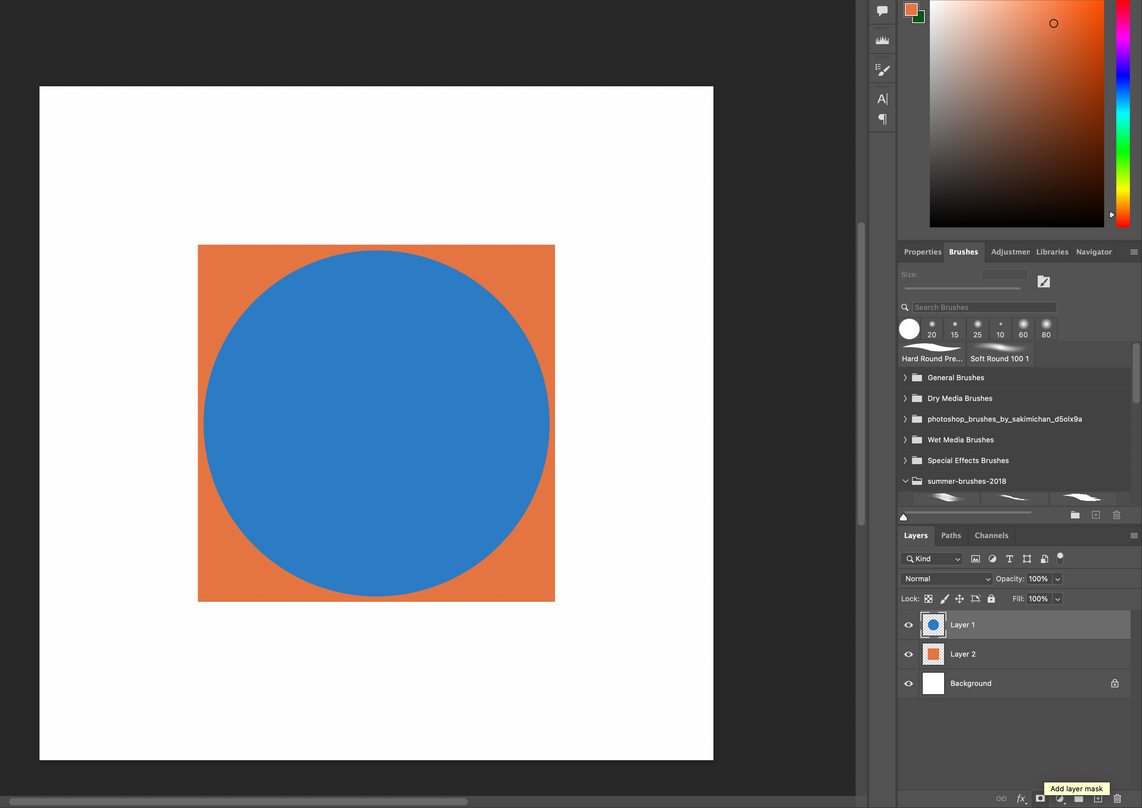
- Click on the circle layer (Layer 1) in the layers panel.
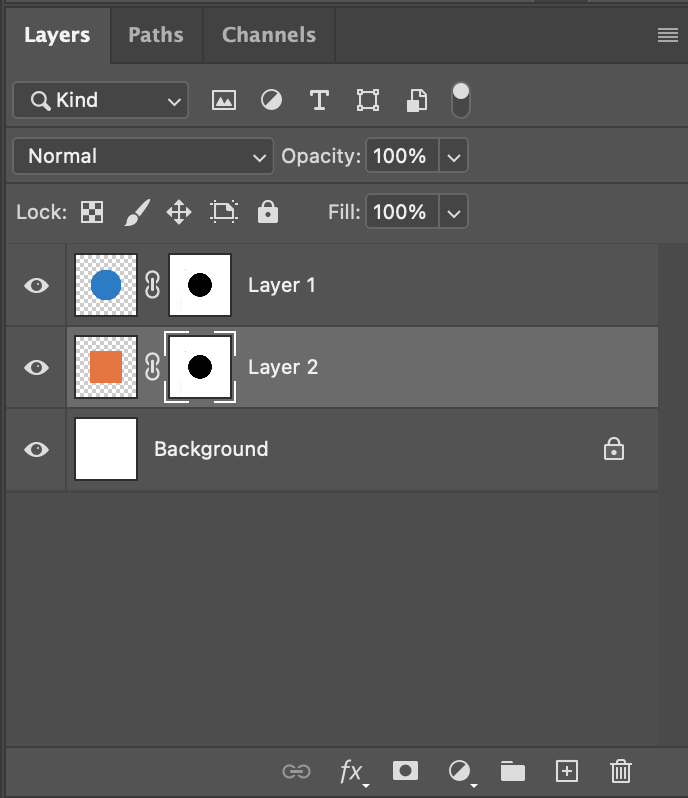
- Click the Add Layer mask button at the bottom right of the Layers panel.
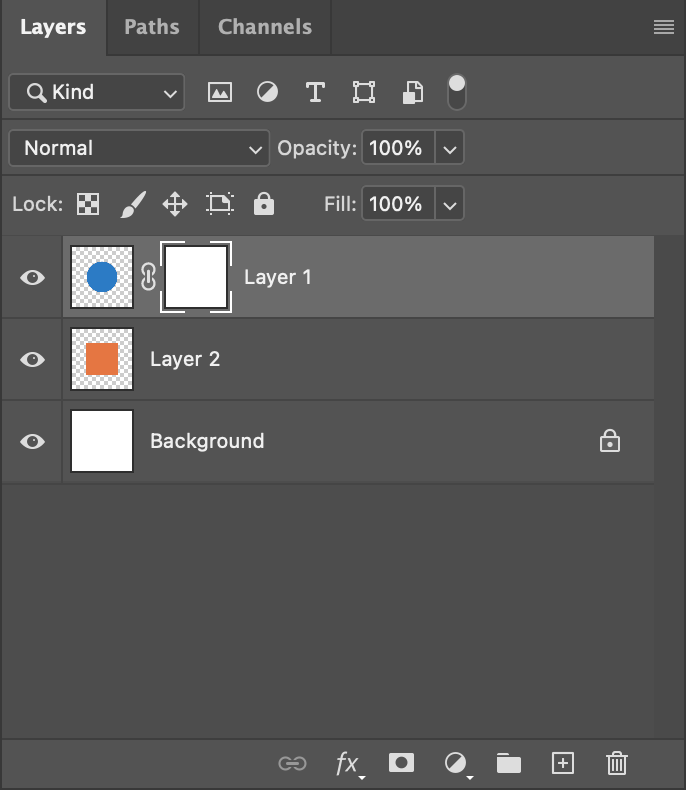
A chain icon will appear beside the layer’s thumbnail.
- To start working on the mask, select the mask's thumbnail.
- Pick the brush tool and select black color.
- Use the brush over the circle to make those areas disappear.
Since there is an orange square below the circle layer, parts of the square where you painted black will be visible. You can use a soft brush to make gradients.
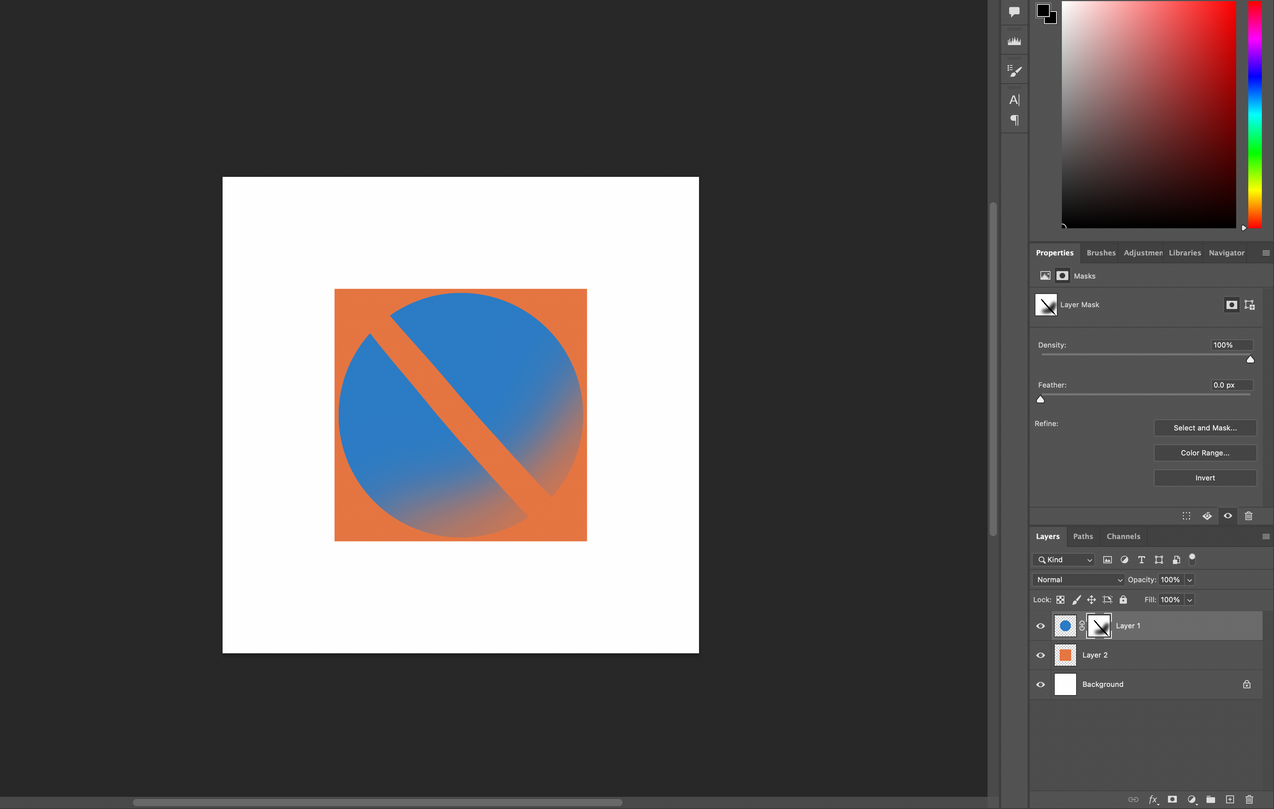
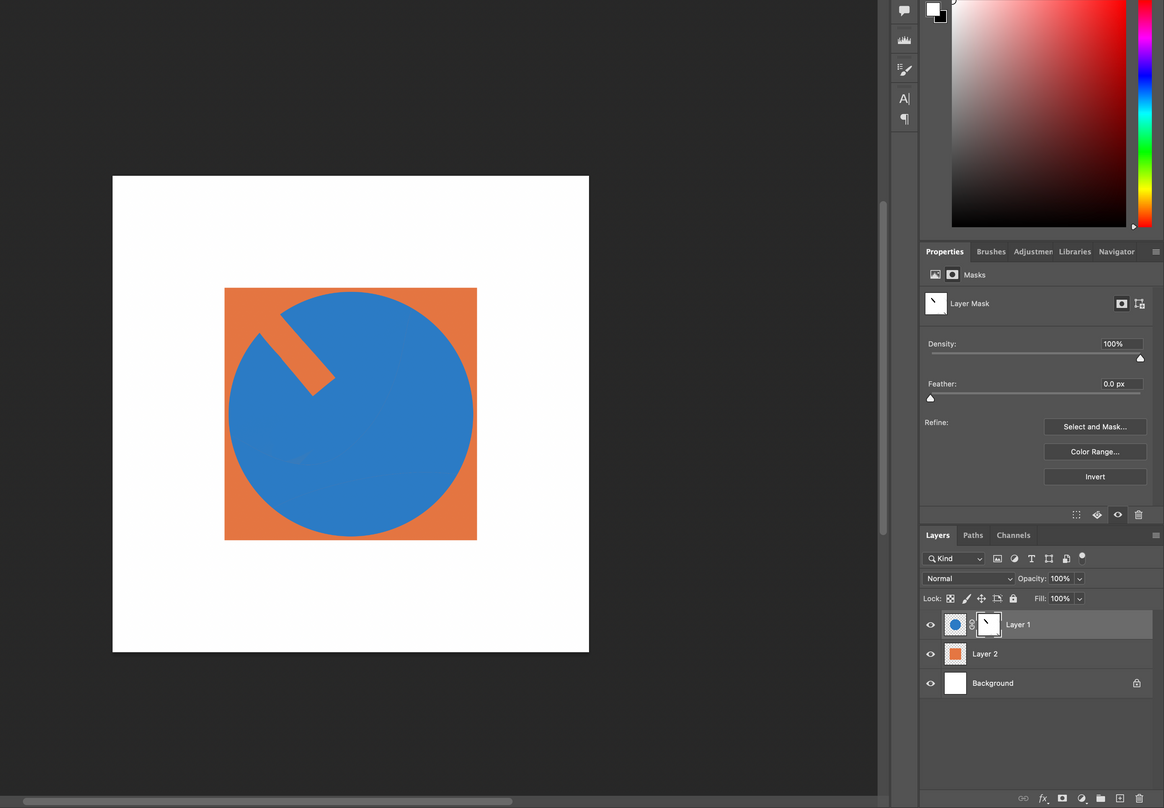
- Pick white color and paint over areas to make it appear again.
Using grey color will make the area partially visible. Using lighter and darker shades of grey will help to control the visibility.
You can also move that mask to other layers by dragging the mask thumbnail to other layers. You can also duplicate it by dragging the mask thumbnail to another layer while holding Alt (Win) or Option (Mac).
To create a mask that hides the whole layer, click Option (Mac) or Alt (Win) along with the Add Layer Mask button.
Unlink and Disable Masks
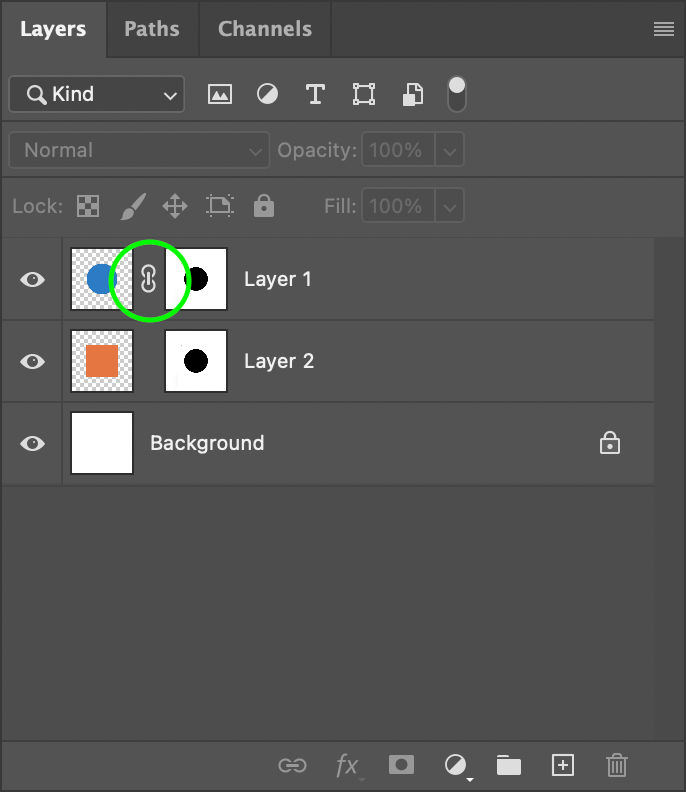
When creating masks, that mask will be linked to the layer. This means moving one of them will move them both. Unlinking them will let you move the layer and its mask separately. You can click on the chain icon between the thumbnails to unlink them. To relink them, click on the empty area between the layer's thumbnail and its mask’s thumbnails.
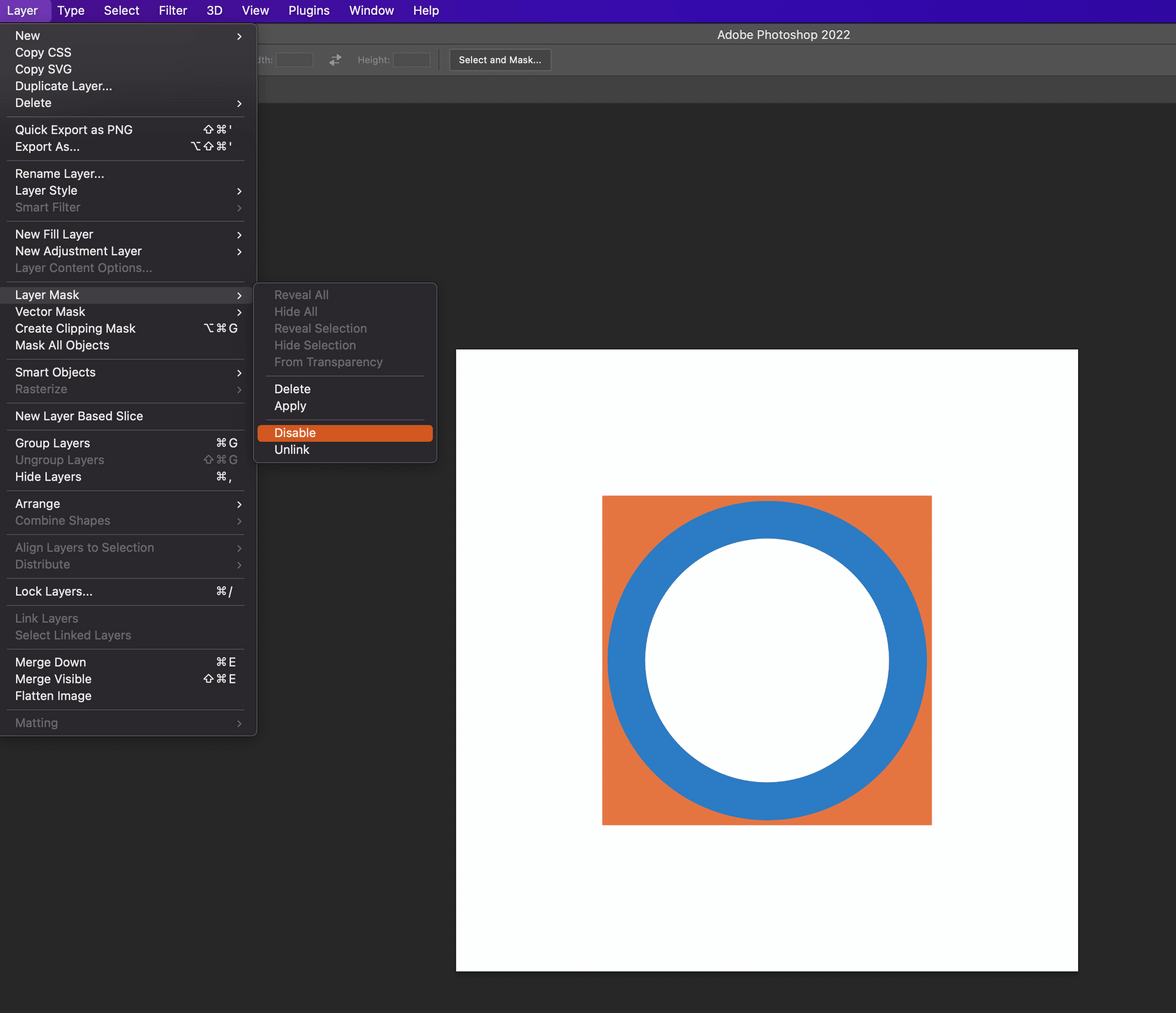
If you want to check how the image looked before masking and do not want to paint over the areas again just to see it, you can disable the mask by right-clicking on the mask's thumbnail and selecting the Disable Layer Mask.
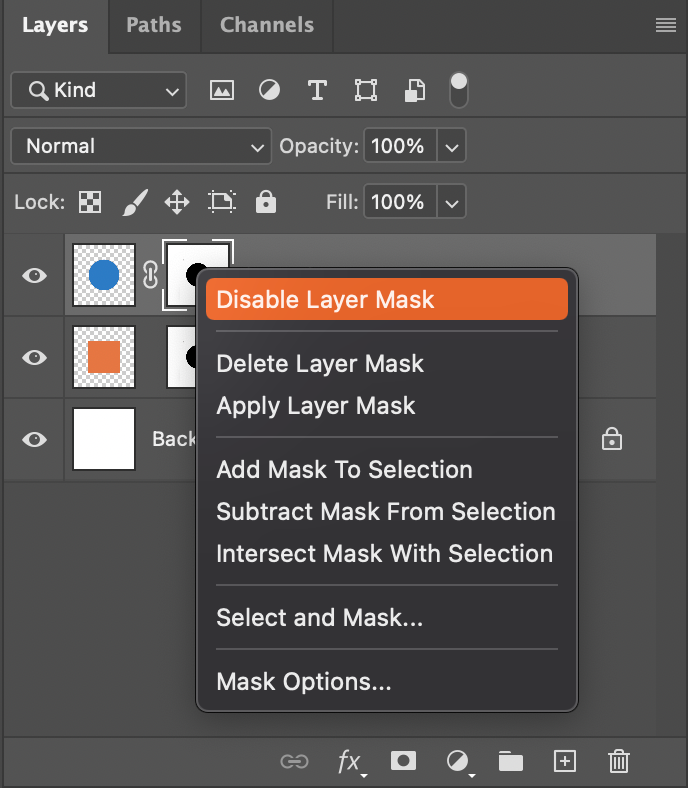
You can also do this by selecting the mask, clicking on Layers menu at the top menu bar. From the drop-down menu, click on Layer Mask and Disable.
Apply and delete Layer Mask
Layer Masks may increase the size of the Photoshop file. You can apply and delete it at the end of the process to reduce its size. Right-click on the mask's thumbnail and click on Apply Layer Mask button to apply the mask to the layer.
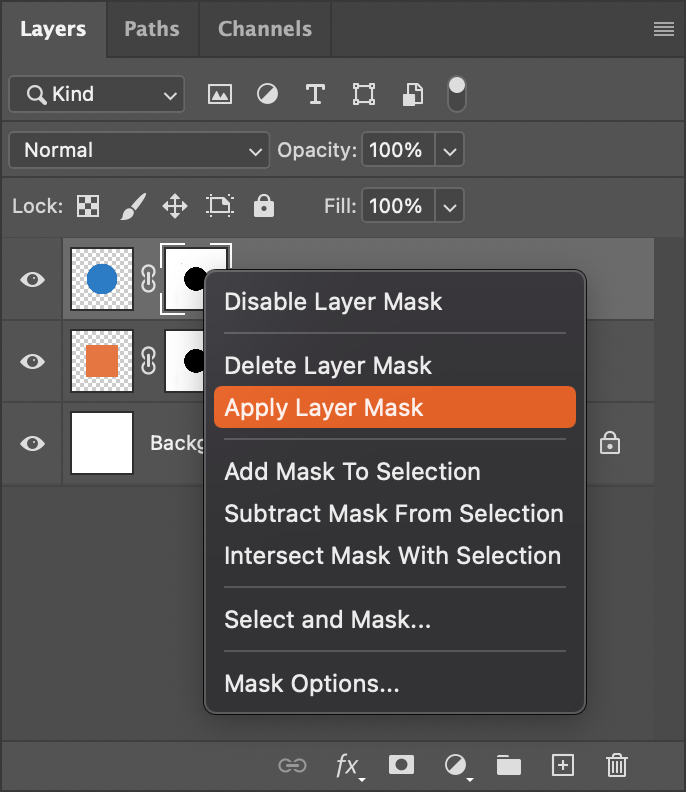
If you want to remove the mask without applying it, you can simply select the mask's thumbnail and perform Delete in your keyboard.
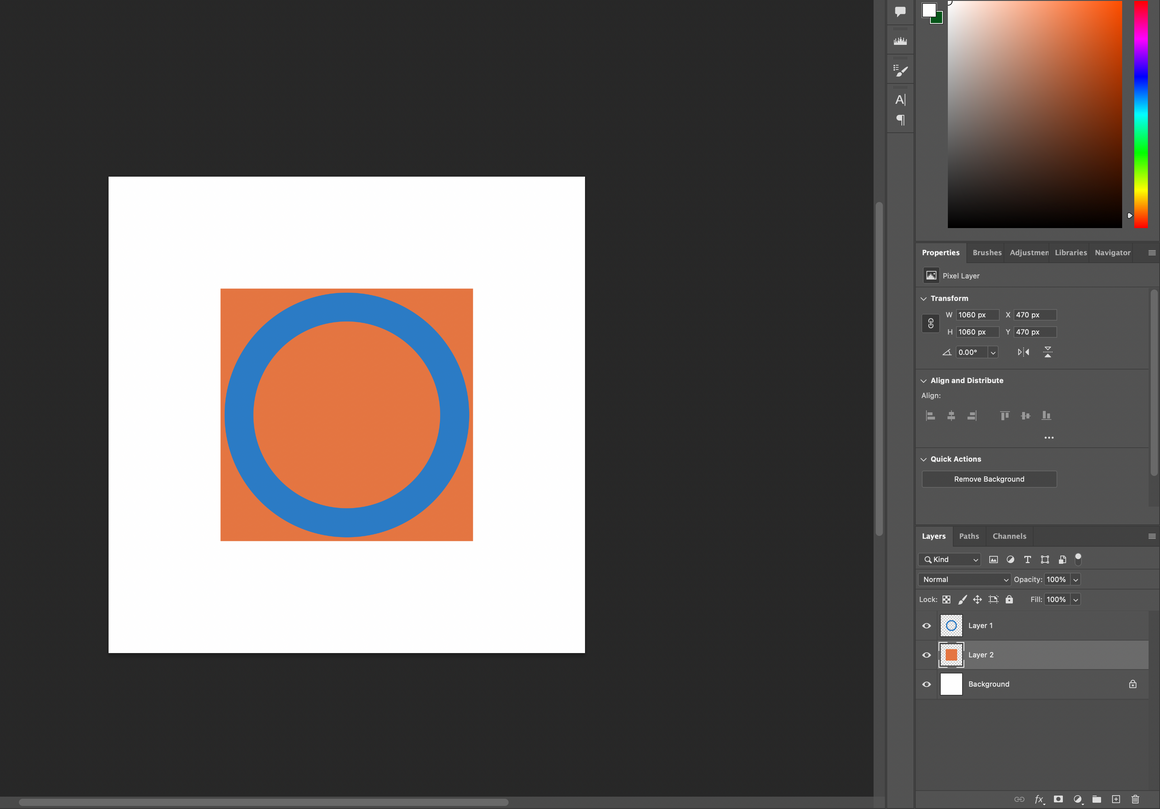
In the above image, I had applied the mask in the circle's layer. The mask's thumbnail disappeared and the circle now has an empty area in the middle (where I had painted black color in the mask). Whereas in the square's layer, I had deleted the mask without applying it. The mask's thumbnail disappeared and the square remains the same and was not affected by any of the changes done in its mask.
In this tutorial, I had worked with simple shapes but we can use this same process for complex images where we have to remove a person or an object from a photo.