

Adobe Premiere Pro is a sophisticated video editing platform used by both industry professionals and enthusiasts alike. For those new to video editing, the software's extensive capabilities can initially seem overwhelming. This article aims to introduce beginners to the fundamental aspects of Adobe Premiere Pro, focusing on basic interface navigation and essential editing techniques. By familiarizing yourself with these core elements, you'll be better equipped to begin your journey into the world of professional video editing.
Getting started
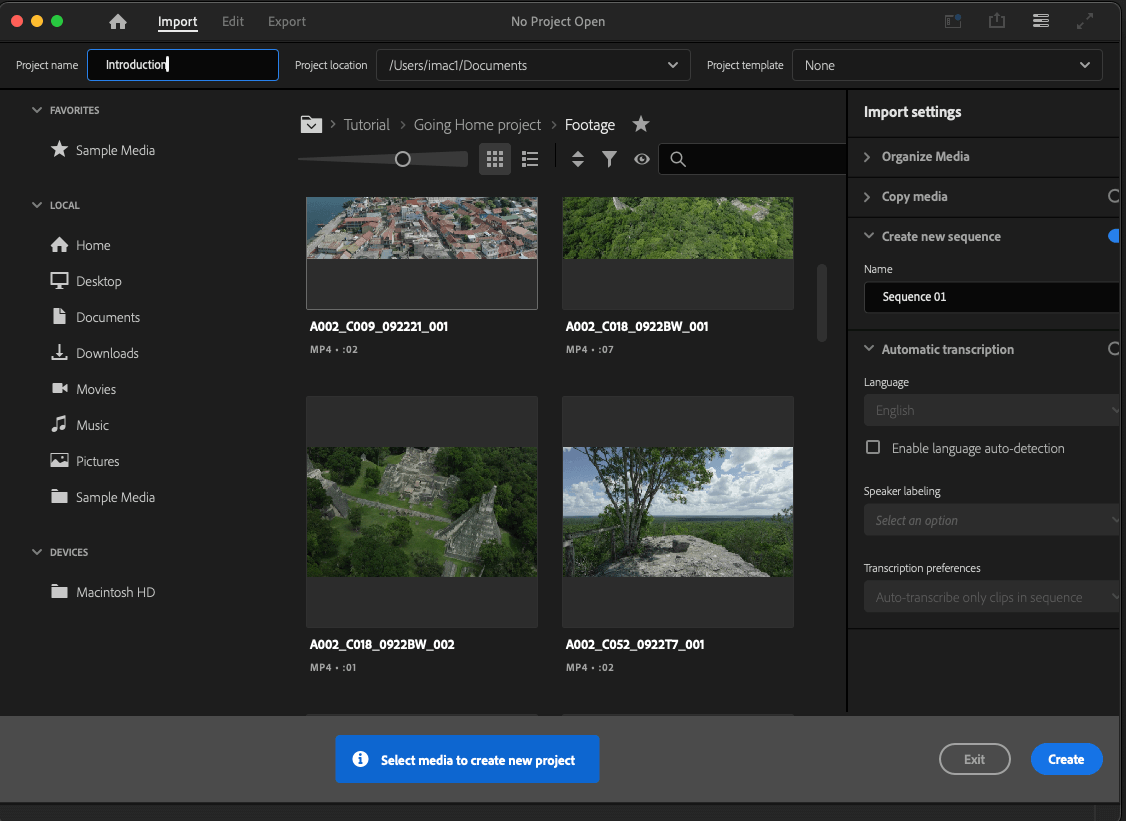
First, you will need to understand the interface of the software. This will make it easier for you to navigate the panels by yourself. When opening Adobe Premiere Pro for the first time, you will see a panel that includes your recent projects. Since we do not have any old projects, click on New Project. Type in your Project name and location, and click on Create. With this, you have opened your first project.
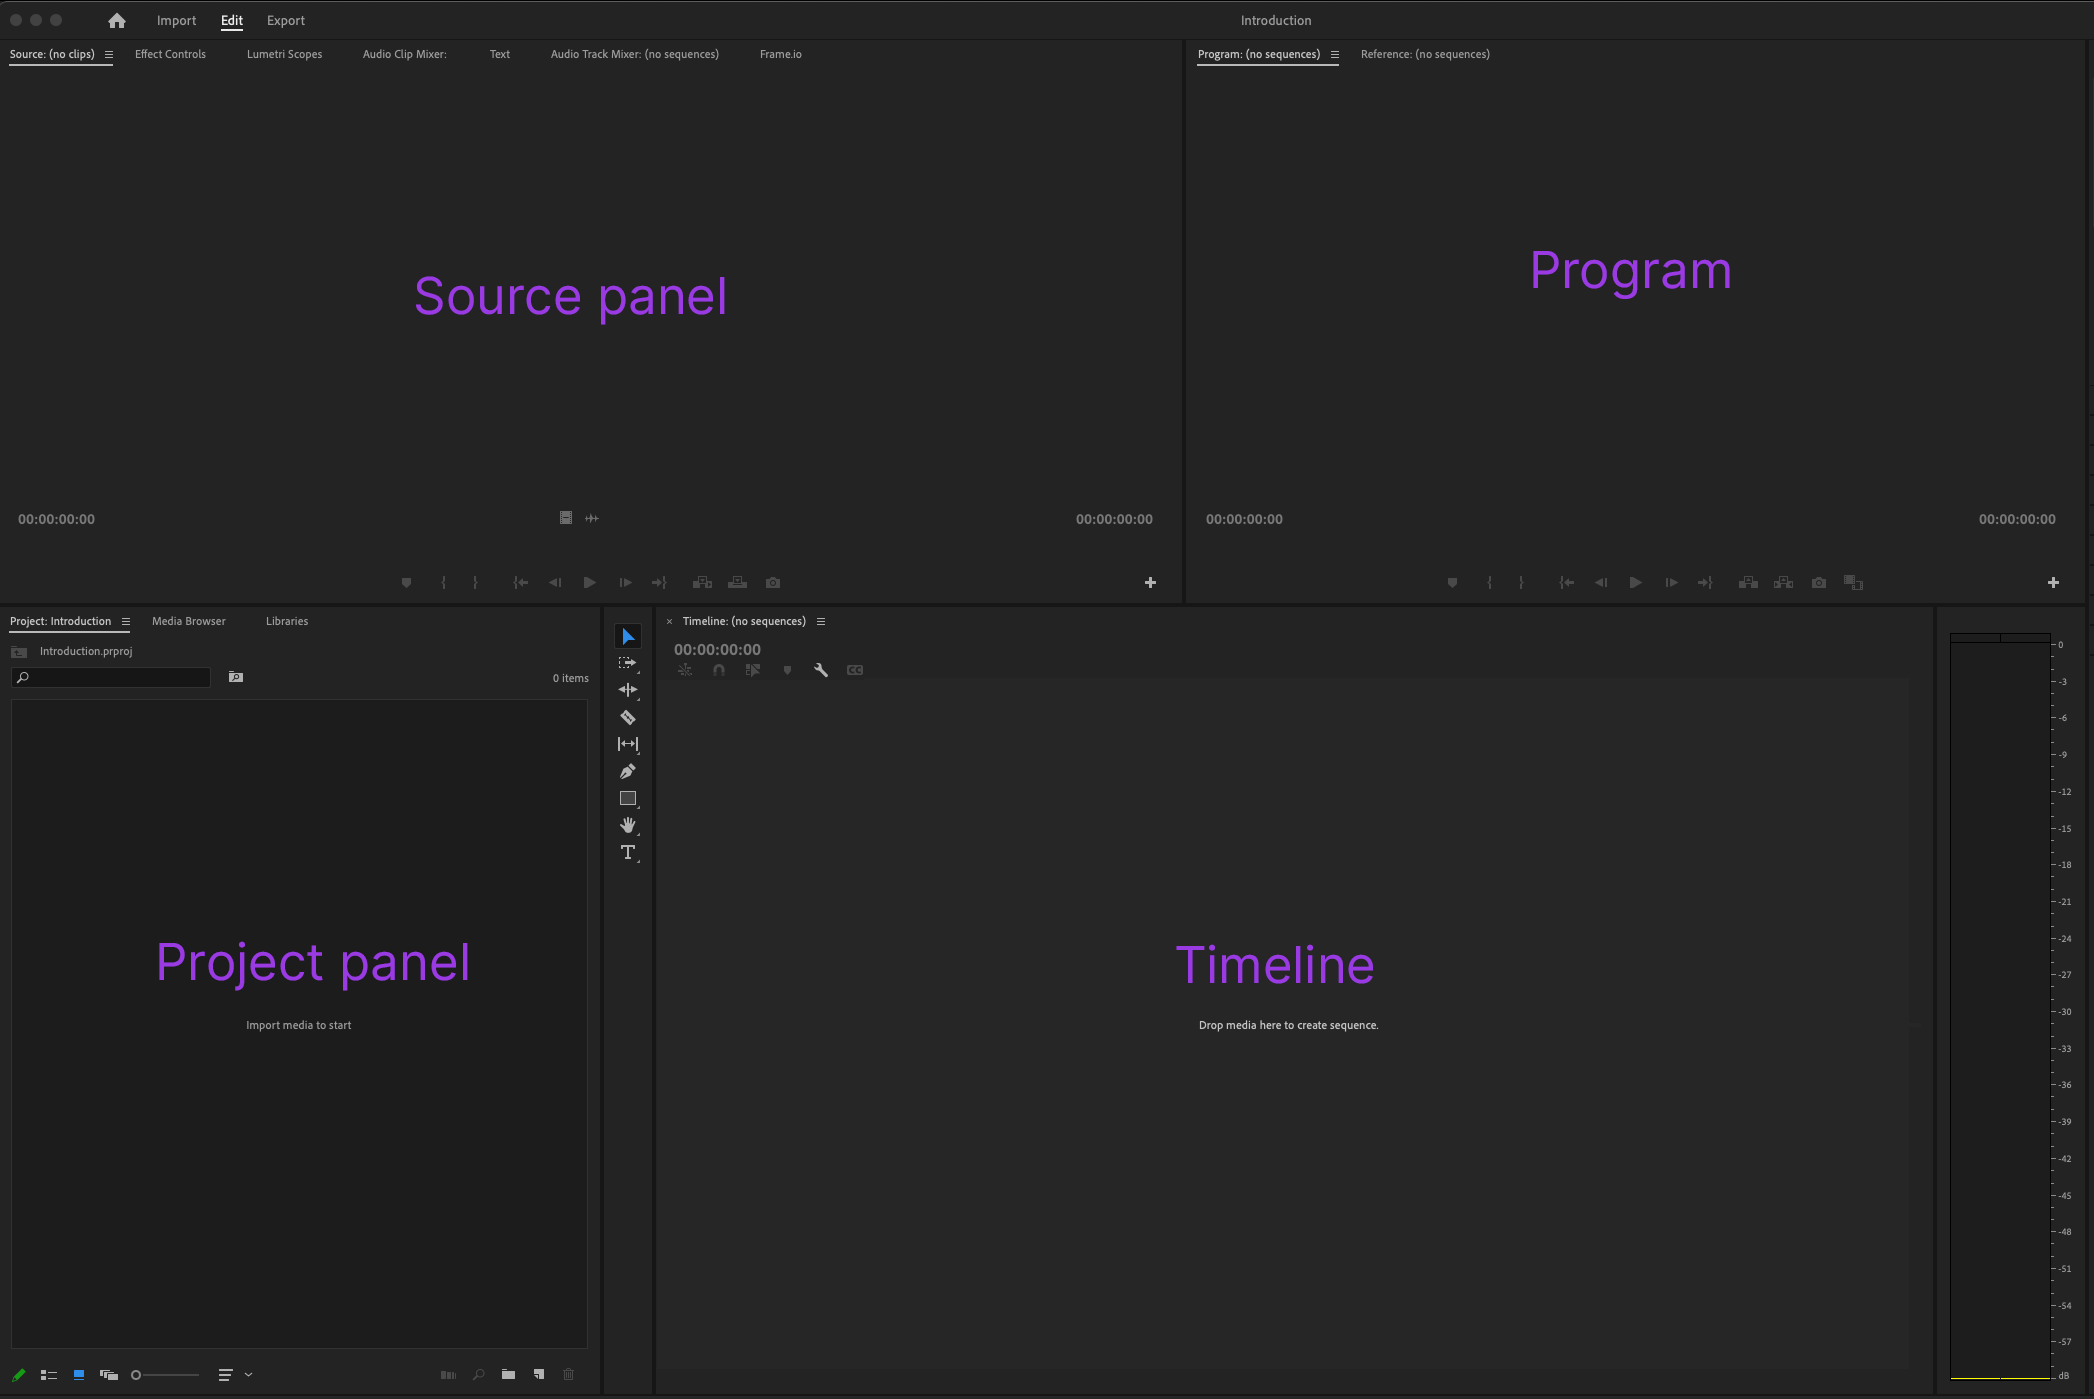
Initially, you might feel intimidated to see all these panels but for simple video editing, you will quickly get used to what each panel does. Let's start with these starting panels one by one:
- Project Panel: This is the bottom left panel. This is where you import and organize all your media files. They can be images, videos and audio files.
- Source: This will be the top left panel at the start. When you select clips on the Project panel, you will be able to preview the videos before adding them to your timeline.
- Program: This is the panel on the right of the Source panel. When you add and edit video clips in the Timeline panel, you can view your edited sequences in real-time here.
- Timeline: This is the main area where you will arrange and edit your clips to create your video. This will show the entire video and audio length.
Setup
With the knowledge of how these panels work, you are ready to import and edit your videos. First, you will need to import the required files.
- Go to the Project Panel and right-click to select Import.
- Navigate to where your media files are located and select them to import them into your project. Hold Shift and select to pick multiple files at once. Then click on the Import button to confirm.
- Alternatively, you can also drag and drop files directly into the Project Panel from your folders.
Creating a Sequence: When a project is created, you should create a sequence before editing the clips in the Timeline. A sequence is the workspace where you arrange and edit videos, audio and other media files. A project can have multiple sequences where you can work on different scenes and then later compile them all in one sequence.
- After importing your footage to the Project panel, drag a clip onto the Timeline to create a sequence. This sequence will have the same dimensions as the first clip you inserted.
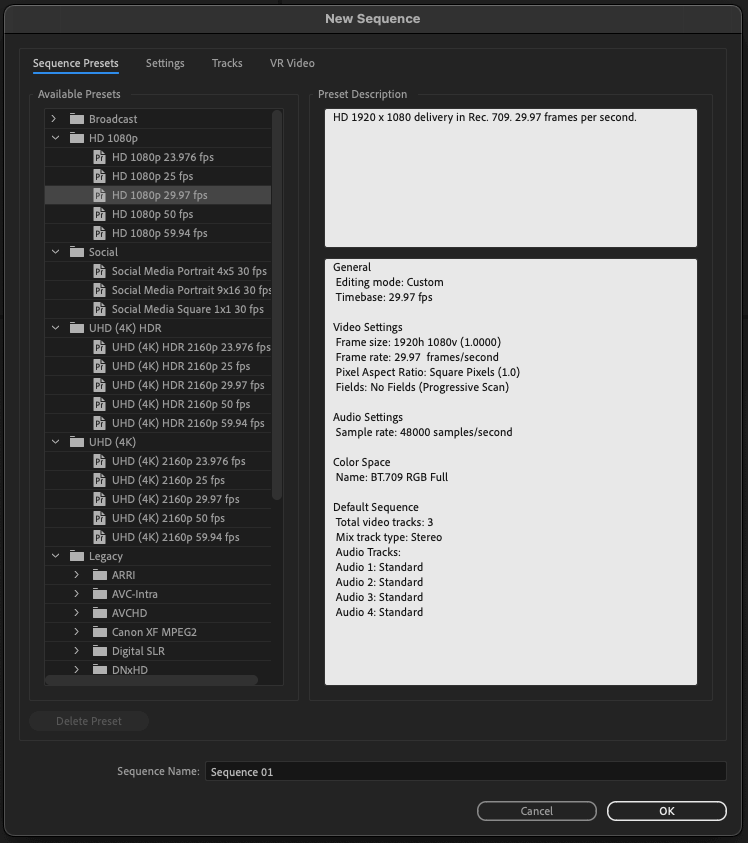
- If you want to work on a video with dimensions different from your clip, you must create a sequence. Go to File>New>Sequence.
- This will open a new window where you can pick a resolution (dimension size) and name the sequence. If you are working on a landscape video, HD 1080p will work. There will be default sizes for social media, 4K, DSLR and other common sizes.
Timeline Editing
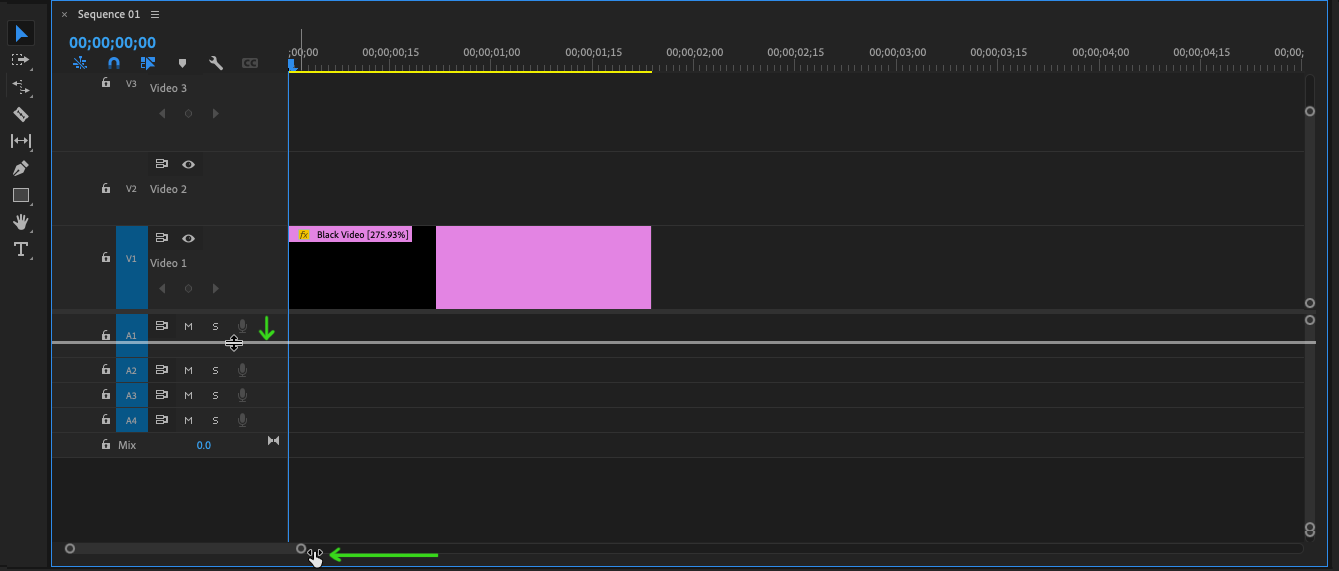
Now that your sequence is set up, you are ready to edit your video files. Drag your video file in the sequence. You can also change the size of the video clip preview in the Timeline panel. Drag the horizontal lines to increase their height as shown in the image below. Drag the bar at the bottom of the panel to increase or decrease the length of the preview. This does not change the actual length of the video clip. This is just the preview to make it easier for certain actions like splitting the video at a specific moment.
Selection:
Use the Selection Tool to click the clip in the Timeline panel. The shortcut for switching to the selection tool is V. This will be used for moving media files around in the Timeline panel. Simply click the file and drag it to the desired place.
Trimming:
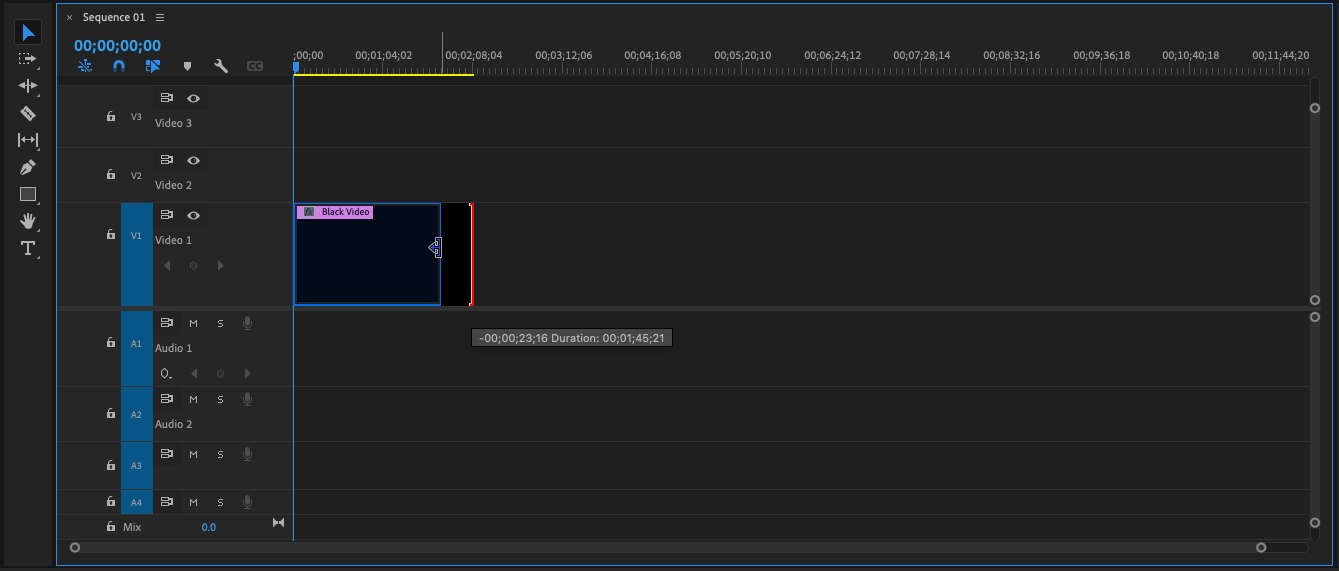
After selecting the clip, drag the edges of the clip to trim it. When you move the mouse cursor near the beginning or end of the clip, the cursor will change into a red arrow icon.
Cutting:
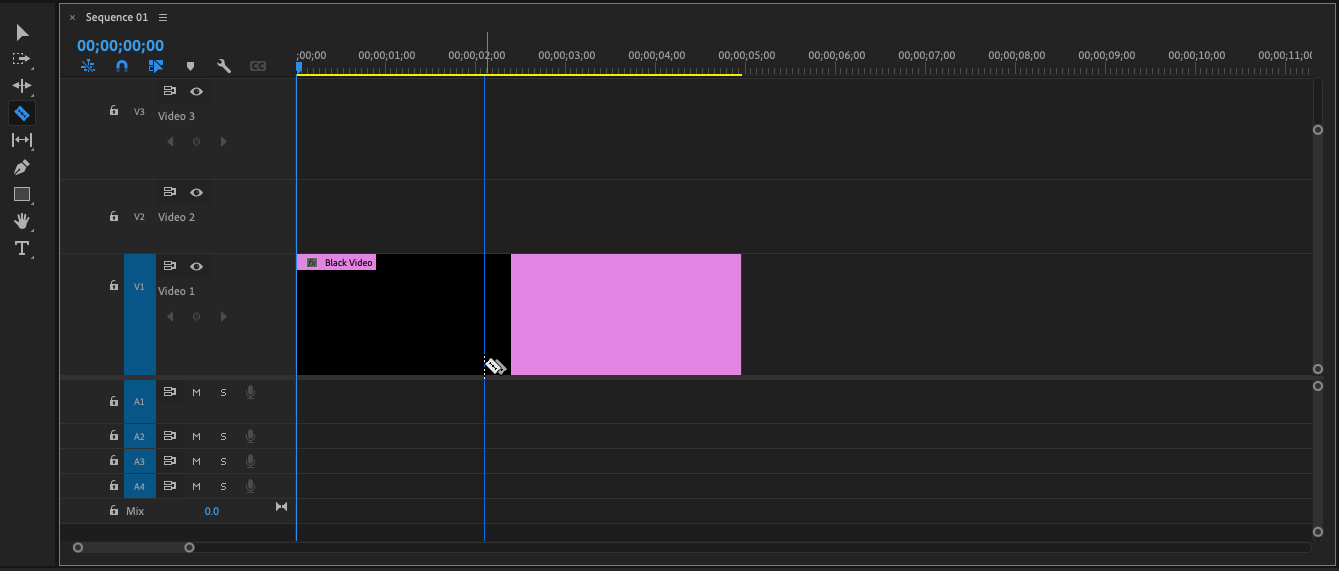
You can cut the media files by switching to the Razor tool. After clicking the C button, your mouse cursor will switch to a blade-like cursor. Press the mouse's left-click button while the Razor tool is activated and the selected clip will slice into two. You can move the clips around the timeline or delete the unwanted files by clicking the delete button.
Stretching speed and duration:
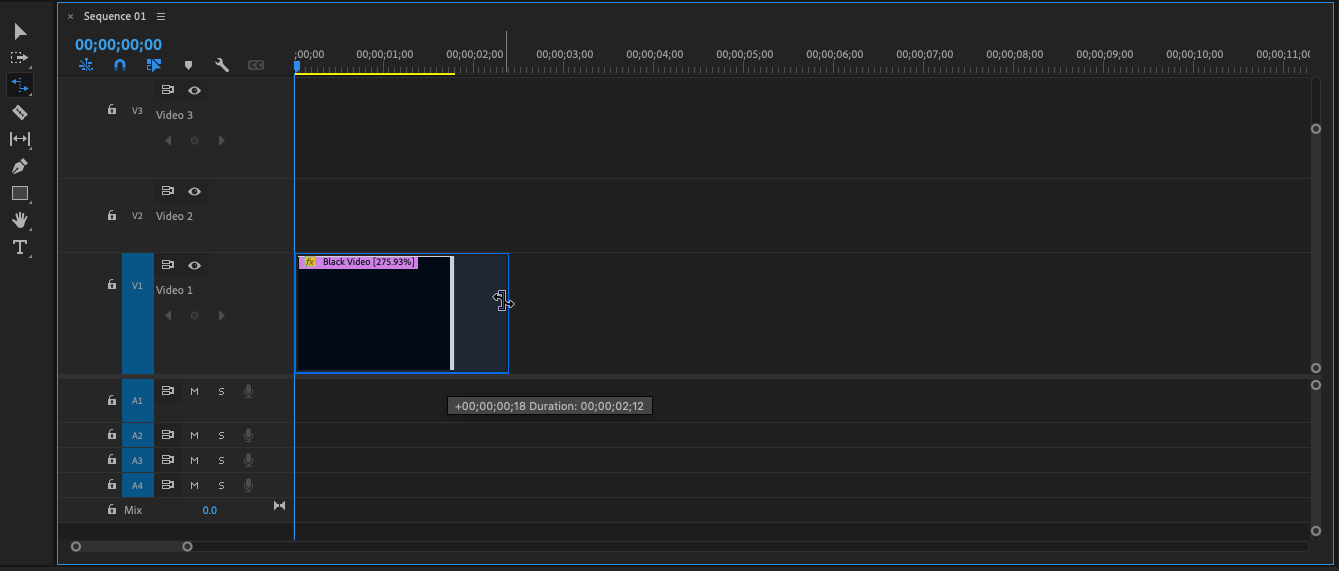
When clicking the R button, your mouse cursor will switch to Rate Stretch Tool. With this tool selected, move the cursor towards the end edge of the clip and drag it closer towards the start of the clip. This will make the clip shorter and increase the speed of the clip. If you do the opposite and drag the end edge even further back, this will slow down the clip.
Conclusion
Adobe Premiere Pro provides many tools and features for video editing which makes it a versatile choice for both beginners and experienced editors. By following the techniques mentioned in the blog, you can immediately start creating and editing videos. You will master Adobe Premiere Pro if you practice regularly and explore new techniques to enhance your skills further.
Thank you for reading this article. Please consider subscribing for more such articles.