
A Storyboard is a series of illustrations or pictures that make up a movie. It is a tool used to plan how each shot of the video will look before starting the actual creation of the video. An image sequence with detailed camera angles, movement, and composition helps break down scenes shot by shot and creates a base for a movie.
Storyboards are mostly used for visual storytelling mediums like live-action movies, animation, and game cinematics. There are no strict rules for making storyboards – they just need to get the visual information to the filmmakers.
In movie productions, directors usually work with a storyboard artist to put their vision onto a storyboard based on the script. You do not necessarily need to have drawing skills to draw storyboards. Stick figures can also convey information like basic composition or camera angles. You only need to have basic knowledge about composition, storytelling, reading, and writing skills for storyboarding.
Uses of a Storyboard
The position of objects in the storyboards helps the cinematographer plan the shot accordingly while shooting. These pre-made decisions about camera angles can streamline the entire shooting process.
Storyboarding is also useful in deciding what props and backgrounds you will need in each shot and what shots can be done with visual effects instead. That way, the storyboarding process can be used to find problems in the scenes beforehand and save time and money in the production.
With the help of storyboards, cinematographers do not have to shoot all required shots in order. They can shoot scenes in the same location at once and still have a record of the shot order. Some productions might also change the scenes and angles according to the director if they find a better view of the scene. In that case, the storyboard may simply act as a reference base and communication medium for the production crew, including the wardrobe team.
The Storyboard Process
Storyboards can be made on paper or digital drawing software like Photoshop, Clip Studio Paint or Procreate. There are software and websites specifically made for storyboard creation with templates like Toon Boom Storyboard Pro, Studiobinder, Celtx, Storyboarder and TVPaint.
Even though I had mentioned earlier that a storyboard does not necessarily have rules, some of these basic elements will help to make the storyboard easier to understand and practical.
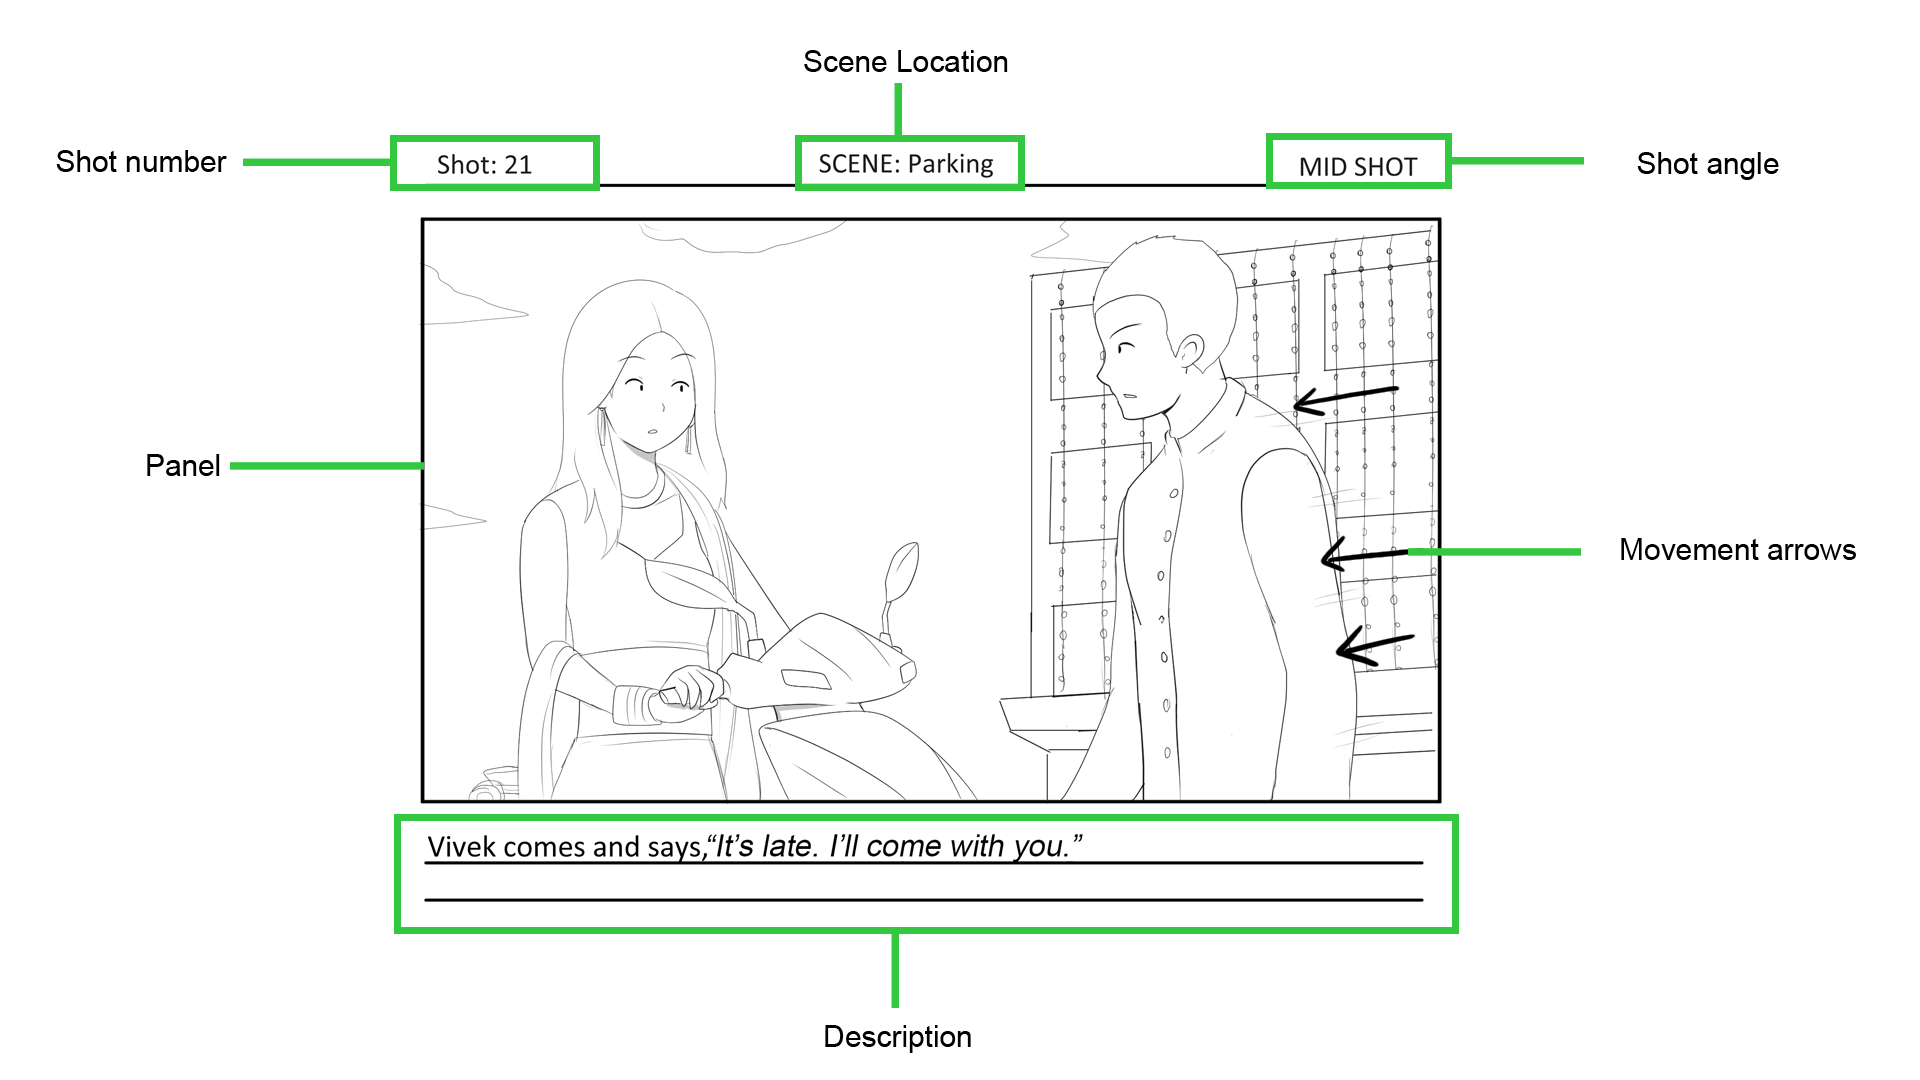
Panel
A Panel is a bounding box that represents the screen. The drawing inside the panel will include the things that the camera will see. The size of the box depends on the aspect ratio of the final production. They can be made in square boxes for a square screen or a square aspect ratio.
Shot Numbers
Labelling the shots with numbers helps the production crew easily discuss and reference specific shots. If you are drawing on physical paper or printing them and the papers get mixed up, you can still rearrange them in order with the help of shot numbers.
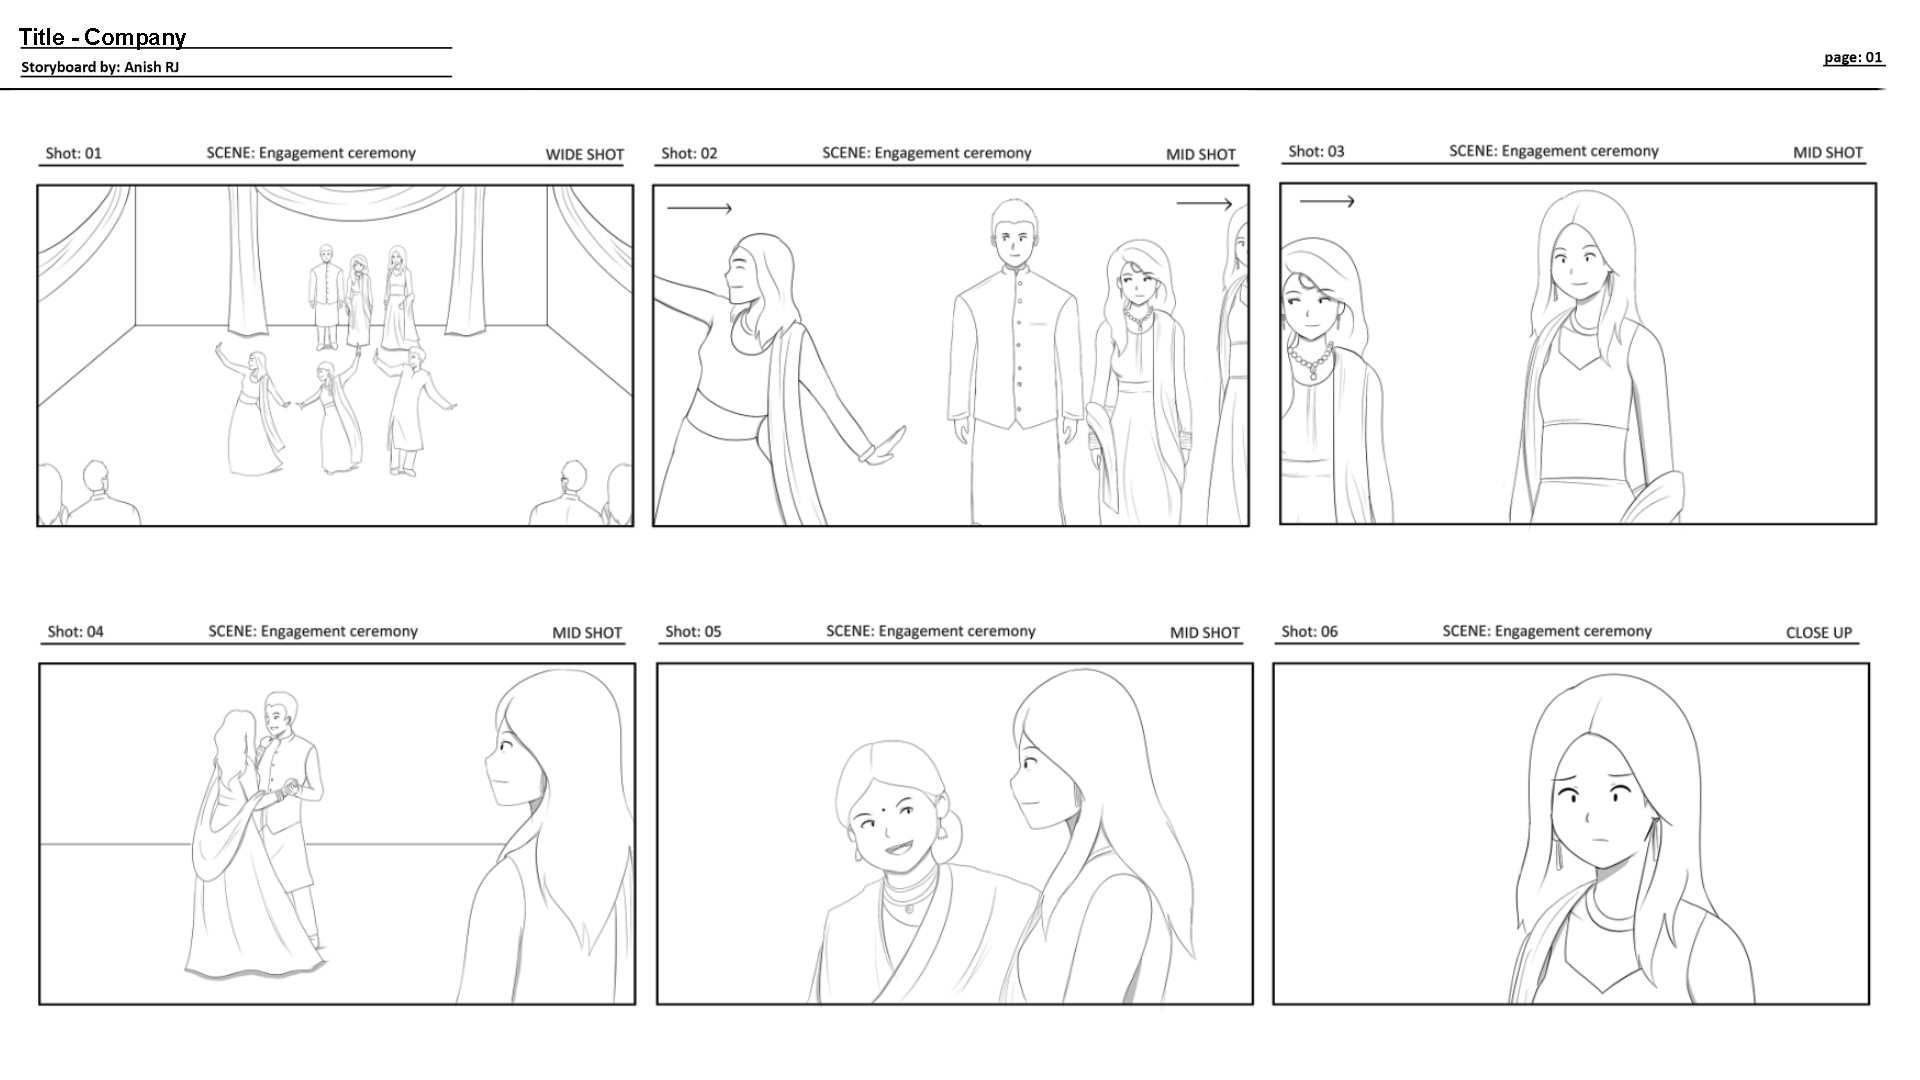
You can compare the storyboard above to the video example to see what it looks like when shot and edited.
Shot Angles
Showing the camera shot angles in storyboards will help the production crew determine what and how much will appear in each scene. Three types of shots are mostly used while drawing storyboards. These shots need to be used properly so the audience can follow the action easily.
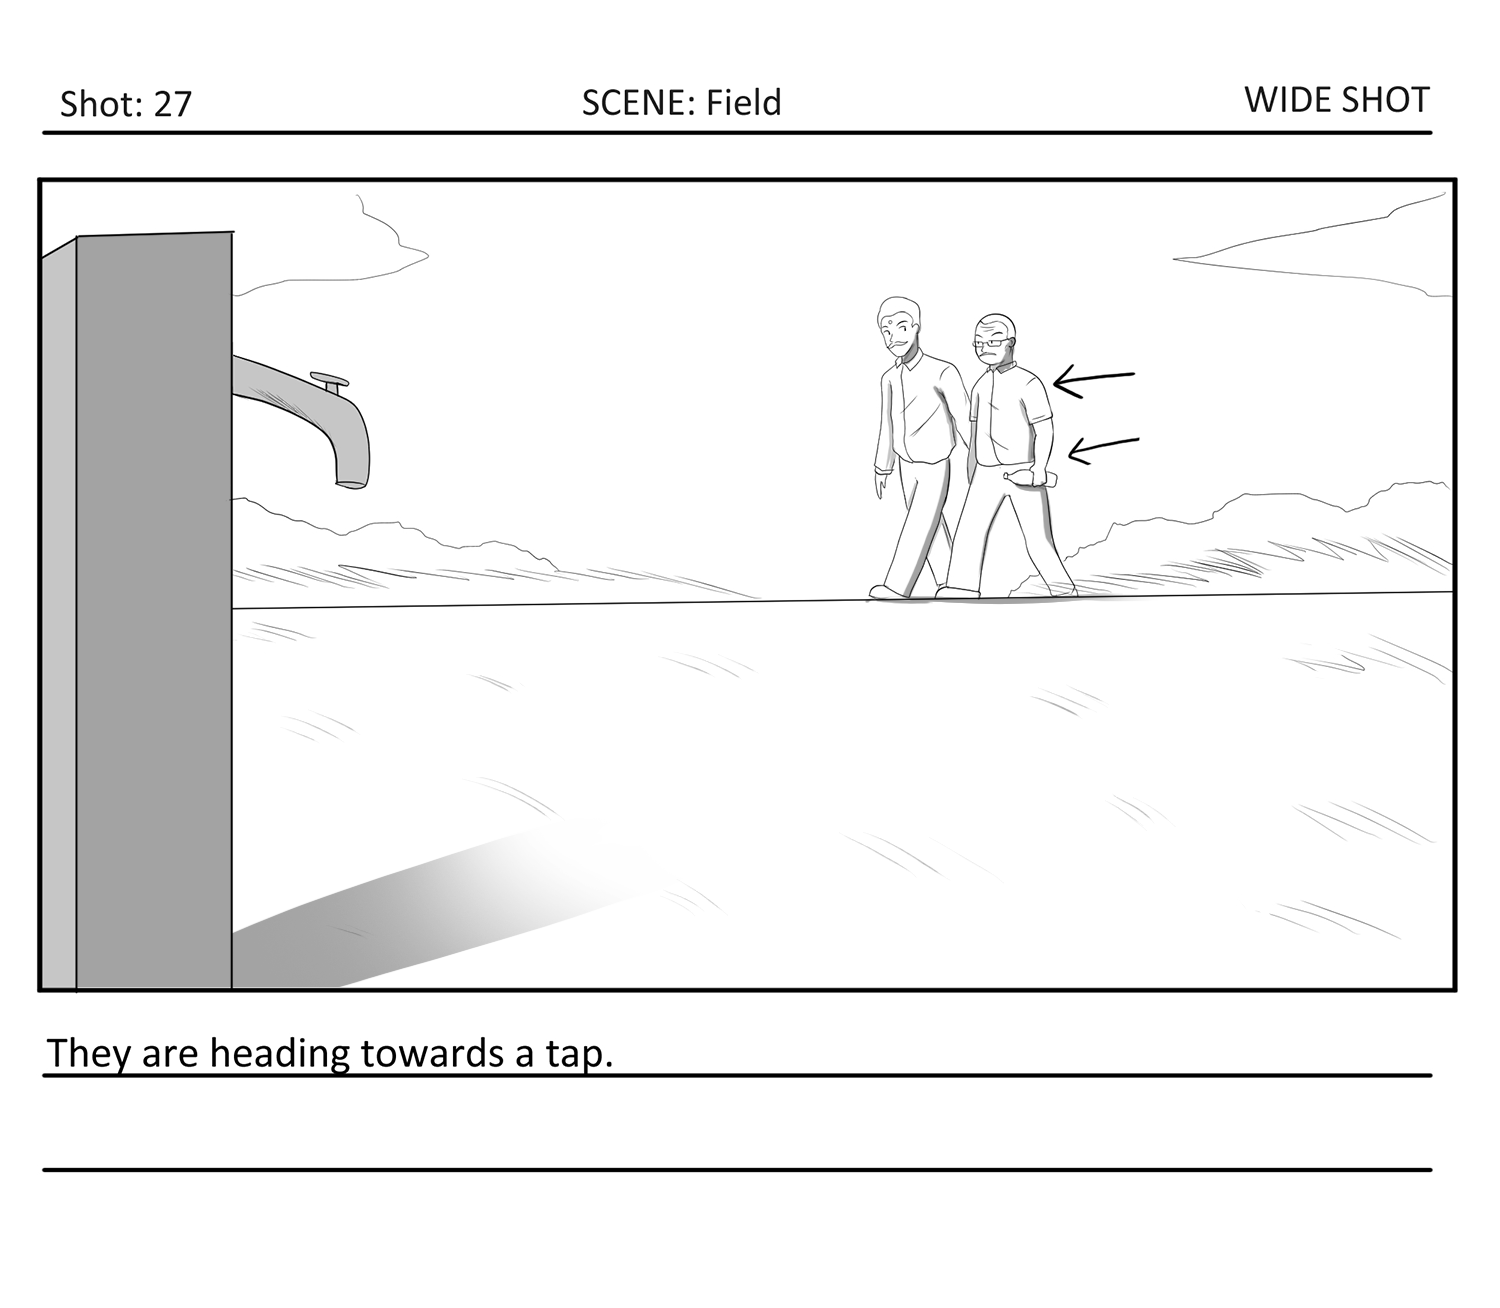
- Wide shot: If a person or an object is drawn small, they are far away. This is helpful for an establishing shot that shows where the characters are placed in. If the shot is zoomed out so that it shows a city, it can be called an Extreme Wide shot.
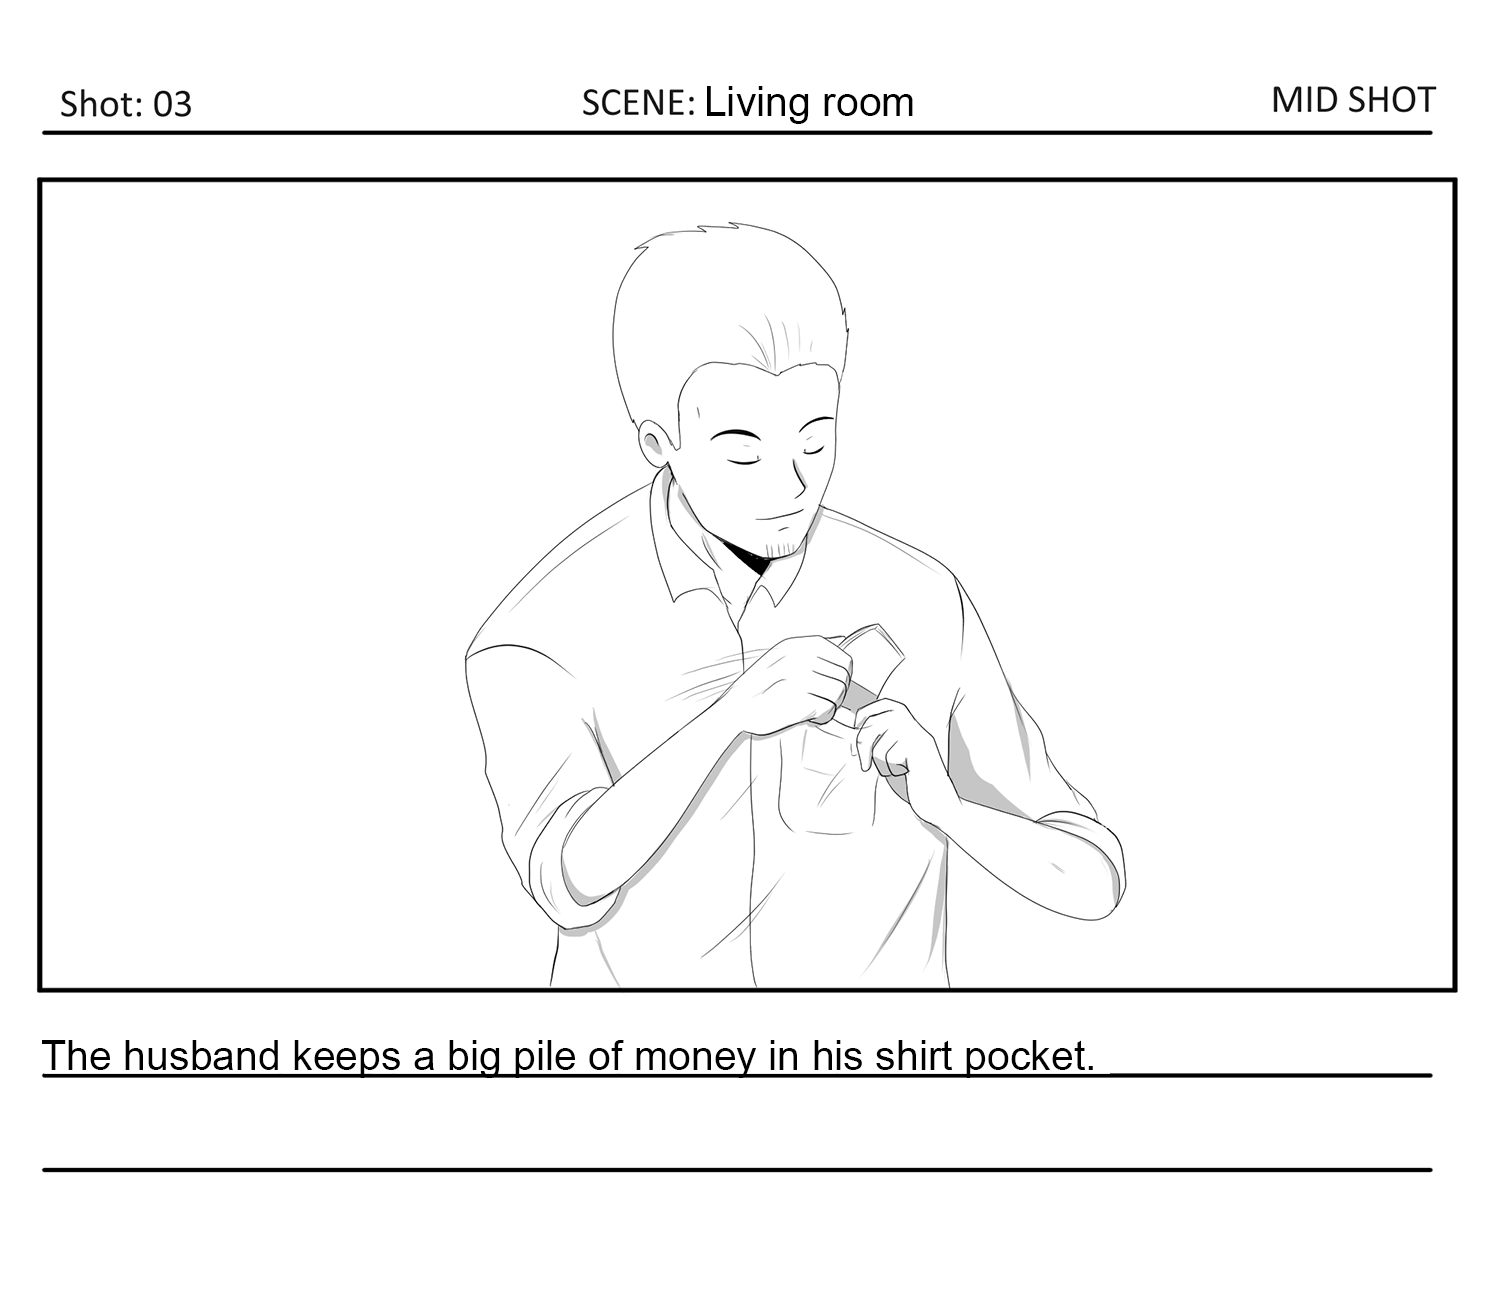
- Mid shot: These medium shots include half body shots (up to the waist or chest area). These shots are mostly used to show a particular character's activity without focusing too much on the environment.
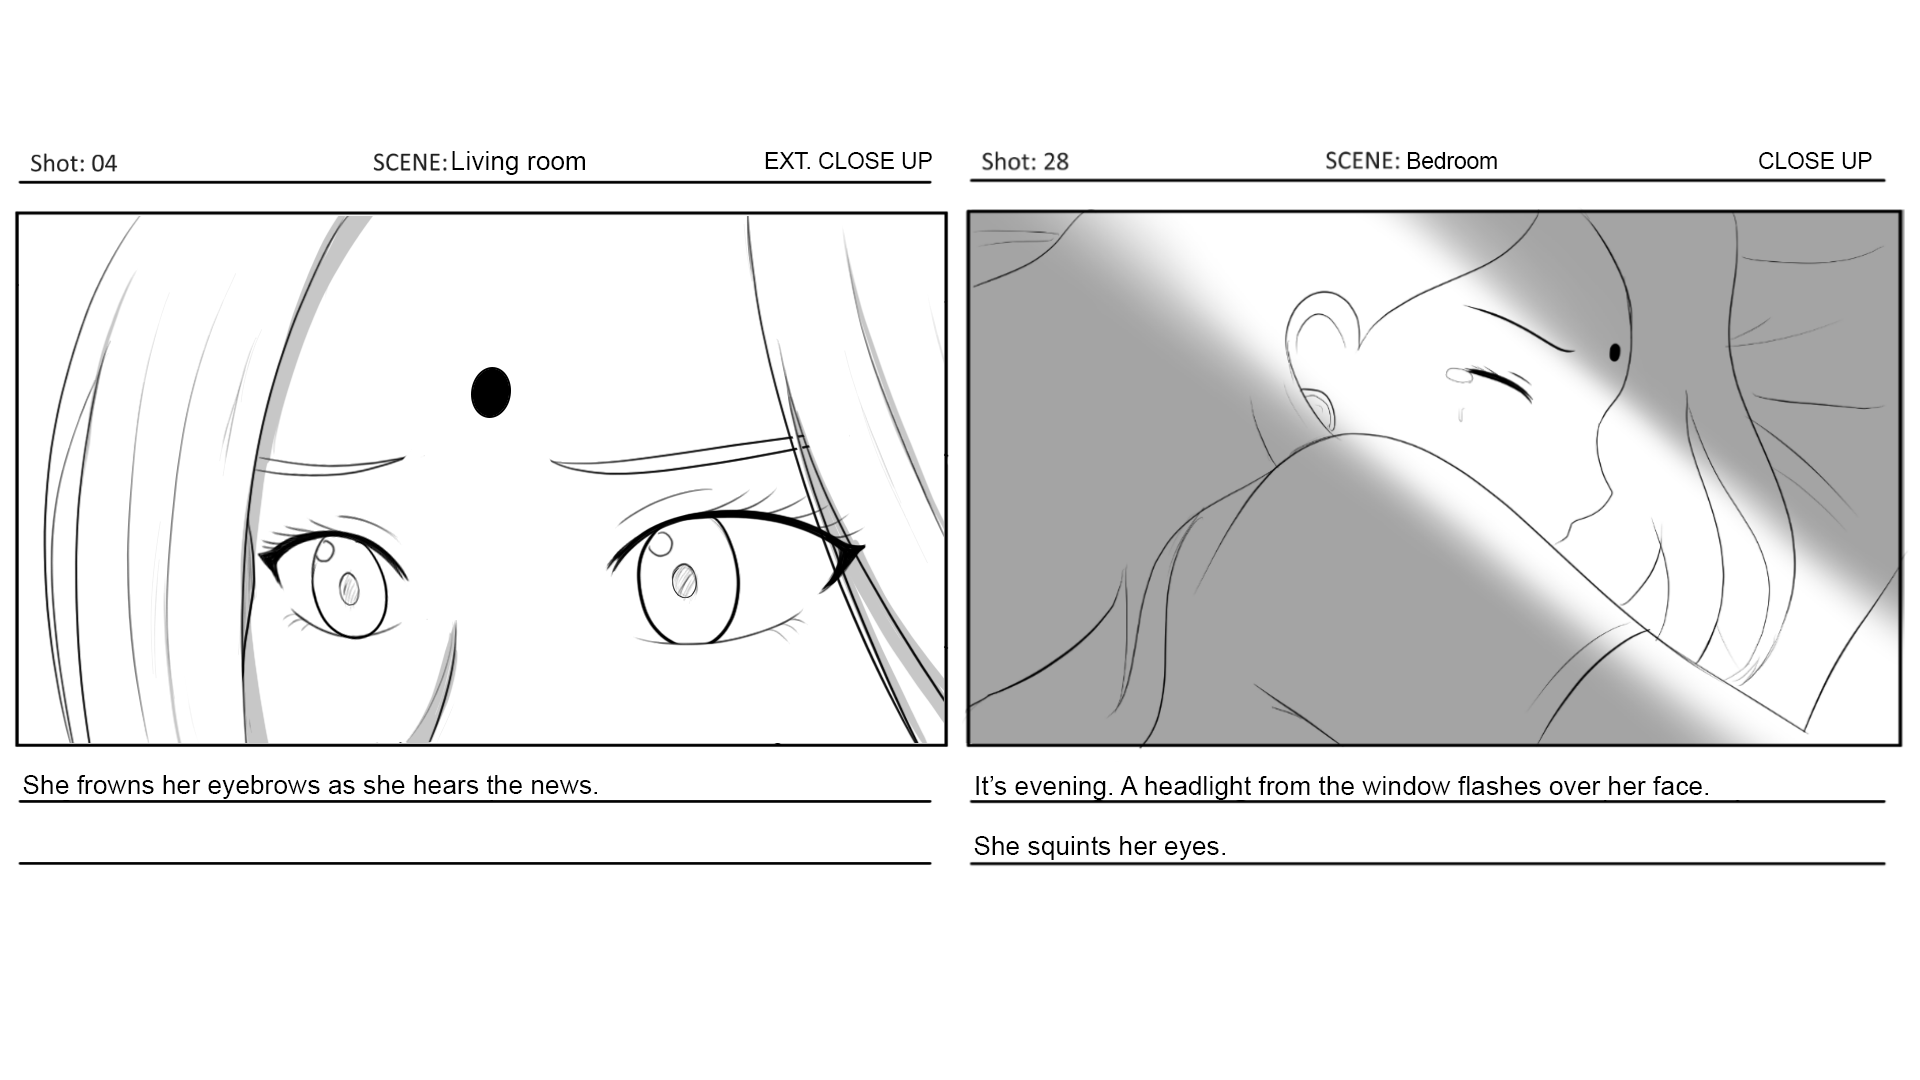
- Close-up shot: If only a part of a person or an object is drawn to fill the entire panel, it is a close-up shot. These are mostly used for putting the focus on an object or area. If the shot zooms in on the part of a face like the eyes, or an object, it is called an Extreme Close-up shot. These are used to show expressions and important details.
Description/Notes
A text explaining the shot in some storyboards is written below or beside the panel. In others, some brief notes are written explaining the environment or explaining the information needed to shoot the scene. Dialogue can also be written in this area. Some storyboards avoid this part and only explain the scene through the drawings in the panels.
Scene Location
This one is also optional, like descriptions and not used in most storyboards. A Scene Location is used to show which location the shot is in. If all the shots of an entire page have the same location, the scene location can be written at the top of the page instead of above every shot.
Movement Arrows
Arrows represent the motion of the character or the camera. This can be written as description text instead, but using arrows will help to save writing space for other details.
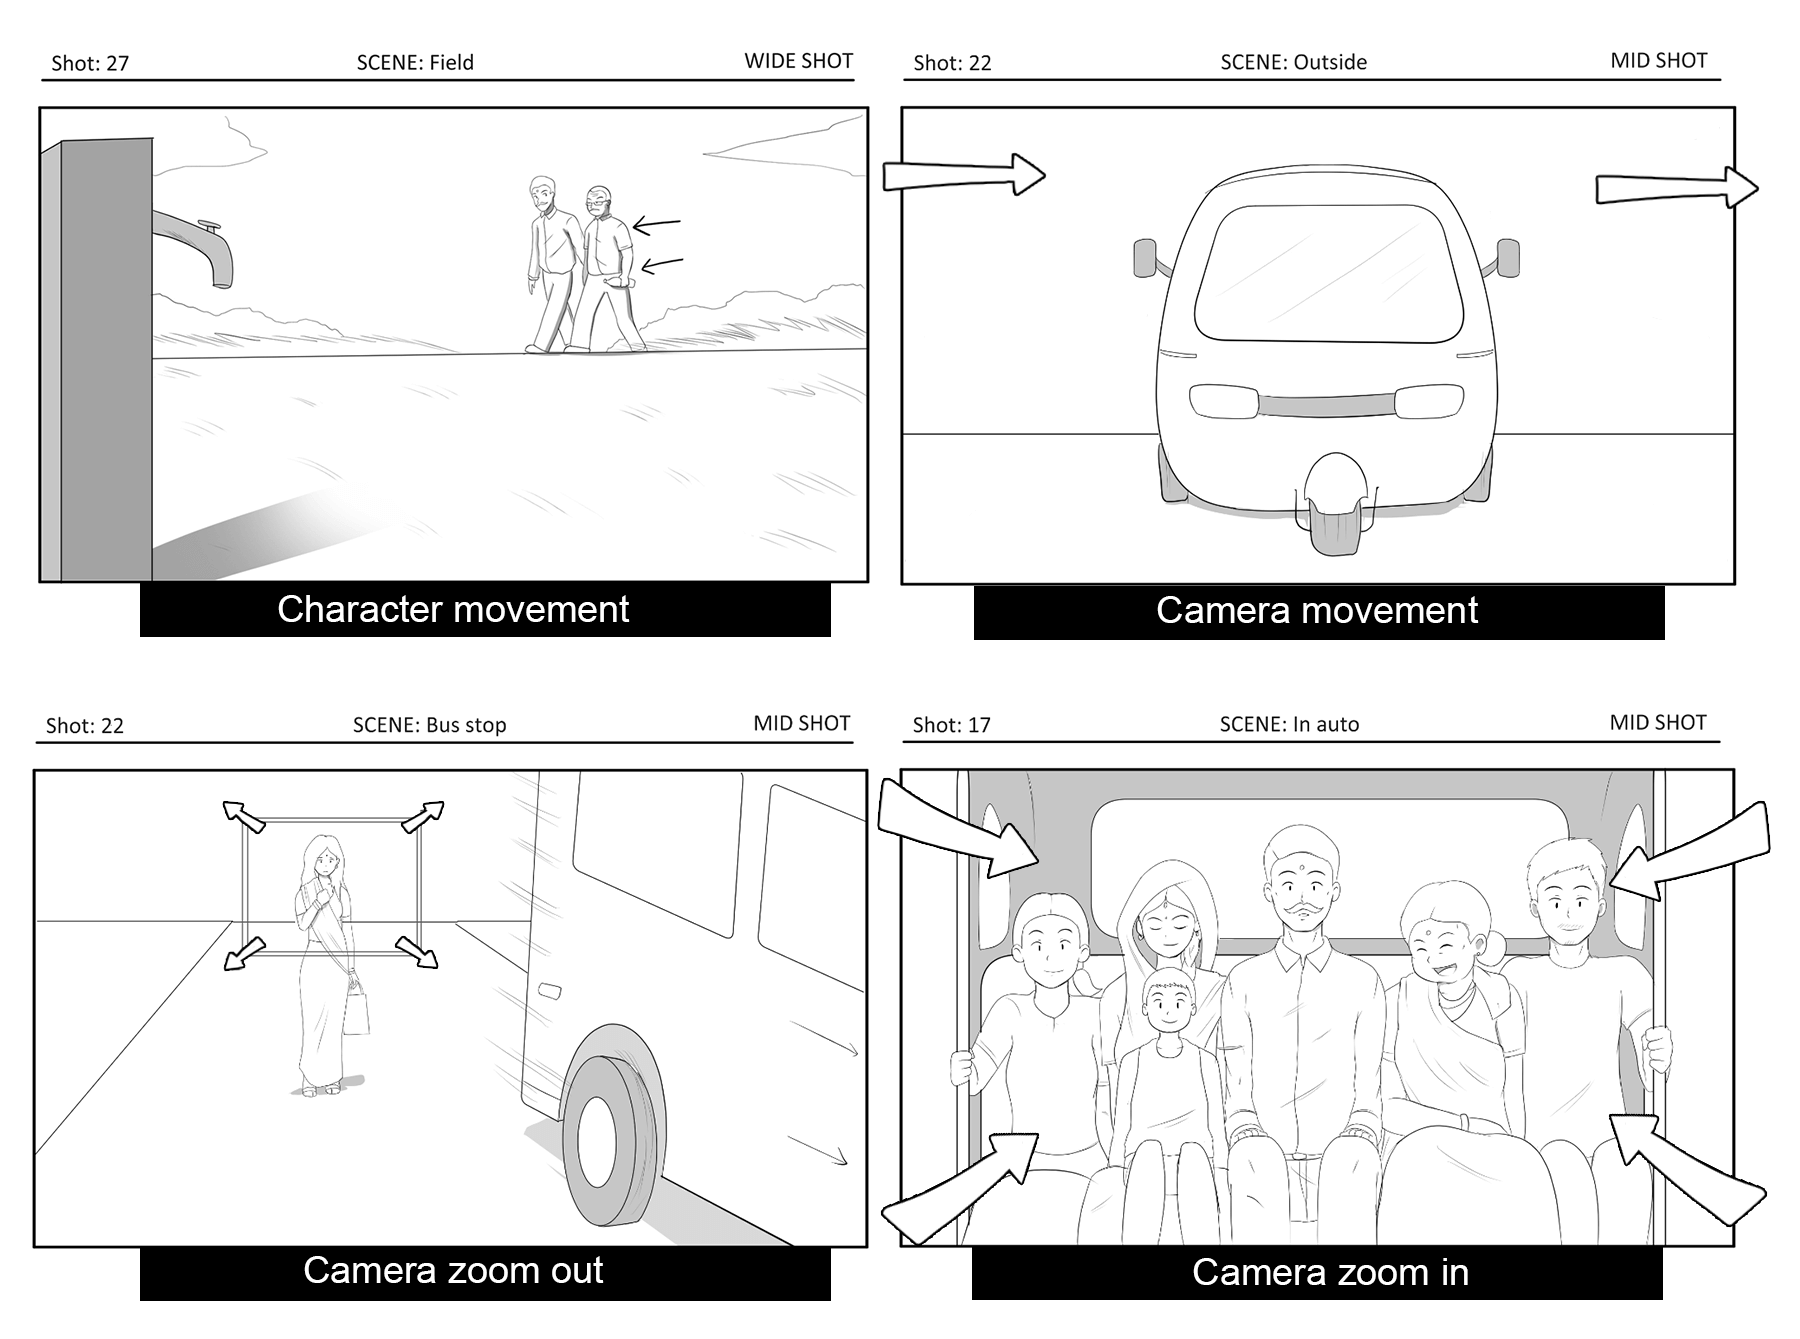
Arrows drawn inside the panels represent the character or object moving in the scene. If the arrows are outside the panels, it represents the camera panning towards the arrow's direction. Multiple arrows focusing on a point represent zooming in on the scene. Arrows drawn outwards on four corners of the panels means zooming out of the initial scene.
If you want to see other examples using the elements listed above, check out the studiobinder website, which has many storyboard examples of popular films.
Conclusion
Storyboards are planning tools for pre-visualising a project which helps to save time and money before the production process begins. You can use storyboards for many visual projects like movies, comics, motion graphics, advertisements or stage plays.
Thank you so much for reading. If you have any questions related to storyboards, let me know down below.