
When designing graphics in Photoshop, we may need to put objects like text, images or shapes in exact positions of the document – like in the centre – or line them up and space them evenly. Photoshop alignment tools work similarly as they do in Adobe Illustrator, which is explained in "Alignment Tools and Distribution Bootcamp - Adobe Illustrator". But the options are in different places and require slightly different steps to complete in Photoshop.
Using the Move Tool
The Move Tool is a basic way of moving contents inside the document. Using this tool to align content is a manual process.
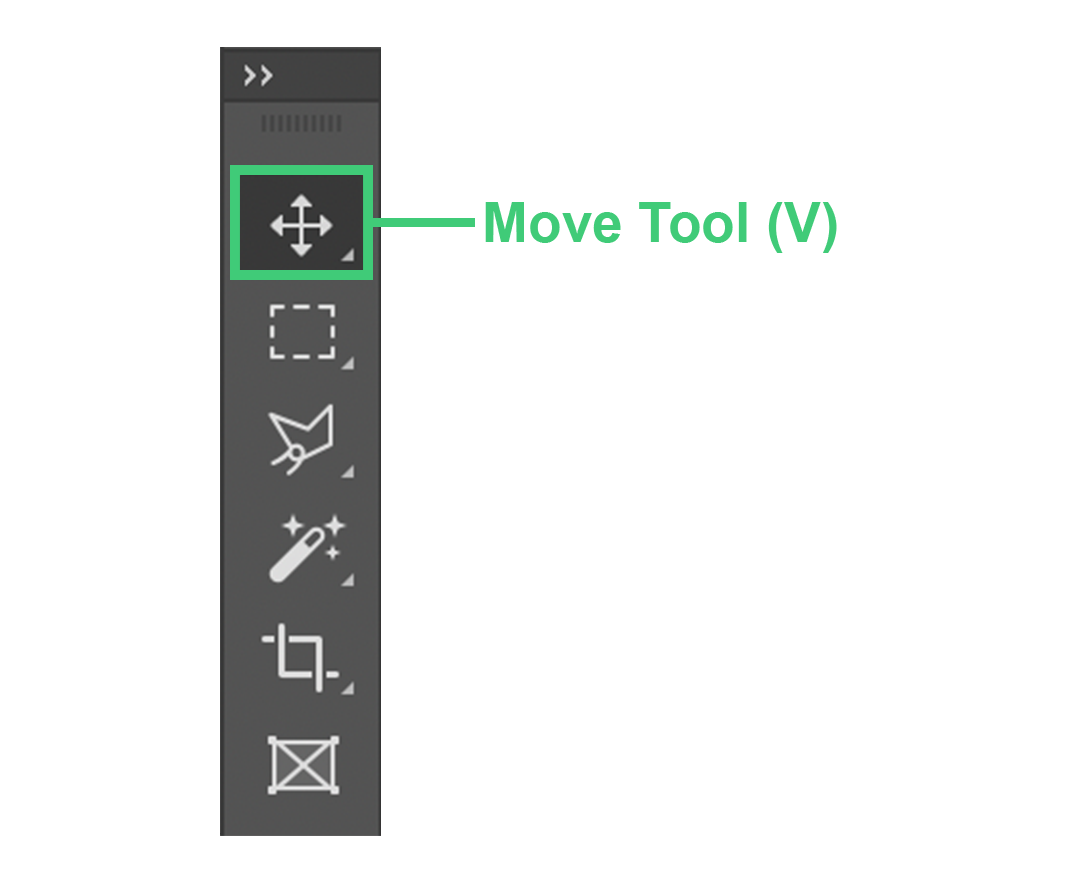
- Click on the Move Tool on the left toolbar.
- Select the layer, multiple layers or groups by clicking on them from the Layers panel. Clicking on the content inside the document also selects it.
3. Click and hold the content of the selected layer and drag it inside the document to the specified location.
4. After the content has reached the position, let go of the mouse to stop the moving process.
5. While the content is being moved, Smart Guides lines will appear when it reaches the centre of the document. If both the horizontal guide lines and vertical guide lines intersect in the centre, the content has reached the centre of the document.
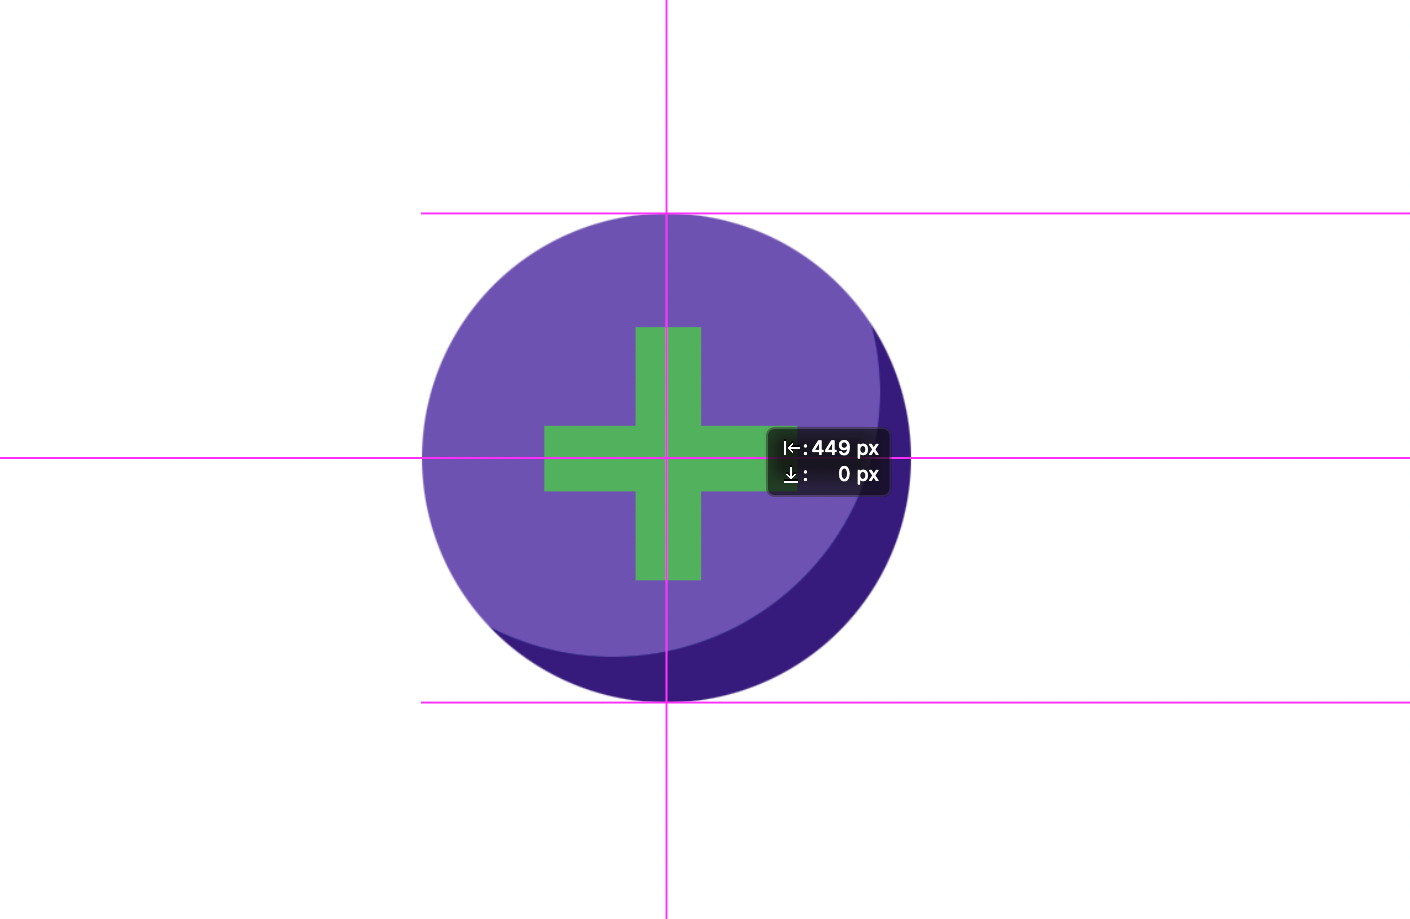
View > Show > Smart Guides.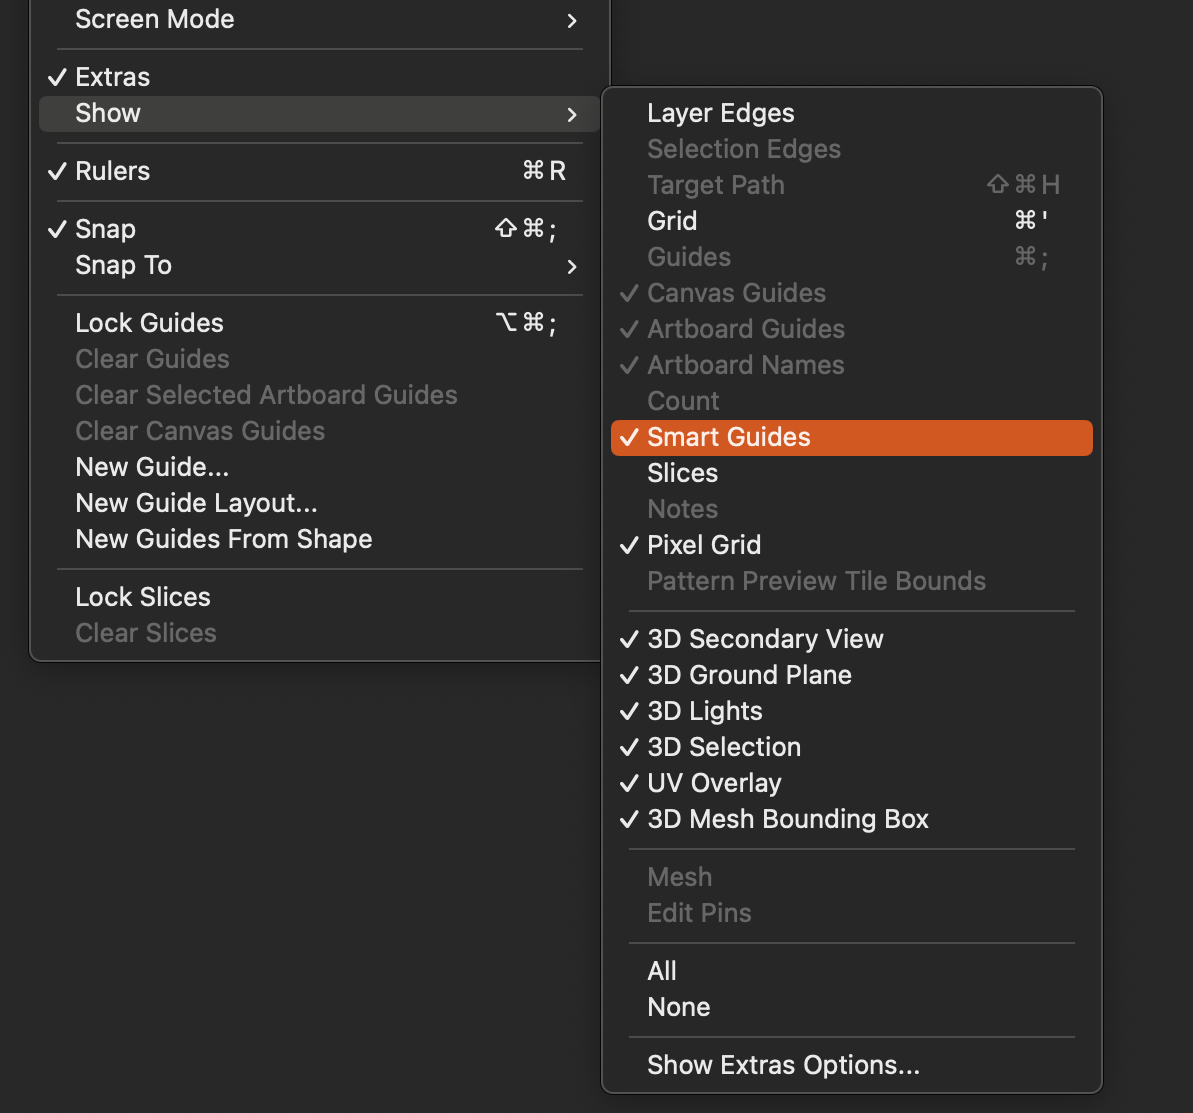
Alignment Tools
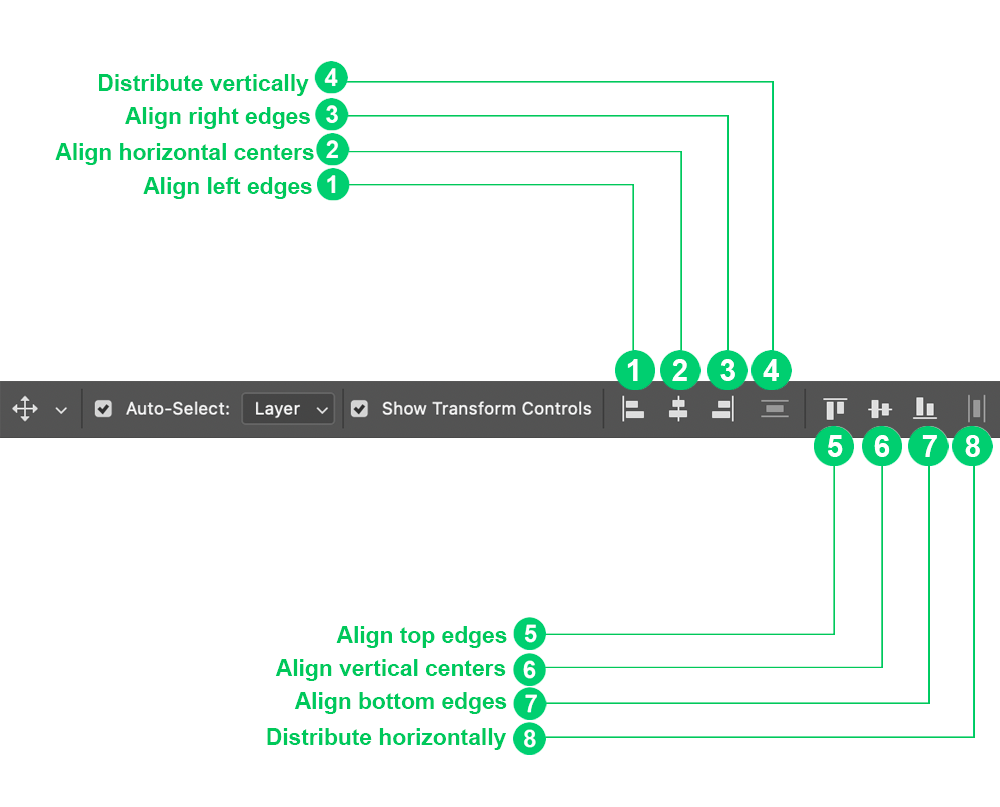
After you have selected the Move tool, the top options bar will change to show new move options and tools. These tools will be useful in transforming, aligning and distributing objects.
- Auto-select: This can be activated to select between Layer and Group. If this is activated, simply clicking on the content inside the document will select the content without having to click on its layer from the Layers panel.
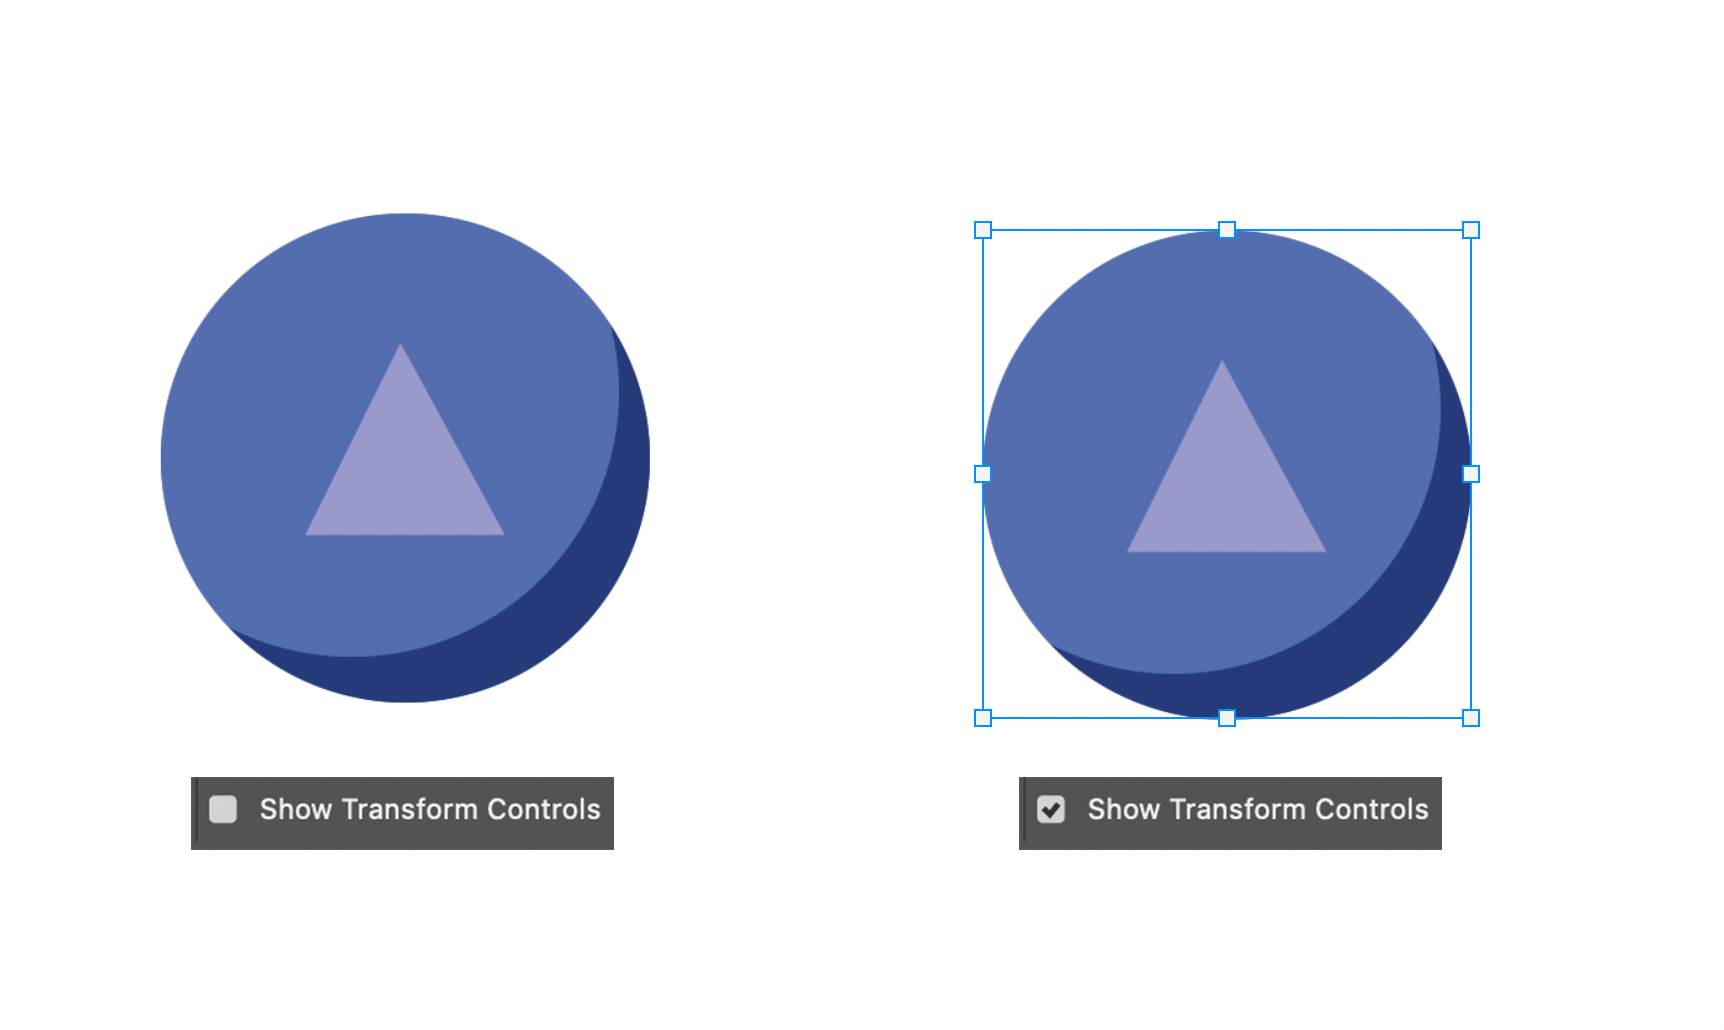
- Show Transform Controls: This will show the outer frame from the contents in the layer. Activating this will allow transforming the objects with just the Move tool without having to select the transform action. Moving the mouse near the outer frame will enable you to change its size and rotate it.
- Align Left Edges: This will place the leftmost pixel of the selected layer on the left edge of the document.
- Align Horizontal Centers: This will place the selected layer in such a position that its centre pixel is horizontally on the centre of the document.
- Align Right Edges: This will place the rightmost pixel of the selected layer on the right edge of the document.
- Distribute Vertical: This will place the layers at an equal distance from each other in a vertical line.
- Align Top Edges: This will place the top-most pixel of the selected layer on the document's top edge.
- Align Vertical Centers: This will place the selected layer in such a position that its centre pixel is vertically on the document's centre.
- Align Bottom Edges: This will place the bottom-most pixel of the selected layer on the bottom edge of the document.
- Distribute horizontal: This will place the layers at an equal distance from each other in a horizontal line.
Centre Aligning an Object
Aligning contents to the centre in Photoshop is easy. Using this method will automatically align it with respect to the document size.
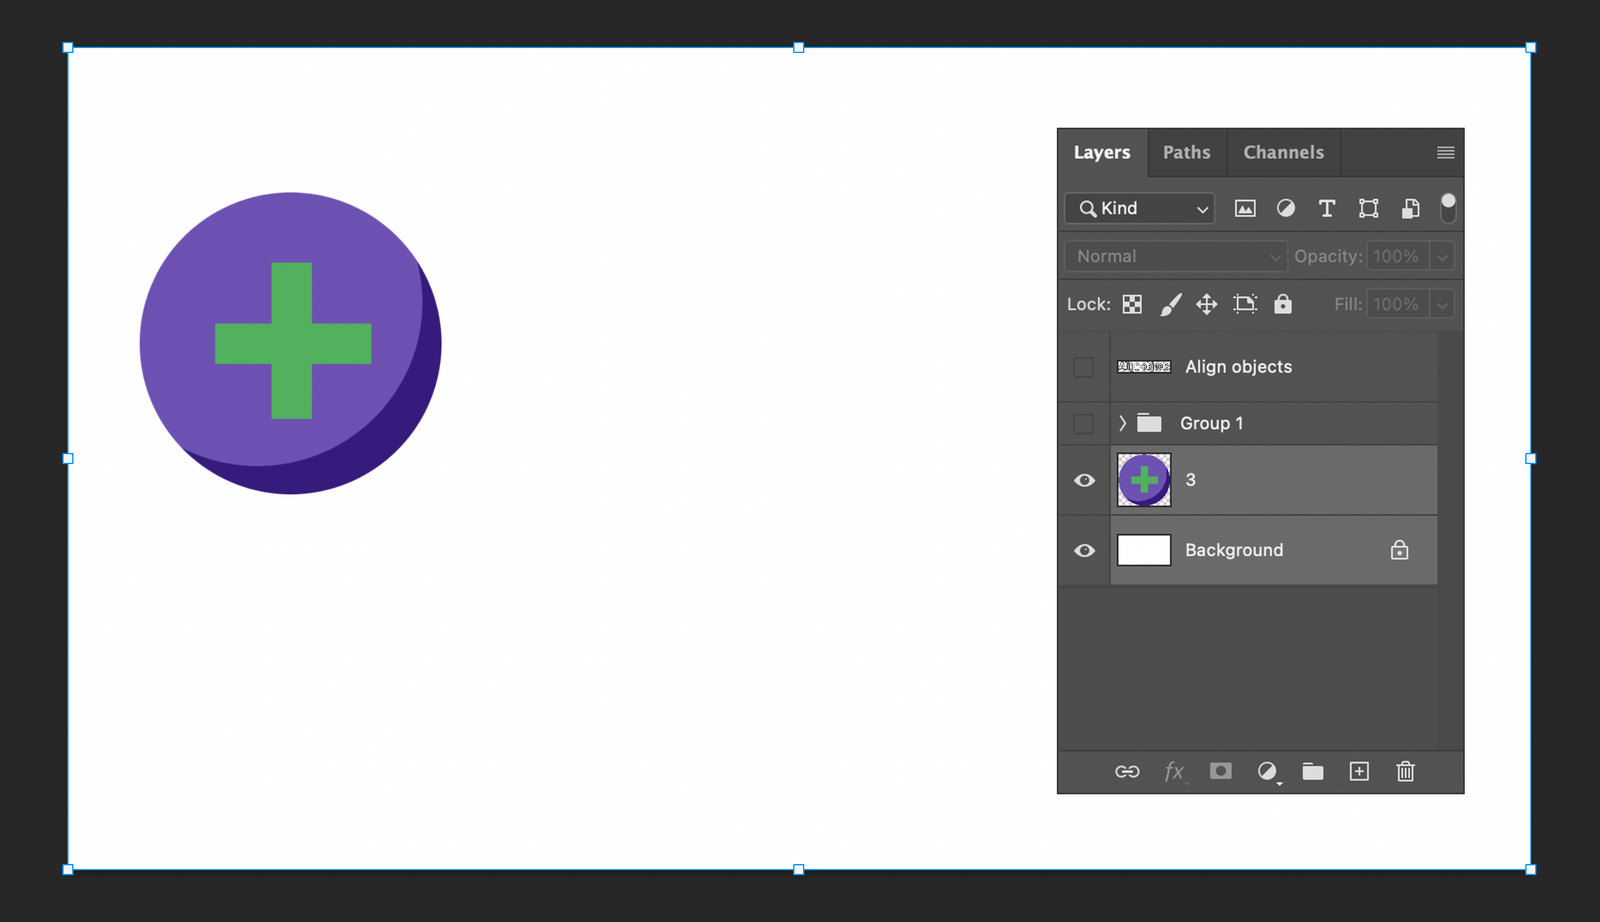
- Select the layer that you want to move to the centre. It may be text, an image or a shape.
- Hold Shift and select the background layer. Another way is to click ⌘ + A (Mac) or Ctrl + A (Windows) to select the entire document area. This is the step to place the object in the centre of the document.
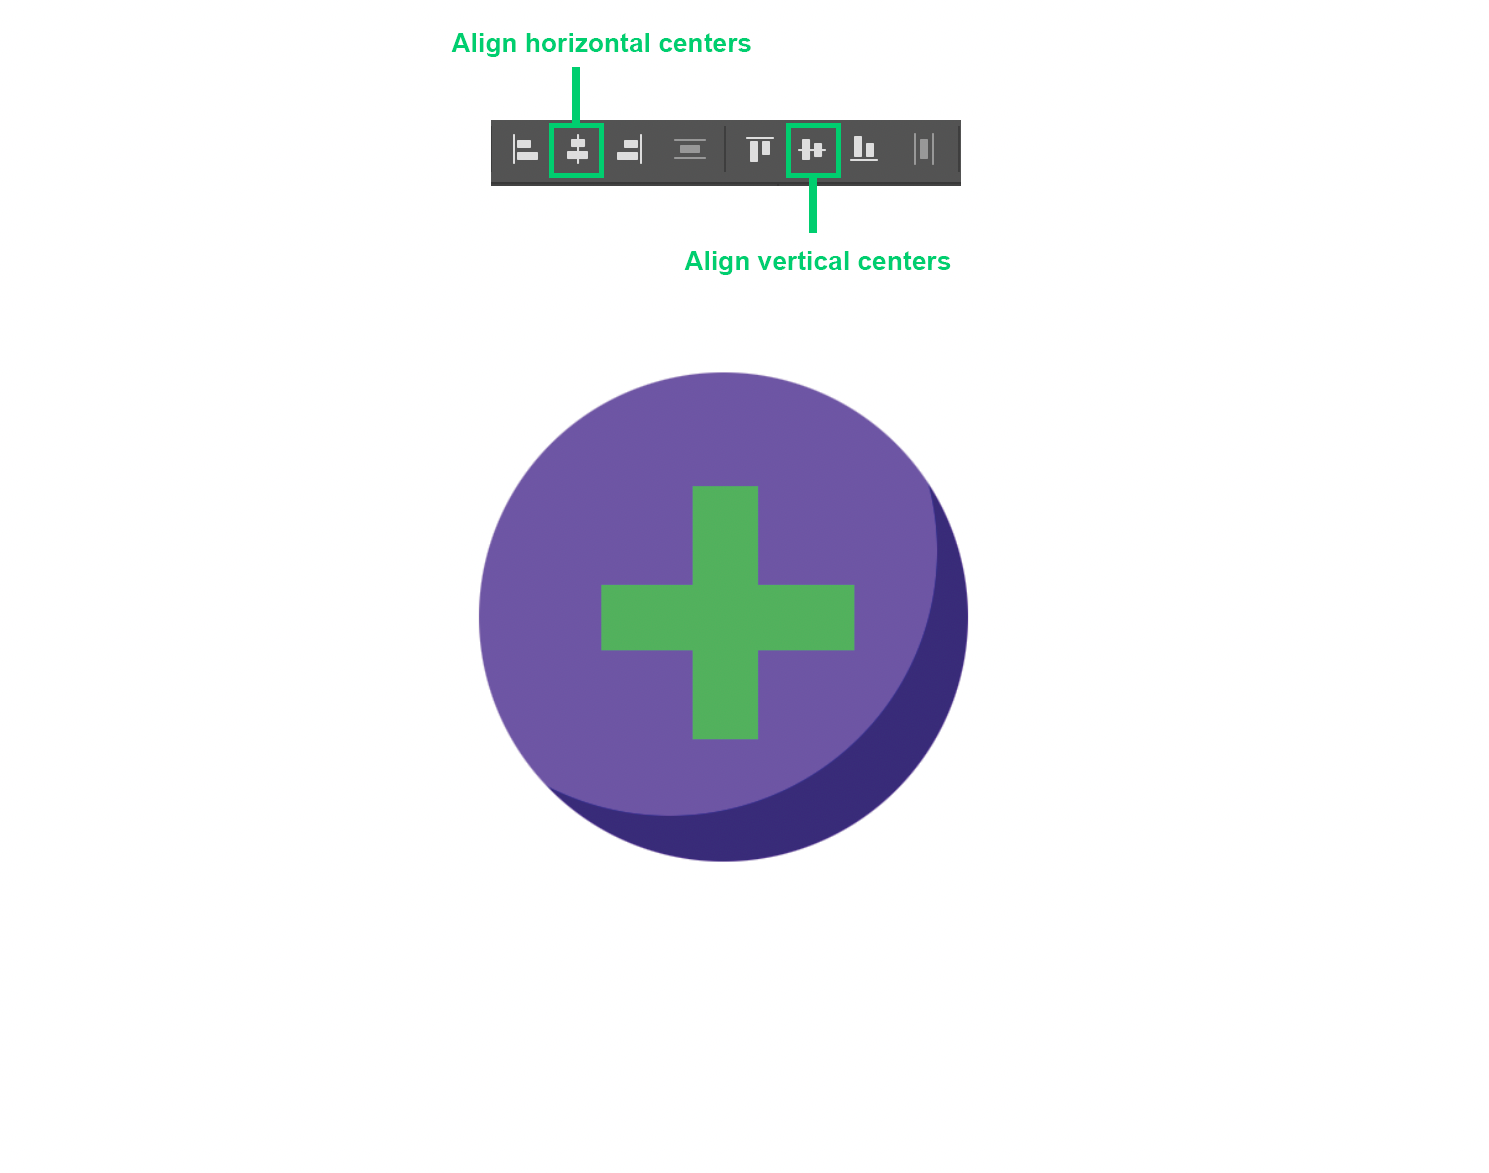
- Click on Align Horizontal Centers and Align Vertical Centers in the top panel. This will place the selected content in the centre of the document.
These are the same steps for aligning contents to the left, right, top, and bottom edges.
Distributing objects
Spacing contents equally in Photoshop is easy with the Move Tool's option bar.
- Select three layers or more.
- Select the Move Tool. This will change the top option bar to show its options.
- Click on Distribute Vertical to space them out vertically. Or click on Distribute Horizontal to space them horizontally.
The top option bar does not have all the distribution options Photoshop offers.
- Select three layers or more.
- Click on Layers on the menu bar and select Distribute.
- From the drop-down menu, click on any of the required options below:
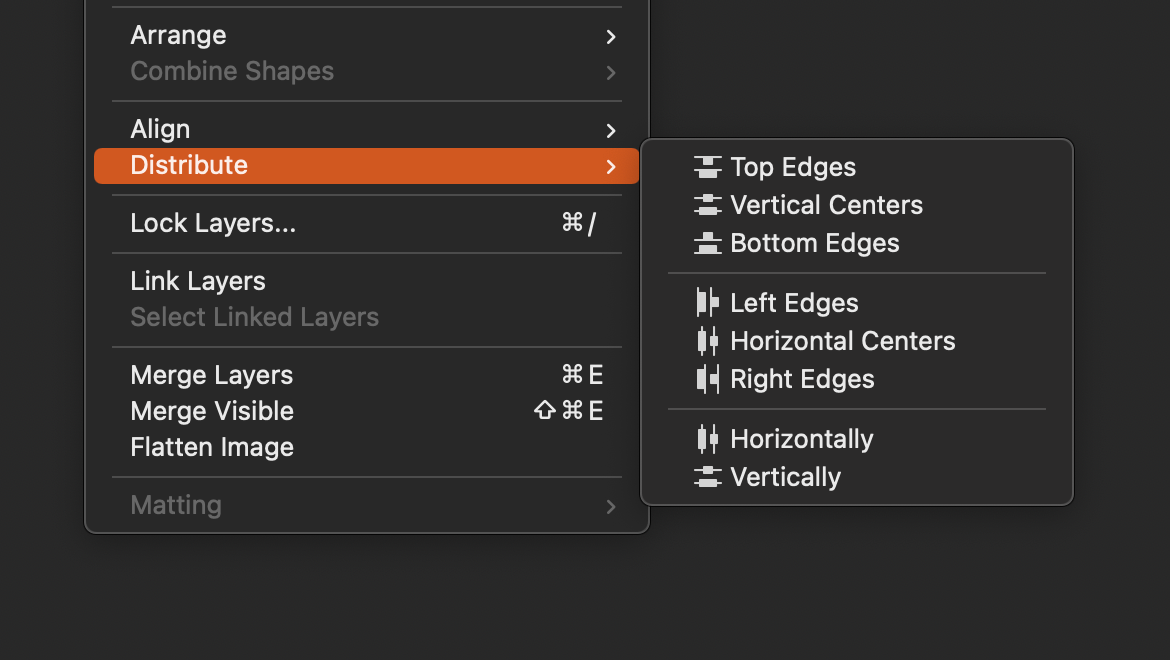
- Tog Edges: This spaces the layers evenly from the top pixel of the selected layers.
- Vertical Centers: This spaces the layers evenly from the vertical centre of the selected layers.
- Bottom Edges: This spaces the layers evenly from the bottom pixel of the selected layers.
- Left Edges: This spaces the layers evenly from the leftmost pixel of the selected layers.
- Horizontal Centers: This spaces the layers evenly from the horizontal centre of the selected layers.
- Right Edges: This spaces the layers evenly from the rightmost pixel of the selected layers.
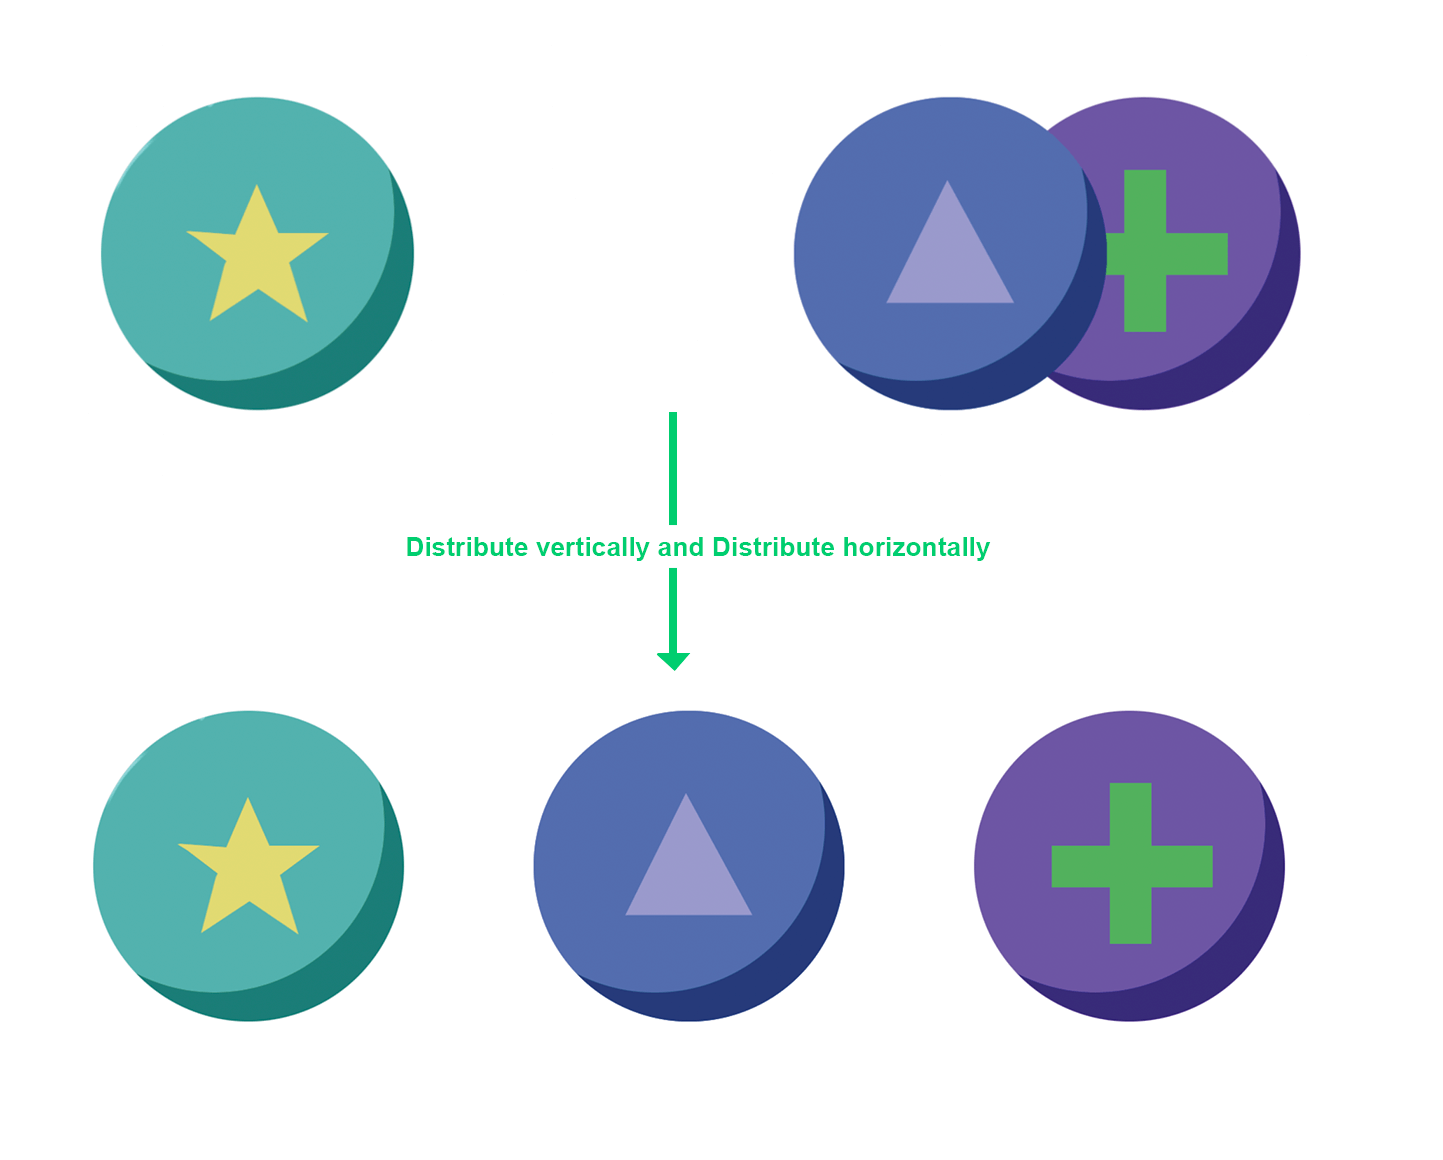
- Horizontally: This moves the layers to create equal horizontal spaces between the layers.
- Vertically: This moves the layers to create equal vertical spaces between the layers.
These are the options to align and distribute objects in Photoshop. They easily and automatically line up the contents and spaces the content with respect to each other or the entire document area.
Hope you found this article useful! Comment below if you have any related questions!