
Prerequisites - What You Need
- A USB drive with 4GBs of capacity or higher – Pen Drive >= 4 GB size
- Ubuntu Desktop OS – Official Ubuntu Download Page
- Etcher app – Official Etcher Download Page
- iMac, Macbook or any laptop running macOS
sudoaccess permission as required
Step 1: Erase and Prepare the USB drive
- Insert the USB drive into the port. Make sure the drive is detected and functioning properly without any warnings.
- Next, hit ⌘ + Space to open up Spotlight search on your macOS. Search for
Disk Utilityand open it. Alternatively, you can also open it from Applications > Utilities.
Disk Utility should detect and show your USB device in the External category on the left panel. Confirm your USB device by cross-checking details like its Capacity, Name and Connection.
- Select the USB device from
External. Find and Select the "Erase" option from the top toolbar.
A dialogue box pops up before proceeding to the format operation.
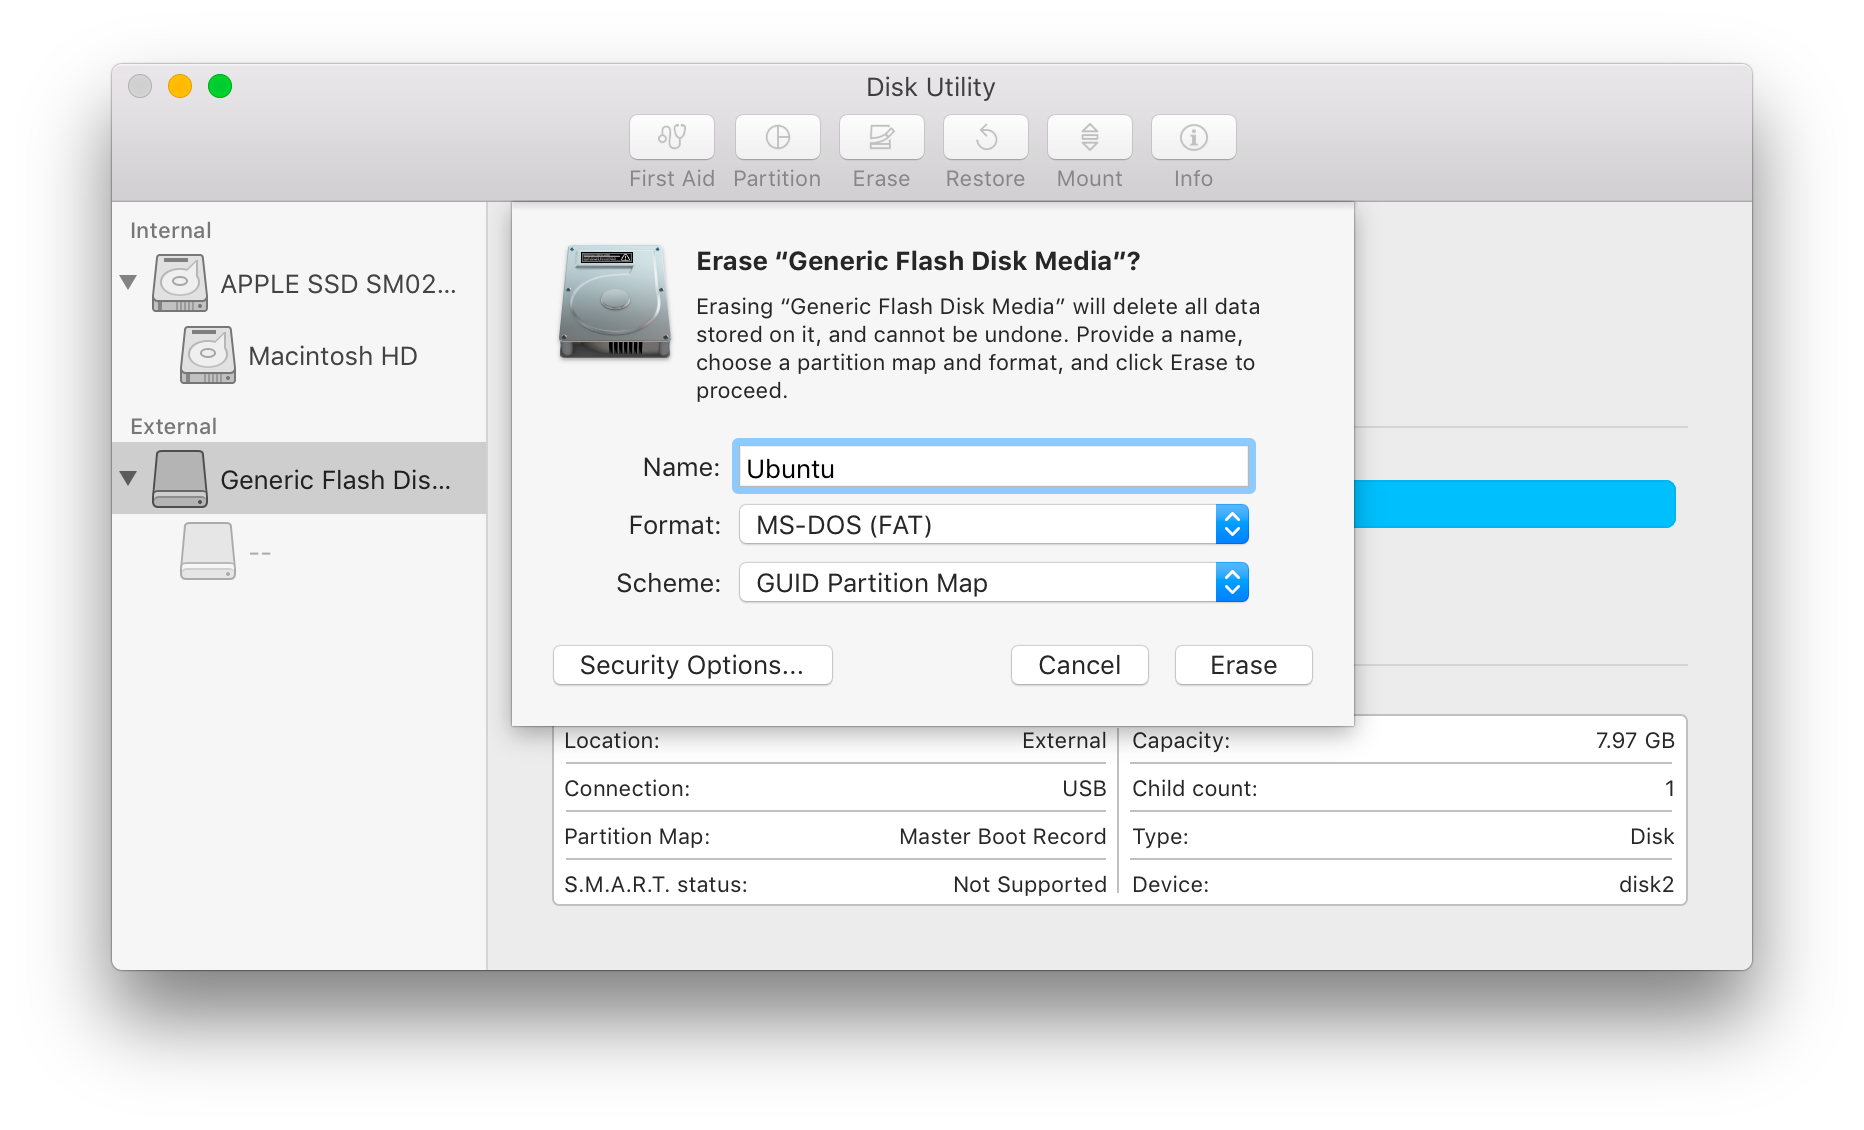
- Select "Format" and change to
MS-DOS (FAT)orMac OS Extended (Journaled) - Select "Scheme" and change it to
GUID Partition Map. If the option is disabled, leave it as it is. - Now, check everything and hit "Erase" to start formatting the USB drive.
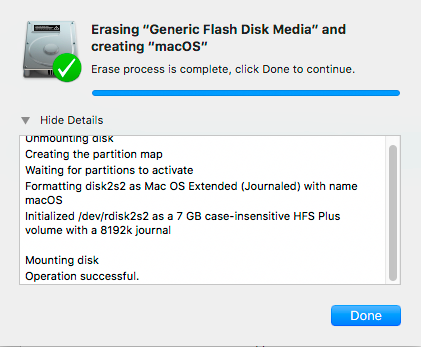
After a successful format, you should see something like this. The USB device is now ready to use.
Step 2: Download, Install and Run as sudo – Etcher app for macOS
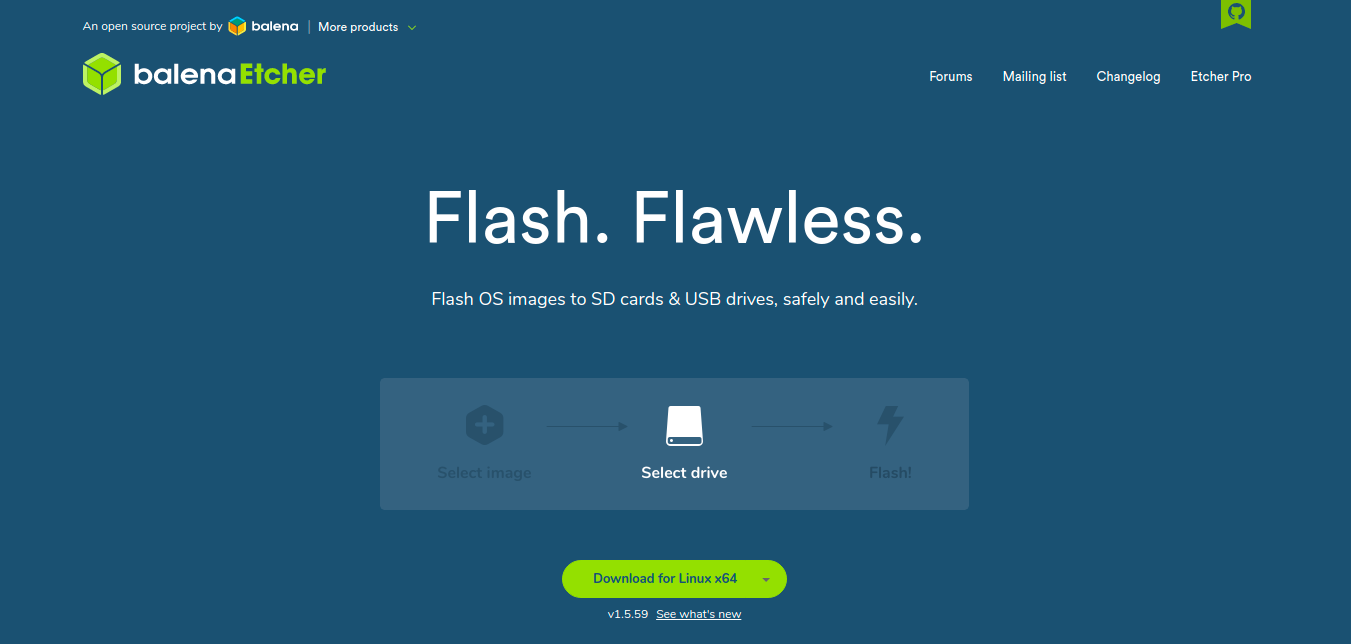
- Download the latest macOS version of the Etcher app from the official page.
After downloading the macOS version of Etcher, you should have an ~80MB dmg file with a name similar to balenaEtcher-x.y.z.dmg.
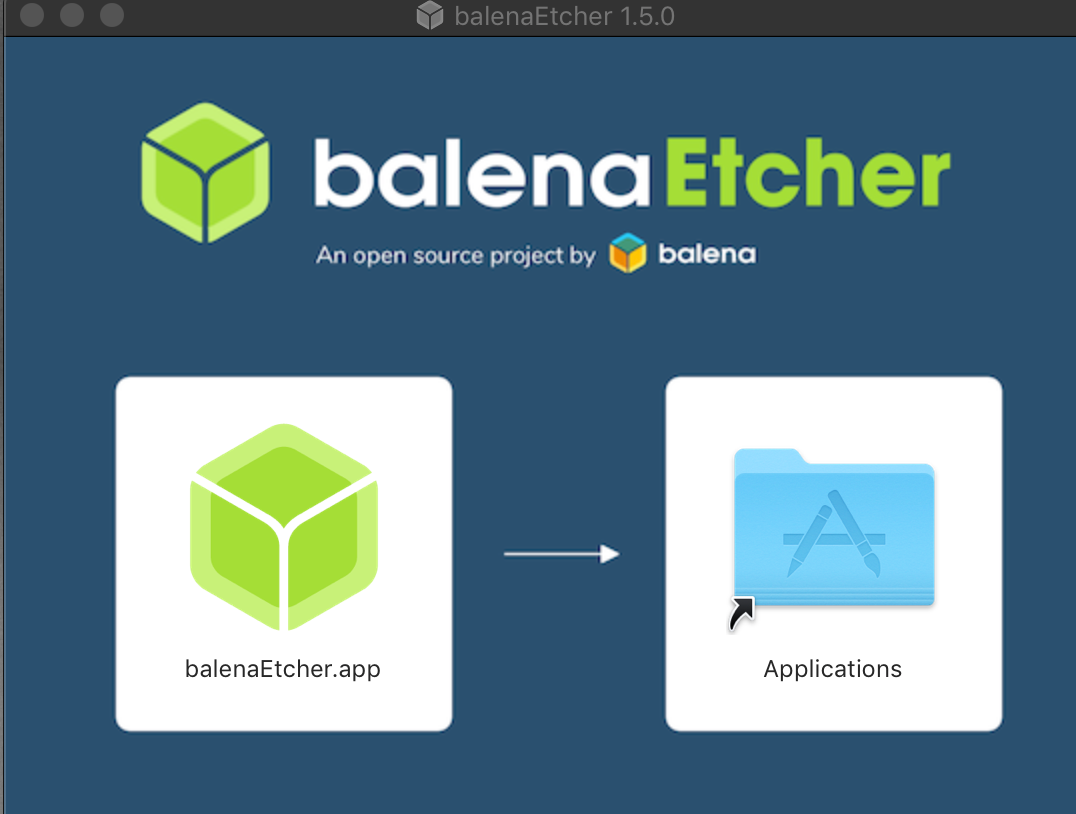
- To install Etcher, double click the
.dmgfile to open it. Drag the app icon to the Applications folder to sync and mount the package. In case of permissions, work accordingly by entering your user password.
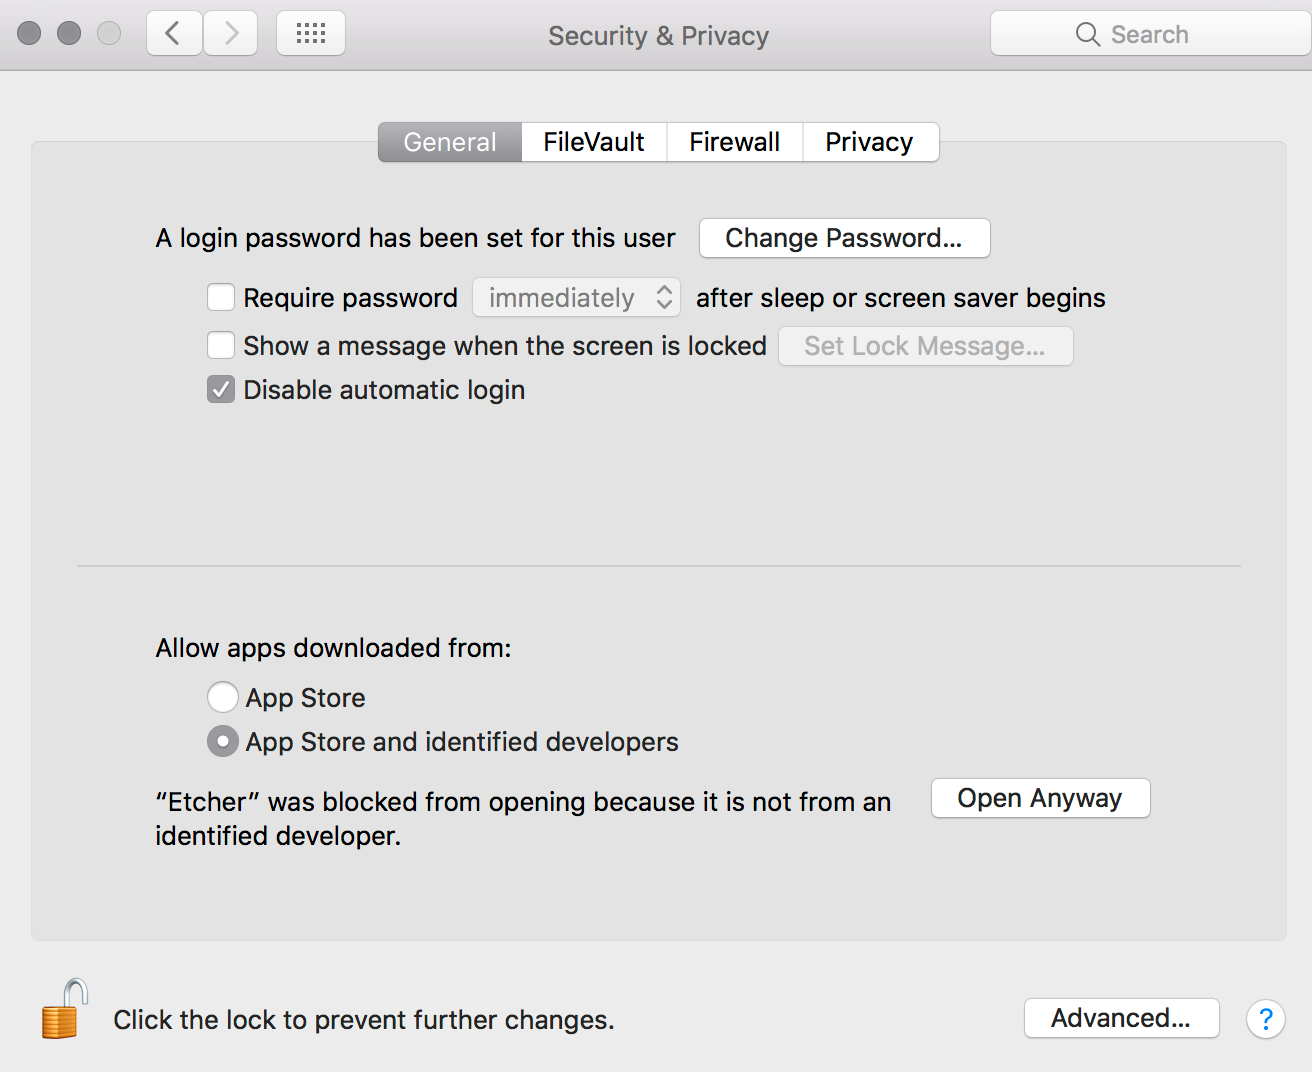
- By default, newer macOS versions block apps from unidentified developers. To solve this same issue with Etcher, click "Open Anyway" in the "Security & Privacy" panel of
System Preferences. Click the lock to save your changes.
- Next, to run Etcher with
sudopermission, open up the mac terminal from Spotlight search (⌘ + Space) and get ready for some bash commands. - In your terminal, type:
~ cd Applications/balenaEtcher.app/Contents/MacOS
This is where the Unix files ofbalenaEtcherreside that need to be run assudo. To do that, type:~ sudo balenaEtcher
If that doesn't work, trysudo ./balenaEtcher
(prompts for sudo password)
Now, you should be running Etcher with sudo access.
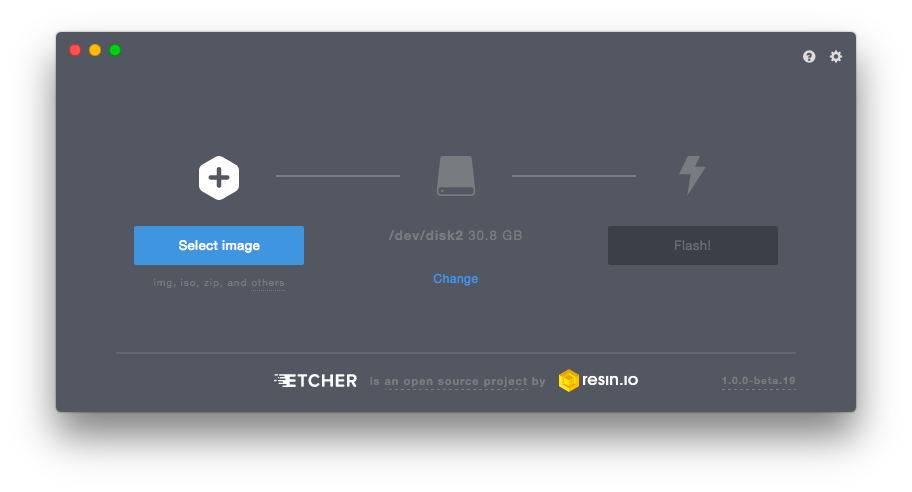
Step 3: Convert and Flash OS Image
By now, I assume you have already downloaded the ISO image of Ubuntu Desktop from the official page. We need to convert the downloaded ISO image into a DMG file with the help of hdituil, an inbuilt macOS utility.
- Open up mac terminal and convert your
.isointo.dmgwith this command:
~hdiutil convert /path/to/ubuntu.iso -format UDRW -o /path/to/target.img
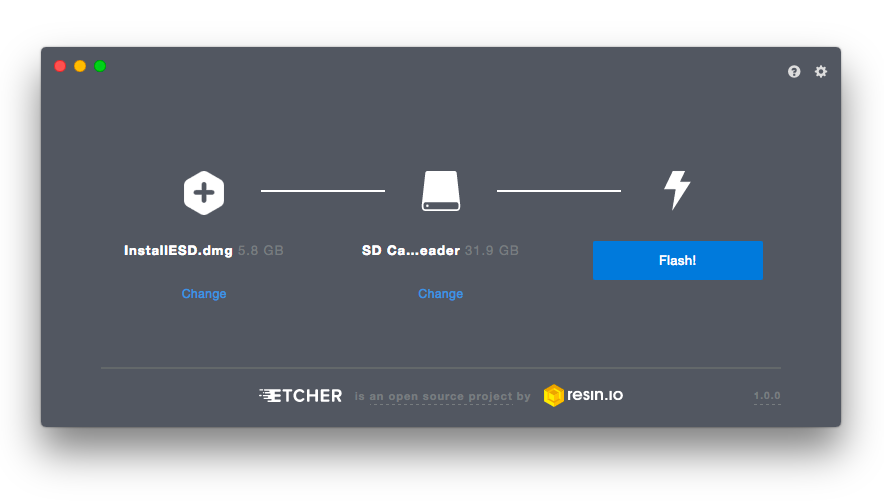
macOS puts the ".dmg" extension on the output file automatically. - Now, using the Etcher app,
Select Image > Navigate and choose the recently converted Ubuntu.dmgfile. Look for it first in theDownloadsfolder. - Select your drive and ensure it is set to the target USB device prepared in Step 1. Etcher should detect the inserted USB device. If not, find solutions in these resolved GitHub issues of Etcher.
- Check everything one last time, and click "Flash!"
Enter your computer password and initiate the flashing process.
Wait for the operation to complete successfully, then safely eject the USB device after getting something like this.
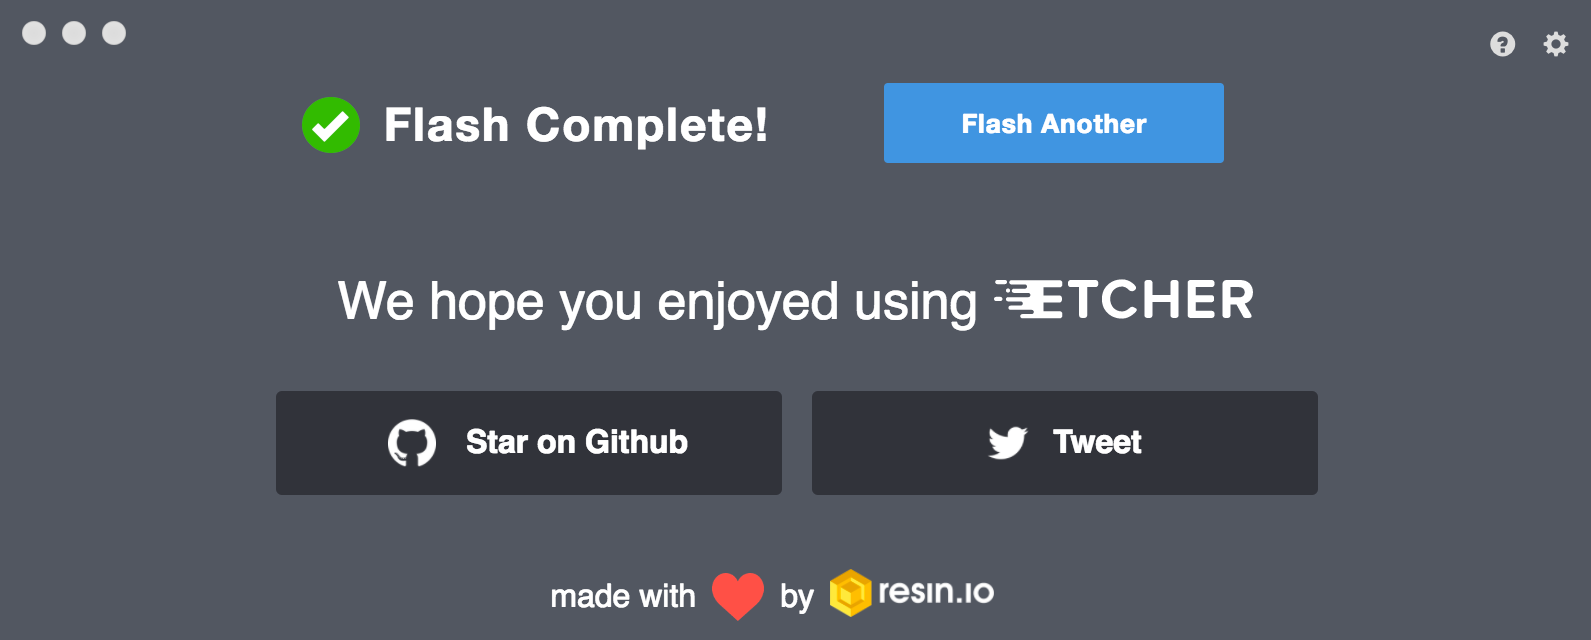
Congrats! You have successfully created the latest Ubuntu Desktop OS Bootable on your USB device and are ready to go.
Important Checklist and Troubleshooting
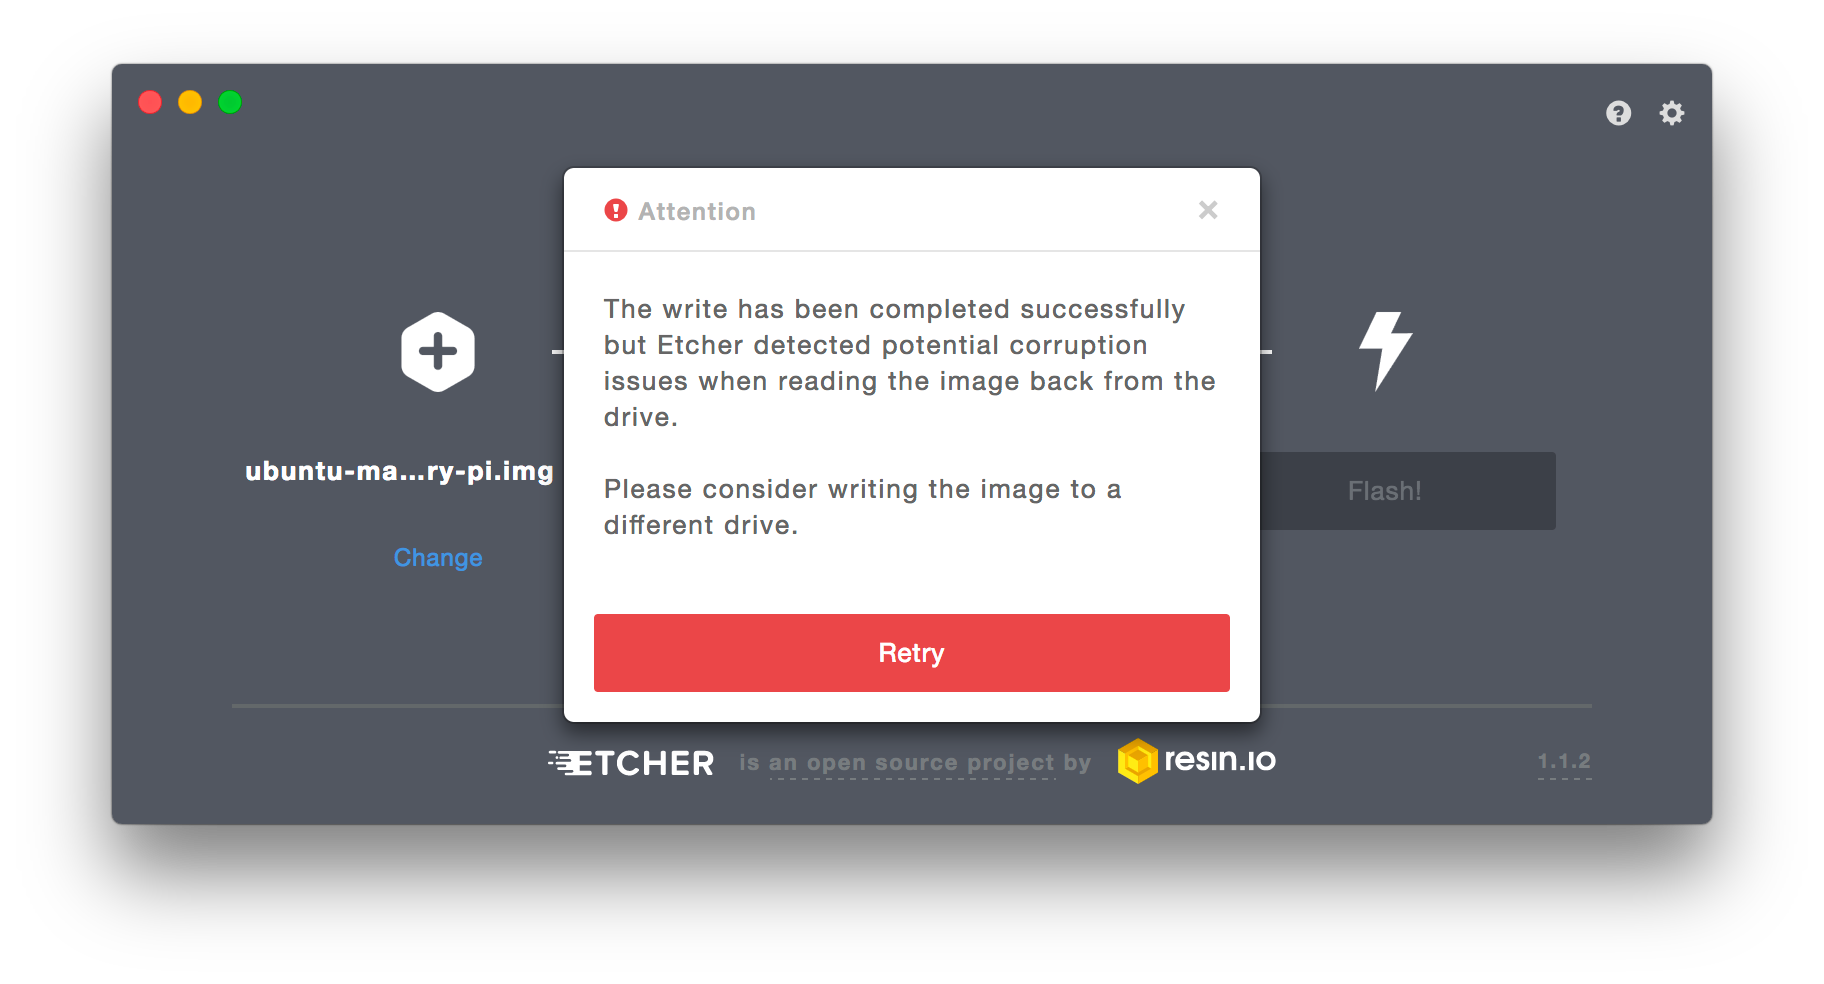
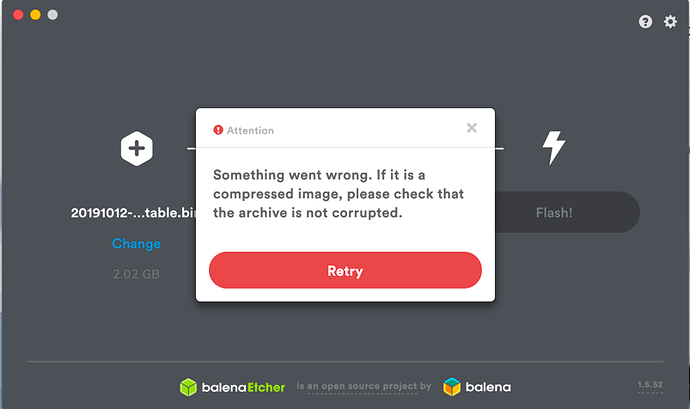
- Make sure the USB drive is not corrupted or malfunctioning. Some old USB drives may look fine, but their clusters could be crippled within the drive – resulting in unknown and vague errors during the process like below.
- Ubuntu has 4 main types of OS distributions, viz. Ubuntu Cloud, Ubuntu IoT, Ubuntu Server and Ubuntu Desktop. In general, we use Ubuntu Desktop as the main OS for our go-to option.
- We need
sudoaccess for this tutorial because of the application Etcher that we used for flashing. Withoutsudoaccess, the Etcher app will create problems like the one reported in this GitHub issue.
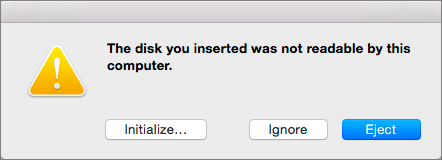
- At the end of the successful flash, macOS may even warn you with errors like
The disk you inserted was not readable by this computer.Don't select "Initialize". Select "Eject" and remove the USB device. If you already pressed Initialize, no worries – as long as it works, life goes on.
Thank you for reading to the end of this article. If you faced any issues, feel free to ask for help in the comments!