
About Ghost
Ghost is a professional content creation and publishing platform founded in April 2013. It can be used by any individual bloggers or big corporations with teams of web content creators and editors.
It has a wide range of features and shortcuts that can be used when writing a blog which we will be learning about today.
Features and Shortcuts in Ghost
Shortcuts are the alternative route to make our work easier with less time consumption. In Ghost, we can find various features with shortcuts that simplify our work with a few clicks on our keyboard or by the options provided.
There are a lot of features in Ghost that can be used to make our DevBlogs engaging and presentable. Today we will be discussing the features provided in the dynamic menu bar.
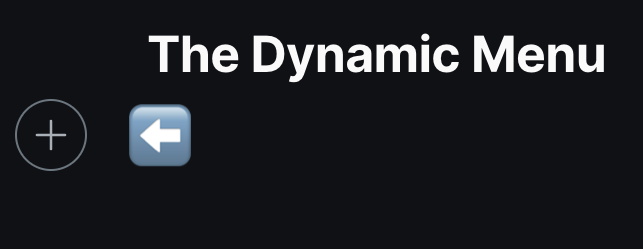
The Dynamic Menu
The dynamic menu is the menu that appears when you click the '+' sign on the left side of your mouse cursor. It has a lot of options, but we only use a few of them.
After locating the menu, click on the '+' sign to find various options to make your article informative. For example, attaching items, linking sites, writing code blocks, and more.
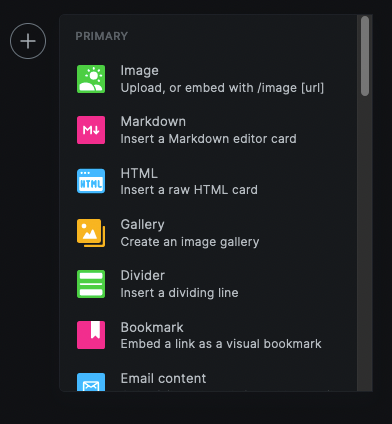
Let's discuss the options we use for our DevBlog from the dynamic menu bar.
1. Attaching Image/s or GIF files
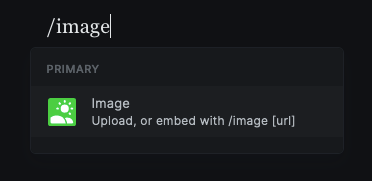
To add images on your blog in Ghost, go to the dynamic menu bar and click the first option, i.e., image or type '/image' on a new line.
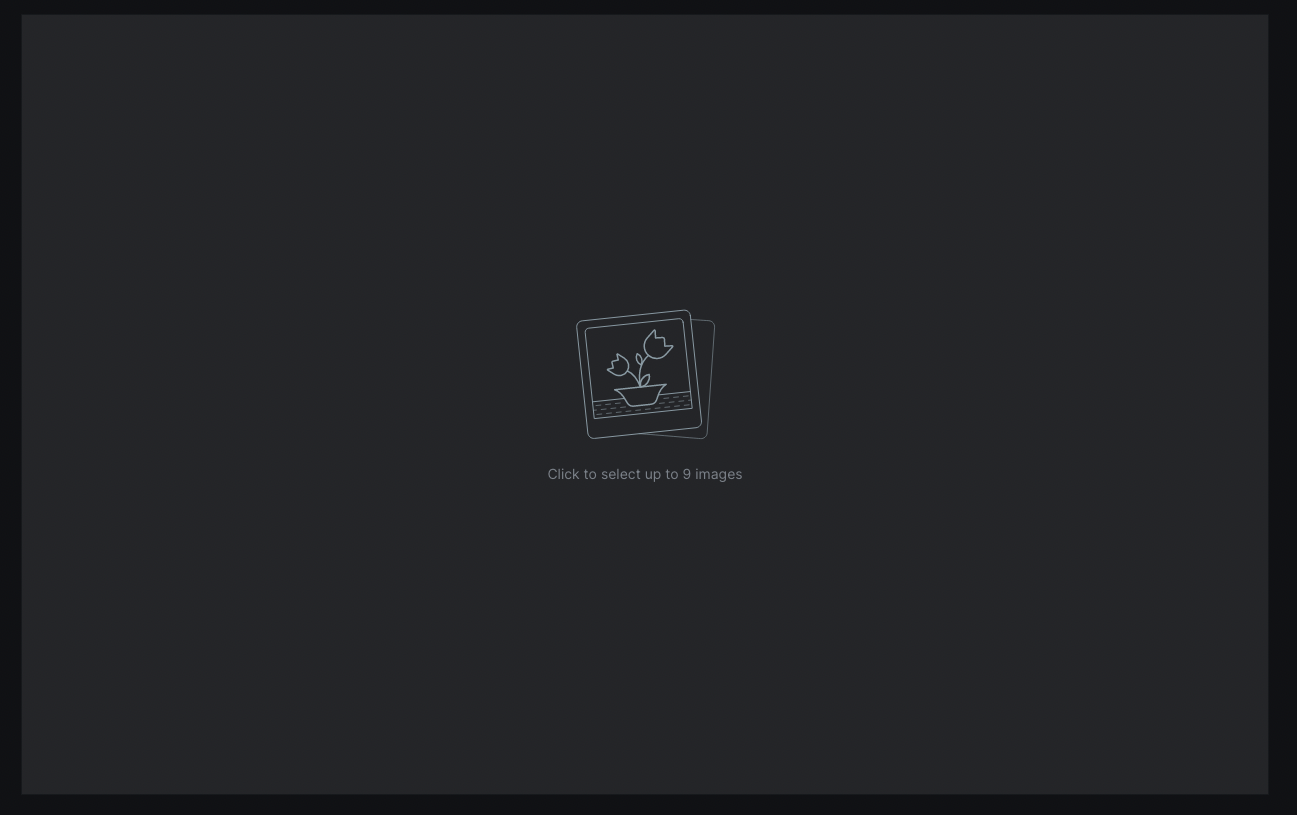
Click on the bright green icon, and you will get a pop-up like this.
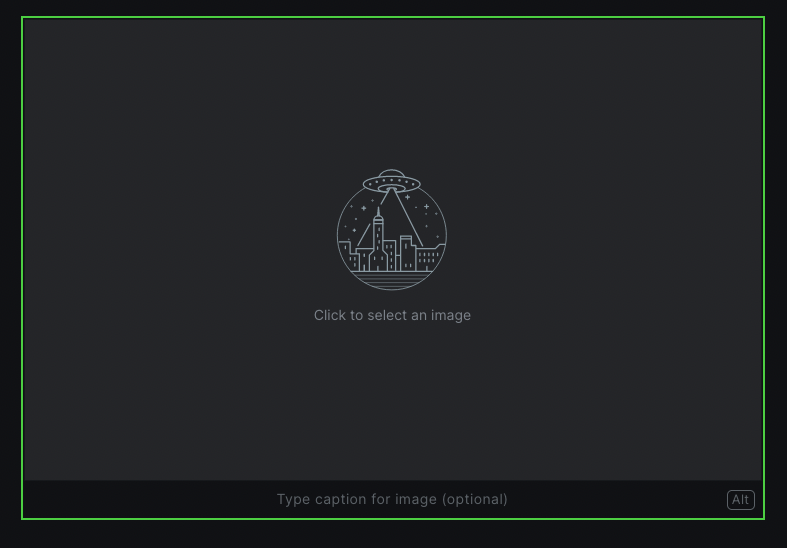
You can attach any image or a gif file you want by clicking the pop-up. You also get an option to caption the image where you can describe a little about it.
You can also attach multiple images using the gallery option from the dynamic menu bar or simply typing '/gallery'.
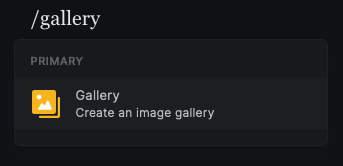
You can attach up to nine images with the gallery option.
2. Making Tables Using Markdown
Markdown is a widely used feature by web writers because it formats the structure of plain texts very simply. However, we use limited markdown features as we have other direct shortcuts, which will be covered in the latter section of this article.
Markdown can be used to create tables when you have to present data or information in a tabular form. Making tables to show data makes it clear to understand and presents your writing professionally.
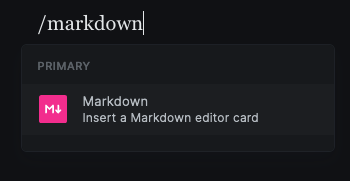
To create a markdown table, click on the second option from the dynamic menu or type '/markdown'. For example,
Click on the option, and you will see a blank markdown box. Here's how you make a table using Markdown.
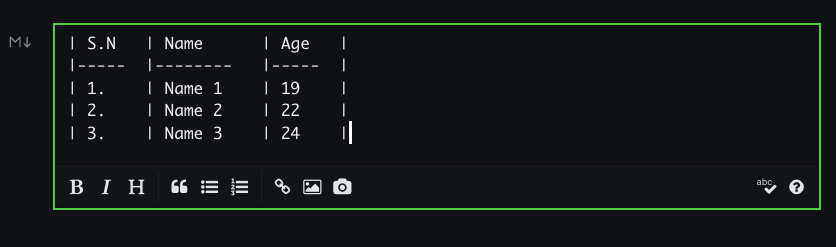
The first row of the table is given for the header, which is separated by hyphens (- - -) to follow the rest of the table data. Use pipes | on either side of the rows to separate them.
Here's the result:
| S.N | Name | Age |
|---|---|---|
| 1. | Name 1 | 19 |
| 2. | Name 2 | 22 |
| 3. | Name 3 | 24 |
3. Addressing Warnings or Sharing Tips using Callout Boxes
Callout boxes are the distinctive boxes in our blogs to be used when the author wants to warn, educate, inform or ideate you. The callout box includes emojis that can be used to indicate the type of information you're trying to convey.
To use a callout box, click on the callout box option in the dynamic menu bar or type '/callout'.
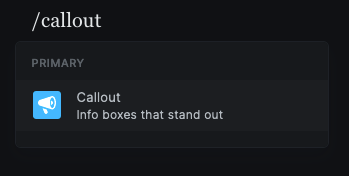
An example of a callout box is given below. Please read the linked article to know more about the uses and instances of callout boxes.
Embedding Files
You can also embed videos or data from other social sites on Ghost. You have various social media options in the embed section on the dynamic menu bar that you can link to your article.
For example, if you want to show your viewers the finished product of a follow-through tutorial, here's how you would embed it into an article.
First, upload the YouTube video according to your procedure. When the YouTube video is done uploading, copy the link of the video.
Select the YouTube option below the embed section from the dynamic menu bar or type '/youtube'.
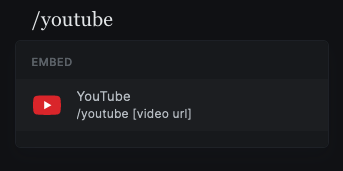
Click on the YouTube icon. You will get a blank box to enter the video URL when you do so.

Paste the copied link in the box and press Enter. Now, you will get a preview of the YouTube video that can be watched while reading the blog, or you can also direct yourself to the main YouTube video page.
An example of YouTube embedding is given below:
Embedded YouTube Video
Similarly, you can embed posts and files from Twitter, SoundCloud, Spotify etc.
These are some of the regularly used options from the dynamic menu dropdown.
Other Shortcuts
Other keyboard shortcuts can also be helpful when writing blogs in Ghost. They are:
Using Headings
Proper headings will help the readers distinguish the sections and subsections, making it easier to understand complex articles.
Pressing control (⌃) + option (⌥) + number key (1 to 6) properly formats the title of a section of your article under 6 heading sizes.
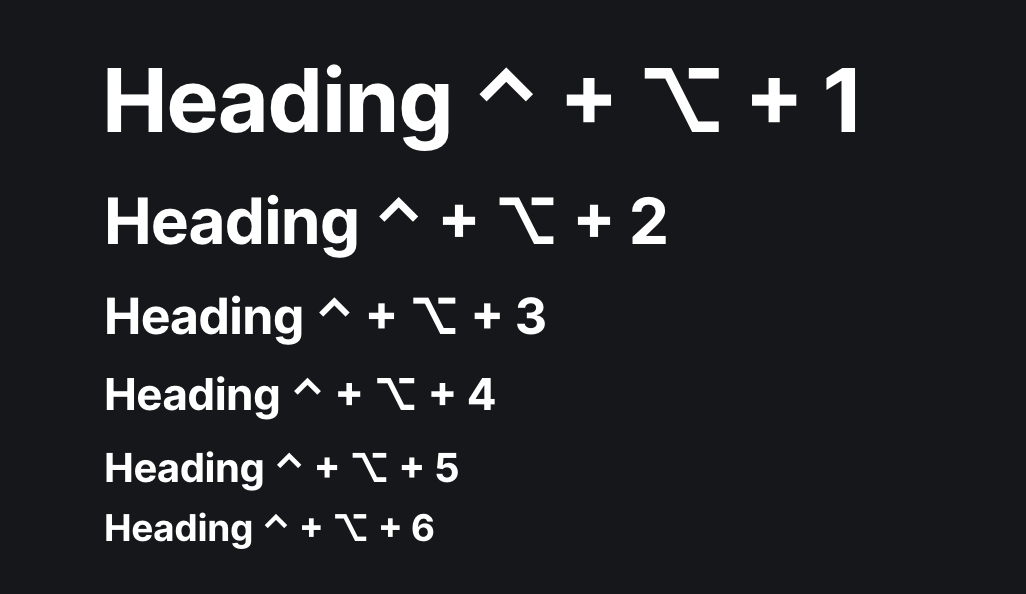
Here, the H key has been pressed once, twice, thrice and up to six times in every row, respectively. The first row indicates the main heading, whereas the second through fifth row indicates sub-headings. The sixth row is the only normal text.
Using Typographical Emphasis
Typographical emphasis is important to every author. It helps in indicating that a word or a phrase is important. Here's how you use them in Ghost.
Bold: ⌘ + B
Italics: ⌘ + I
Underline: ⌘ + U
SuperText : Super(no space)^(no space)text(no space)^
SubText: Sub(no space)~(no space)text(no space)~
Using Ordered and Unordered Lists
Lists are needed to organize information. It helps you unclutter and clearly present the features or characters you need to discuss in a topic. Here's how you make lists in Ghost.
Unordered List:
- hello
- world
To make an unordered list, press the asterisk key on your keyboard (*) and press Spacebar. It will automatically create an unordered bullet list.
Ordered List:
- hello
- world
To make an ordered list, press the number one (1) key on your keyboard and press Spacebar. It will automatically create an ordered numbered list.
Using Code Snippets
Code snippets are a way to duplicate a phrase if you constantly use them throughout your blogs. It saves time and makes your job easier by instantly offering you the saved phrase. Here's how to make and use a code snippet.
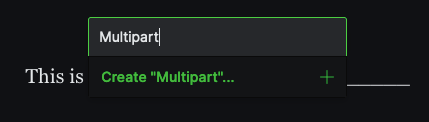
First, write a phrase you constantly use and select it.
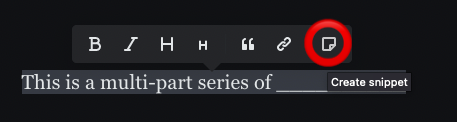
The Create Snippet option appears once you select the phrase. Click on it to make a code snippet.
Give it a suitable name and save it.
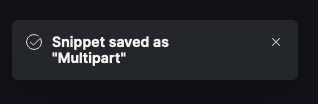
The pop-up appears once the code snippet is successfully saved.
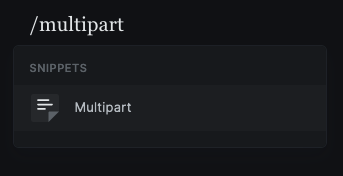
You can use the saved snippet from the dynamic menu as shown below or by typing '/*saved name*'.
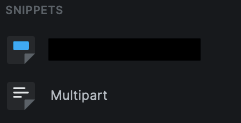
You can click on the saved snippet, which will automatically provide you with the saved phrase.
Using Inline Code
Inline code is used to write a method or function used in a codeblock. Using inline code makes it clear that a mentioned term is a piece of code. Here's how you write an inline code.
You can use backticks ` to write an inline code. For example, let's take hello as a code. To write helloPlace the word hello between the two backticks, or you can select the code and press Ctrl/⌘ + Shift + K.

I have used backticks for the first code and Ctrl/⌘ + Shift + K for the second one.
Using Codeblocks
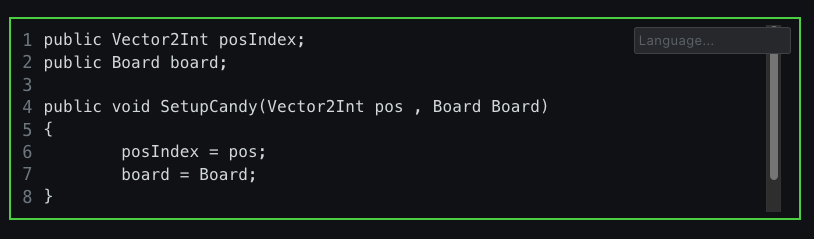
Codeblocks are the longer and more detailed version of the pieces of code that usually forms a command. You can present them by pressing the backticks three times and pressing the Spacebar once. Here's an example of a codeblock.

This is what it will look like:
public Vector2Int posIndex;
public Board board;

public void SetupCandy(Vector2Int pos , Board Board)
{
        posIndex = pos;
        board = Board;
}
Codeblock
You can also specify the type of language your code is by writing the name of the language on the top right side of the codeblock box like this.
These are some of the frequently used features of Ghost that will help your article look better and informative while being attractive. Please use the mentioned features regularly.
Hope this article helps you in getting started with your DevBlog. Please leave a comment if you have any queries. Thank you for reading!