
The Graphical User Interface or GUI is a powerful tool that is used when a developer wants to develop plugins and tools for games in Unity.
The contents of this blog are for the intermediate level, and today we will be learning how GUI tools can be used and getting introduced to their features. Let's look at a few GUI elements and learn to create and use them in our project.
GUI Box
Create a script and create an OnGUI() function in it as shown below.
We use Unity's OnGUI() method and define our requirements for our GUI Box.
private void OnGUI()
    {
        GUI.skin.box.fontSize = 80;//Sets font size
        GUI.skin.box.alignment = TextAnchor.MiddleCenter;//Sets text alignment
        GUI.skin.box.wordWrap = true; //Word wrap is disabled by default so we enable it

        //Creates message box.
        GUI.Box(new Rect(0f, 0f, Screen.width, Screen.height / 5), "Press Space to download file \n" +
                                                                 " Press S to stop downloading. \n"
                                                                );
}Here we create a GUI Box, but its default value may not be what we need. So we define the fontSize , textAlignment , position and dimension of the box.
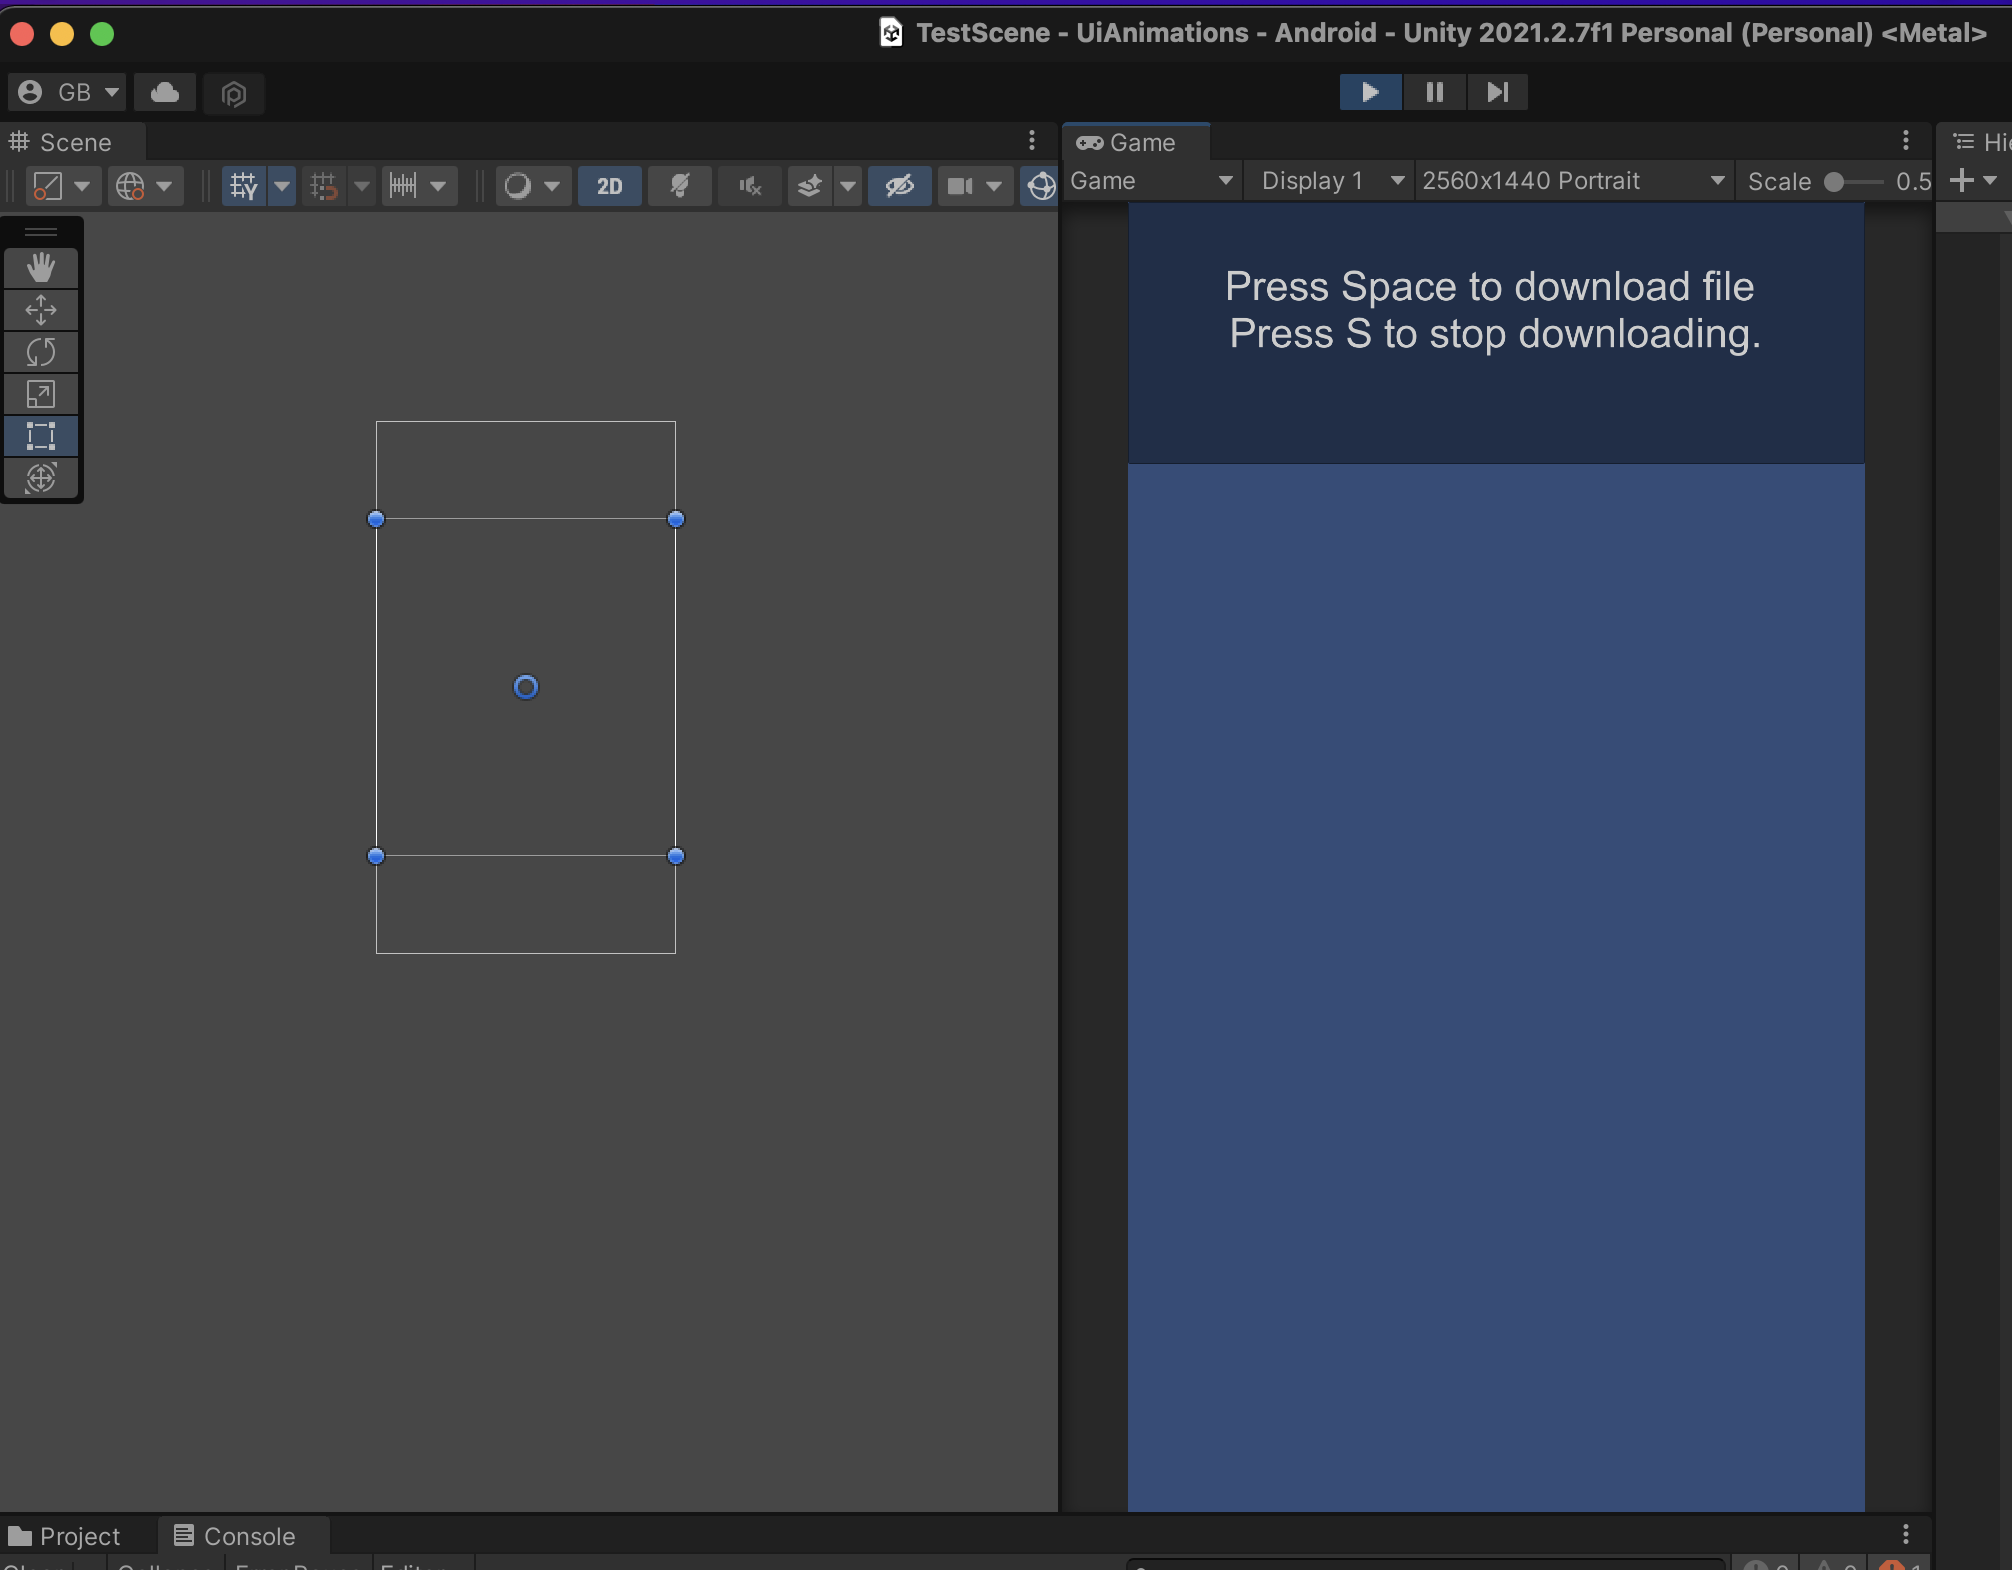
And finally, we see a result. But this is just a basic implementation of the GUI box. There are many properties that we can set. More details about them can be found on Unity's documentation page.
GUI Button
Now we will be creating a GUI button and listening to its click. Create a file, paste this function inside it, and attach it to any gameObject.
           private void OnGUI()
    {
        GUIStyle myBtnStyle = new GUIStyle("button");//Create new button GUIStyle
        myBtnStyle.fontSize = 50;//Set font size in button
        GUIContent newContent = new GUIContent("MyBtn", "This is tooltip");//Set button name.

        //Finally creating GUI Button and assigning function to its click.
        if (GUI.Button(new Rect(100, 200, 200, 80), newContent,myBtnStyle))
        PrintMessage();

    }

    private void PrintMessage()
    {
        Debug.Log("Button Clicked");
}First, we create a GUIStyle to define the properties of the buttons.
Then we create GUIContent to fill in the GUI button.
Finally, we create a button and assign a function when it is clicked.
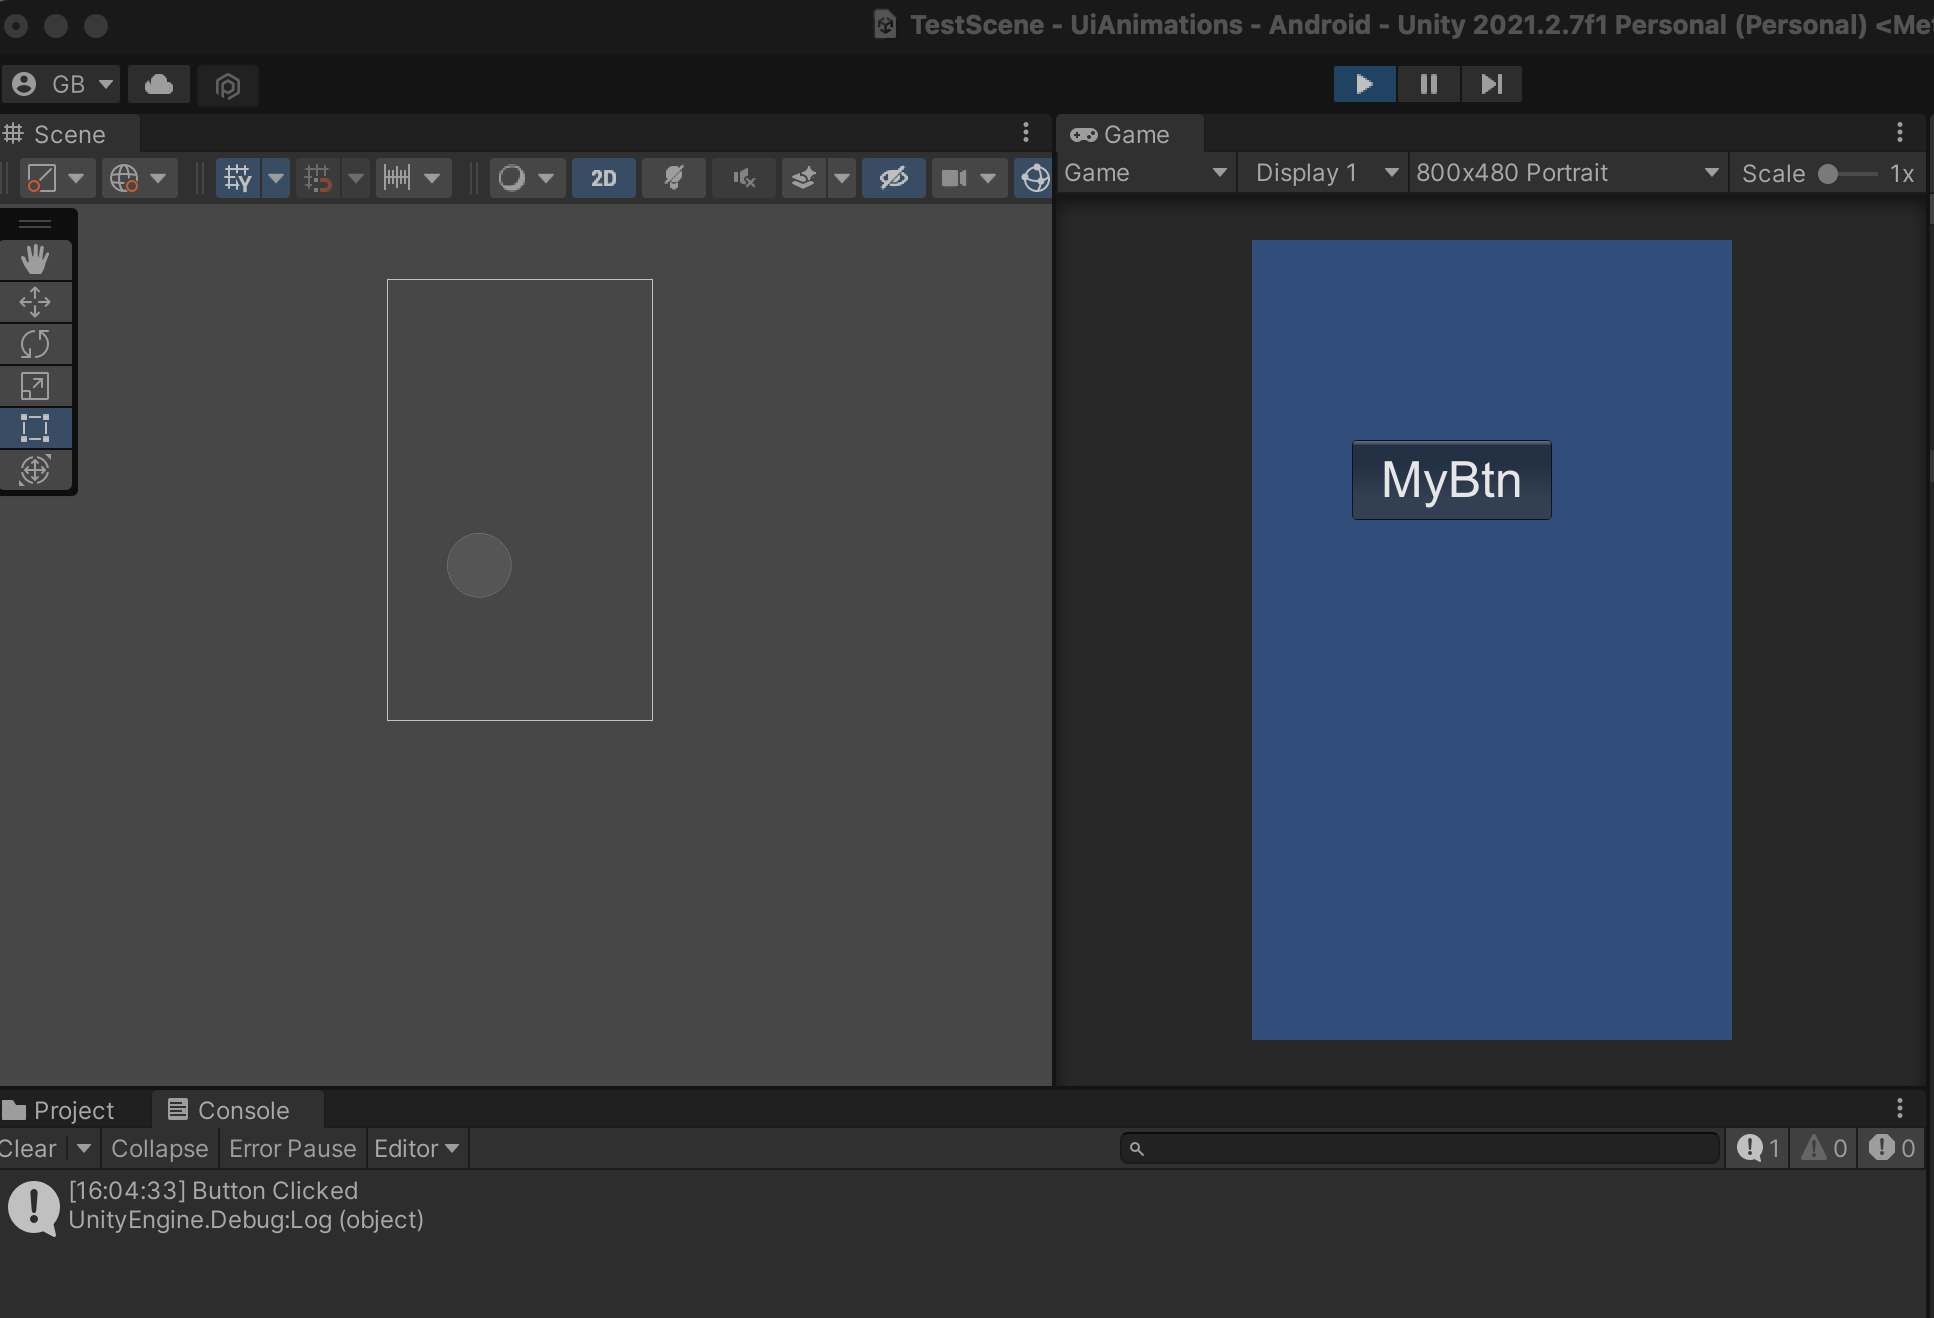
Now we see the button in-game, and when the button is clicked, the PrintMessage() function will be called instantly.
GUI ScrollView
GUI Scroll View is the same as the ScrollView we use inside the Canvas, except that GUI ScrollView is created as a GUI element instead. Let's look at the code to create a ScrollView.
public class GUIScrollView : MonoBehaviour
{
    //Vector to read value from ScrollView.
    private Vector2 scrollPosition;
    //Rect defining position and dimension of ScrollView.
    private Rect _scrollViewPositionRect = new Rect(200, 300, 500, 300);
    /// <summary>
    /// For the slider in scroll view to be visible scrollViewViewRect's width and height should be greater than _scrollViewPositionRect
    /// Because obviously if the view is smaller why would we need the slider.
    /// </summary>
    private Rect scrollViewViewRect = new Rect(0, 0, 900, 600);

    //Rect definition for Box to match dimensions with ScrollView.
    private Rect boxFullScreenViewRect = new Rect(200,300,500,300);
    //GUI style is to define custom properties to make GUI more beautiful. For now it is used for box.
    //But GUIStyle can be used for all GUI elements.
    private GUIStyle boxStyle = new GUIStyle();
    [SerializeField] private Texture2D boxTexture;

    private void Start()
    {
        //Defining the properties of boxStyle .
        boxStyle.alignment = TextAnchor.UpperCenter;
        boxStyle.fontSize = 30;
        boxStyle.fontStyle = FontStyle.Bold;
        boxStyle.normal.background = boxTexture;
        boxStyle.normal.textColor = Color.green;
    }

    private void OnGUI()
    {
        //This box is simply created as a backGround to ScrollView.
        GUI.Box(boxFullScreenViewRect,"Scroll View",boxStyle);
        //Creating Scroll View
        scrollPosition = GUI.BeginScrollView(_scrollViewPositionRect, scrollPosition,scrollViewViewRect);
        //Closing ScrollView.
        GUI.EndScrollView();
    }
}In this code, we create a ScrollView by the GUI.(Rect positionRect, Vector2 scrollPosition, Rect viewRect) function.
Rect positionRect: It defines the actual position and dimension of the ScrollView.Rect viewRect: It defines the position and dimension of the view inside Scroll View. This view may have dimensions greater or smaller thanpositionRect. IfviewRecthas a width greater thanpositionRect, a horizontal slider will be visible. Otherwise, it will not be displayed, which is true for height.
We can also create a GUIBox to show ScrollView in a more beautiful way. We have defined custom properties for GUIBox using GUIStyle, which includes fontSize, fontColor, fontAlignment, boxColor and many more.
Now let's see the output.
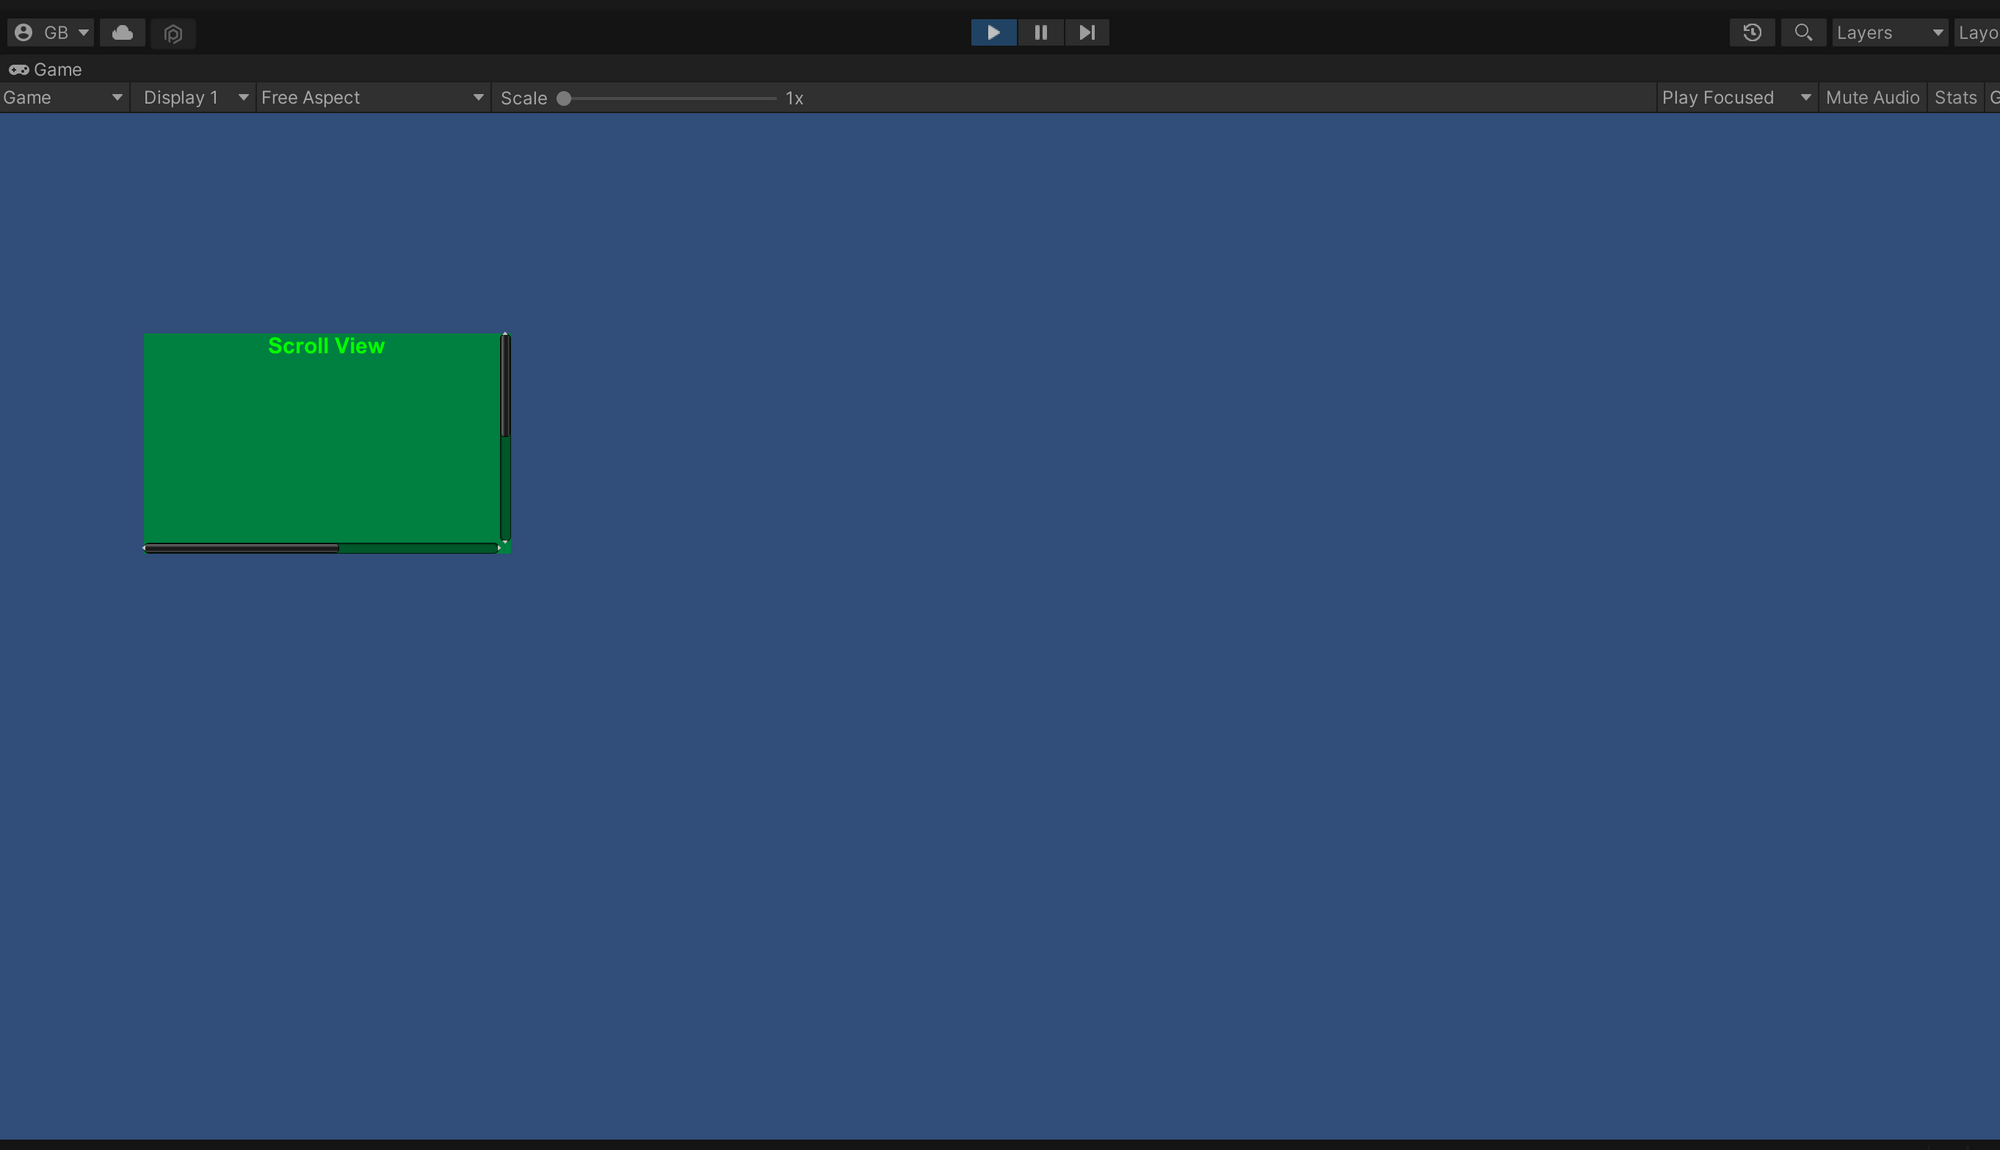
So this is how we create a GUI ScrollView.
We have introduced a few GUI elements in this post. In the upcoming post, we will see all three GUI elements properly used.