
Working in Unity with huge project requirements can be exhausting and tiring. Imagine working on this huge project with a team of devs and designers where one of the designers handles all the complex UI scenes individually. What if the designer who created the UI scene gets hit by a bus on the way to work causing a bus factor in your team.
So the next day you're assigned to go take over all of his UI work. But you can't figure out to find a button or a panel. It would be a waste of time for the other designer to go through a peer's work and search for the things to even get started. Hence I'll be trying to convey an efficient way to discard this kind of hassle in the first place to work more productively with Unity extensions.

Now, in order to make sure that you don't get into those sorts of events you can add the Editor Extensions to your development pipeline. Editor extensions are something that we can program that acts as a part of the Unity engine. This feature is useful to develop productivity tools or any large-scaled editor extensions that will boost the development of your game. So, we'll create a simple editor extension tool that handles the UI through an editor window.
using UnityEngine;
using UnityEditor;
using UnityEditor.SceneManagement;
[InitializeOnLoad]
public class MenuEditor : EditorWindow
{
[MenuItem("Tools/MenuEditor")]
public static void CreateWindow()=>GetWindow<MenuEditor>();
void OnGUI()
{
if(EditorSceneManager.GetActiveScene().name == "UnityExtensions")
{
CreateDialog();
}
else{
ShowError();
}
}
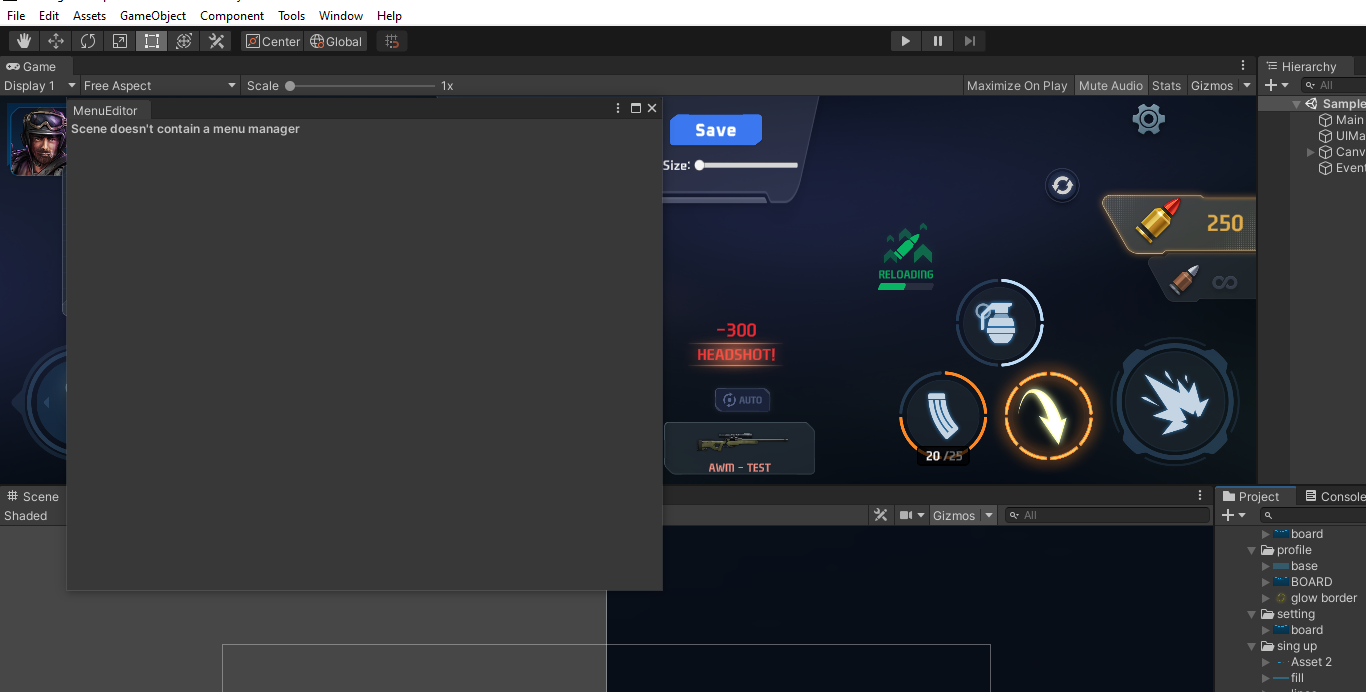
void ShowError()
{
GUILayout.Label("Scene doesn't contain a menu manager",EditorStyles.boldLabel,GUILayout.Width(500));
}
public void CreateDialog()
{
GUILayout.Label("GUI Elements: ",EditorStyles.boldLabel,GUILayout.Width(150));
GUILayout.Space(10);
GenerateButtons("Pause Window","PauseWindow");
GenerateButtons("Game Window","GameWindow");
GenerateButtons("GameOver Window","GameOverWindow");
}
void GenerateButtons(string label , string name)
{
GUILayout.BeginHorizontal();
GUILayout.Label(label,EditorStyles.label,GUILayout.Width(200));
GameObject obj = GameObject.FindObjectOfType<MenuManager>().transform.Find(name).gameObject;
if(GUILayout.Button(obj.activeSelf ? "hide":"show",GUILayout.Width(100)))
{
EditorGUIUtility.PingObject(obj);
Selection.activeGameObject = obj;
obj.SetActive(!obj.activeSelf);
}
GUILayout.EndHorizontal();
}
}
In the code above you can see first of all at the top we have created an attribute with a path to the menu editor, what this does is let you create an option on the unity's tools toolbar section.
After that, we create a static function called CreateWindow from the editor window class which gets the current instance of our window and creates an empty window with a title whenever we click on the tools MenuEditor option.
After that, we're going to create a system that lets us see a list of windows we have in our unity scene and helps us toggle their active/inactive state and ping the object in our hierarchy. This will help us navigate through the UI panels and other UI elements with ease. In order to do that we will use the EditorWindow derived function OnGUI, OnGUI is responsible for the rendering and handling of UGUI events. After that, we can check if the scene's name is the scene containing UI or not use the EditorSceneManager.GetActiveScene() , EditorSceneManager also works like normal SceneManager but unlike SceneManager EditorSceneManager can get the active scene without being on runtime. So if the scene's name matches the scene we want to show we can create our dialog else we show the error. In CreateDialog we first create a GUI label that acts like a header title to our window, after that, we add a space of 10 to make the newly generated buttons managed.
After that, you can see we call the GenerateButtons function which takes two strings. So in the generate buttons function we take two parameters the label we show to the user in GUI and another one is the name that is later used to find the gameobject with its respective name. So we first set the GUI's layout to horizontal and create a layout with the label we passed in before. Then we search for the menu manager which is attached to the canvas and go through their transforms and search for the object with the name we provided above. After that, we create a button and check its active state where if the object is already active we prompt the user with a hide option and if the object is not active we prompt the user with a show option. On click of the generated button we first use the EditorWindow.PingObject to ping the object we are trying to activate or deactivate and we also automatically select the gameobject , then we set the object's active state to the negative of its state. After doing all these we can end the horizontal layout. You can then generate your own buttons by calling the CreateDialog function and passing a label name, gameobject's name as arguments to GenerateButtons function.
I have also created a simple error prompt that prompts the user with a simple label error mentioning that the currently opened scene doesn't have a menu manager. You can show people errors if the specific scene doesn't have the list of toggleable UIs.
In the end, you can realize how much time and complexity is reduced by using editor extensions and custom tools. You can create more similar tools which can get references to a bunch of recttransforms in one click or create a system that swap objects between scenes on a click.
Thank you for reading and learning with me. Please leave comments if you have any regarding this article.