
Vault is an open-source secret management tool created by the Hashicorp community. It is useful for keeping a centralized store of all the secrets your application relies on. It's simple to set up and provides loads of features.
In this article, we'll dive into its setup and demo a simple use case of Hashicorp Vault.
As a prerequisite, you'll need a Docker Environment to start.
Setting up Vault Server Instance
First, create a directory called vault using the command below,
mkdir vaultNow, create a docker-compose file. We will be using docker compose to manage the vault server instance.
Create a compose.yml file using the command below,
cat >> compose.yml <<EOF
version: "3.9"

name: "hashicorp-vault"

services:
  vault:
    image: vault:1.13.3
    container_name: vault
    ports:
      - 8200:8200
    restart: always
    volumes:
      - ./logs:/vault/logs
      - ./file:/vault/file
      - ./vault.json:/vault/config/vault.json
    cap_add:
      - IPC_LOCK
    entrypoint: vault server --config=/vault/config/vault.json
    networks:
      - vault-net

networks:
  vault-net:
    name: vault-net

EOFNow, we'll create the vault.json file using the command below,
cat >> vault.json <<EOF
{
  "backend": {
    "file": {
      "path": "/vault/file"
    }
  },
  "listener": {
    "tcp":{
      "address": "0.0.0.0:8200",
      "tls_disable": 1
    }
  },
  "ui": true
}
EOFNow start the vault instance using the command below,
docker compose -f compose.yml up -dConfiguring Vault Server Instance
We'll now configure the Vault with our secrets, users and access control policies.
Open the URL http://localhost:8200. Here, you'll be greeted with a welcome screen that asks you to initialize the Vault.
The UI will guide you through creating root access tokens and creating secrets for unsealing the Vault.
Download the Root Token and Un-Sealing Keys and proceed to the next step.
Configuring Role-Based Access
We'll create two accounts for this demo, one with read-only access and the other with admin access.
Go to the policies tab and click on Create ACL policy.


You should be able to see two policies: default and root present in the dashboard. The root policy is the one responsible for providing full admin access via the root token.
Click on Create ACL policy and use the example policies provided below to set up the view-only and admin policy.
admin != root The root user has complete administrative access, whereas the admin user will have access to a subset of features that the root user has.
View Only Example Policy
# Secret Path. Modify if secret is stored in a different path than the default "kv"
path "kv/*"
{
  capabilities = ["read","list"]
}
path "sys/capabilities-self"
{
  capabilities = ["update"]
}Use the content above to create the View Only Policy.
Admin Example Policy
# Secret Path. Modify if secret is stored in a different path than the default "kv"

path "kv/*"
{
  capabilities = ["read","list","update"]
}
#You can add the create verb as well in the above capabilities line if you want the admin to be able to create new secrets as well.

path "sys/capabilities-self"
{
  capabilities = ["update"]
}Use the content above to create the Admin Policy.
After creating the policies, we will create a user with admin privileges and another with view-only privileges.
Creating Users
Setup Authentication Method
To create users, go to the Access Tab,

Here, the default authentication method Token Auth is already available. We used this authentication method when we used our root token to log in to the dashboard.
Click on Enable new method, select Username & Password method and click next.
On the next page, we will see that the string userpass is pre-filled as our path. This is because it is the default path for storing details of the Username & Password authentication method. Leave the path as it is and click on Enable Method.
Create User Accounts
If you click on the newly created method, you will be directed to a page where you can create the required user accounts.
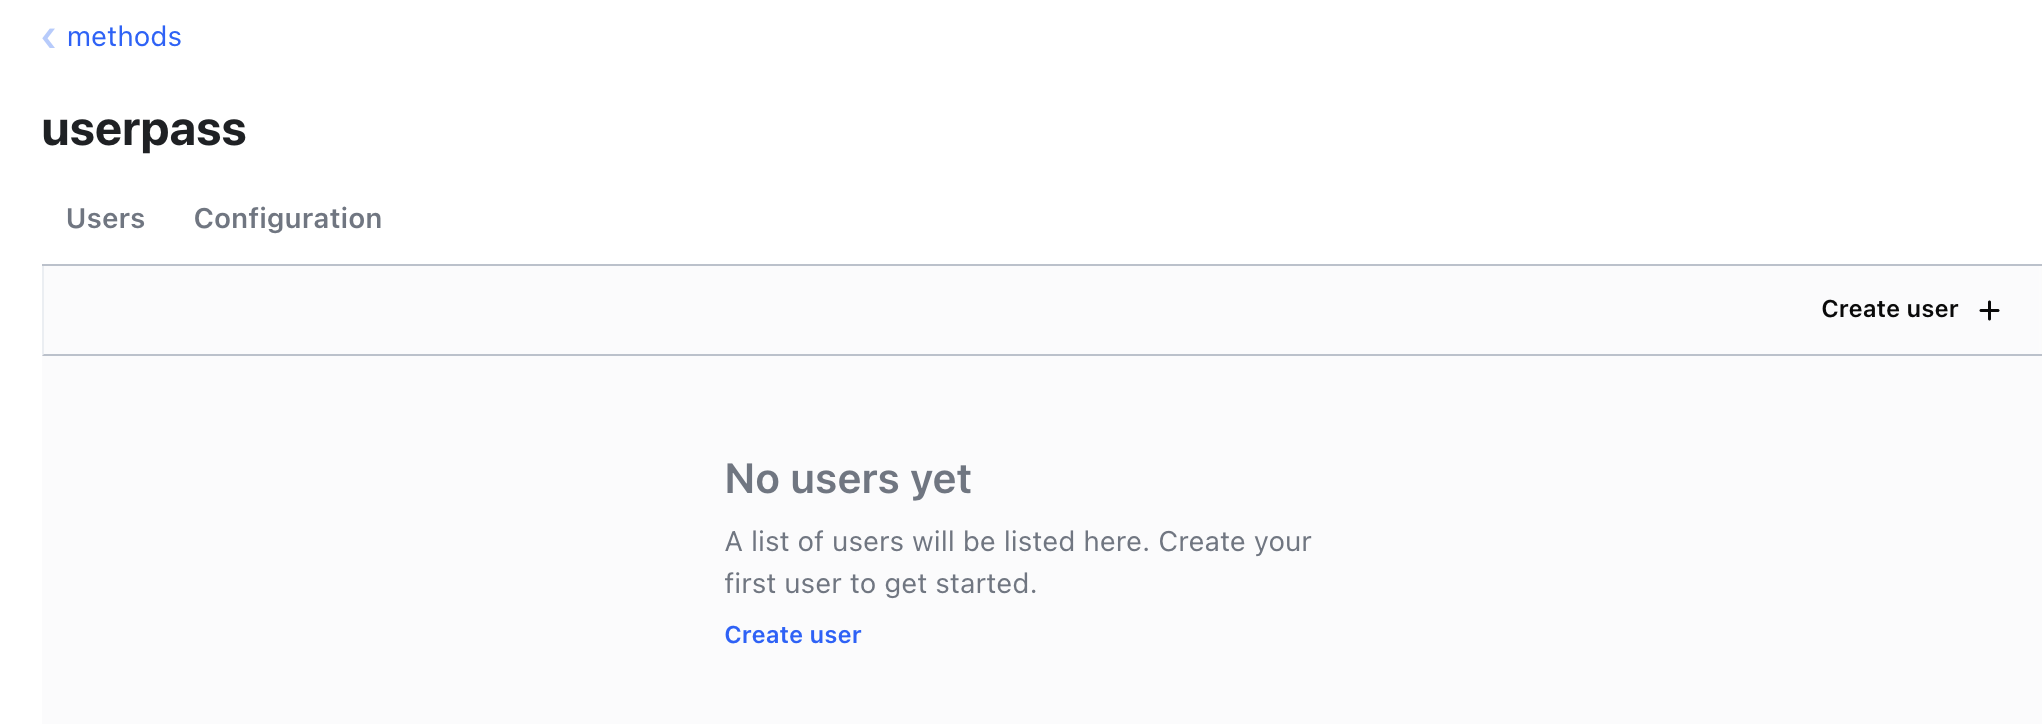
Username & Password Authentication MethodClick on Create user and set up the username and password for your account.
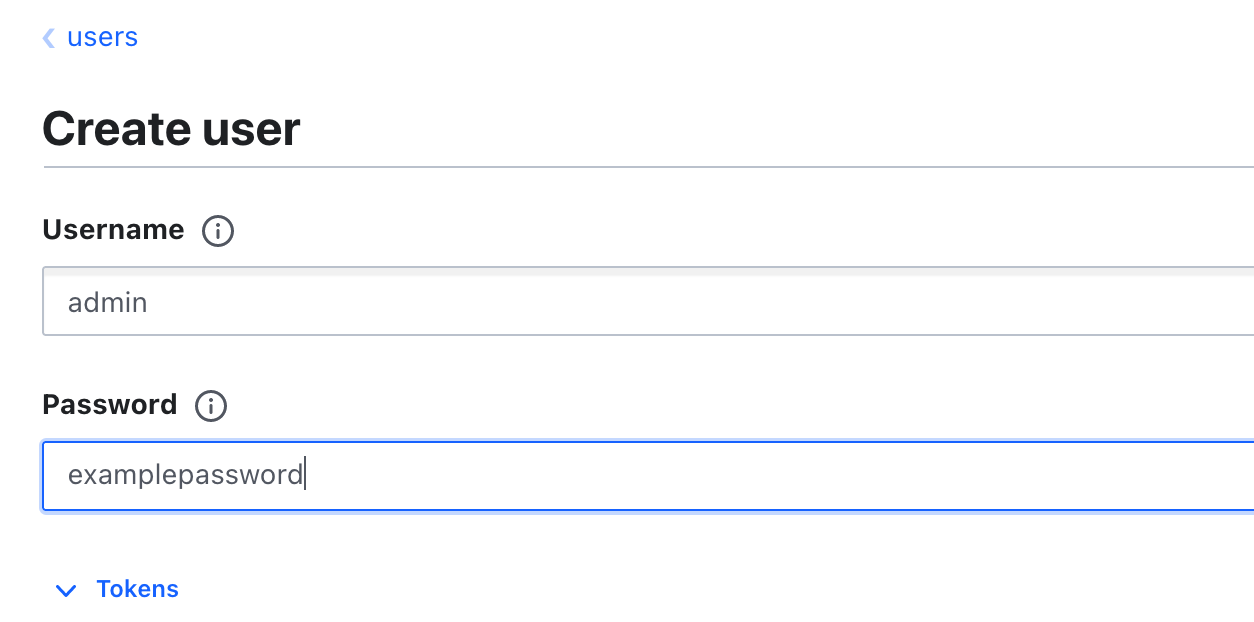
user(s)We will create two users similarly. One will be the admin user, and the other will be a user with view-only privileges. As we already created the policies required for each, we'll apply the necessary policy during user creation.
To do so, click on the Tokens dropdown button, and a list of options will be presented to us. Here do the following,
- Click on
Do Not Attach 'default' Policy To Generated Tokens

This will prevent Vault from attaching the default policy to the user account. We will be using our own custom policy for this.
- In the
Generated Token's Policiesform, enter the name of the admin policy we created in the last step.
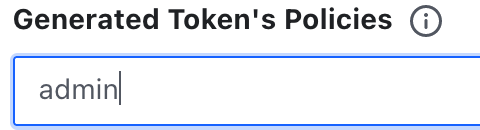
This will provide admin privileges to the admin user. For the normal user, use the view-only policy.
Now save the configuration and repeat it for the next user you create. Finally, we'll set up the secret engine, which is the one where secrets will be stored and accessed from.
Creating Secrets
Click on the Secrets Tab,

You should see an engine present already by the name of cubbyhole. We will not be using this but instead create a separate key value (KV) secret engine.
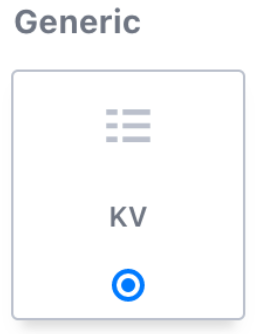
We will now configure the KV secret engine, the string kv is already present in the path. This is the default path and can be changed to your liking. You can set the maximum number of versions according to your choice.
(n+1).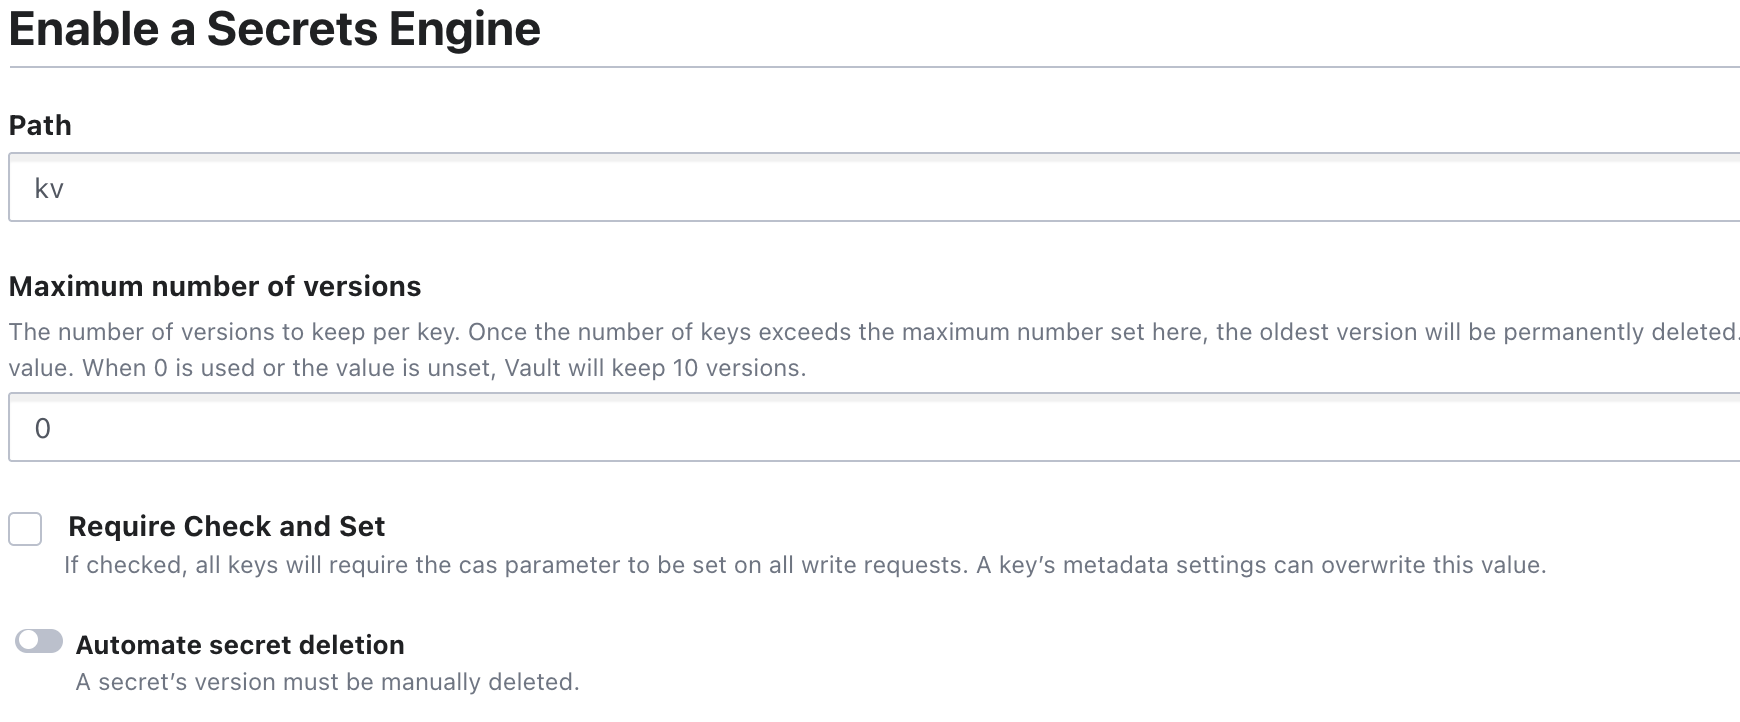
key vault kv Secret Engine in the Default PathIf your use case requires a lot of revisions to the secrets and you want to look at changes going all the way to the 1st version, then please specify a larger value in the
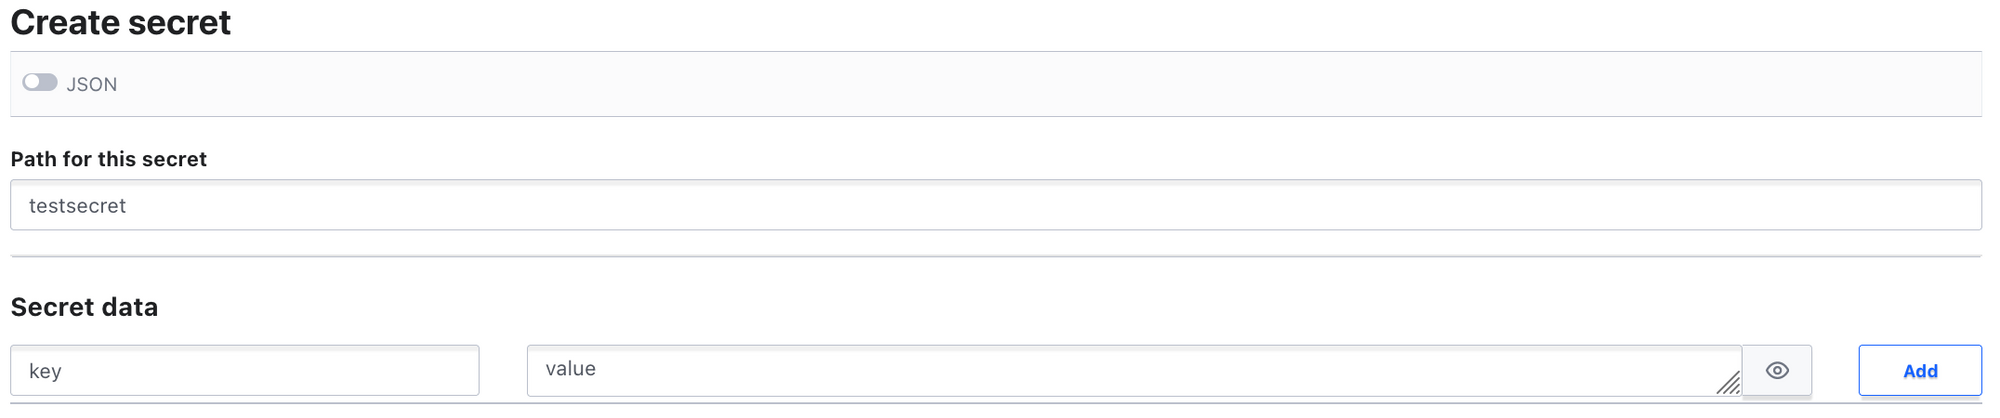
Maximum number of versions form.Once created, click on the newly created secret engine and create a secret. Provide a name for the secret and fill up the secret data form. Alternatively, secret data can be provided via JSON.
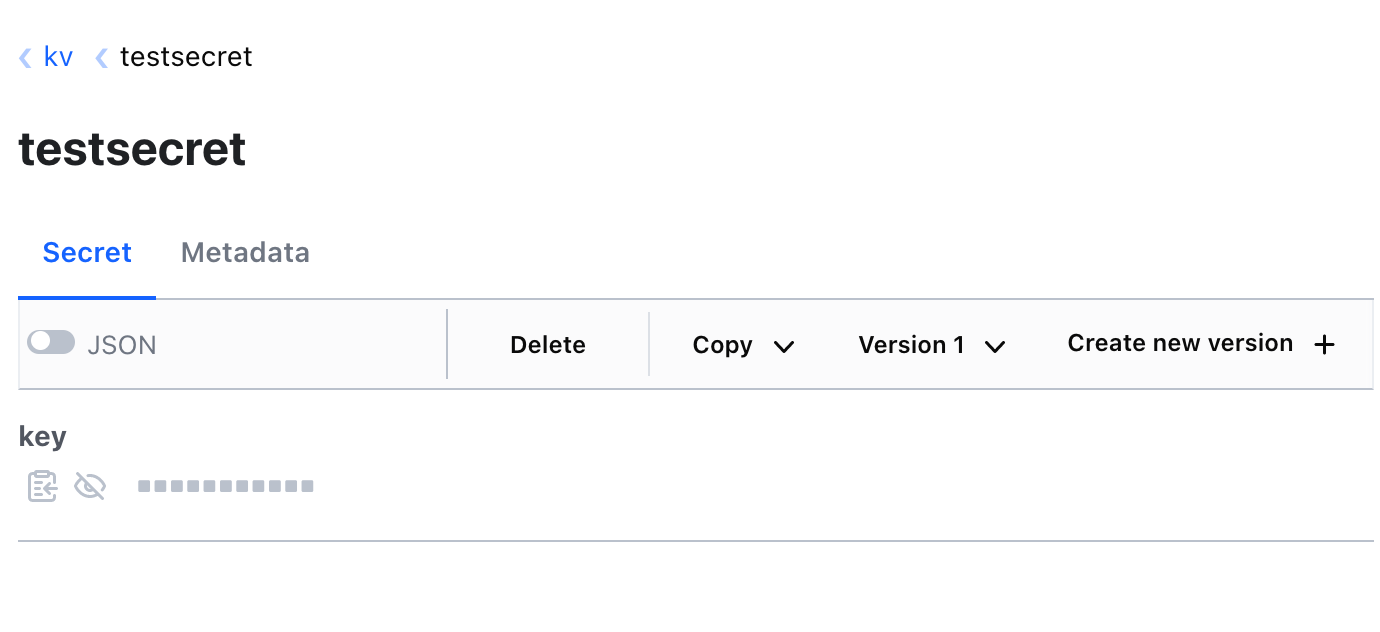
Once you save the first version of the secret, new versions can be created by clicking on the Create new version button.
kv path, then our ACL policies will not work. Modify the secret path in the policy to reflect the path present in the secret engine you just created.Testing
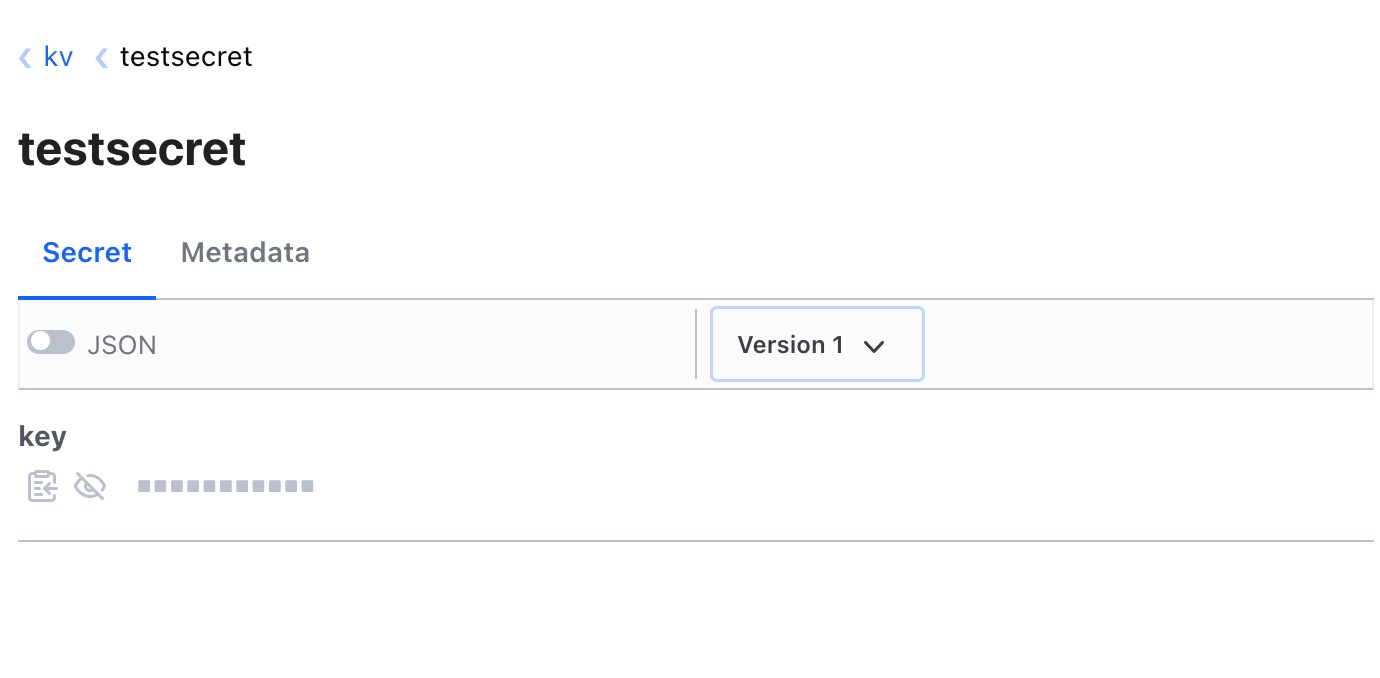
To test, open the vault dashboard in a new tab and log in first using the view-only user.
We can only view the created secret and its different versions with the view-only user.
Whereas, on using the admin user, we can see options like delete, create new version, copy, etc.
Conclusion
In this article, we've learned to set up a secret management solution, create user accounts with admin and non-admin privileges, create secrets, and access the said secrets.
In future articles, we will discuss the injection of secrets during runtime in Docker and Kubernetes environments.
Thank you for reading. Please comment below if you have any queries, I periodically try to update my articles to ensure legibility.