
Docker has emerged as the go-to software delivery solution for solo projects and organizations alike in the recent times. Microservices, CI/CD deployments all make use of docker containers. One of the key factors contributing to Docker's widespread adoption is addressing the common issue of incompatible development and hosting environments, often summarized as "It works on my system!"
Inconsistencies between systems can lead to code or application failures, as functions that work on one system may not necessarily work on another. Docker effectively resolves this problem by providing a simplified solution: containerization. By packaging applications and their dependencies into container images, Docker enables these containers to run seamlessly on any system that meets the required architecture prerequisites. This level of portability and consistency has propelled Docker's popularity and established it as a preferred solution for professionals seeking reliable environment management.
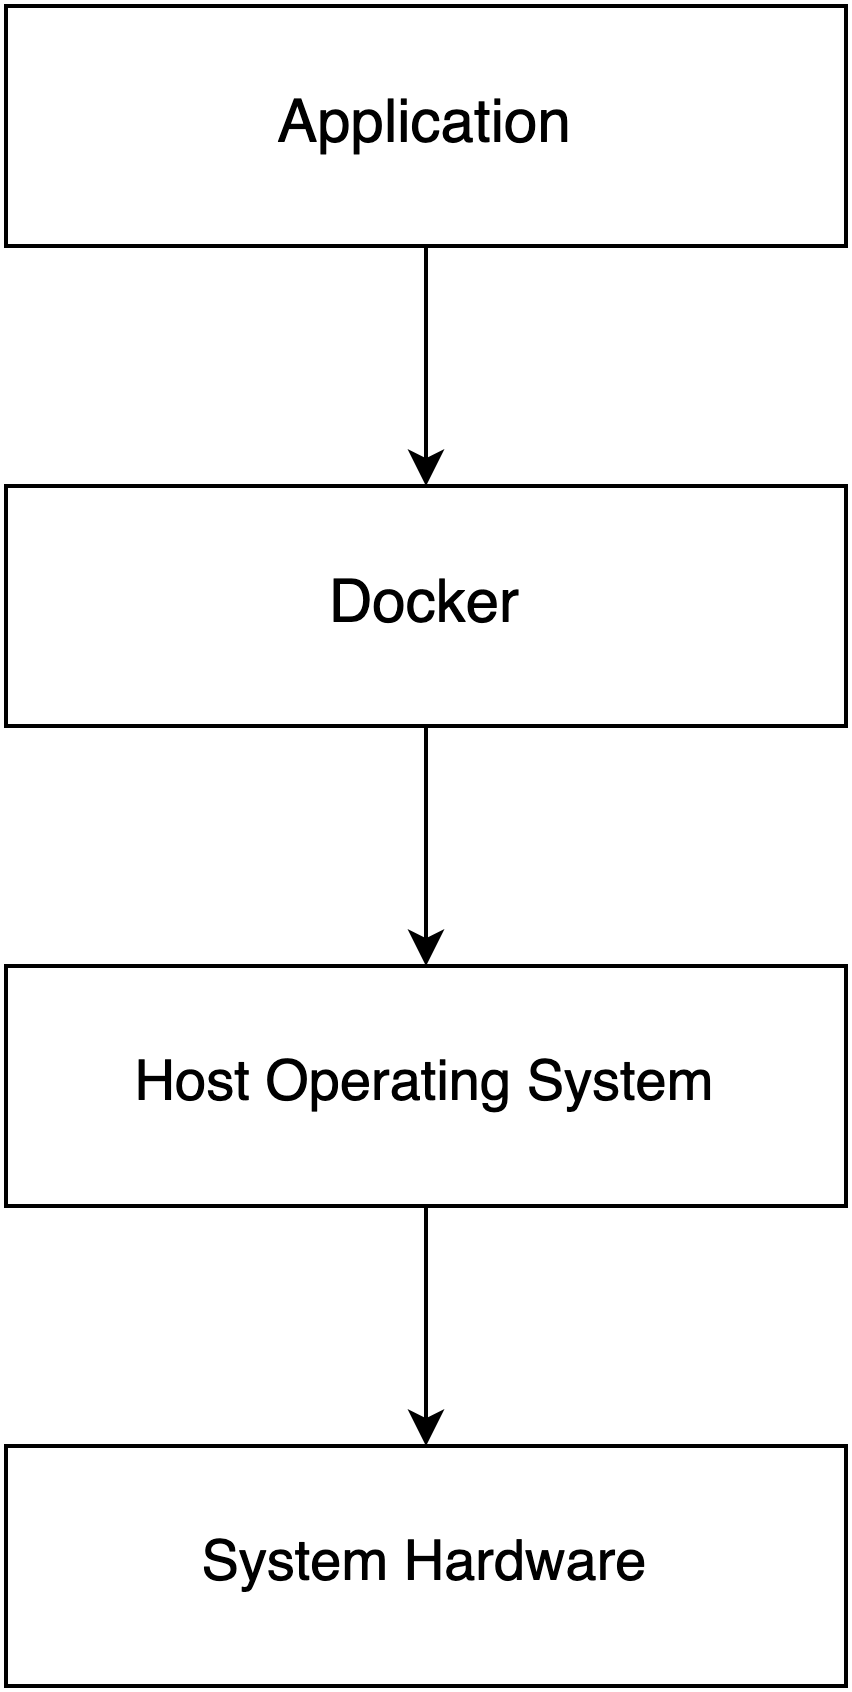
What's A Docker Container?
A container is a running instance of an application that has been containerized. Containers provide us with a predictable environment to run code in. Anything that can be done on your system can also be done on a container, so in short, the containers help us run our code on any system that supports docker.
Components of Docker
The docker we see from outside has a few different components that make up the whole docker package. The main components are:
- Docker Daemon
The Docker daemon is responsible for creating, managing and running docker containers. The daemon manages the virtualization aspect of Docker.
- Docker CLI
The Docker CLI is used to control the Docker daemon. To be specific container operations like creating, removing, starting, stopping, etc are done using the CLI. The CLI sends requests to the daemon who according to the requests performs the required operation.
Namespaces and Cgroups
The docker containers are separated from the Linux host system by some boundaries known as namespaces and Cgroups. These are kernel-level features that can limit what containers can see and make use of on the host system.
Due to the utilization of these features, docker containers run on an OS level of virtualization. The Cgroups restrict the global system resources for a container and namespaces restrict the container from gaining access to the entire host system. If a container was allowed access to other container's details like process IDs, the host system's user details, etc, then a malicious container could easily kill processes, delete users, download and execute malicious files, etc.
Some of the Common kernel namespaces are listed below:
Process ID (PID)= It isolates the process IDs.Network (net)= It isolates the network interface stack.UTS= It isolates the hostname and domain name.Mount (mnt)= It isolates the mount points.IPC= It isolates the SysV-style interprocess communication.User= it isolates the user and group IDs.
Only the use of these namespaces is not enough; we also need to control the amount of resources that can be utilized by the container, like CPU, Memory, Storage resources, etc. This is where Cgroups come in, they allow us to monitor and manage the resource usage of a container and set limits according to our use cases.
Structure of a Dockerfile
If you have previously worked with bash scripts, then this should be a breeze for you. Dockerfiles are similar to a bash script; just like in a bash script, we can execute commands to build our container image.
The instructions that make up a Dockerfile are:
FROM= This specifies the base image to useWORKDIR= Specifies the working directory inside the containerCOPY= This copies files from the host system into the docker imageADD= Same as copy but with the added capability of being able to fetch files from the internet given a URL is providedENV= Set environment variables during the buildRUN= Executes commandsENTRYPOINT= Here, a command can be specified and works just like how we would execute commands on the host systemCMD= Works likeEntrypointbut if anEntrypointis present in theDockerifle, the command listed inCMDwill be appended to theEntrypointcommand as a parameter. BothEntrypointandCMDcan be used together in aDockerfile.
Each of the instructions we provide adds a layer to the Docker image; the more the commands are, the more layers are added. These layers are like snapshots of the file system at that specific state. The use of layers can also make our builds faster as subsequent builds can utilize the previous build layers if no changes are detected on the files present in the existing layer and the layer that is to be created.
All of this Docker magic is enabled by the Union File System (UFS); it allows multiple layers to come together and act as a single file system. Because Docker generates immutable artefacts, i.e. container images, it's one of the many reasons it's popular among software developers and system admins.
Dockerizing a "Hello World!" application
Let's learn to build docker containers practically. First of all, we will need to install the docker binaries. I would also recommend to setup dockerfile linter and syntax highlighting for Dockerfiles on your preferred editor.
Installing
Follow this docker documentation to install docker according to your host operating system. My system is based on Debian Linux, so I'll list the steps for it below:
# Add Docker's official GPG key:
sudo install -m 0755 -d /etc/apt/keyrings
curl -fsSL https://download.docker.com/linux/debian/gpg | sudo gpg --dearmor -o /etc/apt/keyrings/docker.gpg
sudo chmod a+r /etc/apt/keyrings/docker.gpg

# Add Docker repository to Apt sources:
echo \
  "deb [arch="$(dpkg --print-architecture)" signed-by=/etc/apt/keyrings/docker.gpg] https://download.docker.com/linux/debian \
  "$(. /etc/os-release && echo "$VERSION_CODENAME")" stable" | \
  sudo tee /etc/apt/sources.list.d/docker.list > /dev/null

sudo apt update

# Install the latest version of Docker along with it's dependencies
sudo apt install docker-ce docker-ce-cli containerd.io docker-buildx-plugin docker-compose-plugin
Commands required for Installing Docker
Once installed, you can check the Docker version using the command,
docker version
This should return an output that looks something like this. Note that the version for your Docker install may be different.
Client: Docker Engine - Community
 Version:           24.0.2
 API version:       1.43
 Go version:        go1.20.4
....
Server: Docker Engine - Community
 Engine:
  Version:          24.0.2
  API version:      1.43 (minimum version 1.12)
....
Docker Version Output
Creating a Dockerfile
Provided below is a sample Dockerfile which utilizes the FROM, RUN and CMD instructions. It will create a Docker image that will simply echo the text hello world when the container is executed.
FROM debian
WORKDIR /usr/src/app
RUN apt update && apt upgrade -y
CMD ["echo","hello world"]
Example Hello World Dockerfile
Save the above Dockerfile and build the Docker image using the command below.
docker build -t hello-world:v1 . -f DockerfileExplaining the above command,
-t sets the image name and tag
. sets the docker build context
-f specifies the name of the Dockerfile (to be used in cases where you have multiple Dockerfiles or if it has a different name)
This will build a Docker Image; the output should look like this:
[+] Building 21.4s (6/6) FINISHED
 => [internal] load build definition from Dockerfile
 ...
 => [internal] load metadata for docker.io/library/debian:latest
 => exporting to image
 => exporting layers
 ...
 => writing image sha256:bddf601ca0b1c3266f158af2bfd369ec22c7ef2825bc4fd12374df85c4c2c9a1
 => naming to docker.io/library/hello-world:v1
Docker Image Build Log
Now execute the command below to run the docker container,
docker run -it hello-world:v1Here,
-i = allows us to interact with commands running inside the container
-t = emulates a pseudo-terminal (Useful for debugging)
The output should be something like,
hello worldOutput of Docker run command
Conclusion
In this article, we learned about Docker containers and built our own custom Docker container.
Please comment below if you have any queries, I try to periodically update my articles to ensure accuracy.