There are multiple ways to make realistic looking dice on Adobe illustrator; one of the methods is using the classic 3D bevel effect where you can assign artworks and symbols on each side of the dice. This method helps you create a real looking cube with perspective.
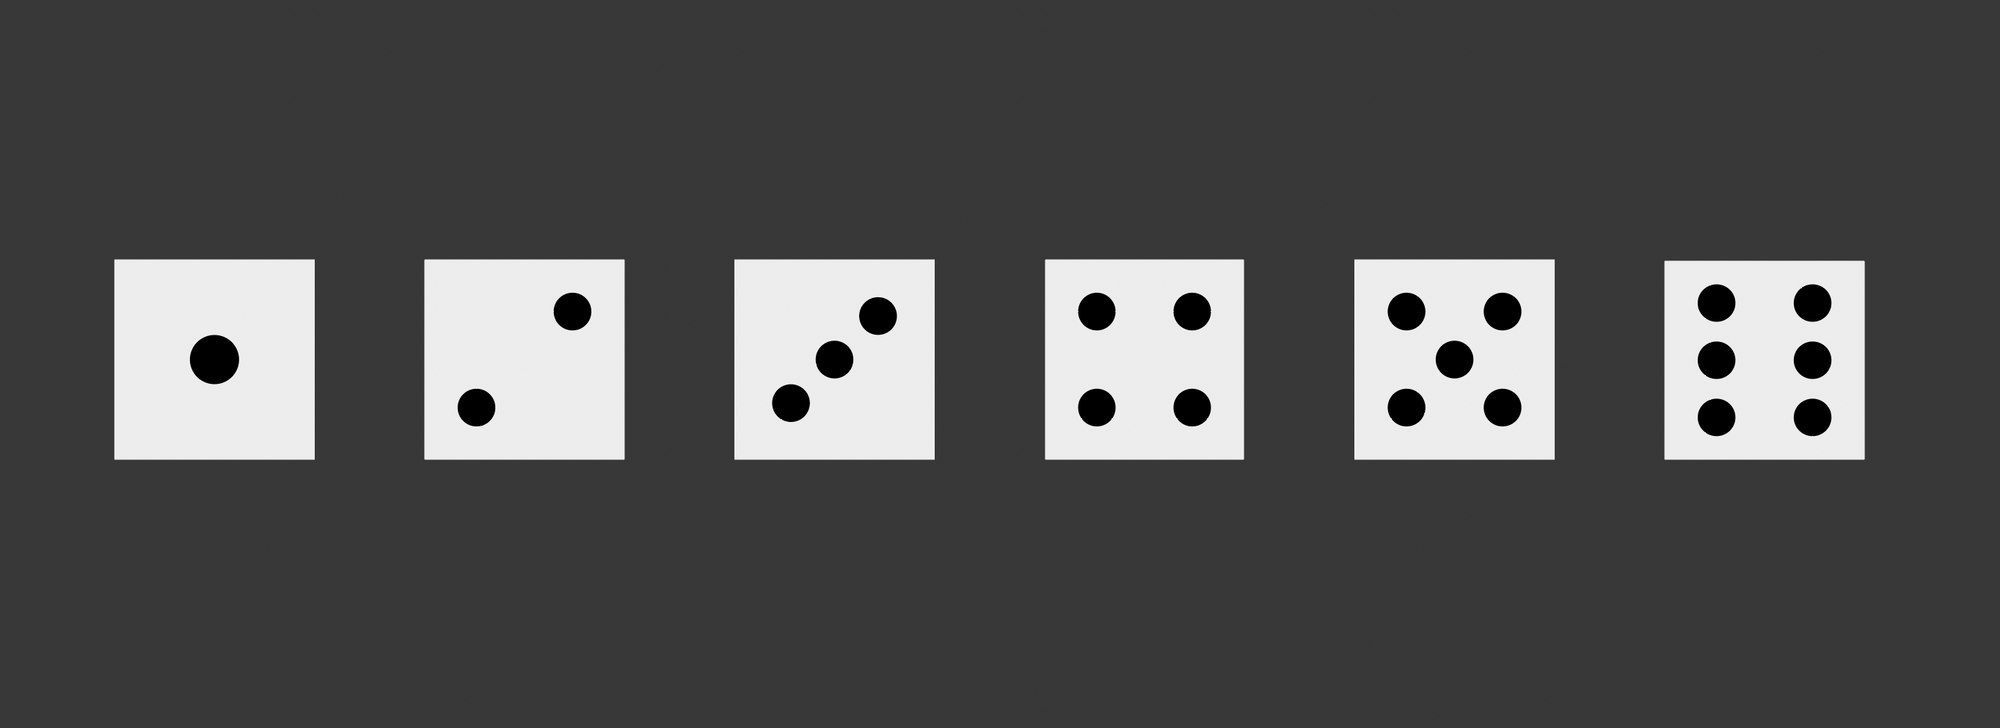
Prepare a set of dice faces in squares 1-6 and save them as symbols. Use the rectangle tool m to create squares and the ellipse tool l to create circles. Arrange them using align tool to make the dots align to the square.
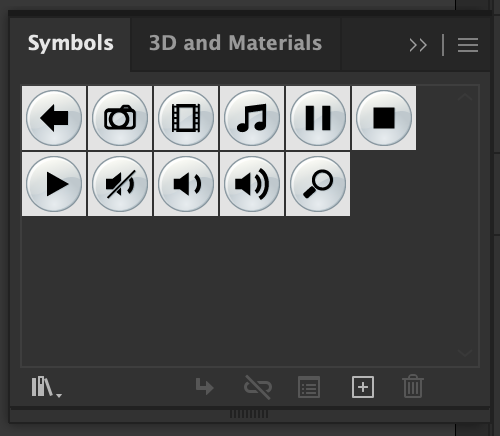
Select a square and open the Symbols panel and click the plus + sign on the bottom right to add the artwork as symbols.
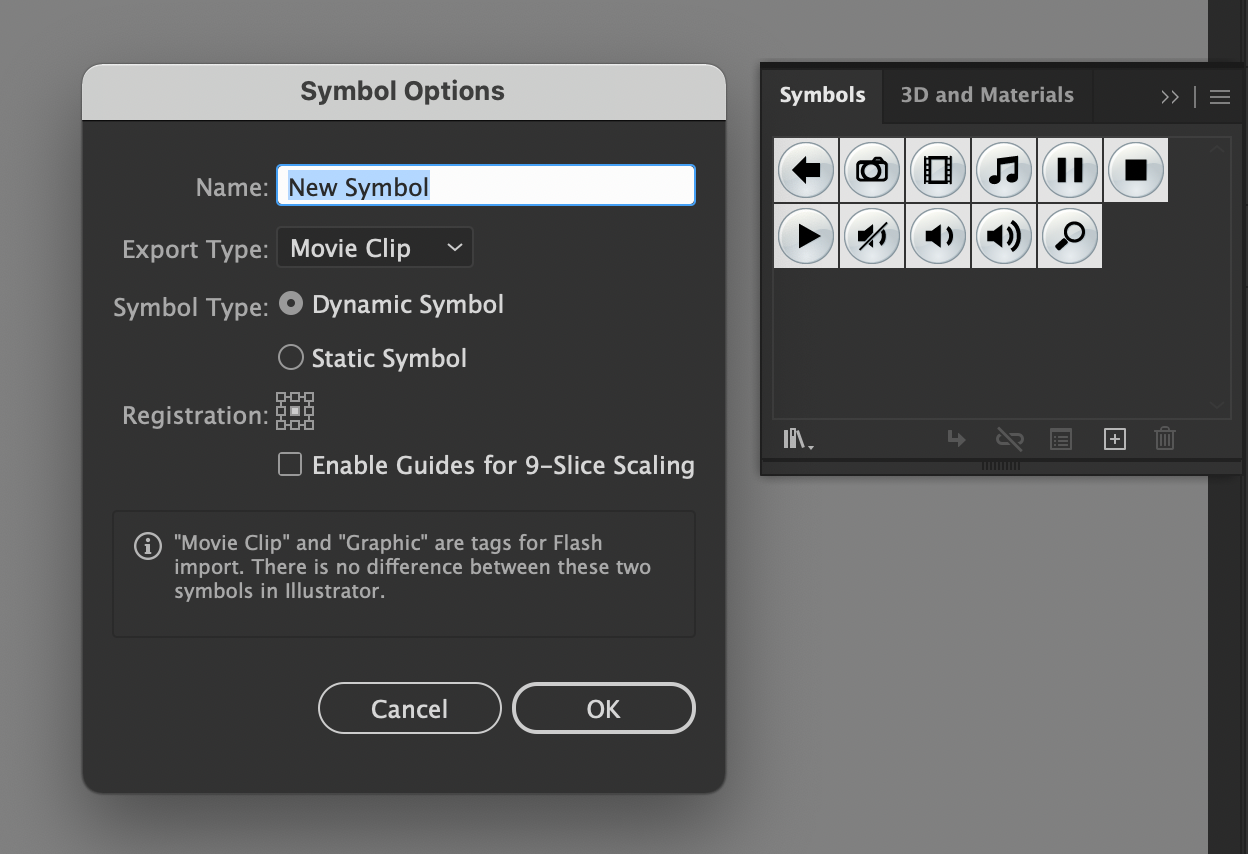
Symbols Options will show options for how to save the symbols; renaming each symbol will be helpful. Other options can remain as default as shown above.
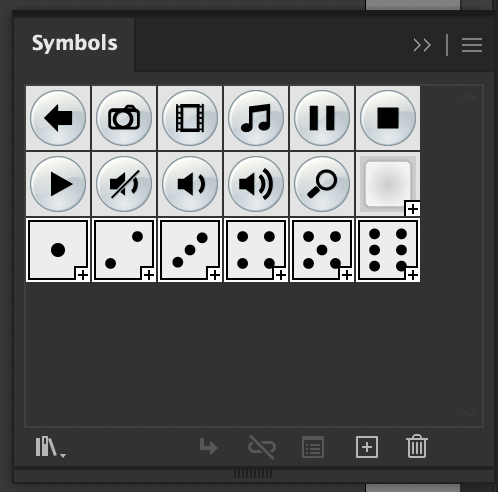
After you have added them as symbols they will appear in the symbols panel. These can be used later for other purposes as well. Just drag and drop to the working space.
Since the dice is made up of 6 faces of the square we start off by making a flat square object use rectangle tool m. Select the object Square and go to Effect > 3D and Materials > 3D (Classic)

The classic version before Adobe illustrator 2022 consists of options of the desired angles and extrude depth in which you want the cube to look like when placed on a flat surface. Go to the Map art option to place the symbols you had created previously to place the dice numbers on each side of the cube.
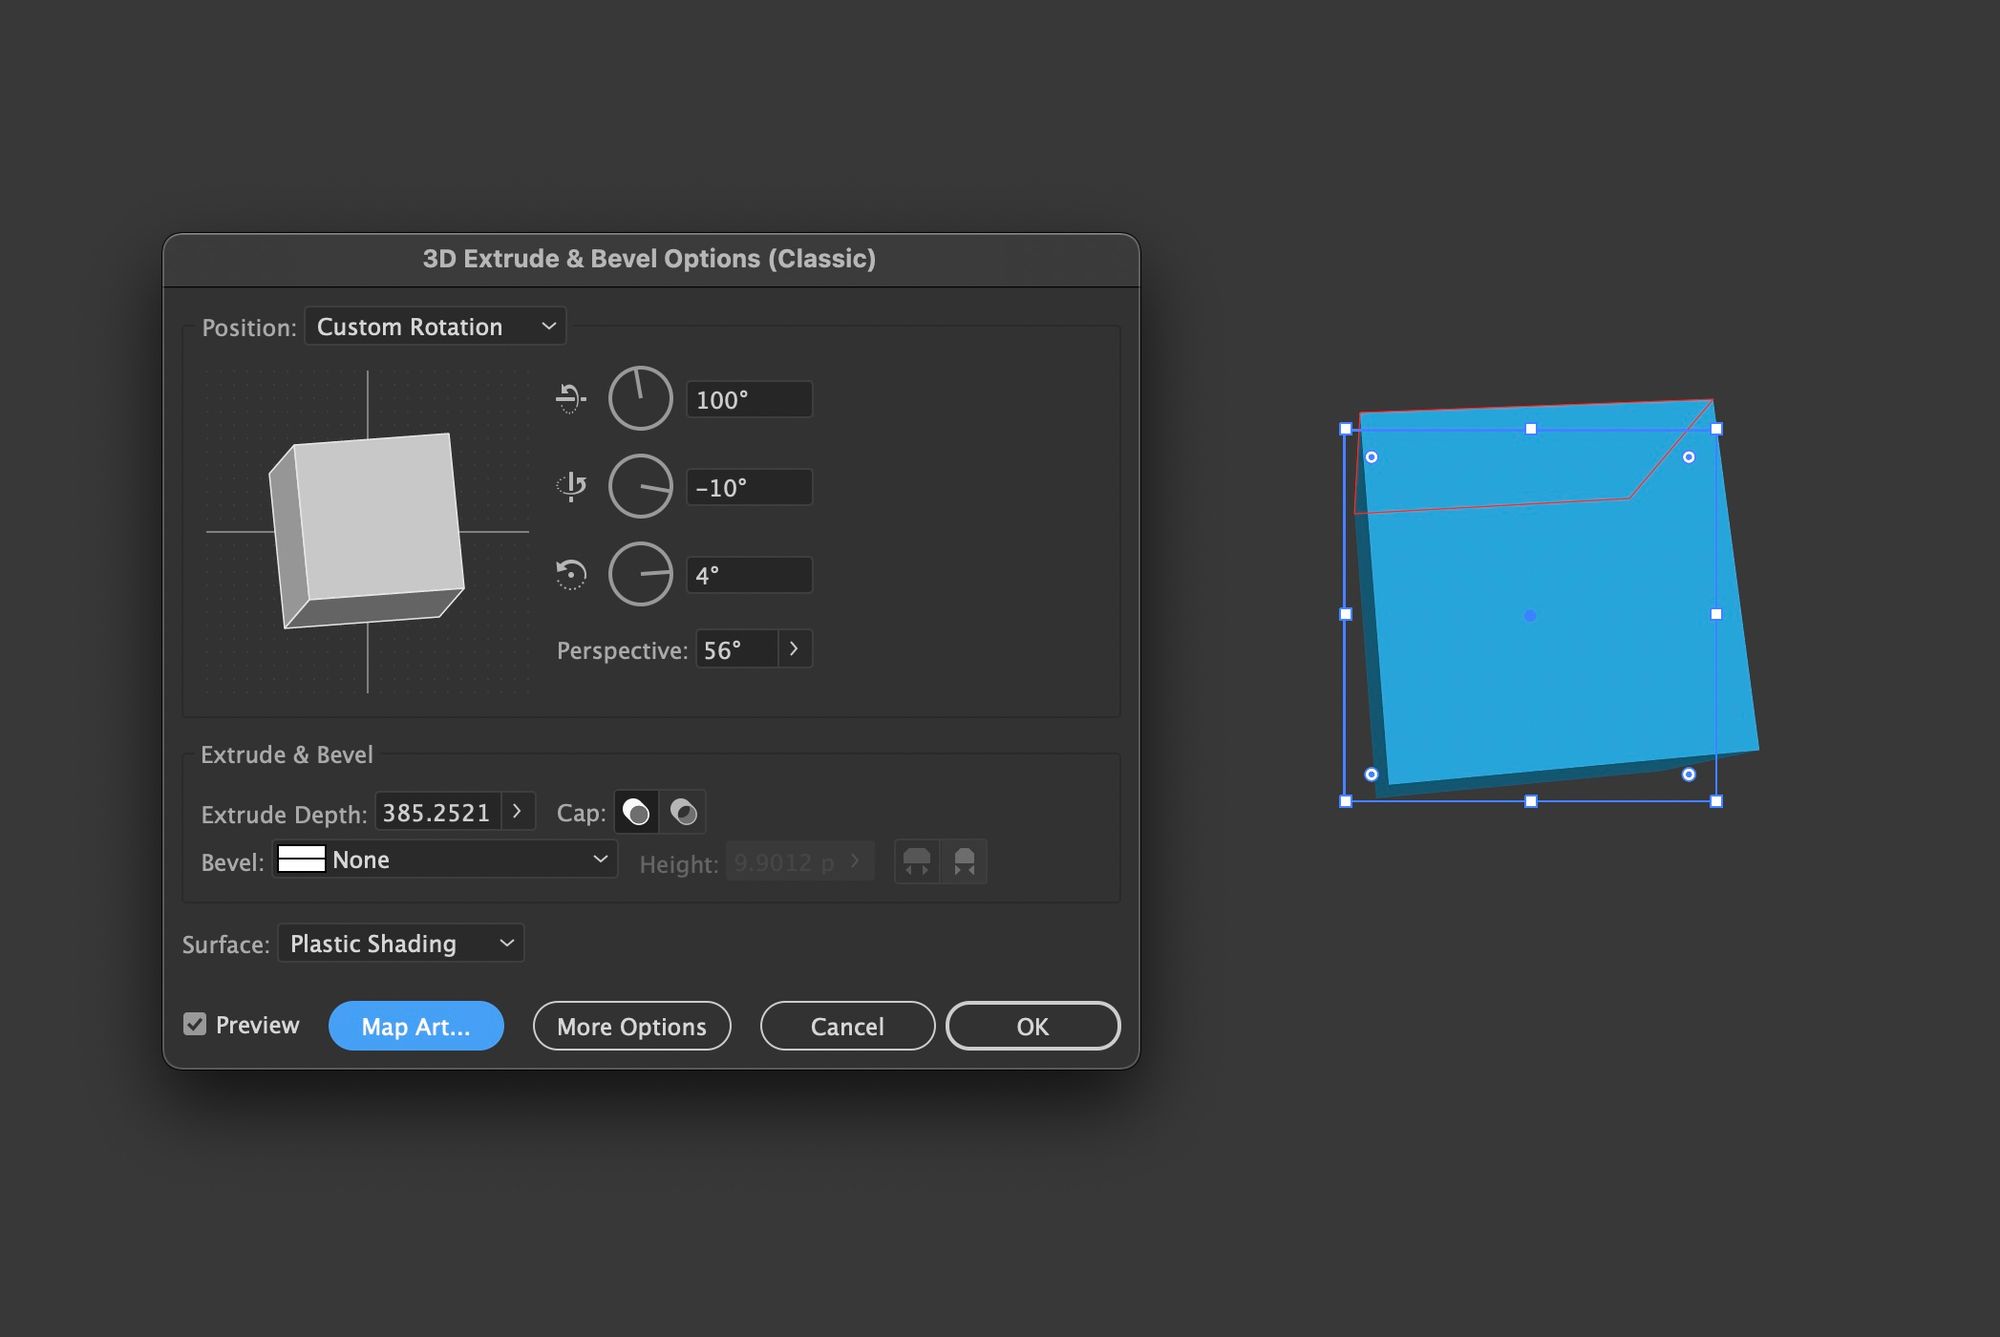
At this point, the cube does not consist of any artwork on the faces. Click on Map Art to open the option for pasting the symbols saved.
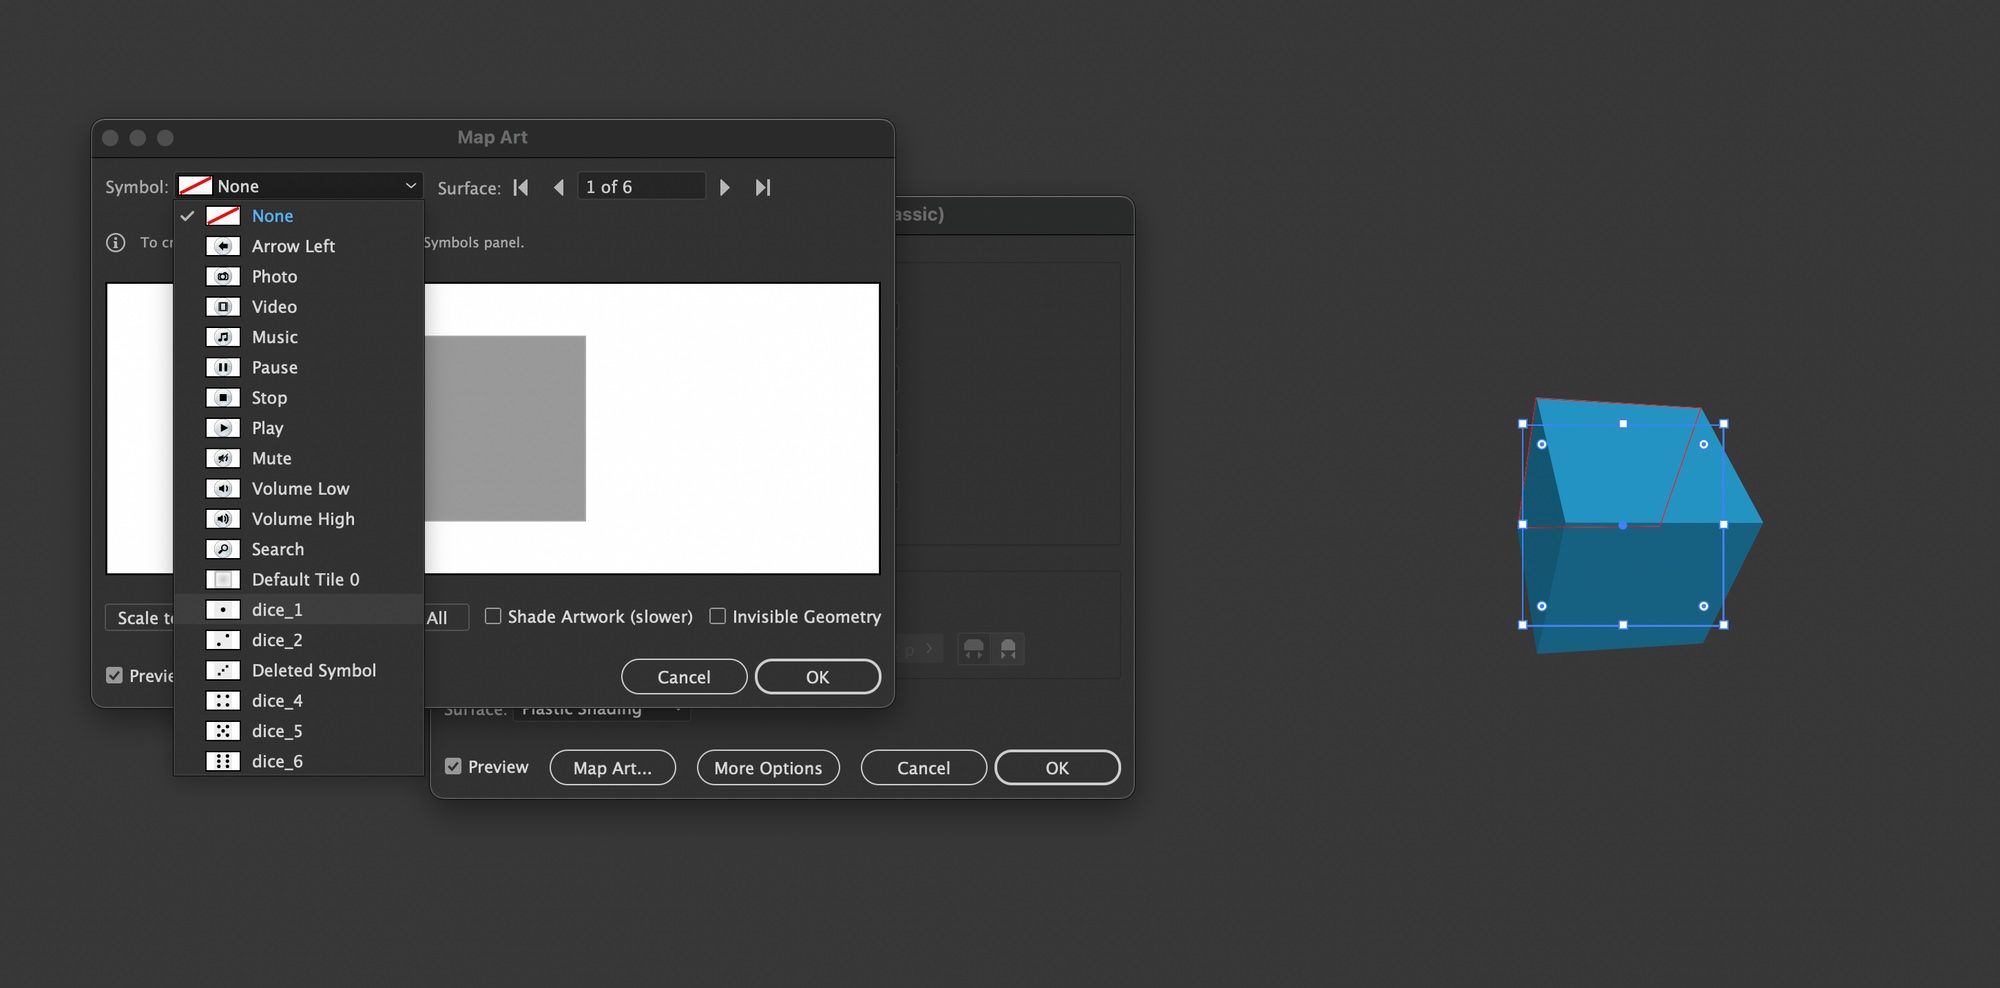
Click the Symbols options and find the symbols you want to place on the faces of the cube; renaming each symbol may be very useful to organize. Click on the Surface options to choose the side of where you want to paste the artworks.

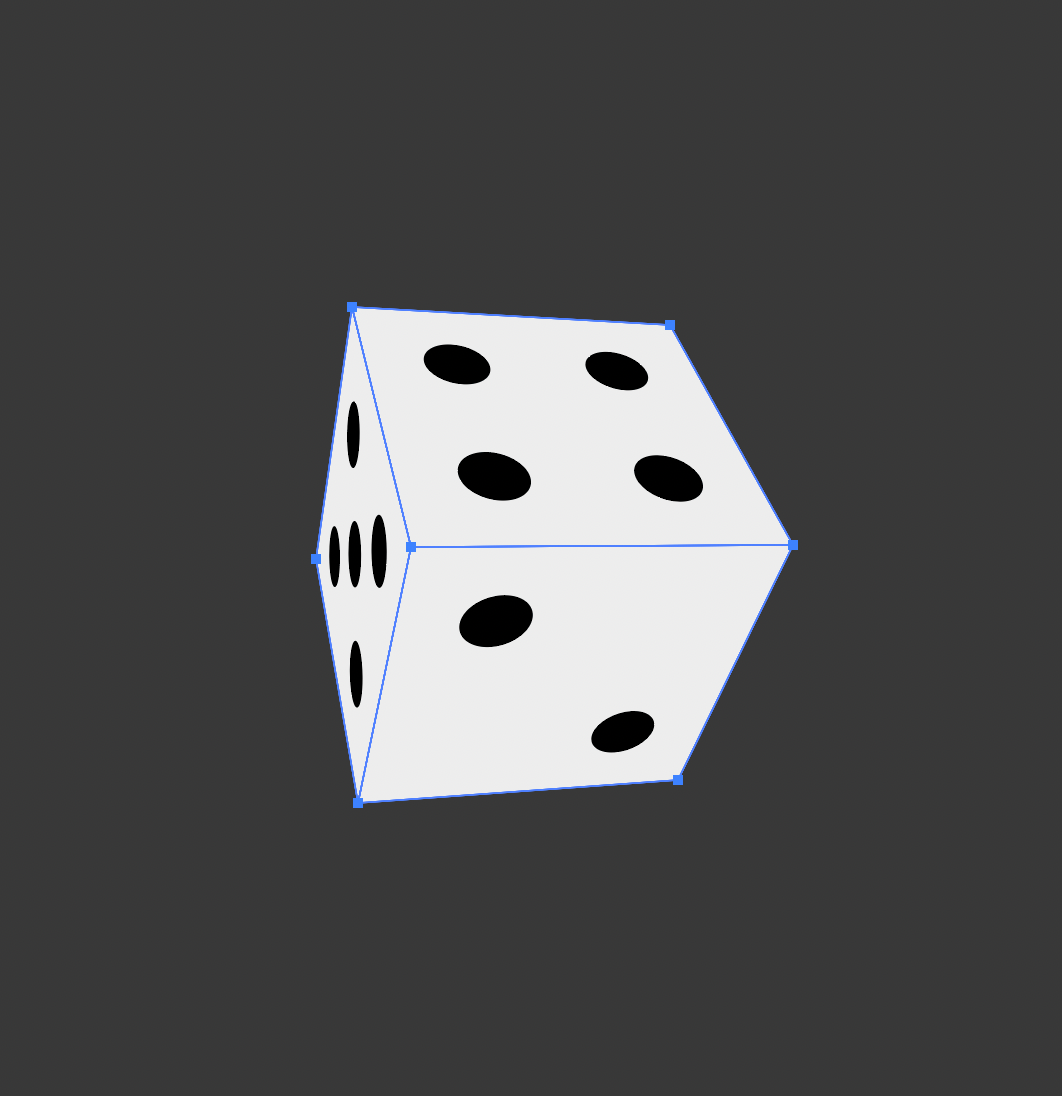
Have the Preview option activated; the symbols placed will appear on the 3D object. In the case of a cube, you will have 6 different sides/ surfaces.
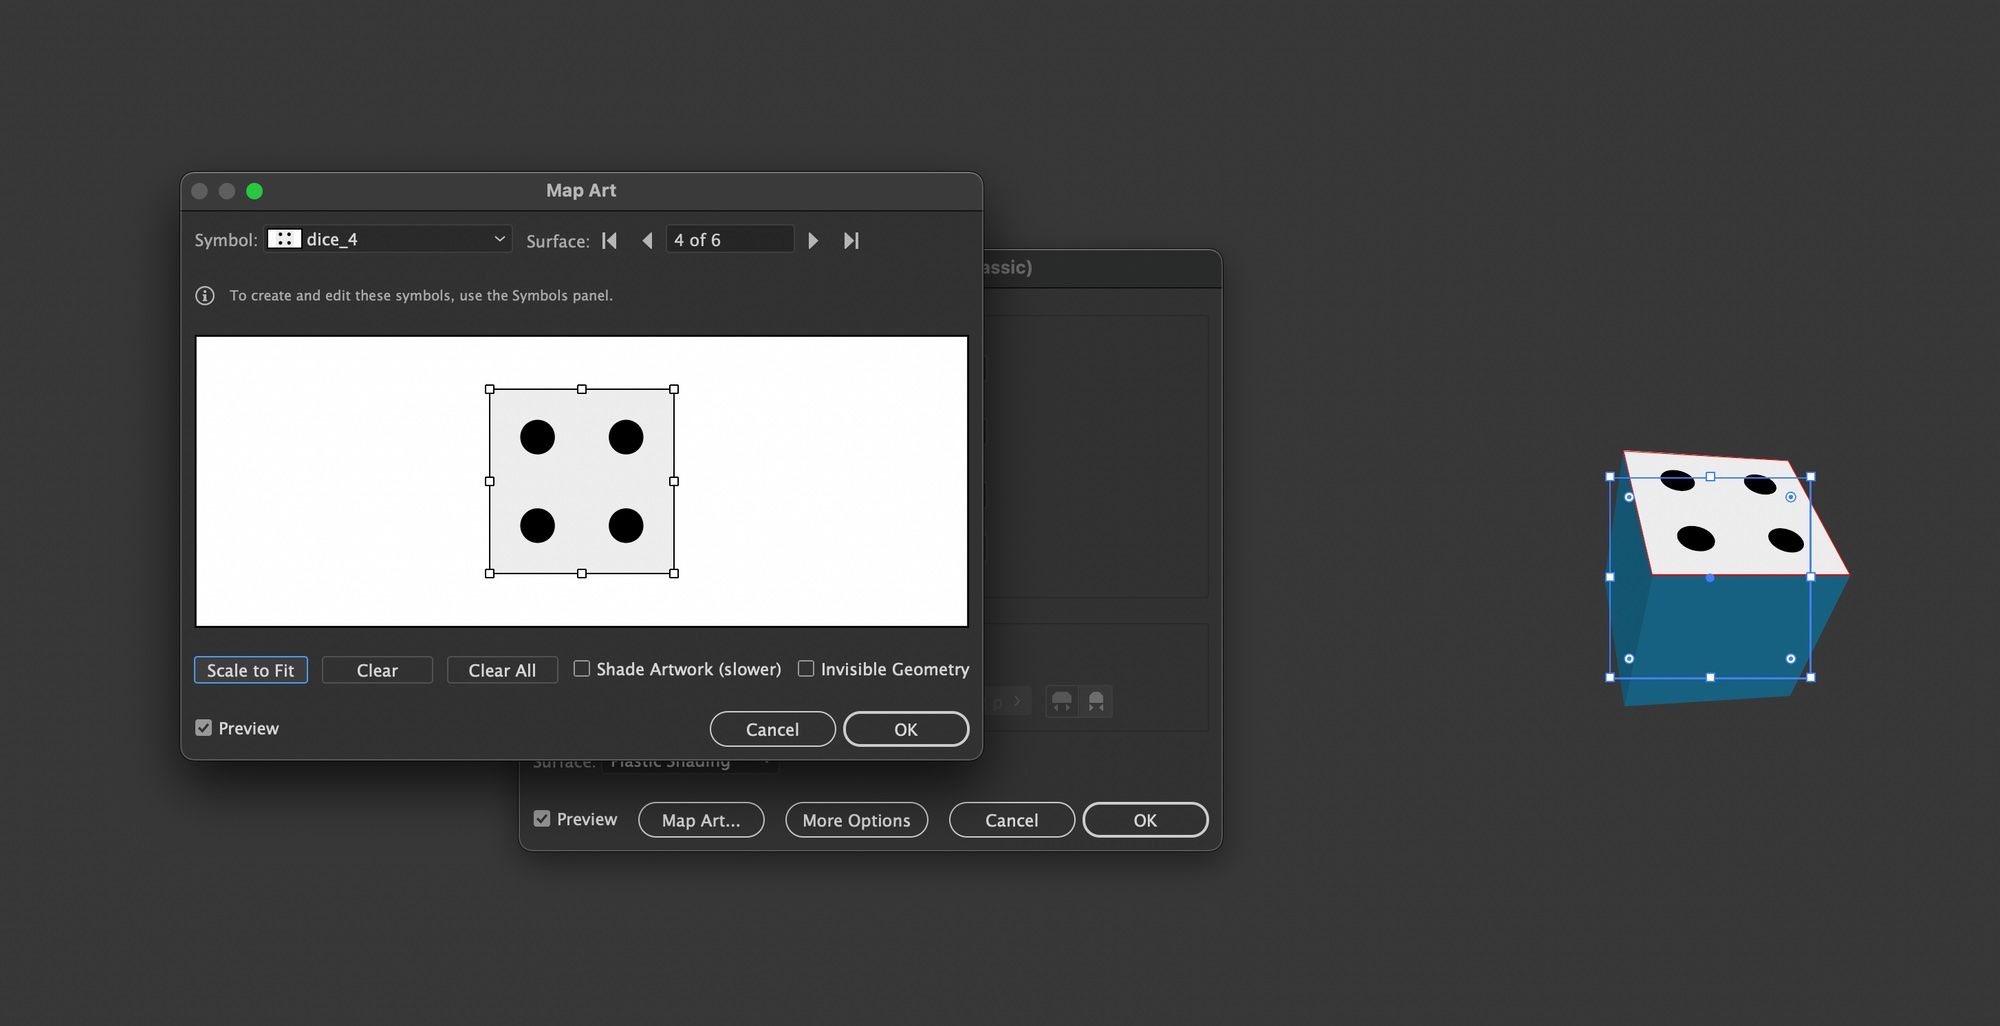
Make sure to have the scale to fit the option selected for the symbol to occupy the whole side of the cube as shown above.
Note that this effect in the new Adobe illustrator 2022 is found in Effects> 3D and Material> 3D (classic) > Extrude and Bevel (Classic) The updated Adobe illustrator 2022 has a completely different UI for the 3D and bevel effect but does not consist of pasting.
Repeat this process to have all 6 sides of the cube filled with numbers 1-6.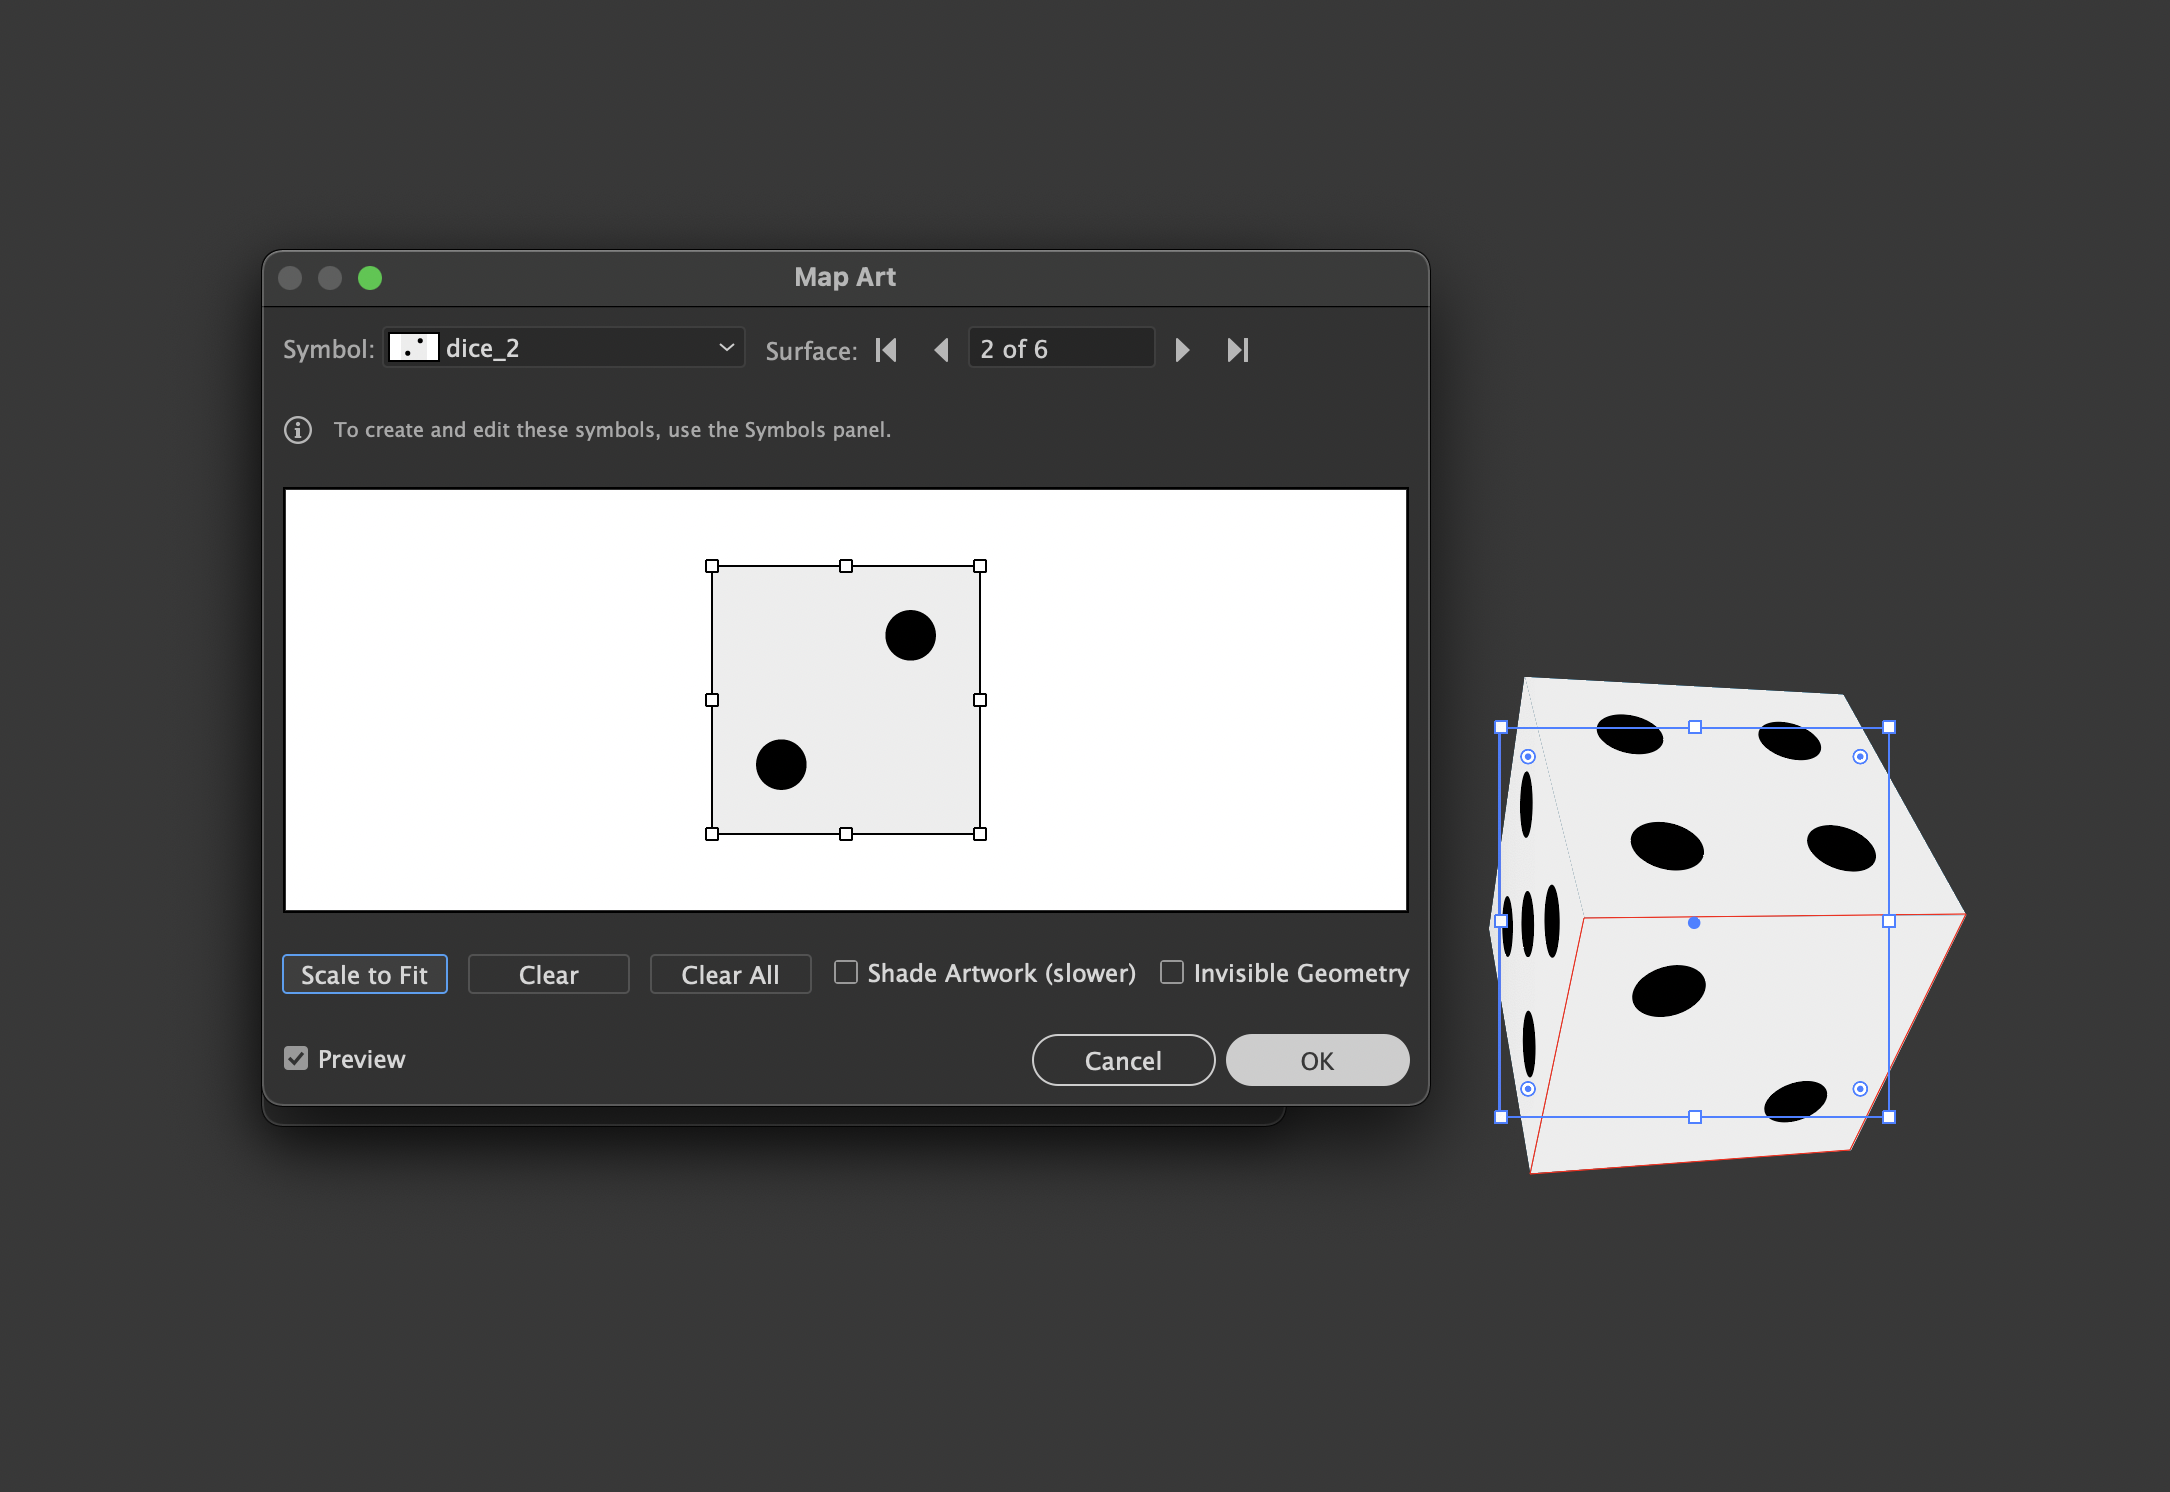
The render dice at this point will be very sharp looking therefore they must be modified.
Go to Object> Expand option to convert the 3D asset to shapes.Once each visible element are converted to objects it can be modified individually as flat shapes.
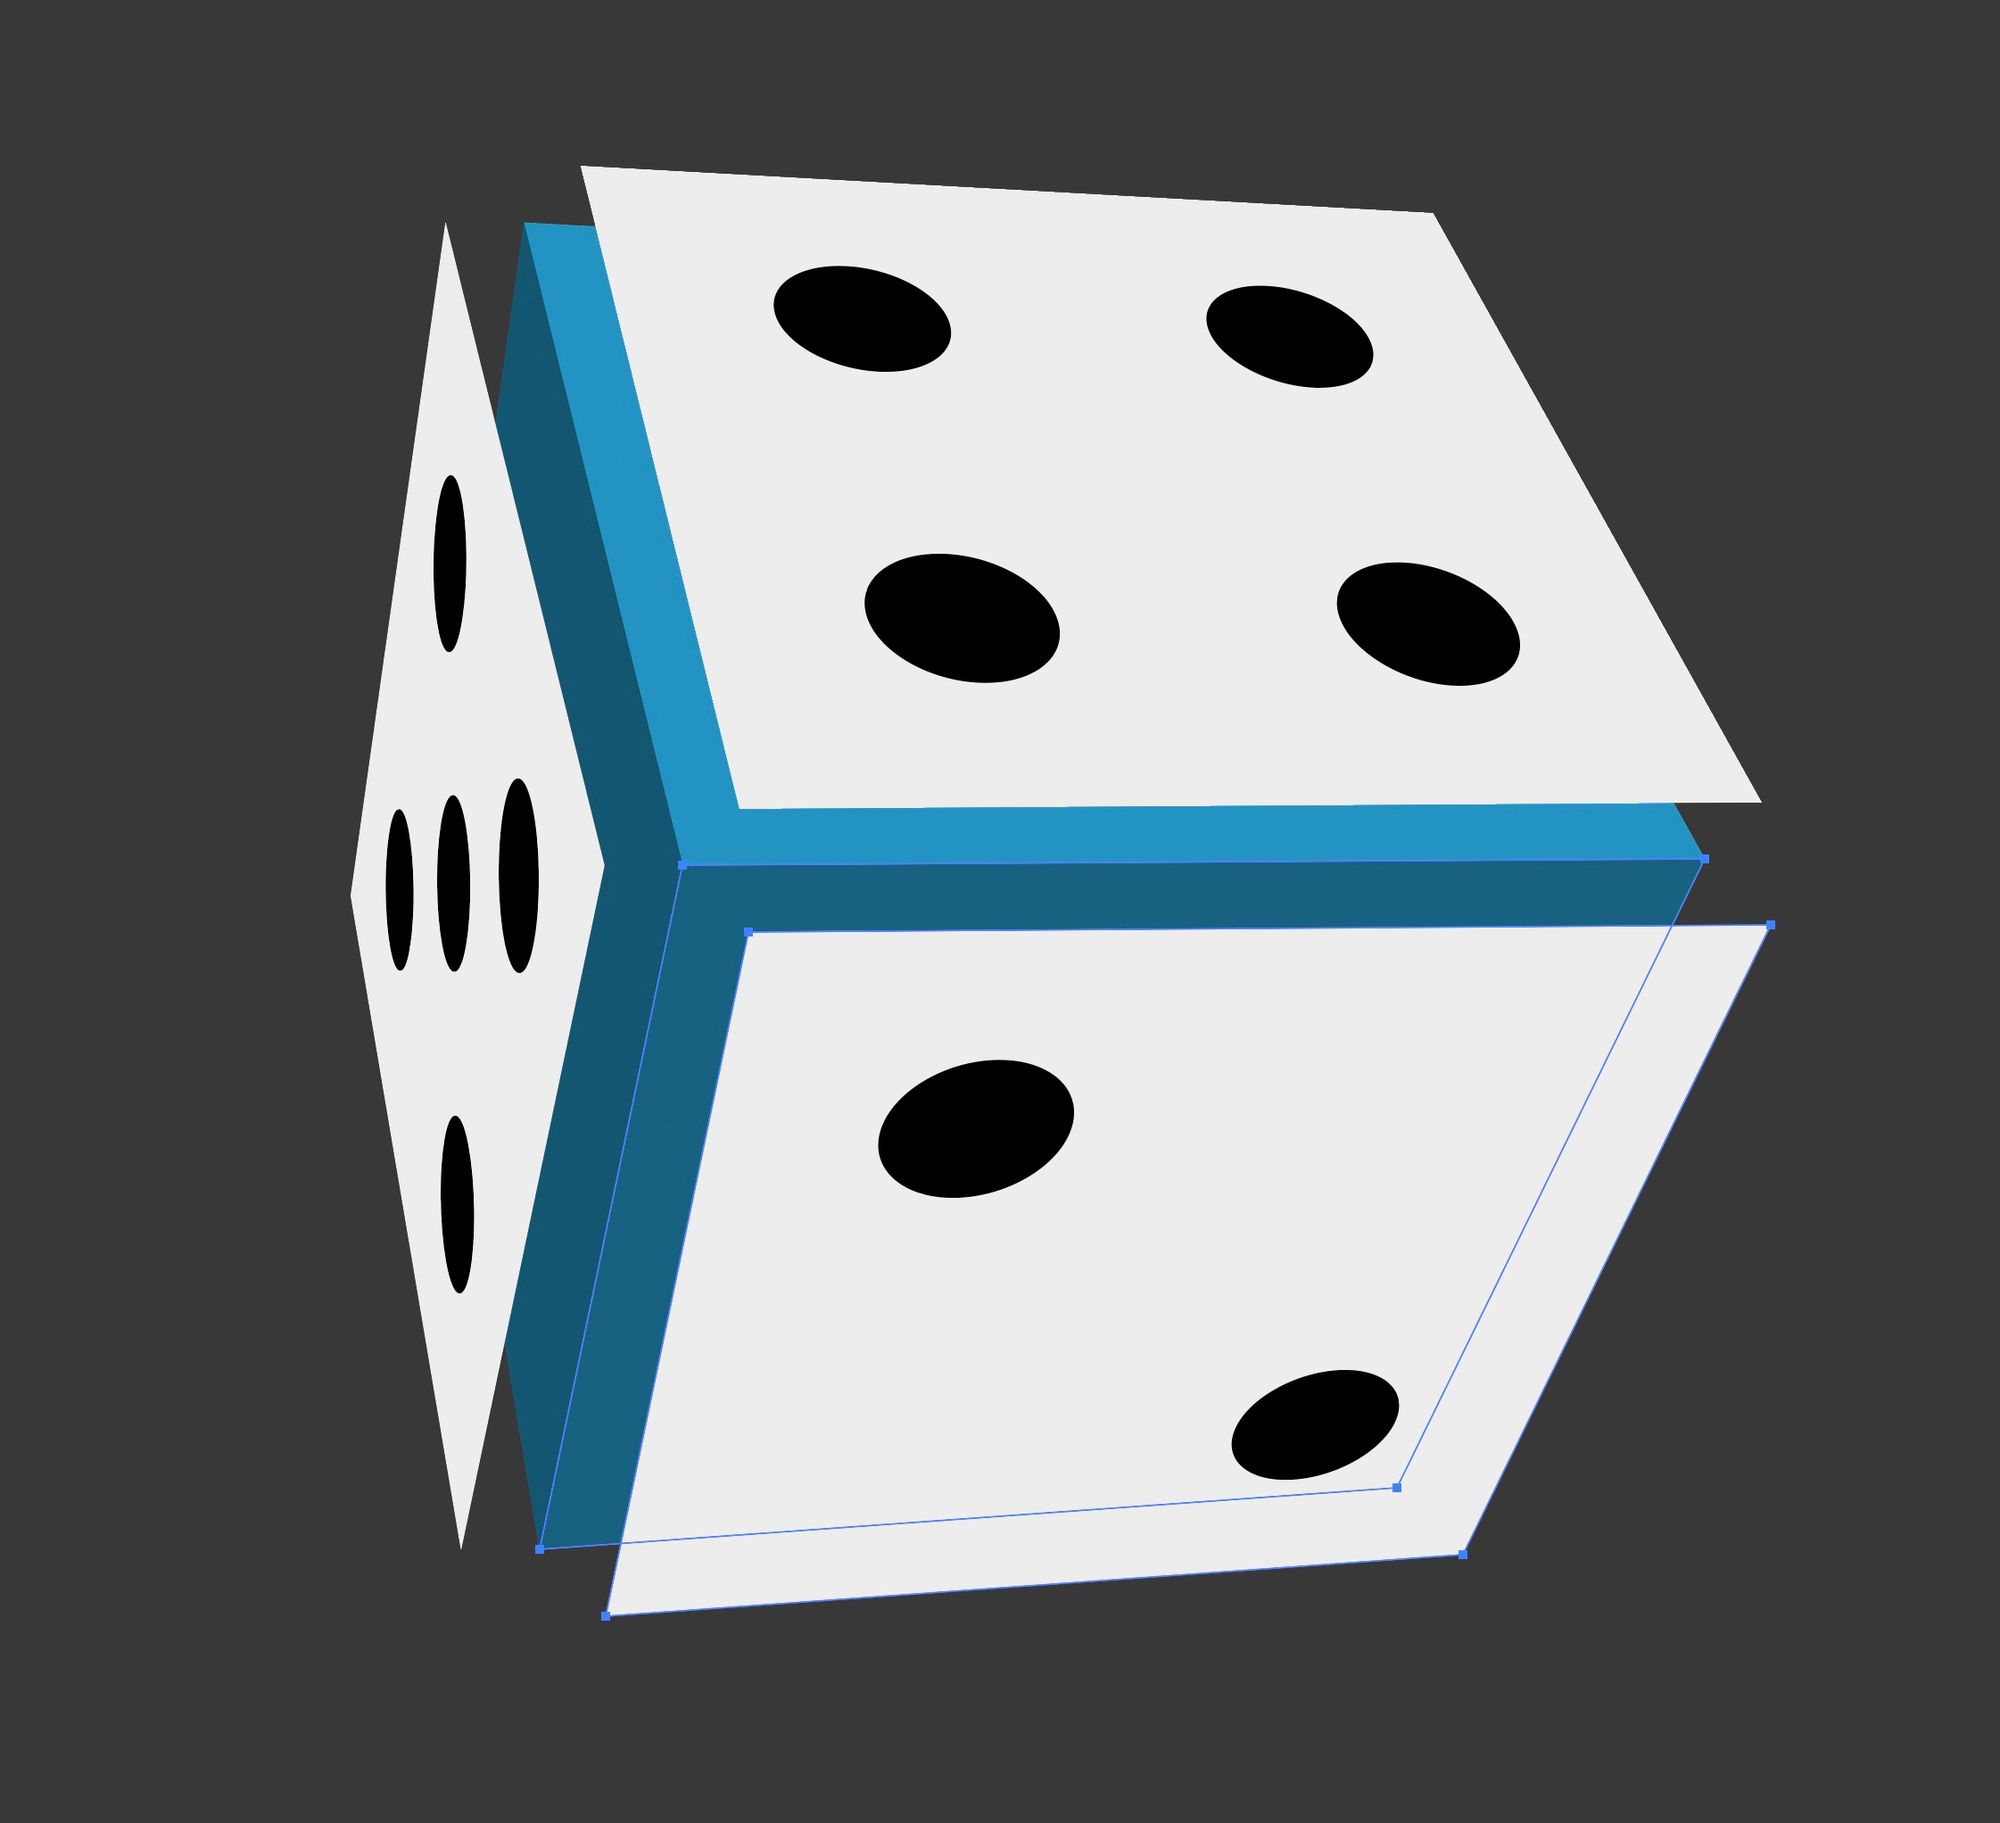
The artworks/symbols are attached to the designated faces of the 3D shape so you have to first separate them by ungrouping Cmd+Shift+G for macOS or Control+Shift+G in Windows.
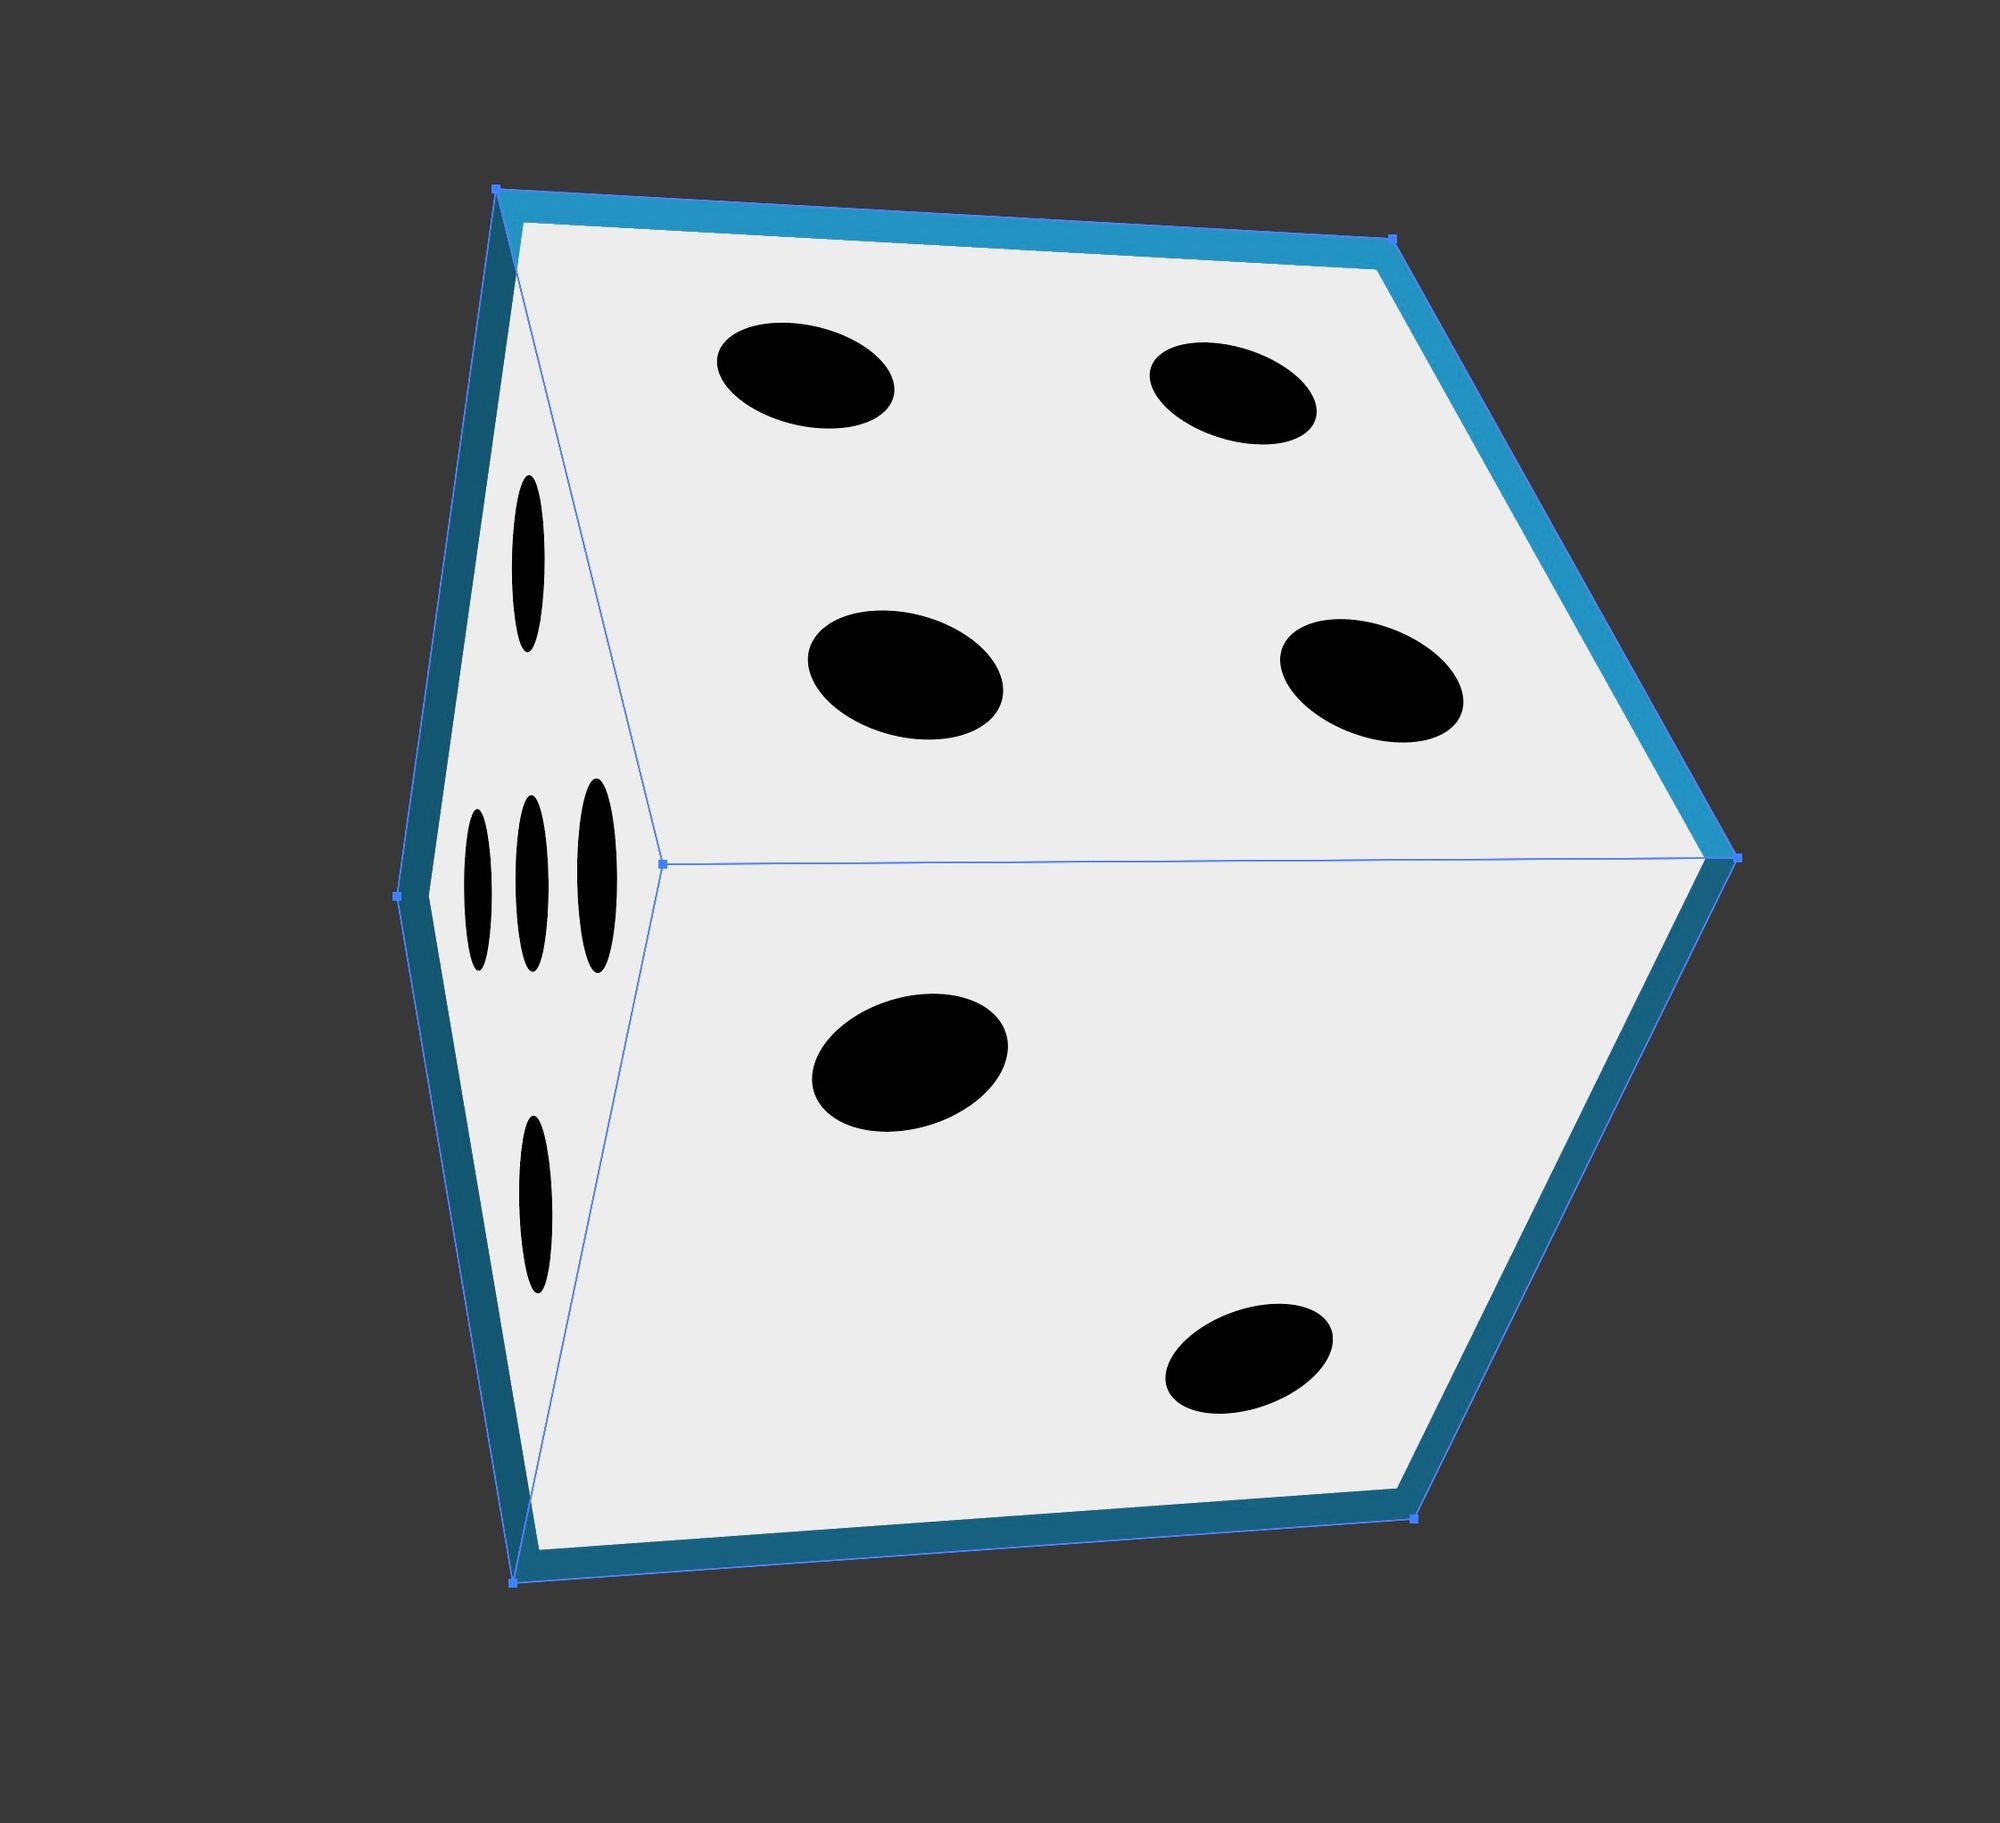
After they are ungrouped, the shape behind them can be enlarged to surround the dice faces.
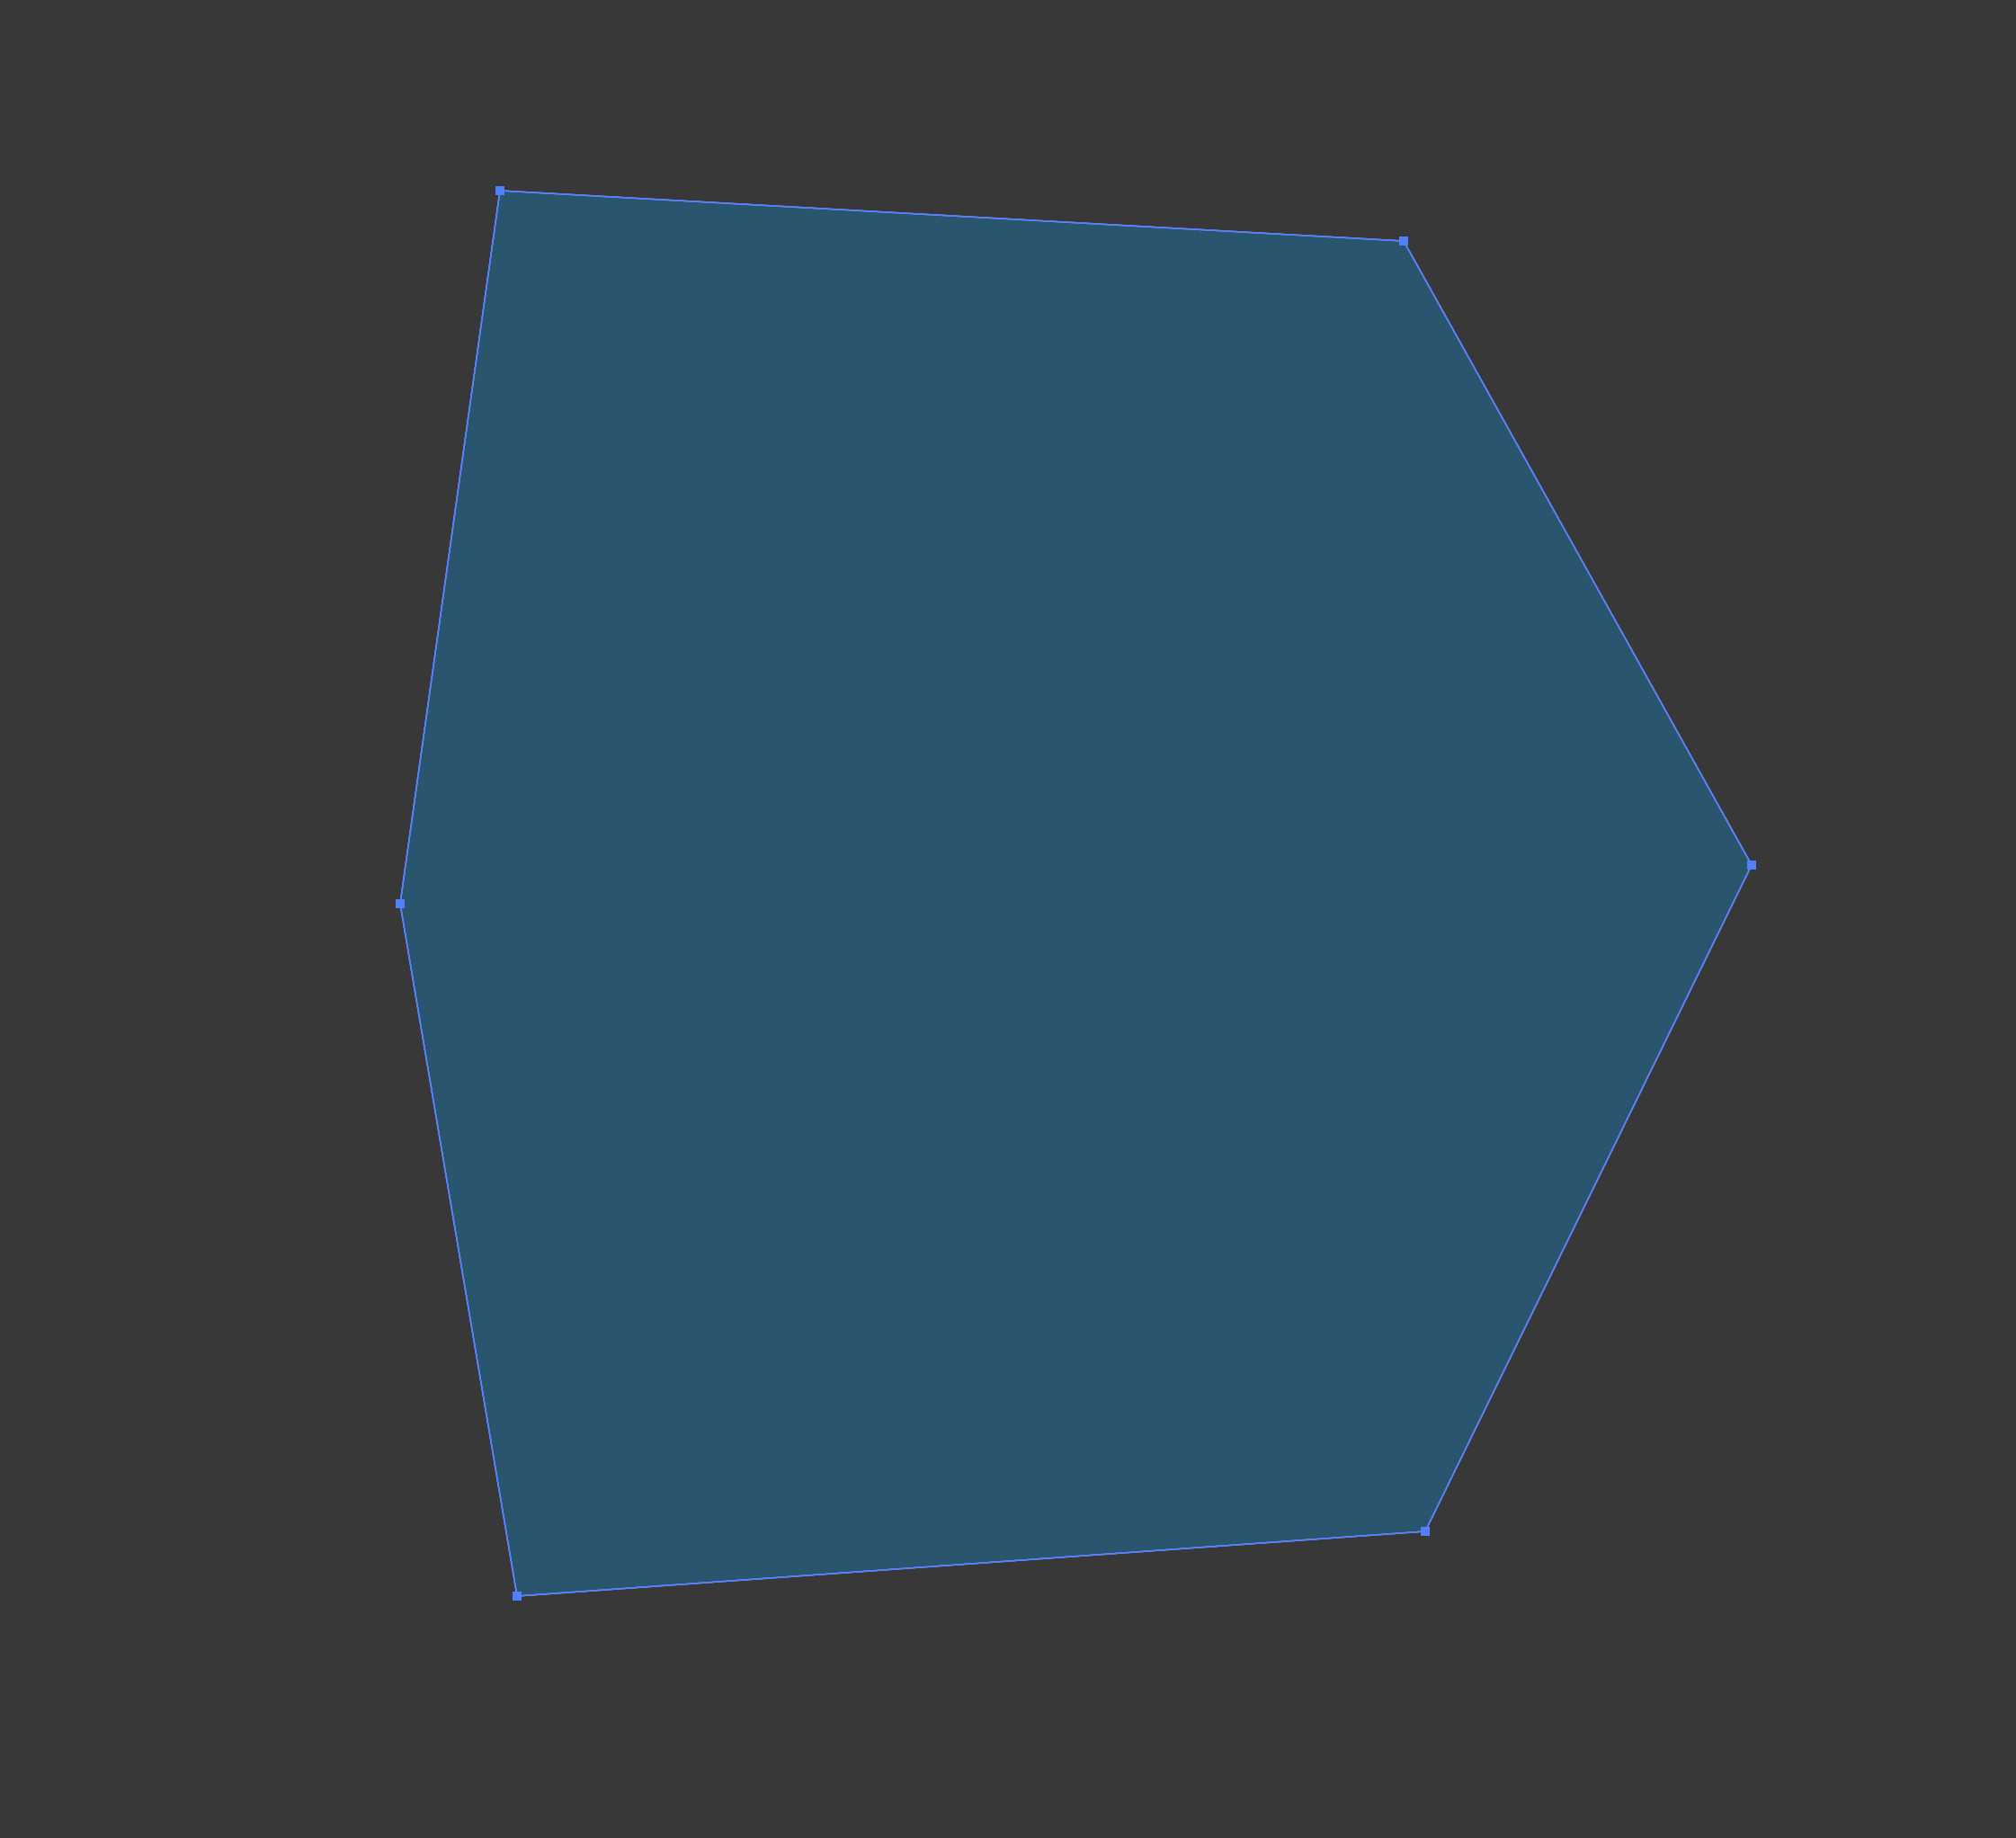
Use the pathfinder tool to unite the shapes that form the larger cube
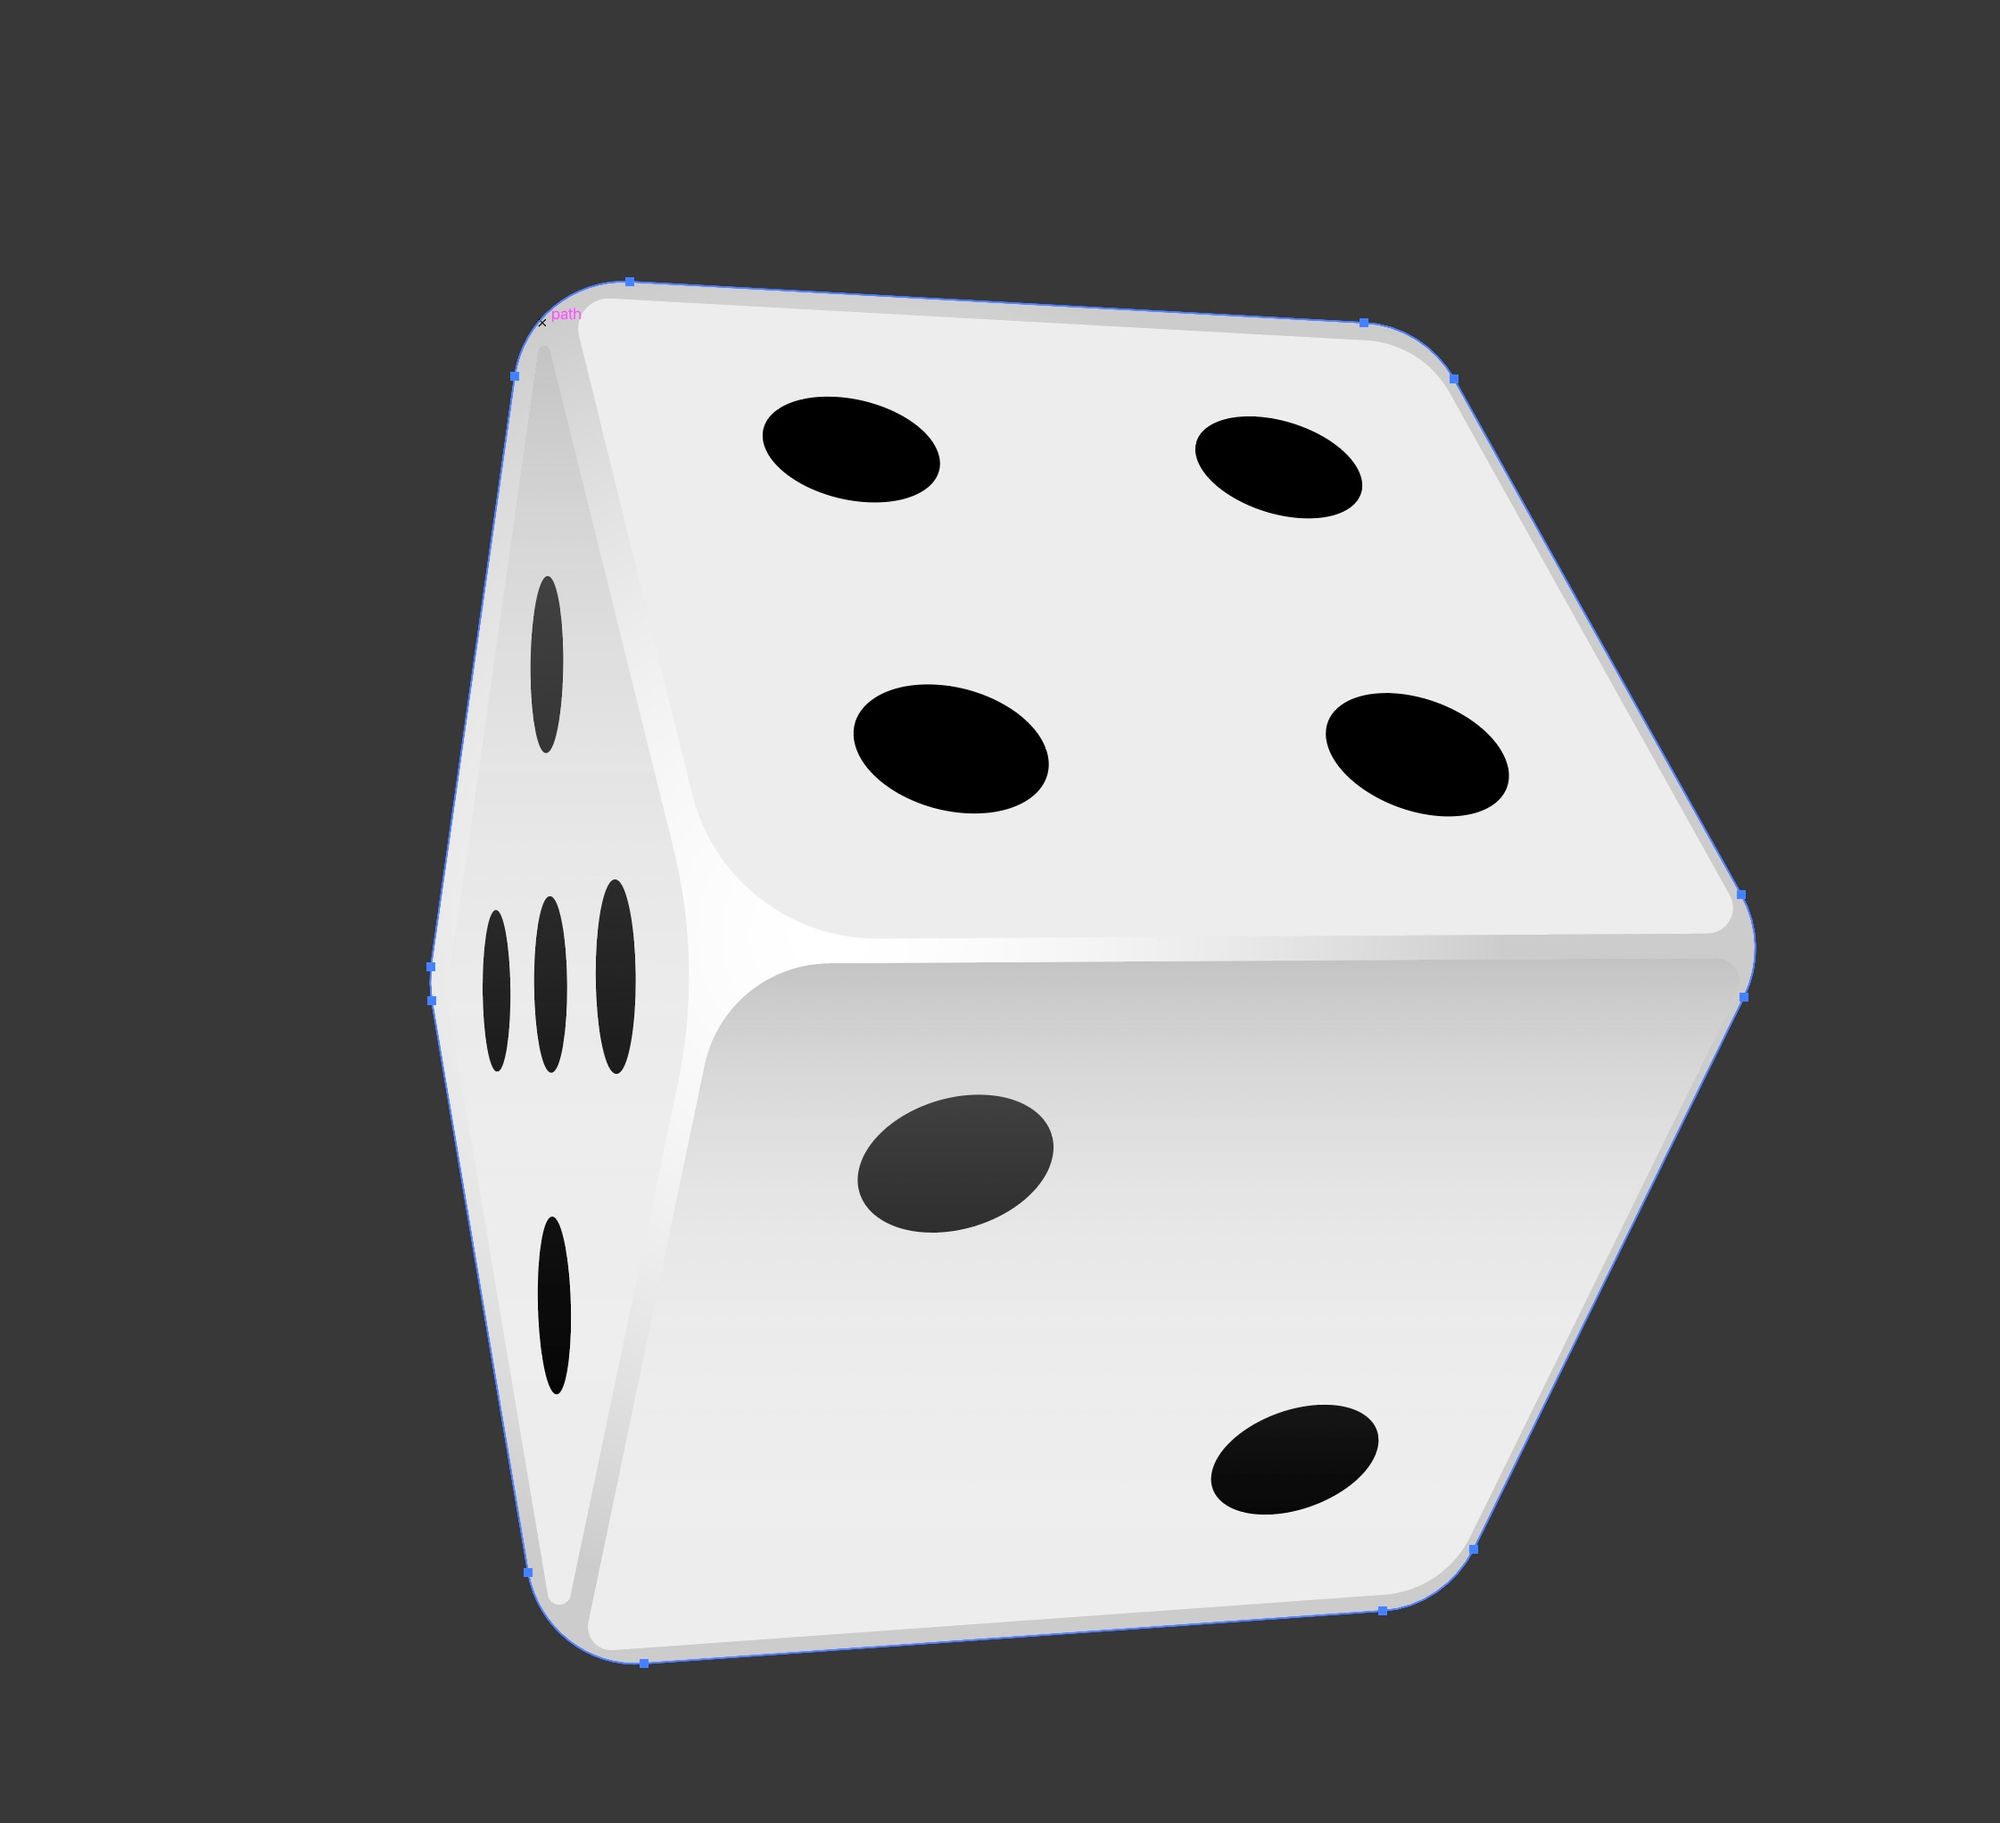
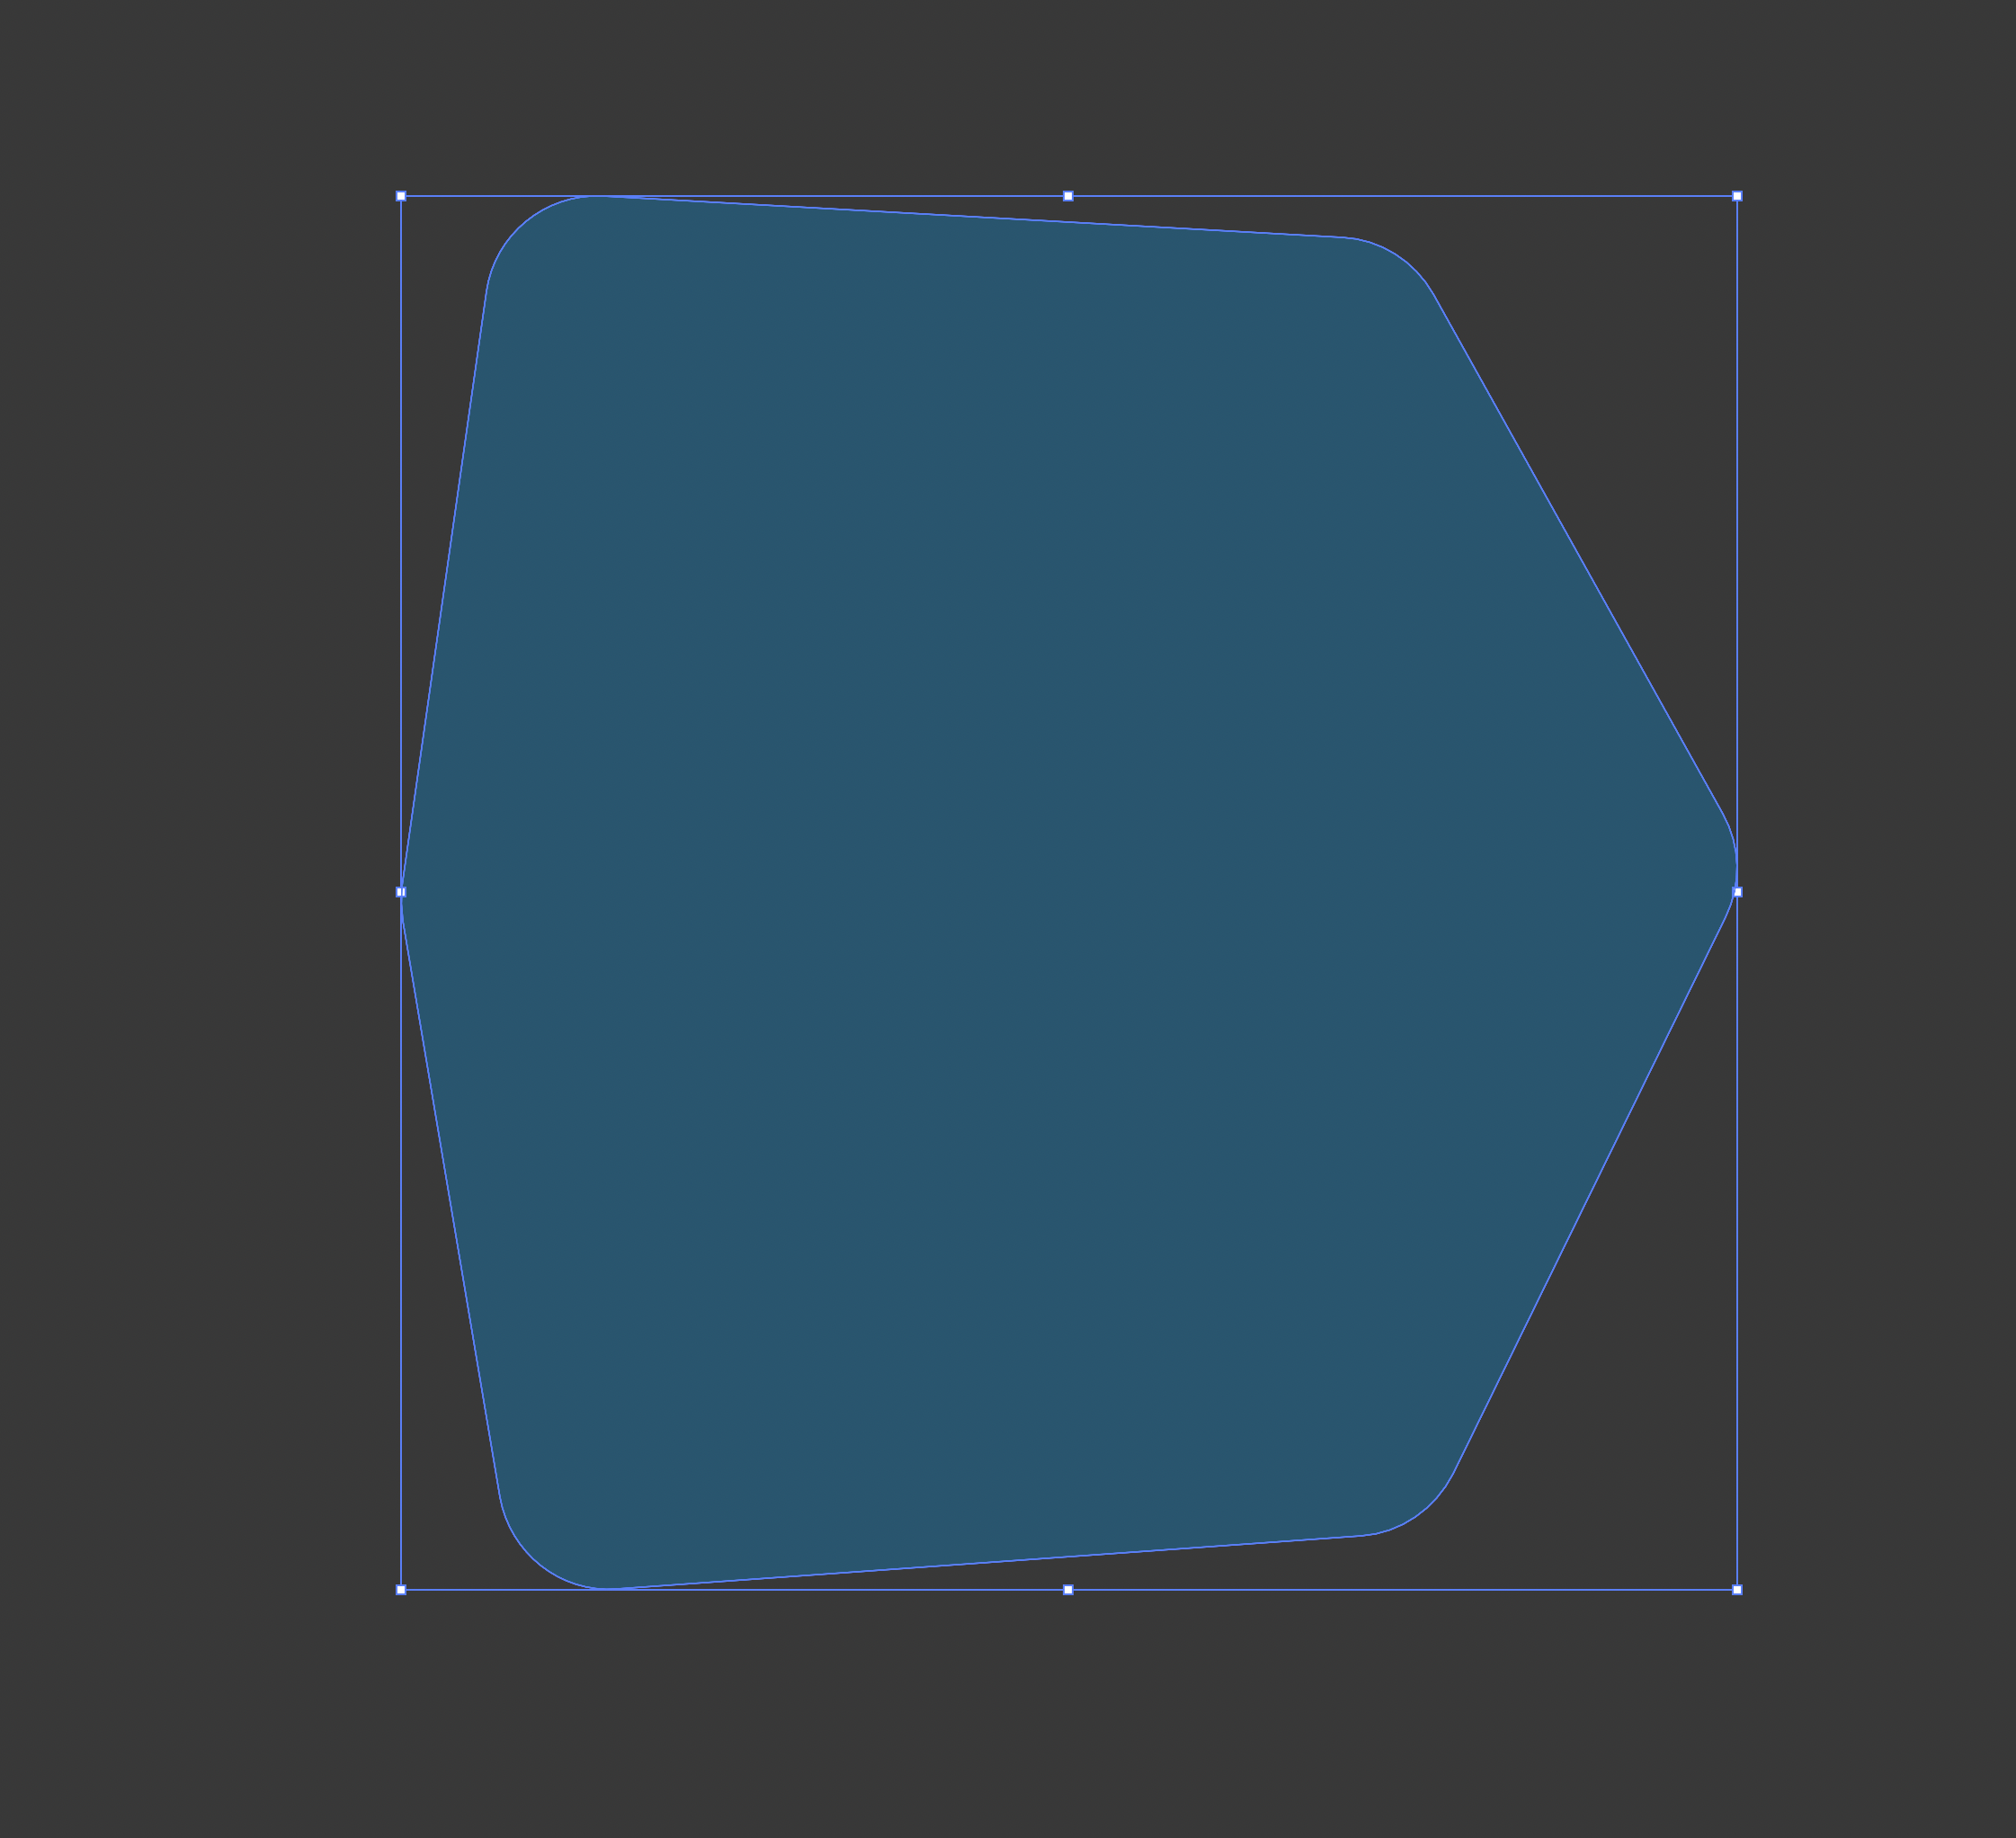
Use a direct selection tool or Effects > Rounded corners to give soft edges to the cube. This process may differ according to the angle at which the shapes are placed.

Cmd+Shift+[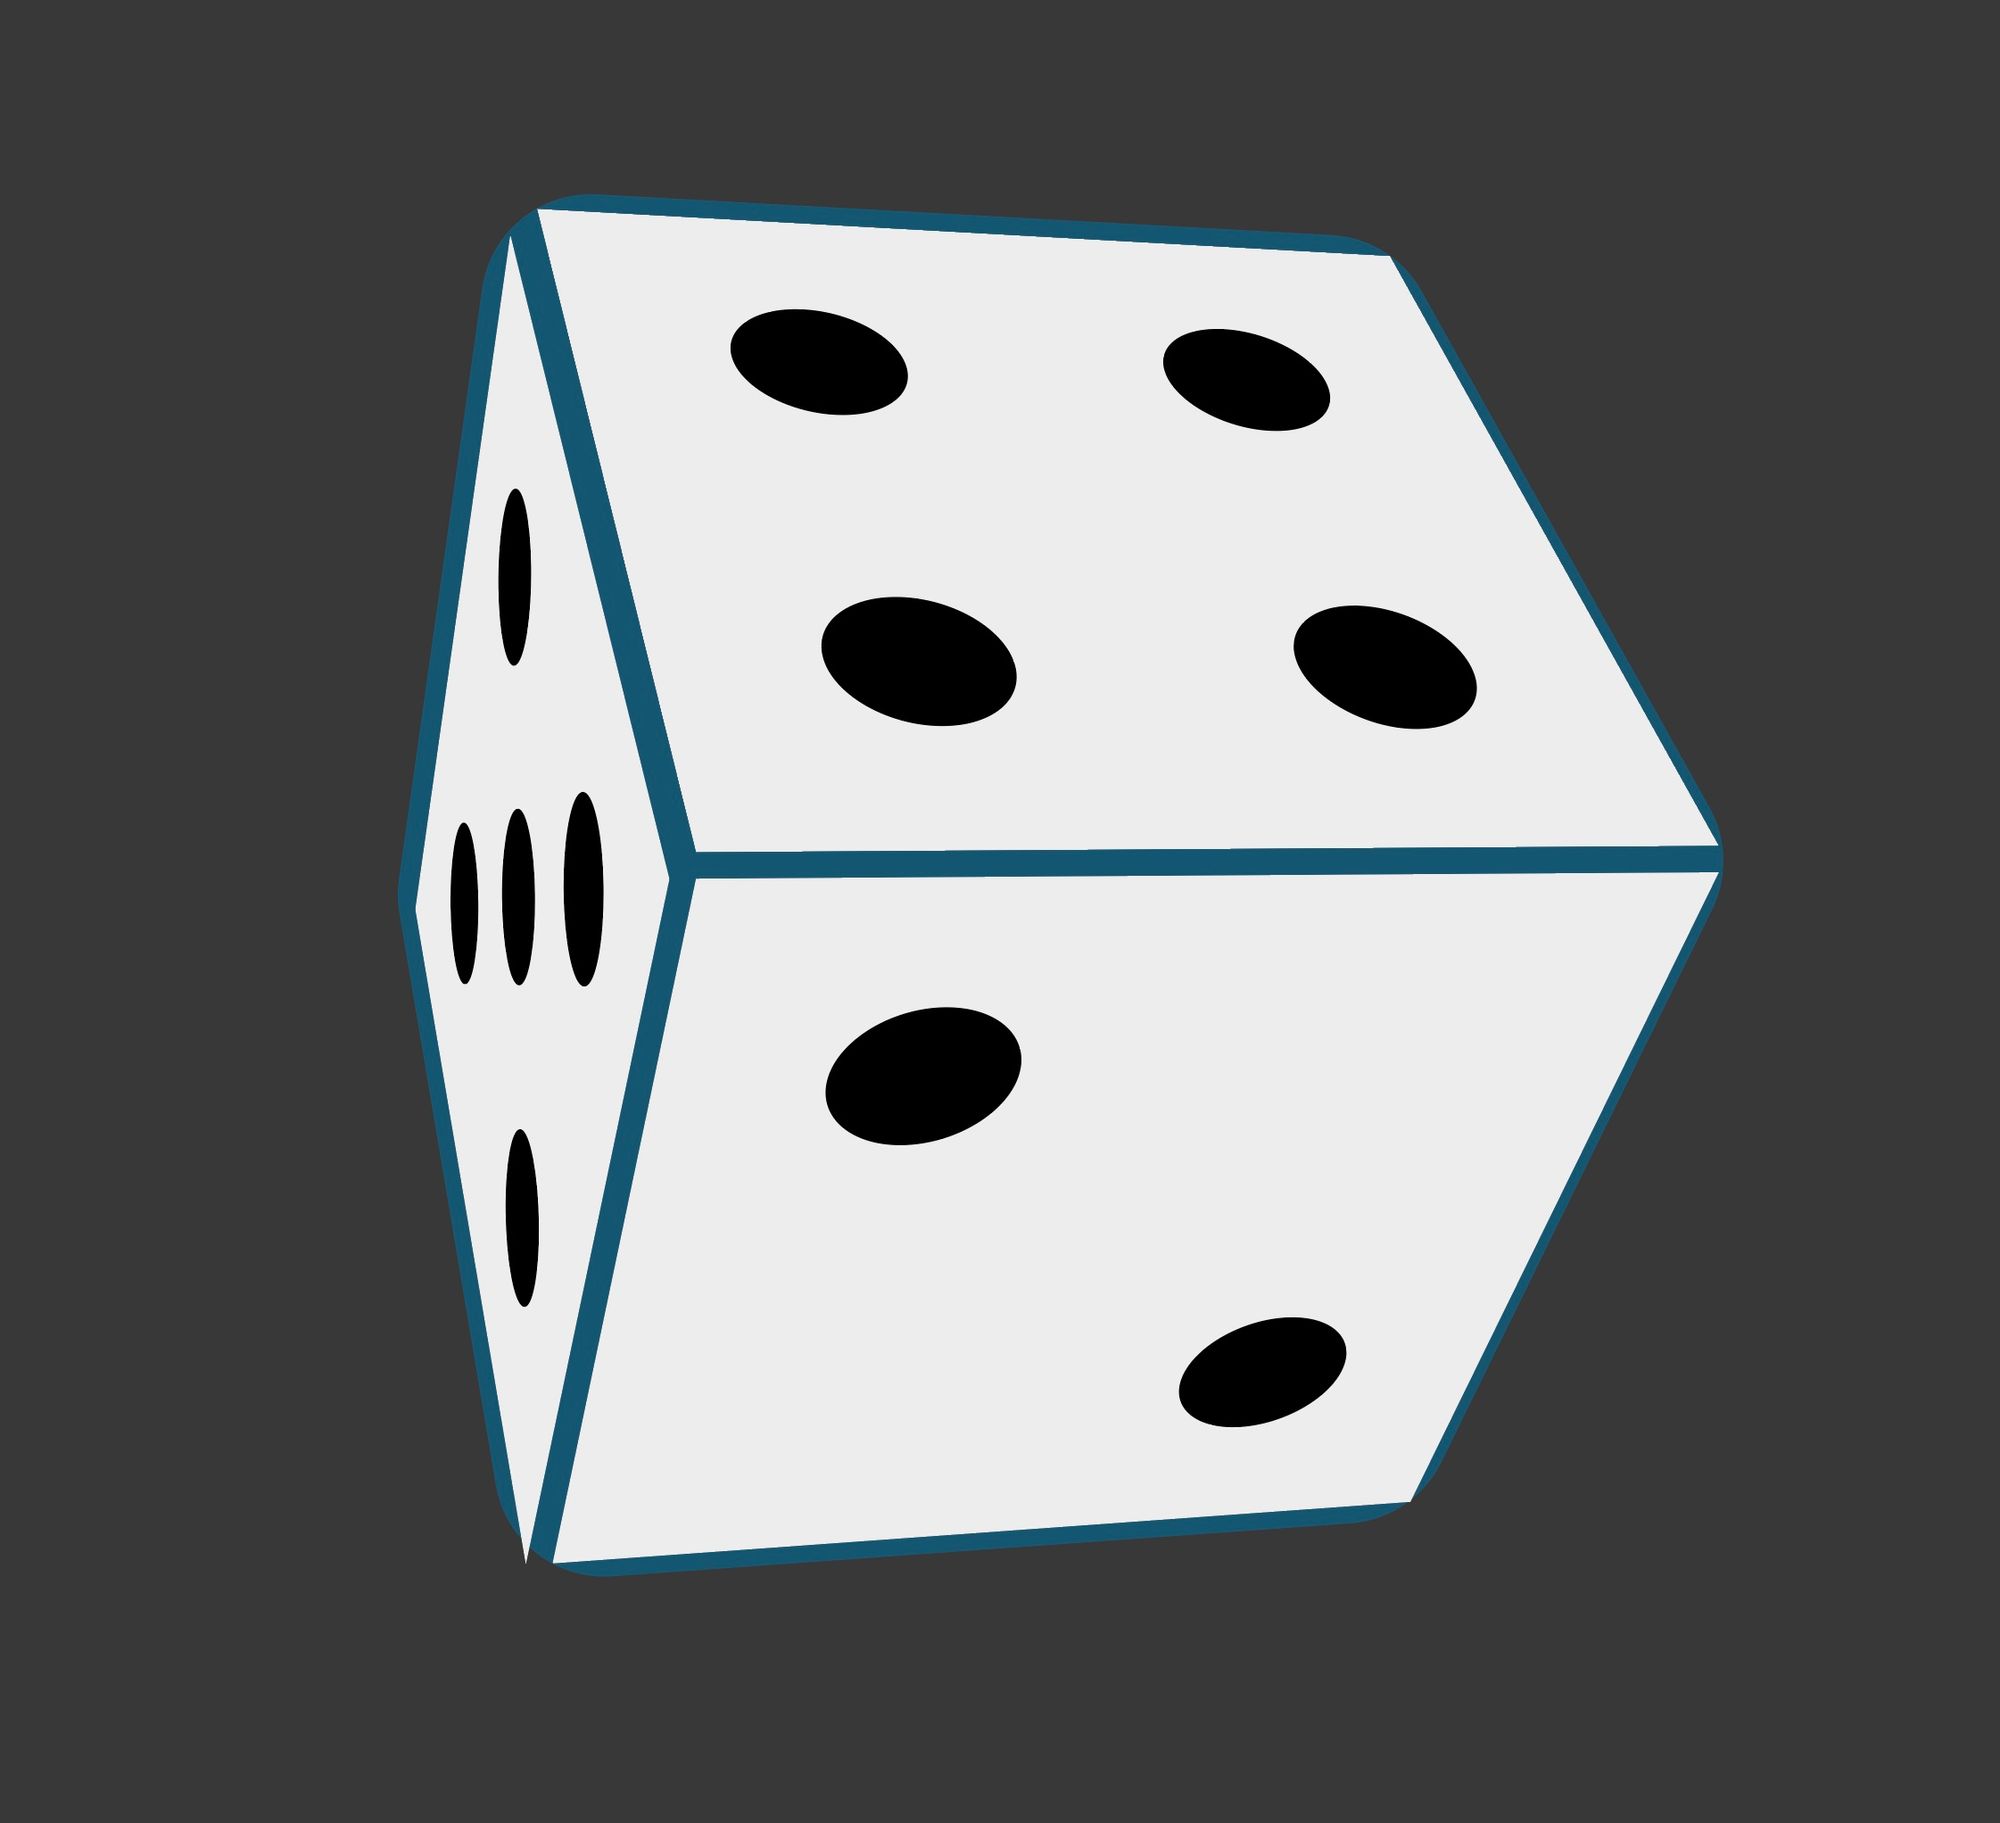
Separate the side of the numbers them in such a way that it looks natural in perspective.
You can now round the corners of the clipping mask which is marking the number faces > you can use the Direct Selection tool to individually modify the radius of the curves. Not all radius can be of the same number since the natural perspective does not work in that way.
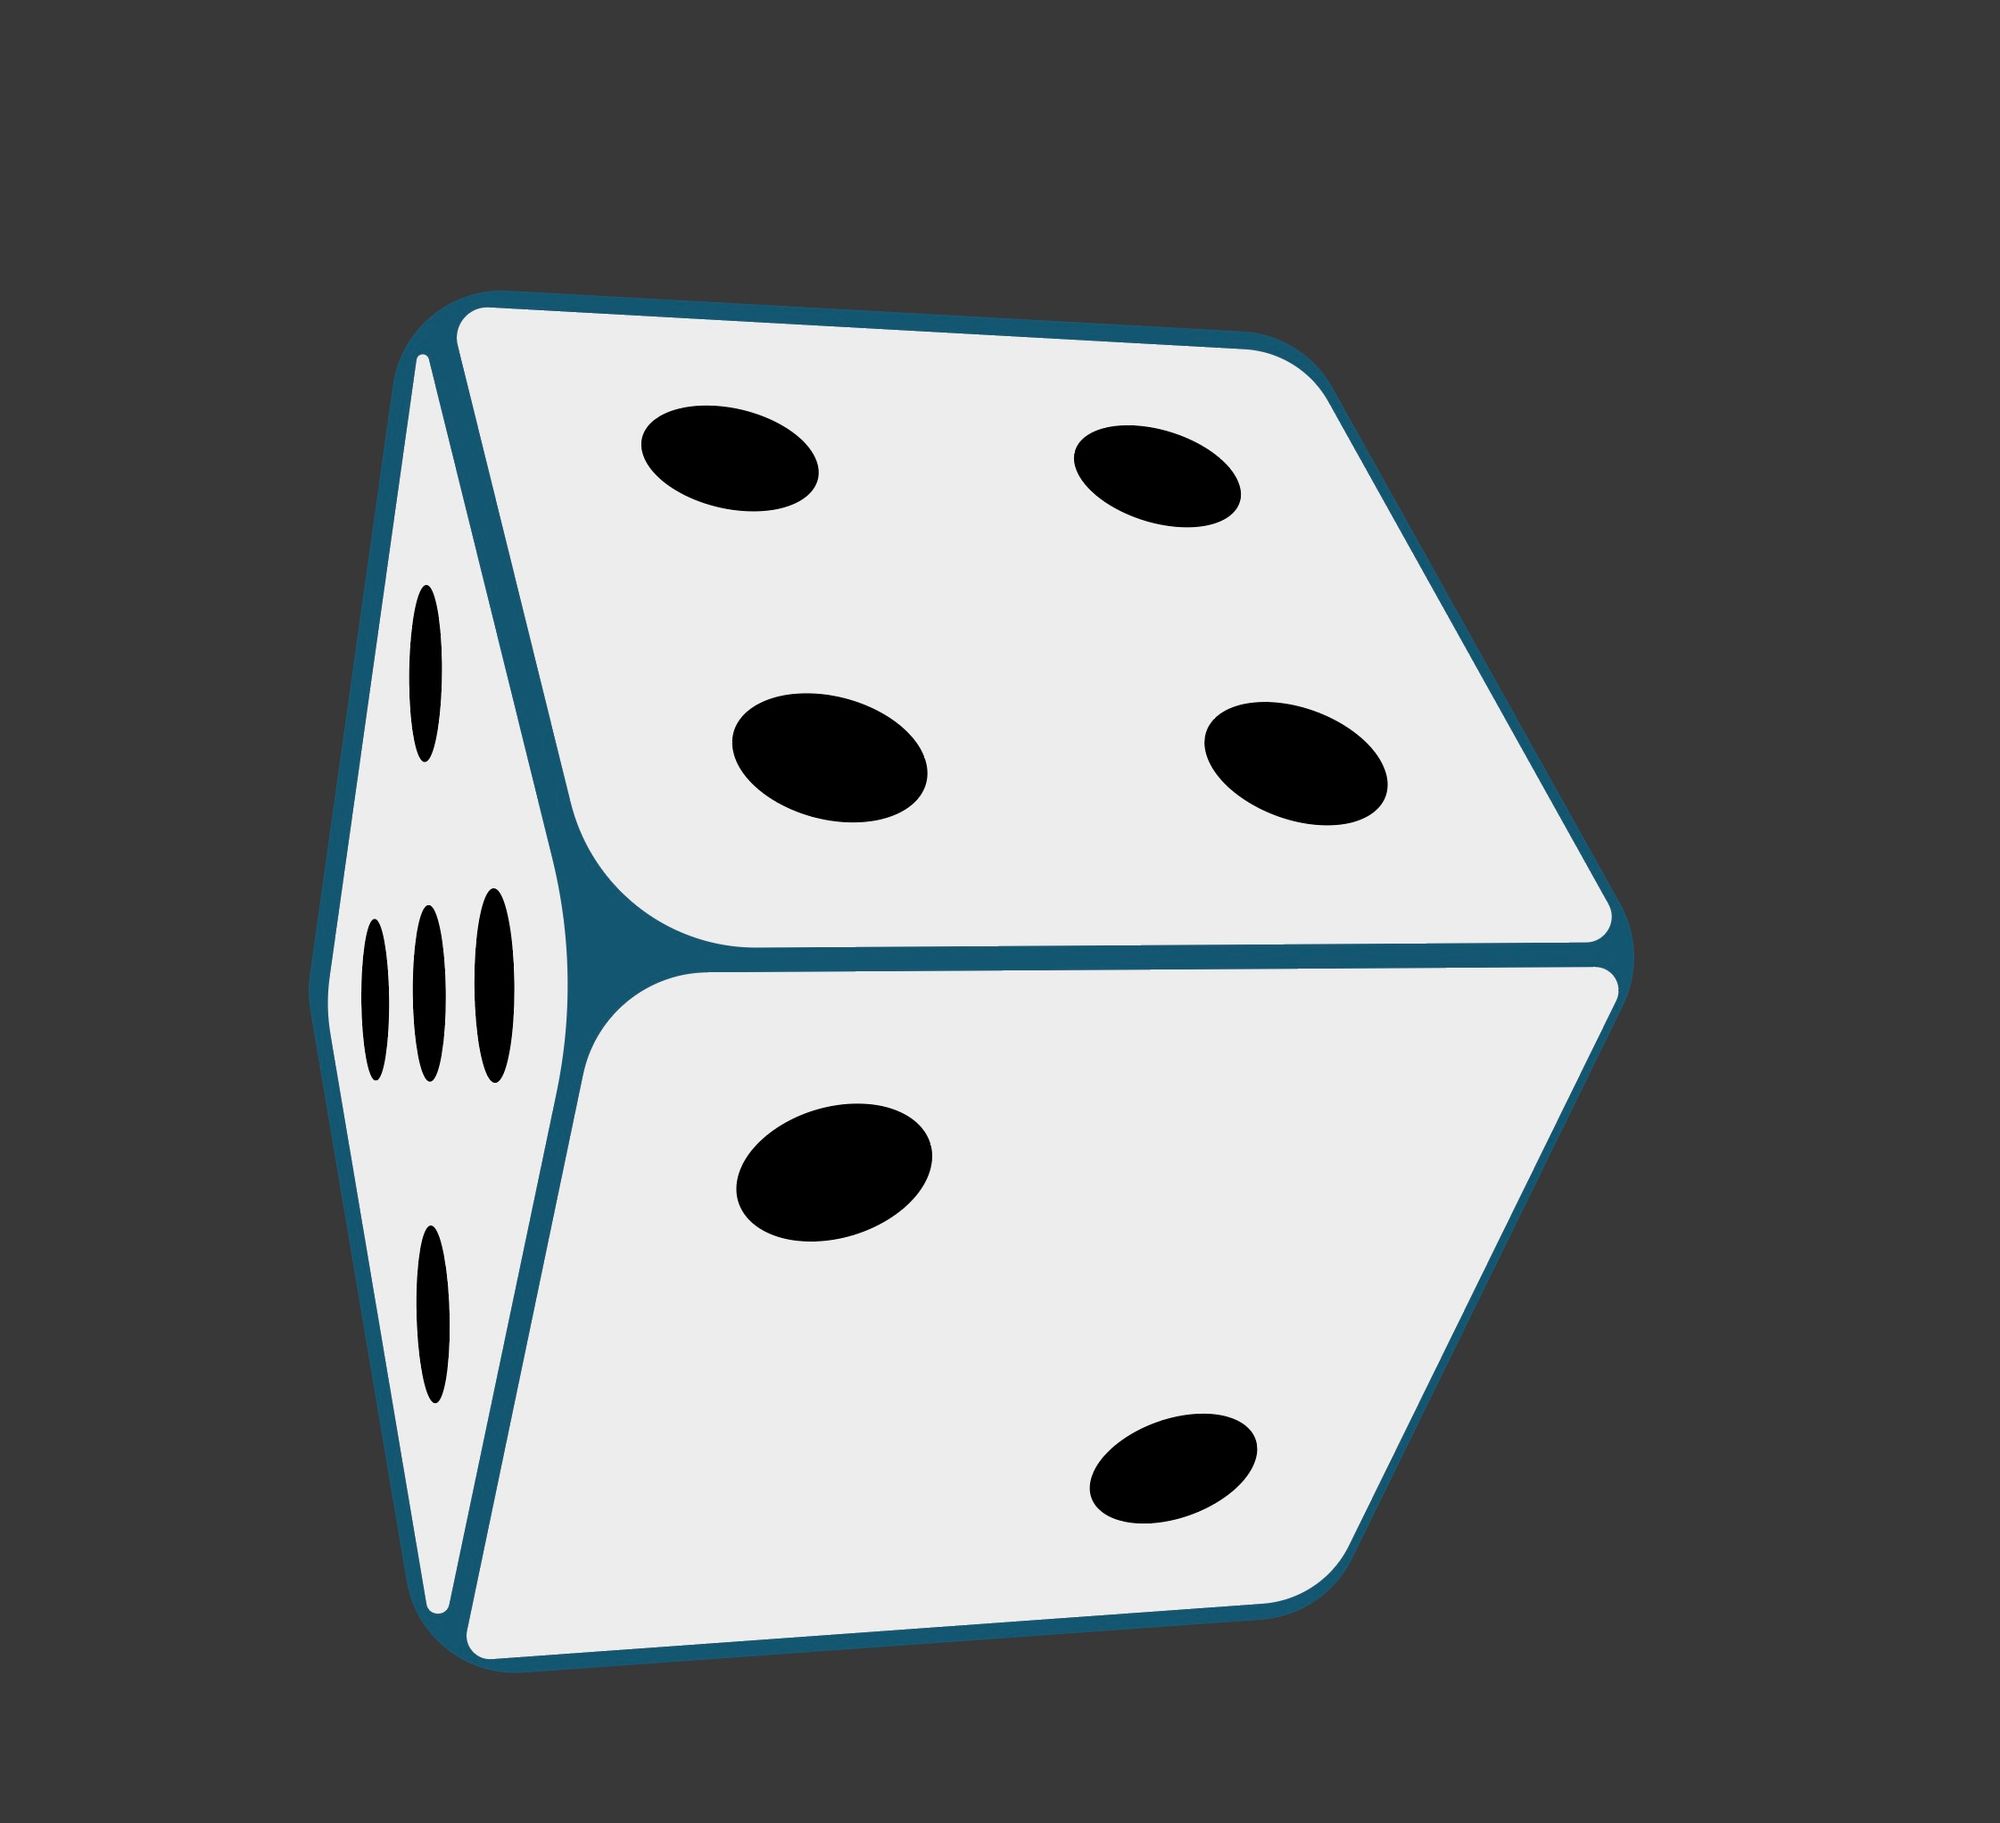
Apply gradient or any colour suitable to the shape behind the number of layers to give a natural-looking dice. Make sure that the light is from a particular source or direction; this gives a realistic lighting effect.