
What We'll Do
In this multi-part article, we'll work on the following:
- Containerize the Application
- Run the Image Locally
- Deploy into Kubernetes
- Set up Autoscaling and Load Test Application in Kubernetes
In Part: 1, you'll learn to Containerize the application and run it locally.
Pre-Requisites
Certain Pre-Requisites need to be fulfilled to successfully complete the tutorial!
- System Capable of Virtualization (For Windows and Mac OS)
- Git Installed in your local system
- Local Development Environment for NodeJS
- Minikube or Cloud-Based Kubernetes Cluster
Introduction
The Docker platform allows developers to package and run applications as containers. A container is a lightweight alternative to virtual machines and offers process isolation and environment standardization benefits.
In this tutorial, we will learn to build a docker image for a NodeJS Application built using Websockets and Express Framework. We will then run the image locally before pushing it to Docker Hub (Image Repository) and deploying it into Kubernetes.
Preparing for Containerization
To begin, clone the following repository into your local system: github.com/nischal-subedi/nodejs-chat-app.

The repository contains the files required for the tutorial. No modifications will be required other than the ones mentioned in the article. (Verified 9 June 2022)
Creating the Dockerfile
The Dockerfile specifies different things that need to be included in our application container when it's executed. The main benefit of using a Dockerfile is that we can specify the container environment and avoid discrepancies with dependencies or runtime versions.
We'll also make the image size as minimal as possible and minimize the number of image layers.
Let's create a Dockerfile for the application.
vim ChatApp.dockerfilePaste the following into the DockerFile
FROM node:lts-alpine3.15

WORKDIR /usr/src/app

COPY package.json ./

RUN npm install

RUN npm audit fix

COPY . .

EXPOSE 3000

CMD ["node", "server.js"]FROM = selecting an image pre-installed with nodejs, which we will work on further
WORKDIR = directory where our application will be served from
COPY = This will copy the content of the current context (directory we've specified in the build command) into the WORKDIR
RUN = It will run any command that is valid inside the image we selected above (Here, we're installing the dependencies required for the application to run)
EXPOSE = This command will help expose certain ports wherein the app will be served
CMD = Same as run, doesn't create another storage layer
Let's also add a .dockerignore file. Any file names that are added in dockerignore will not be considered by docker during the build!
vim .dockerignoreAdd the following lines to the file.
node_modules
ChatApp.dockerfile
.dockerignore
.gitignoreBuilding and Running the Image (For Local Use)
Let's test if the docker container will run as desired
First, set up the Mongo DB container with the following command:
docker run -d -p 27017:27017 mongo:latest

Running the application on Docker will require modifications in the server.js file provided via Github as it's optimized for Kubernetes Environment.
Modify the database connection section in the server.js with the code below and comment out the existing dburl and its corresponding variables.
// For Docker
var dbUrl = 'mongodb://host.docker.internal:27017'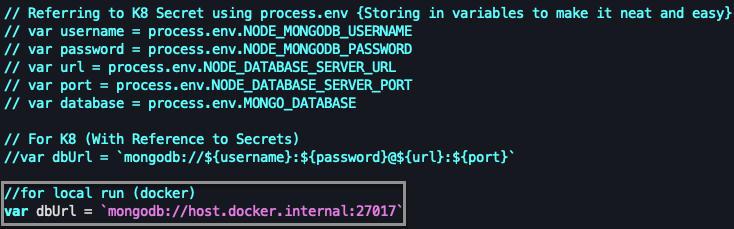
Save the server.js file and build the image using the following command:
docker build -t username/imagename:tag . -f ChatApp.dockerfile--platform argument is only to be specified if the deployment environment is different from the local environment.Running the Image
Once the build is complete, we can run the newly built image using the command:
docker run -d -p 3000:3000 username/imagename:tagNote: The -d argument will run the container in the background.
To check if the container is running, run the following command:
docker ps

Note: Run docker ps -a if docker ps doesn't show any output. The container may have exited and thus wasn't visible in docker ps.
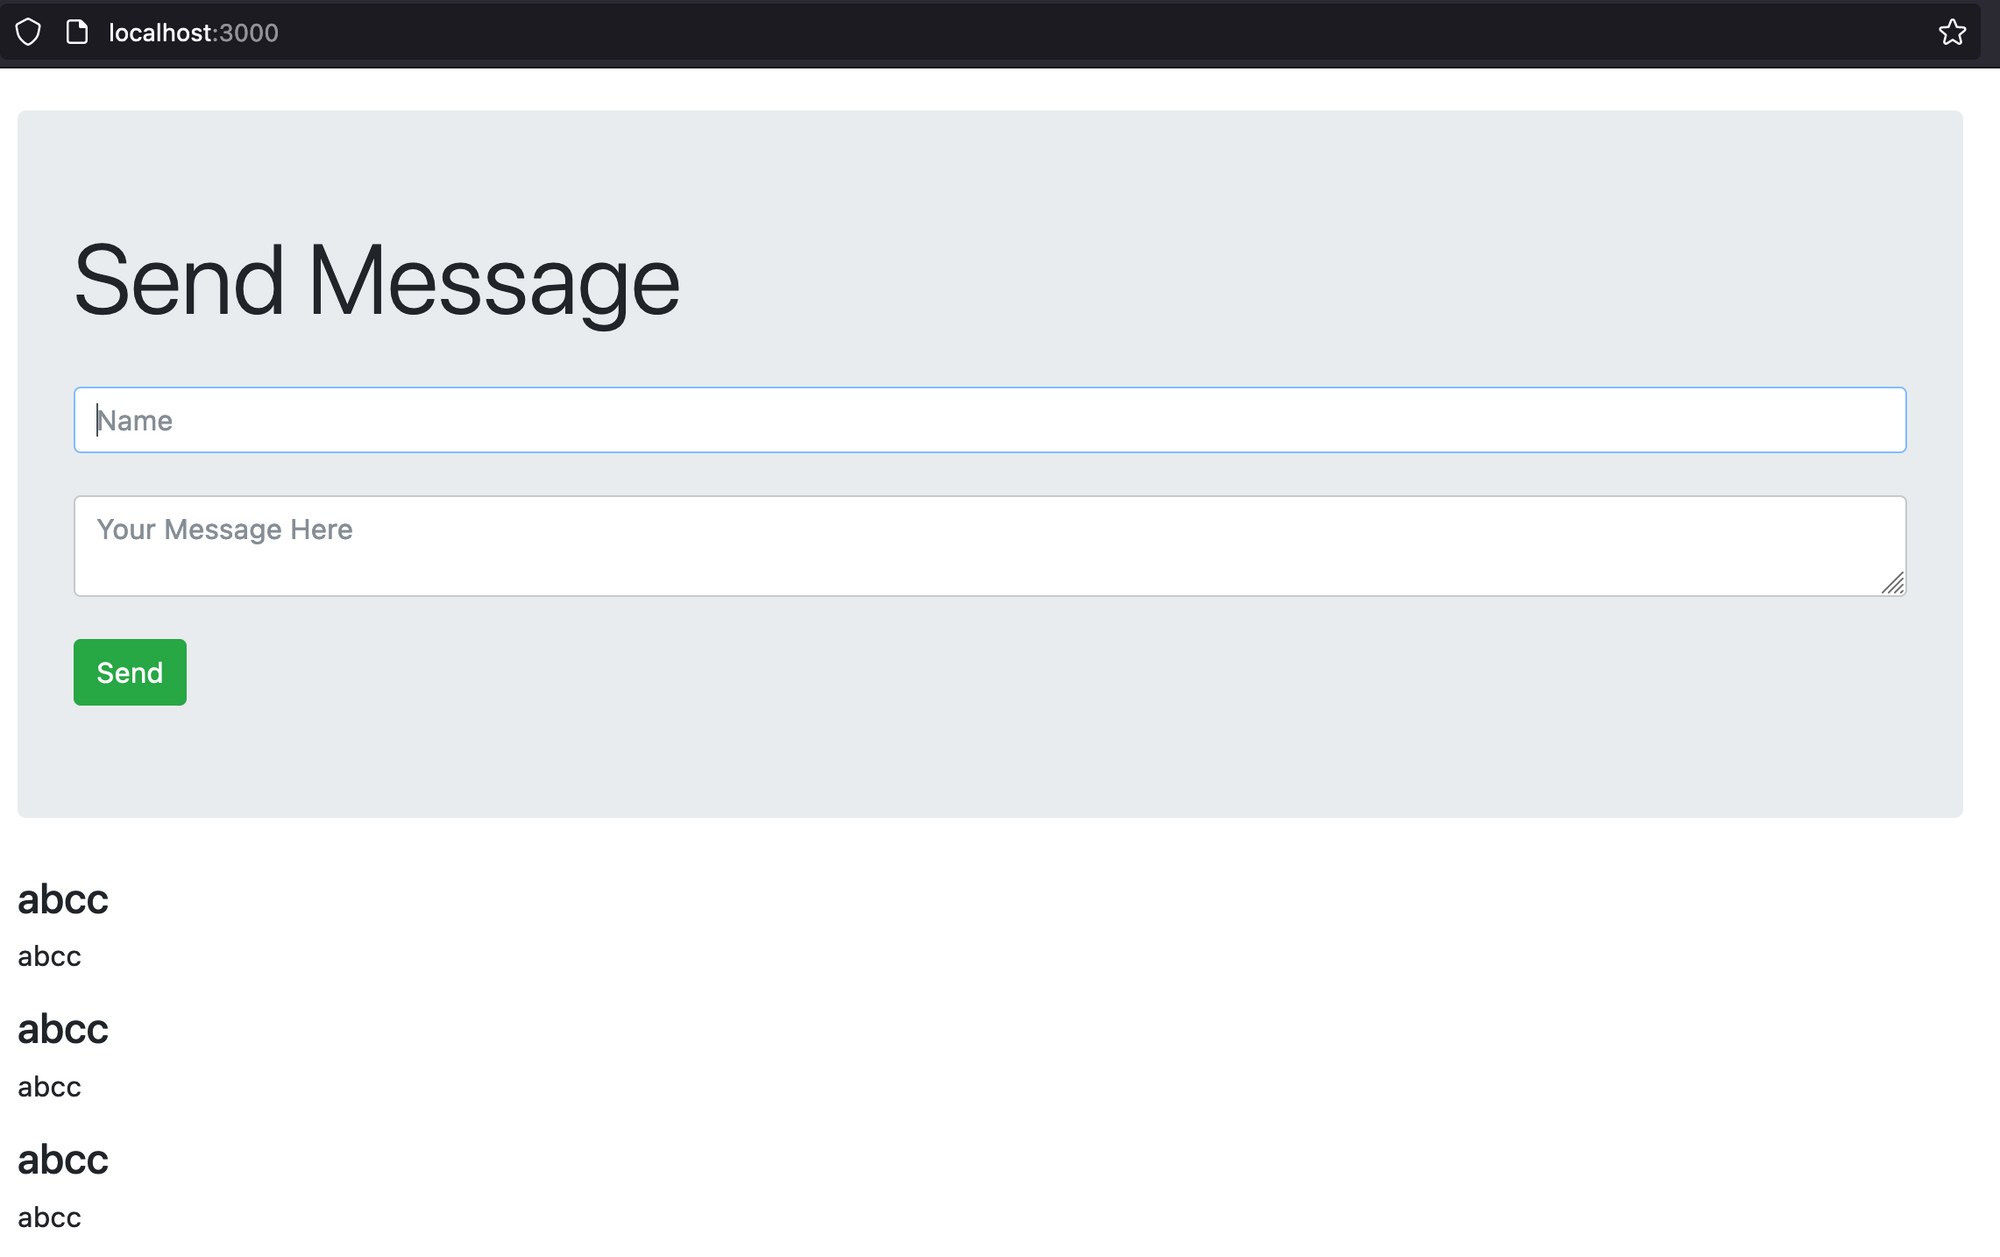
Open the Application at http://localhost:3000
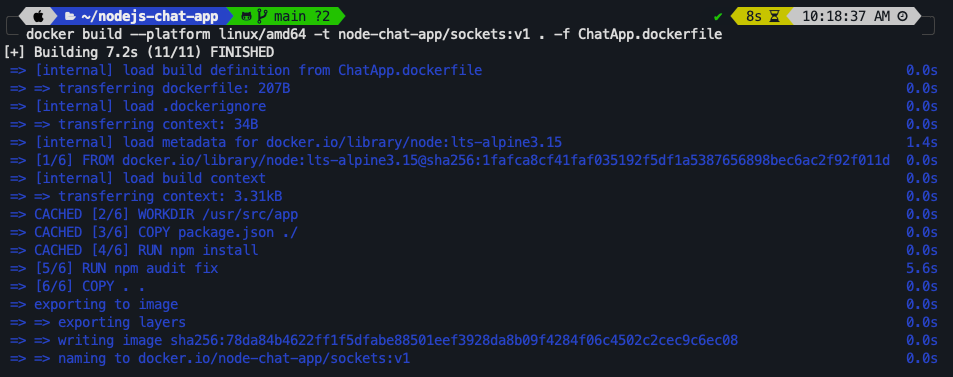
Building the Image (For Kubernetes Deployment)
The build command is similar to that seen above. Only an extra argument is added for Cluster compatibility.
docker build --platform linux/amd64 -t repo/imagename:tag -f ChatApp.dockerfile .Here,
--platform = sets the platform to build against
-t = To specify the image name and tag
-f = location of the Dockerfile
. = Sets the build context (i.e. current directory)
Run the command following command to list the image that you built
docker images
Pushing the Image to Dockerhub
To run the image inside a Kubernetes Cluster, we'll need to pull it from a Container Registry which is why we're using DockerHub, but other solutions like Github Container Registry, Gitlab Container Registry, Google Container Registry, etc. can also be used!
Creating an Account and Generating Access Token
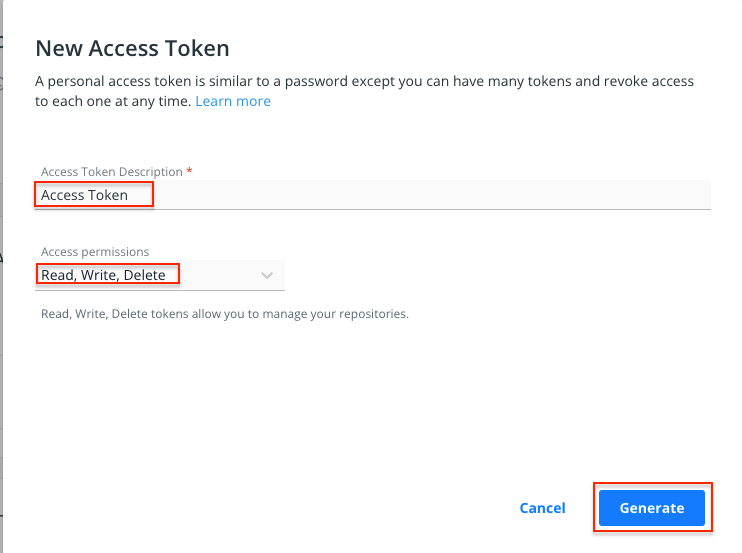
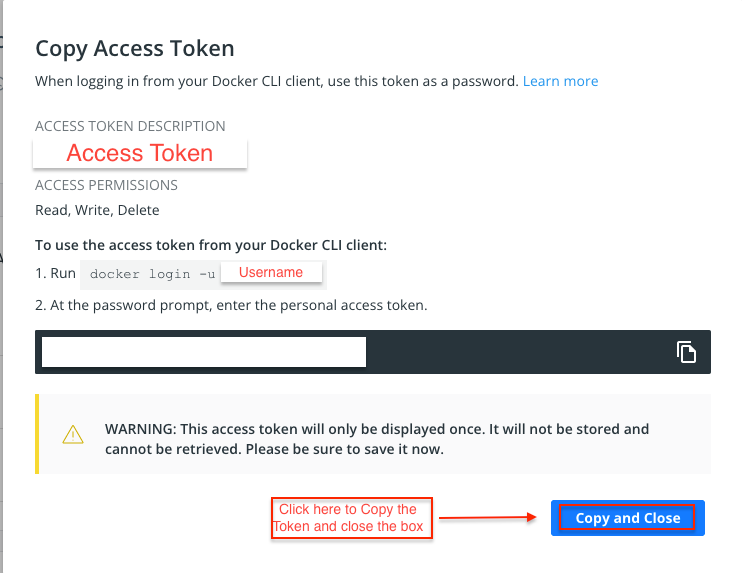
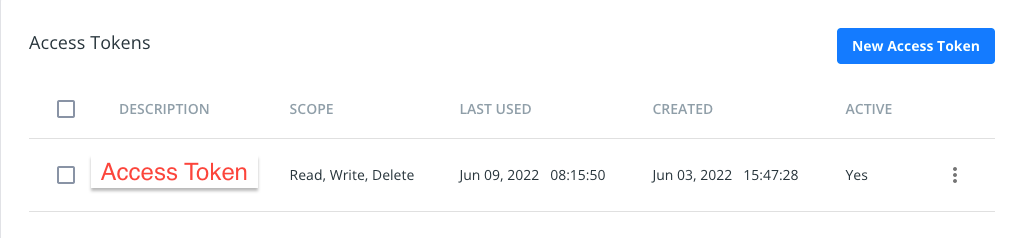
First, create an account at dockerhub.com, after which we'll generate an Access Token for authorizing ourselves to the Docker Container Registry.
It can be accessed through the following link: https://hub.docker.com/settings/security. Access Token Generation Steps are visualized below!

Run the following command to authorize your docker client
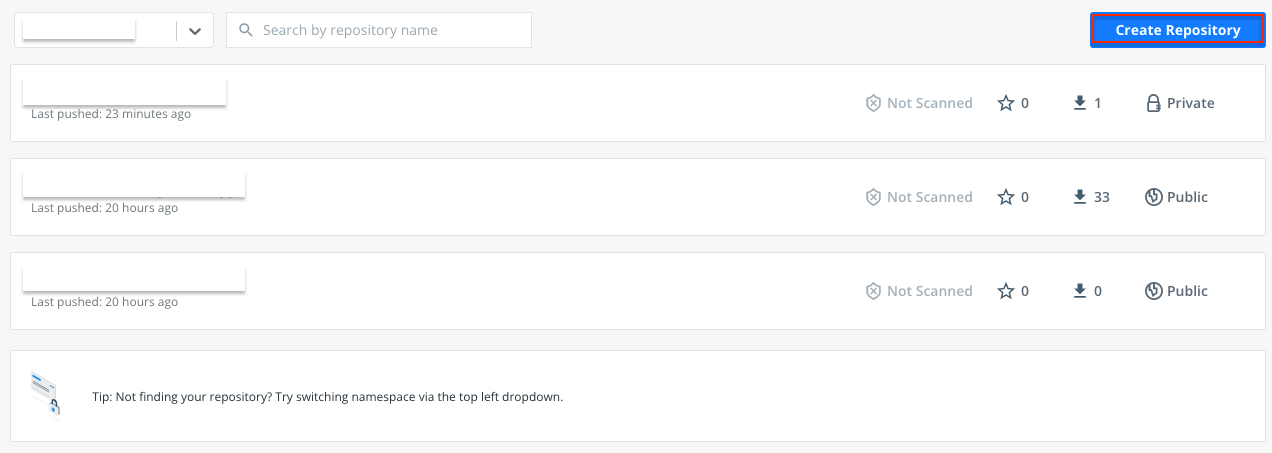
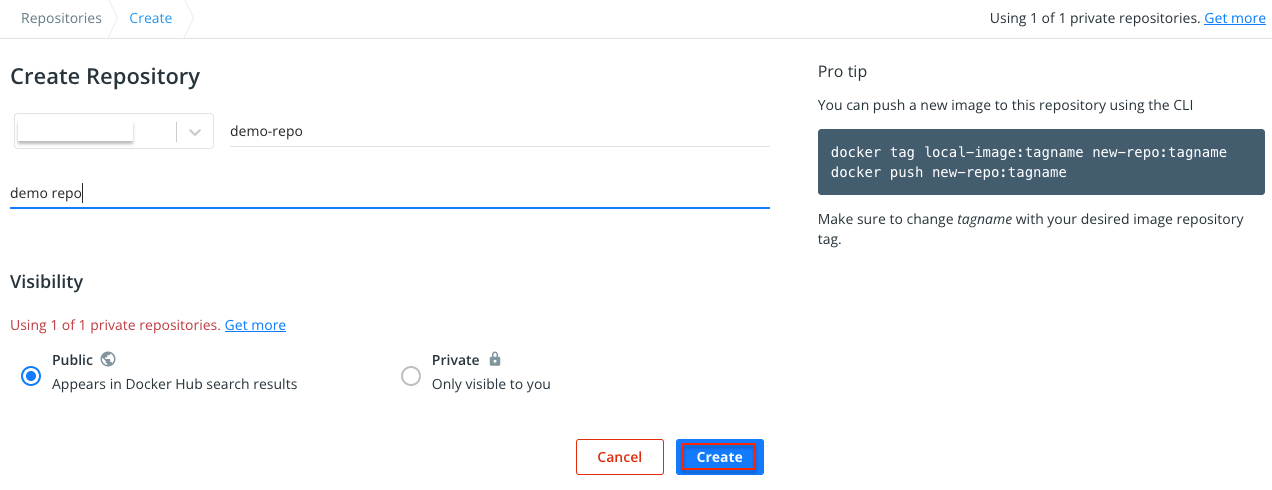
docker login -u dockerhub_usernameCreating a Repository
Let's create a repository in Dockerhub. I'm using a public repo for now, but you can also use a private repo! (More on that later)

Pushing the Image
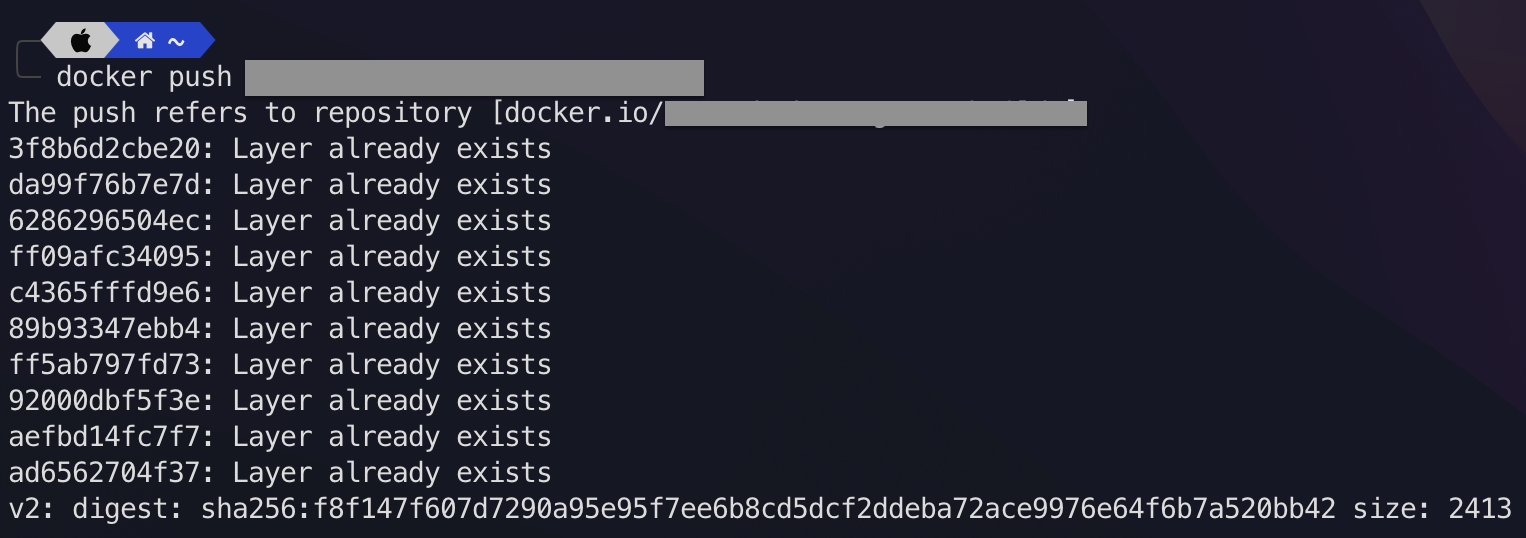
Now push the image to our Dockerhub Repository using the following command:
docker push username/imagename:tagIf your credentials are correctly set, the push process will start immediately, and a copy of our image will be available on Dockerhub Registry.
Deleting the Image
You can test if the push was successful by deleting the image locally and pulling it from dockerhub. Follow the steps below:
docker images rm username/imagename:tag
Pulling the Image
Now pull the image from Dockerhub with the following command:
docker pull username/imagename:tag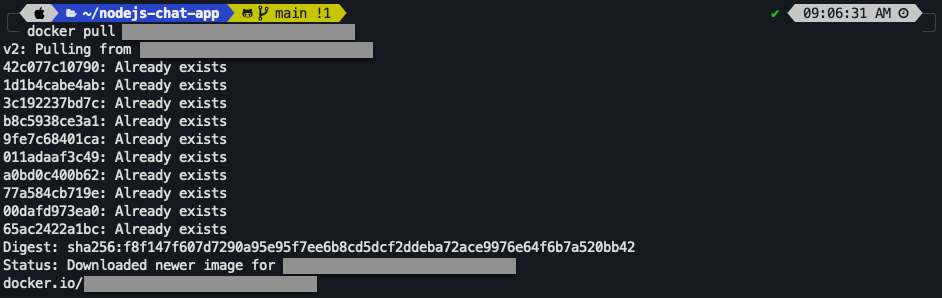
Conclusion
By following this tutorial, you have successfully containerized a NodeJS Application. You've published your image to Dockerhub, deleted the image locally and managed to recover it from the Docker Container Registry.
You also tested the application locally and are now ready to deploy the application into a Kubernetes Cluster.
This is it for the first part of the blog. In the next part we'll learn Kubernetes Deployments, Load Testing and Autoscaling! Stay tuned!