
Creating a sprite sheet in GIMP can be a tedious and time-consuming task. GIMP does not have built-in functionality to ease the creation of large sprites and tile sheets. This is where tilemancer comes in.
We are going to use a script called tilemancer to make creating sprite sheets in GIMP a breeze.
Installing tilemancer
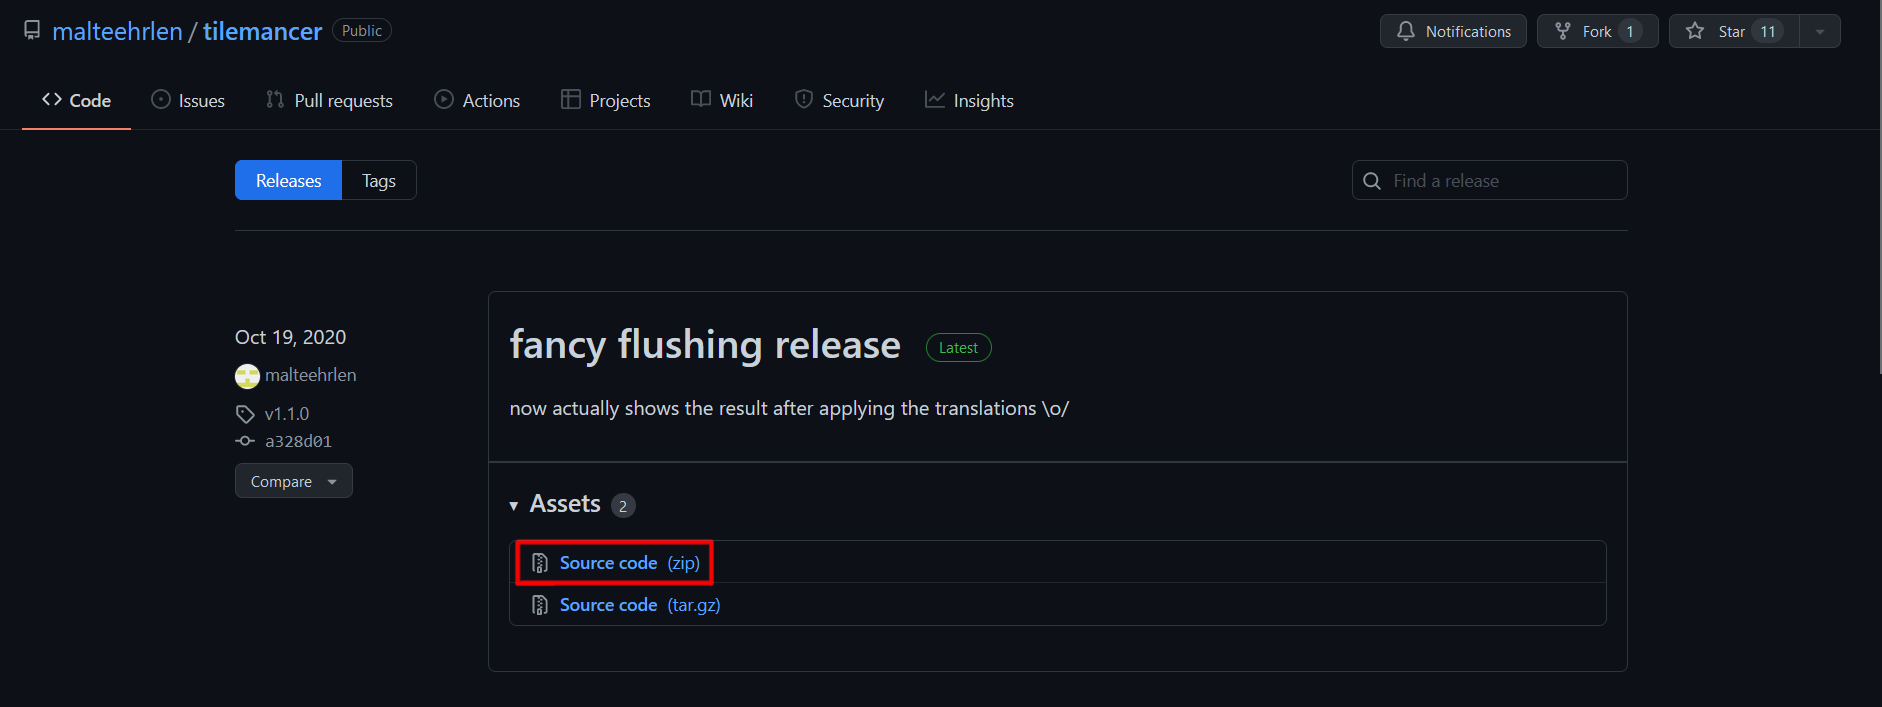
Firstly, download the tilemancer script from its GitHub repo, under Releases.
You need to download the Source code (zip) file and extract it. You will get a tilemancer.scm file along with some other files.
Next, in GIMP, go to Edit > Preferences. On the Preferences window, go to Folders > Scripts then click on the icon highlighted below to open the selected script folder.
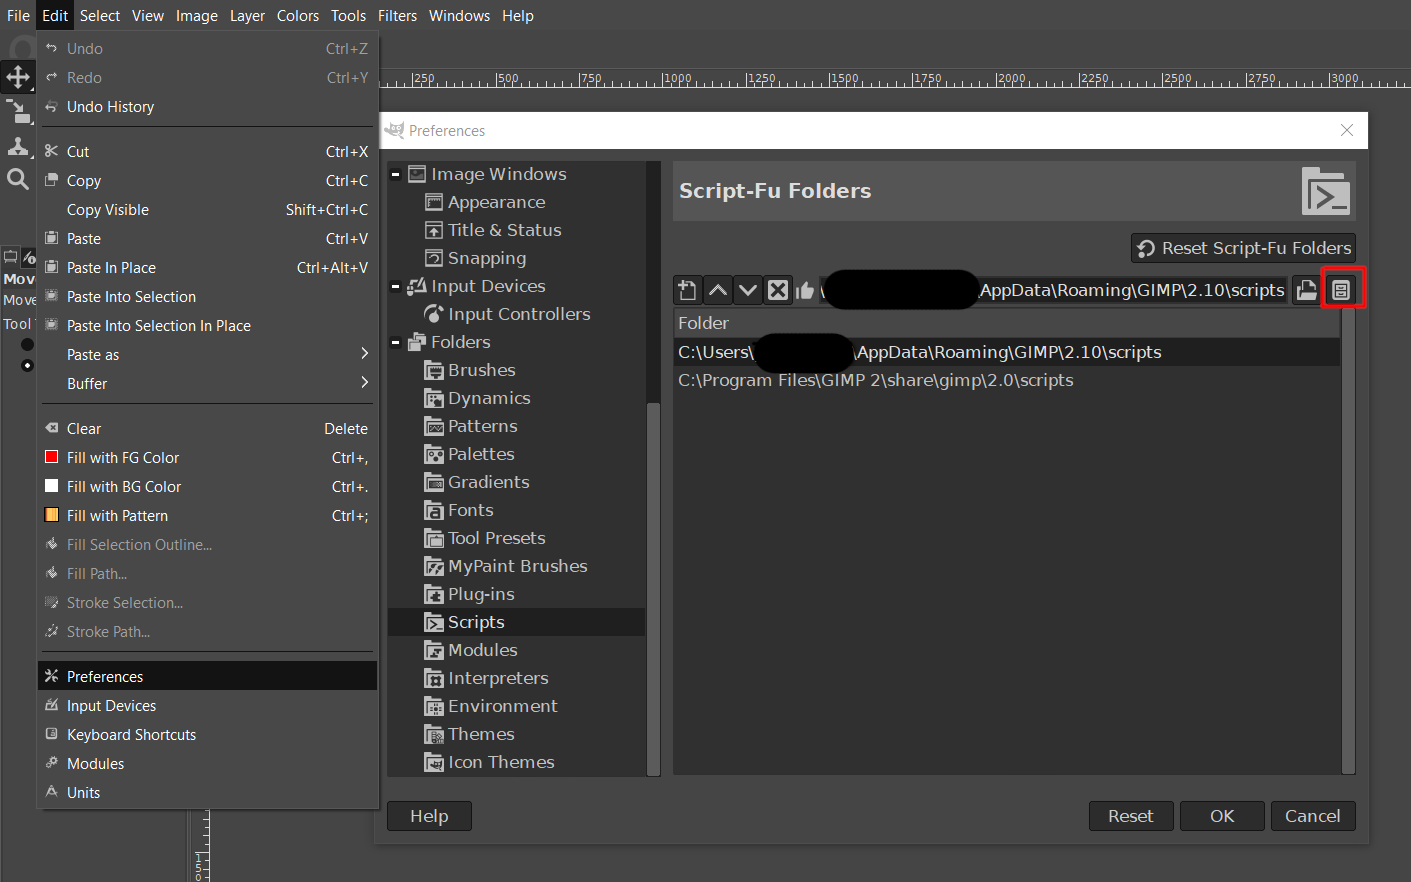
Now simply put the tilemancer.scm file in the script folder. With this, you have successfully installed tilemancer.
Click on Filters > Script-Fu > Refresh Scrips to check if tilemancer is properly installed. You should see a tilemancer option under Filters > Animation > tilemancer. If you still don't see the option, you may need to restart GIMP for the changes to take effect.
Using tilemancer
The first thing you need to do is import your sprites in GIMP. If you use layer groups to organize different sprites of the same animation, you can generate one row per layer group.
Alternatively, you should use a square shape for your sprites. A square-shaped sprite sheet is recommended as it is more optimized for games since we can easily resize it to create a power of two texture (POT) from it.
Here, I have imported simple ball-breaking animation sprites. My layers are in reverse order as tilemancer creates sprite sheets in reverse order.
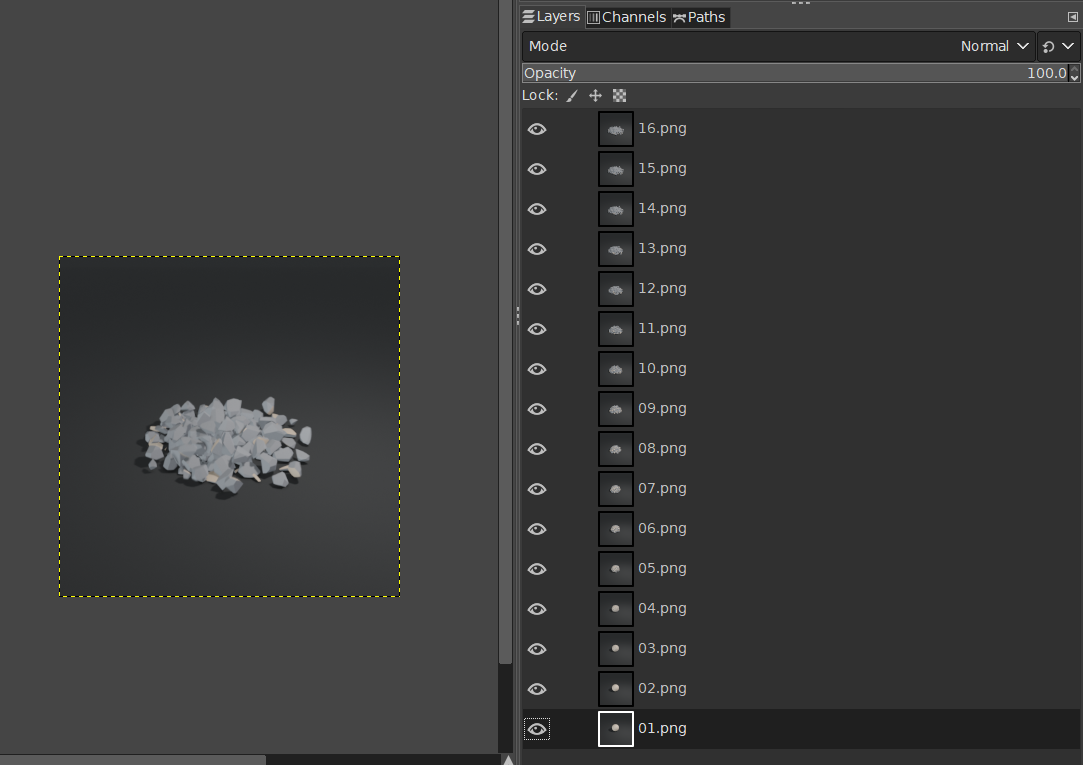
When your layers are set up properly, click on Filters > Animation > tilemancer and the tilemancer window will come up.
In the tilemancer window, set the Shape to Square, as we are creating a square sprite sheet. Finally, click OK. A sprite sheet will be automatically generated using your layers.
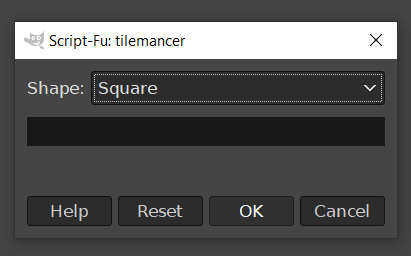
In my example, I used an animation with 16 frames. This way, I get a square sprite sheet of 4x4. You can use animations with any number of frames, and tilemancer will automatically convert them to a square sprite sheet.
However, it's better to have frames in squares of numbers(22 = 4 so 4x4, 32 = 9 so 9x9 and so on) so that texture space on the sprite sheet doesn't get wasted.
Result
Here is how my sprite sheet looks when I set it up and play it.
And that is how we can easily create a sprite sheet in GIMP using tilemancer.
After tilemancer generates a sprite sheet, it can also easily be resized to your liking. This way, multiple sprite sheets can be quickly created using only a few button presses.
This is how easy it is to use tilemancer in GIMP, stay tuned for more tutorials!