
In this article, I will try to make a simple 2D character controller where the player can move around and has jump ability. I will be using Unity's default physics to handle different forces. Let's dive right into it!
We start by creating a Unity 2D project. After the 2D project is set up, create a simple scene where the player can walk around.
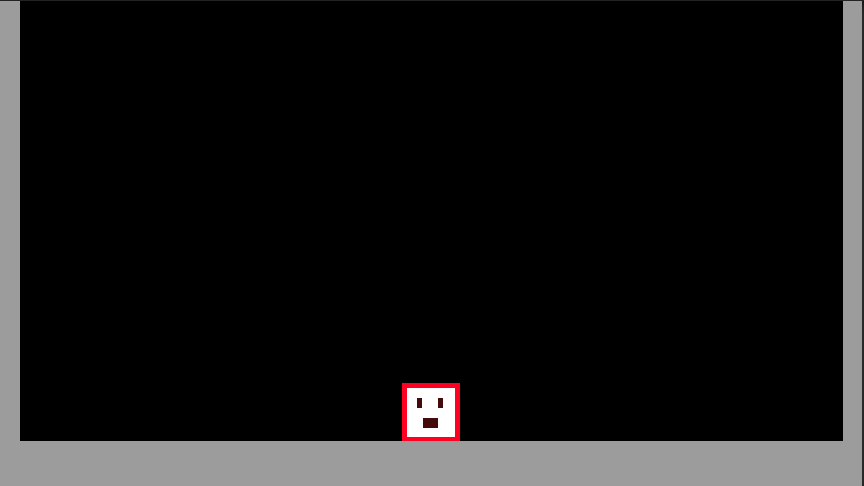
I am starting with the scene shown below.
Horizontal Movement
Now, let's create a script that handles character movement.
I have created and named a script CharacterMoveController and attached it to the player gameObject.
Since I need the character to be affected by Unity physics, let's also add a Rigidbody2D component to the player gameObject. This will make the player automatically fall based on gravity.
The last step is adding a BoxCollider2D component to the player so we can detect collision. Without it, the player will keep on falling down infinitely.
Input Detection and Implementation
Now let's take the input for left and right and store it.
_moveDir = Input.GetAxisRaw("Horizontal"); // takes move inputThe code above takes input from the A/← key and the D/→ and stores it in the _moveDir variable.
Now that the input is taken care of, we need to apply a force based on input. We can apply force to the player by using a Rigidbody2D component, which we have already added.
Let's create a Rigidbody2D variable that references our attached component called _rigidbody2D. This needs to be initialized in the Awake() function.
  private void Awake()
  {
     _rigidbody2D = GetComponent<Rigidbody2D>();
  }
Movement Along X
For moving players, we then apply a velocity directly to _rigidbody2D. Since we are moving the player left and right, we should only apply velocity in the left or right direction and leave the y-direction untouched.
I have created a Move() function that handles player movement. Move() is called continuously in FixedUpdate(). The sample code for player movement is shown below.
 private void Move()
    {
        _moveVel = _rigidbody2D.velocity;
        _moveVel.x = _moveDir * moveSpeed * Time.fixedDeltaTime;
        _rigidbody2D.velocity = _moveVel;
    }
In the code above, we can see that we are only modifying the x value of velocity using _moveDir and moveSpeed. moveSpeed controls how fast the player can move when applying left and right input.
You can now play the demo in Unity and see how it feels. You can always change the value of moveSpeed in the Unity Inspector to make the character move faster or slower.
Now that simple movement is complete let's start working on the jump mechanism.
Jump Control
A jump is done by making the character move upward with a certain velocity.
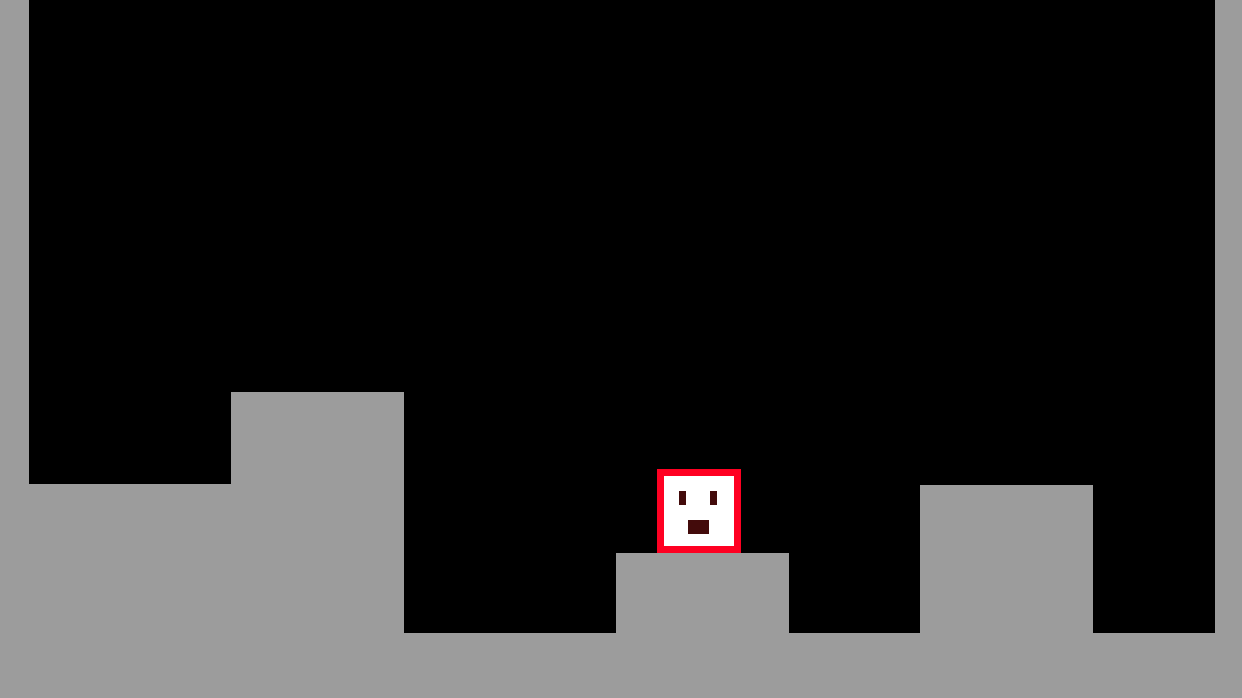
You can also modify the scene to test the jumping action by adding obstacles or terrain of different heights.
So let's set the key that will control the jumping action. I will be using the Space button to trigger the jump.
_jumpPressed |= Input.GetKeyDown(KeyCode.Space); // takes input for jump using spaceIn the code above, _jumpPressed is true if the Space button is pressed.
Since I am taking input in Update and jump handling is done in FixedUpdate, we might run into an issue where the input is missed when calling the jump function in FixedUpdate. Update might be called less or more times before FixedUpdate is called. This leads to a multiple-input problem or a missing input problem.
We can fix this issue by not clearing _jumpPressed until the jump function is called. In the above sample code, you can see that I am not directly assigning _jumpPressed to true or false based on the Space key being pressed; rather, I am using the OR operator to make sure it is not cleared when space is not pressed.
 private void HandleJump()
    {
        if ( _jumpPressed)
        {
            _jumpYVel = CalculateJumpVel(jumpHeight);
            _jumpPressed = false;

            _moveVel = _rigidbody2D.velocity;
            _moveVel.y = _jumpYVel;
            _rigidbody2D.velocity = _moveVel;
        }

    }

     private float CalculateJumpVel(float height)
    {
        return MathF.Sqrt((-2 * _rigidbody2D.gravityScale*Physics2D.gravity.y * height));
    }
In the code above, you can see that _jumpPressed is cleared when the jump is performed.
I have introduced another function called CalculateJumpVel(float vel), which calculates the velocity required to lift the player so they can reach an exact height. It is a simple kinematic equation calculating velocity based on distance and acceleration. The formula is velocity = SquareRootOf (- 2 * gravity * height).
You can now test the jump by playing in the Unity editor.
Tuning Jump
Everything seems to work well, but we have a simple issue where we can make players jump even when they are in the air. Another problem is that the jump feels very floaty, as if we are in moon gravity.
We can fix the gravity issue by changing the gravity scale in the RigidBody2D component in the Unity inspector.
Now, let's fix the multiple jump problem. We can solve it by only allowing the player to jump when the player is on the ground. We can make grounded to true when the player lands on something, and false when they step away. We use Unity's inbuilt functions OnCollisionEnter2D and OnCollisionExit2D to check for collision.
private void OnCollisionEnter2D(Collision2D col)
    {
        IsGrounded = true;
    }

    private void OnCollisionExit2D(Collision2D other)
    {
        IsGrounded = false;
Now you can see that everything works well. The floaty jump problem is fixed, and the player can only jump if they are on the ground.
Demo
Here is the complete code:
using System;
using UnityEngine;

public class CharacterMoveController : MonoBehaviour
{


    [SerializeField] private float jumpHeight;
    [SerializeField] private float moveSpeed = 10f;
    private float _moveDir;

    private bool  _jumpPressed;
    private float _jumpYVel;
    private Rigidbody2D _rigidbody2D;
    private Vector3 _moveVel;
    private bool IsGrounded;


    private void Awake()
    {
        _rigidbody2D = GetComponent<Rigidbody2D>();
    }

    private void Update()
    {
        GetInput();
    }

    private void FixedUpdate()
    {
        Move();
        HandleJump();
    }

    private void HandleJump()
    {
        if (IsGrounded && _jumpPressed)
        {
            _jumpYVel = CalculateJumpVel(jumpHeight);
            _jumpPressed = false;

            _moveVel = _rigidbody2D.velocity;
            _moveVel.y = _jumpYVel;
            _rigidbody2D.velocity = _moveVel;
        }

    }

    private void Move()
    {
        _moveVel = _rigidbody2D.velocity;
        _moveVel.x = _moveDir * moveSpeed *Time.fixedDeltaTime;
        _rigidbody2D.velocity = _moveVel;
    }


    private float CalculateJumpVel(float height)
    {
        return MathF.Sqrt((-2 * _rigidbody2D.gravityScale*Physics2D.gravity.y * height));
    }

    void GetInput()
    {
        _moveDir = Input.GetAxisRaw("Horizontal"); // takes move input
        _jumpPressed |= Input.GetKeyDown(KeyCode.Space); // takes input for jump using space
    }


    private void OnCollisionEnter2D(Collision2D col)
    {
        IsGrounded = true;
    }

    private void OnCollisionExit2D(Collision2D other)
    {
        IsGrounded = false;
    }

}
That's it! With the code above, you can move your 2D character and make them jump.
This was a basic way of handling jumps and horizontal movement in Unity. In my next article, I will discuss how we can make players jump higher based on how long they have pressed the jump key and other fundamentals like input buffer for jump inputs. Till then, bye.
Subscribe to read the second part of this article as soon as it comes out!