
Adobe Photoshop can be used for drawing illustrations and creating graphics. It provides a wide variety of tools and options to create designs for personal and commercial purposes like games, comics, paintings, prints and many more. To give the user a similar experience to drawing in real life, it provides pencil, eraser and brush tools with different textures to resemble real-life brushes.
Games might need objects for background art or illustrations to show inside the game for loading screens. If your game is entirely 3D, you might need concept art designs to show the 3D modellers what to make. You can do this all in Photoshop. You might be wondering why to use Photoshop for the painting instead of any other software. Most of the tools in Photoshop like the pen tool or Paint Bucket Fill tool are similar to Adobe Illustrator and Clip Studio Paint. So it is a matter of personal preference and needs. A beginner who just started to use Photoshop might feel overwhelmed with the number of tools but if they start slowly with each tool and their purpose, they will be able to just use this one software for multiple projects.
Coloring an object
After opening Adobe Photoshop, click on New File on the right area of the home page.
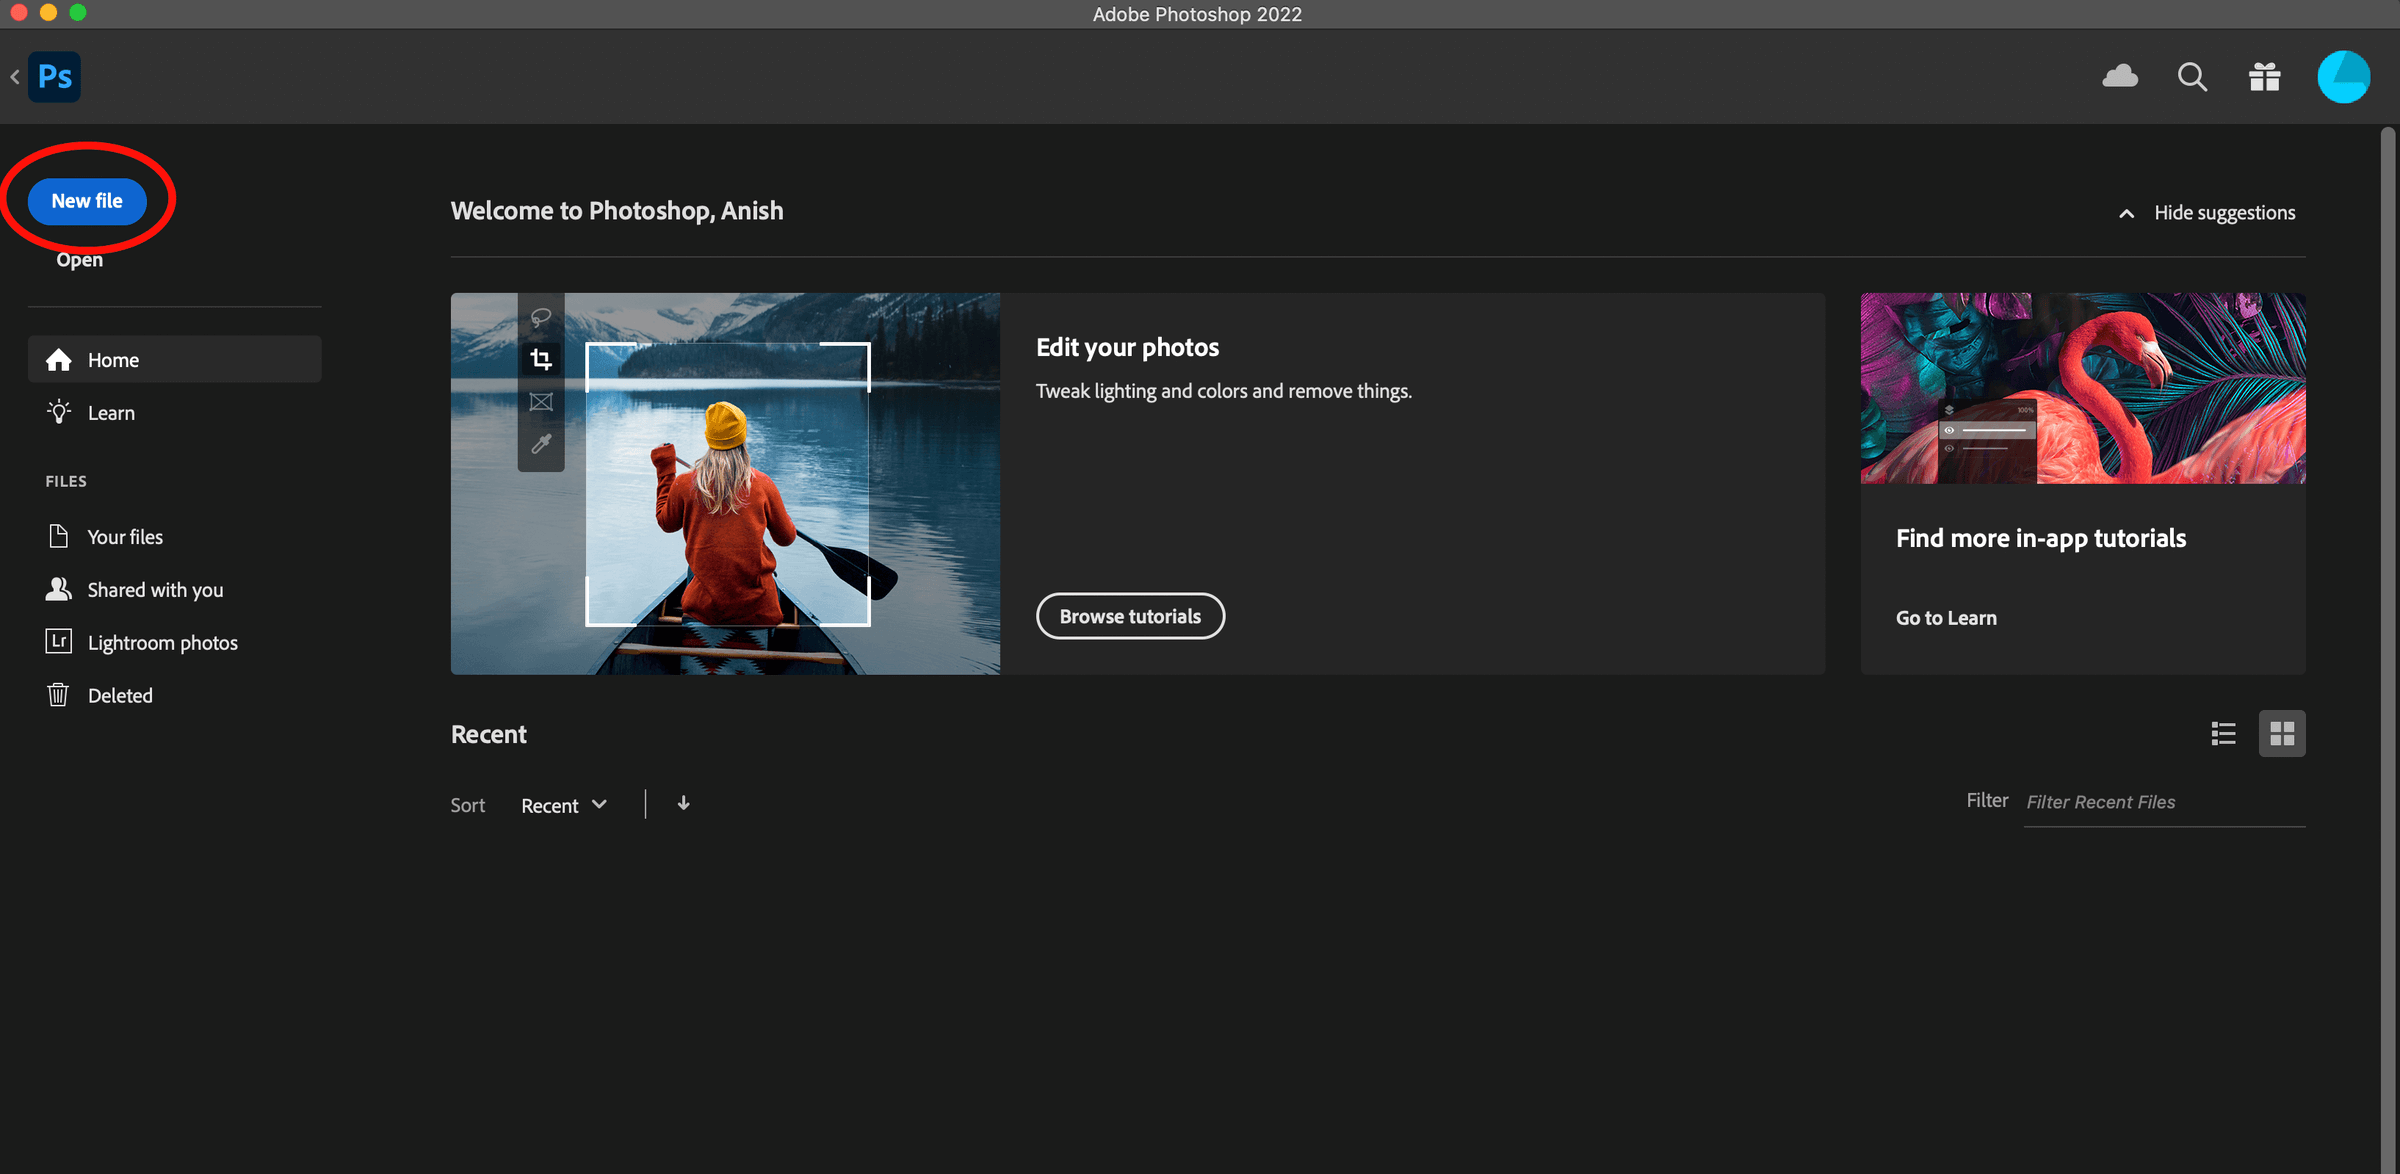
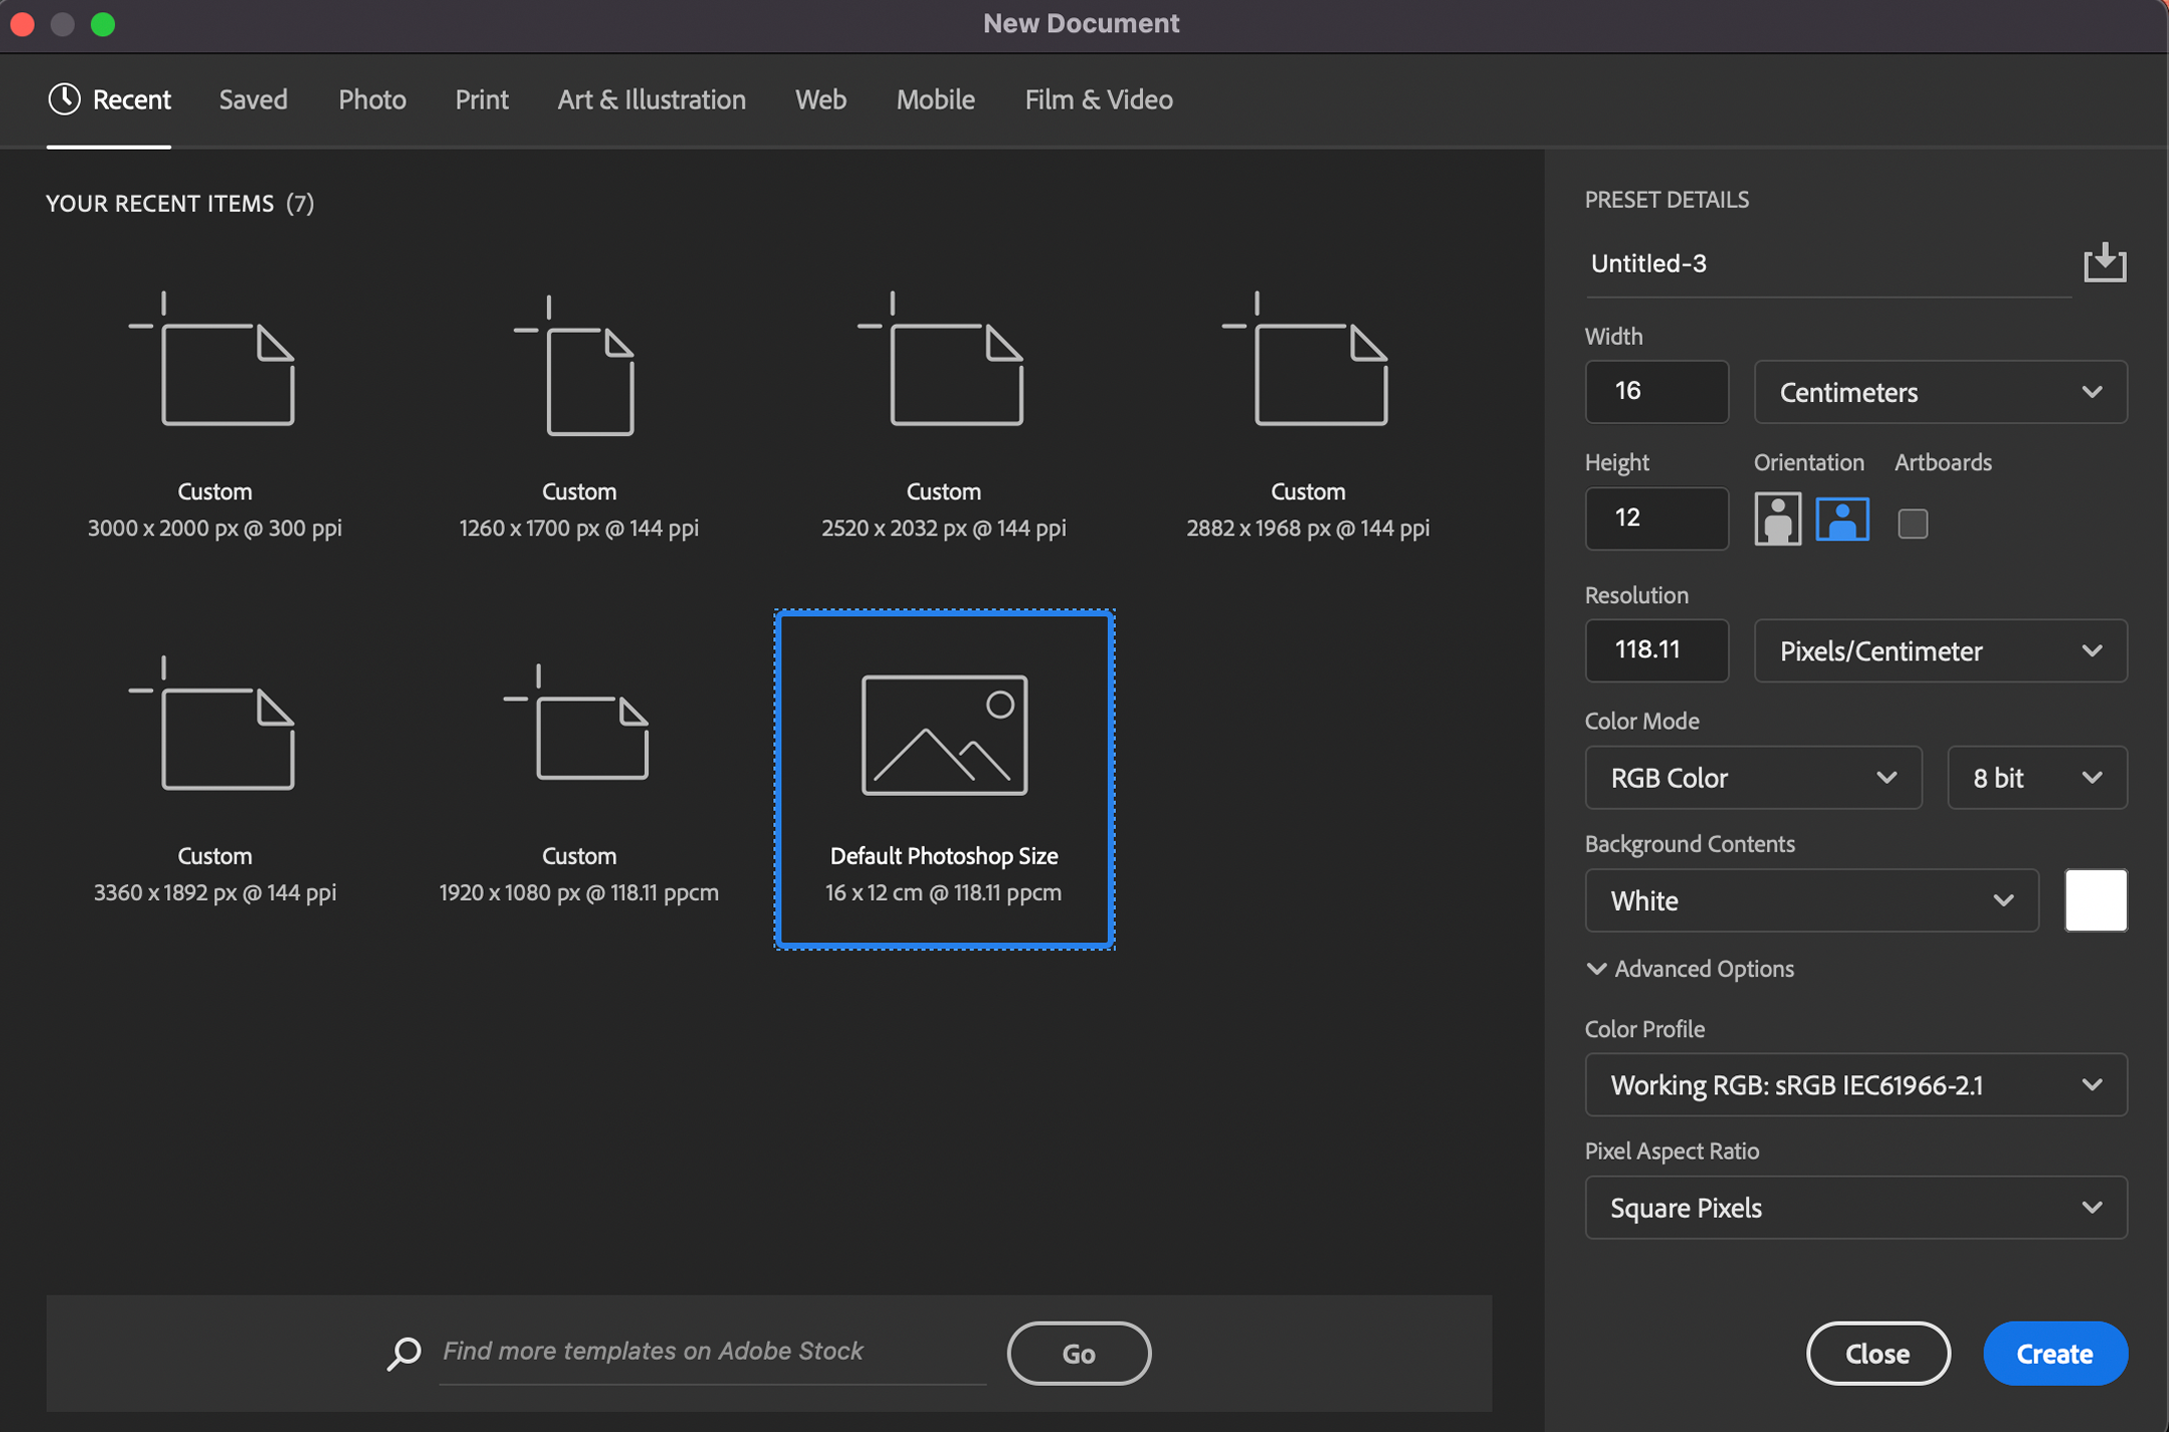
This will open another window to choose the file resolution and color mode along with presets of existing layouts of the document. Click on the Default Photoshop Size for this tutorial.
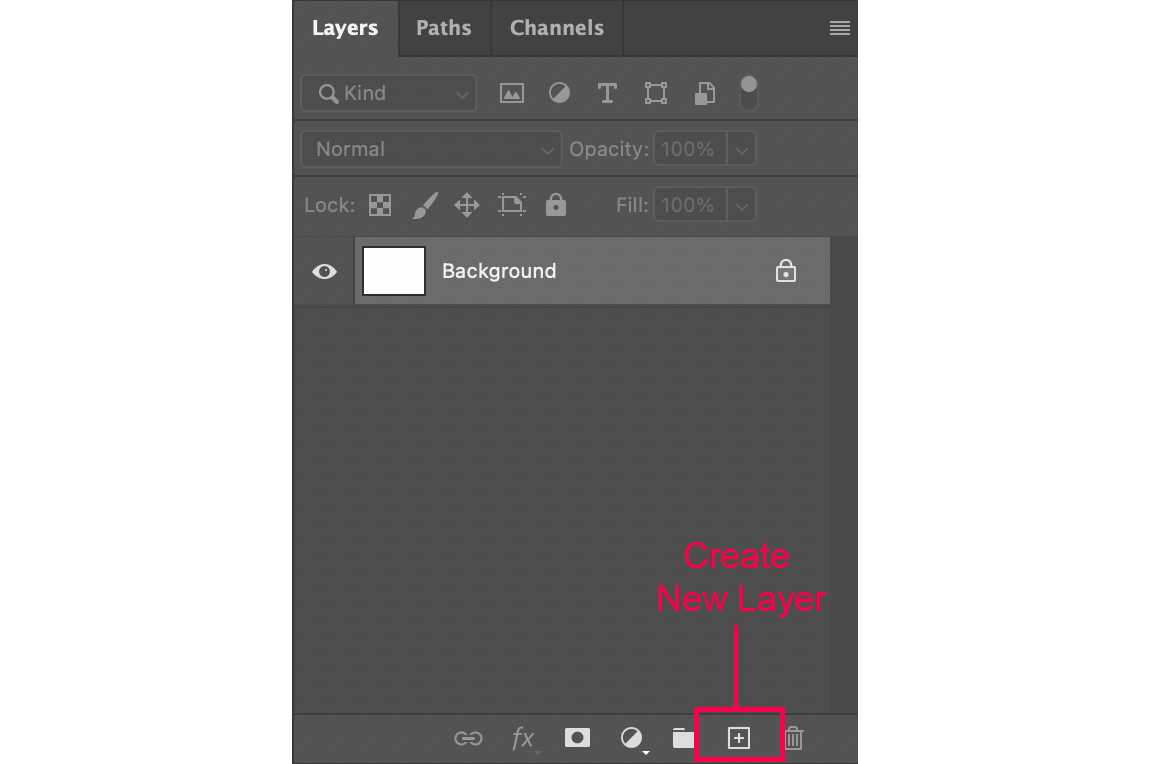
After creating the document, you will be greeted by the screen shown below. Click on the bottom right icon to Create a New Layer. Layers are similar to transparent pages in real life. Right-click on the layer to rename it.
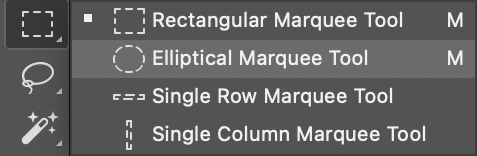
On the Toolbar menu on the left side of the screen, right-click on the Rectangular Marquee Tool to see a new drop-down menu with other similar tools. Since we are making a sphere ball in this tutorial, click on Elliptical Marquee Tool.
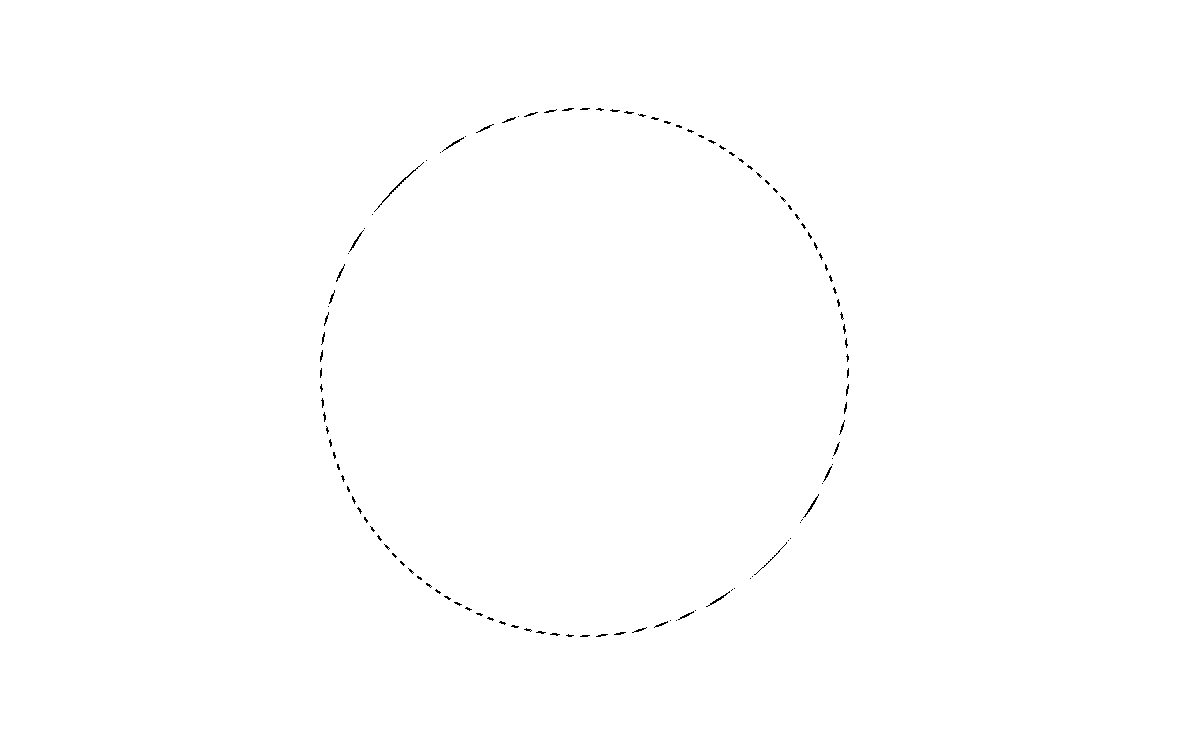
Click on the white area of the document and drag it to create a circle. Press Shift while dragging to create a perfect circle. Since this is just the selection, that area will be surrounded by blinking lines that look like marching ants.
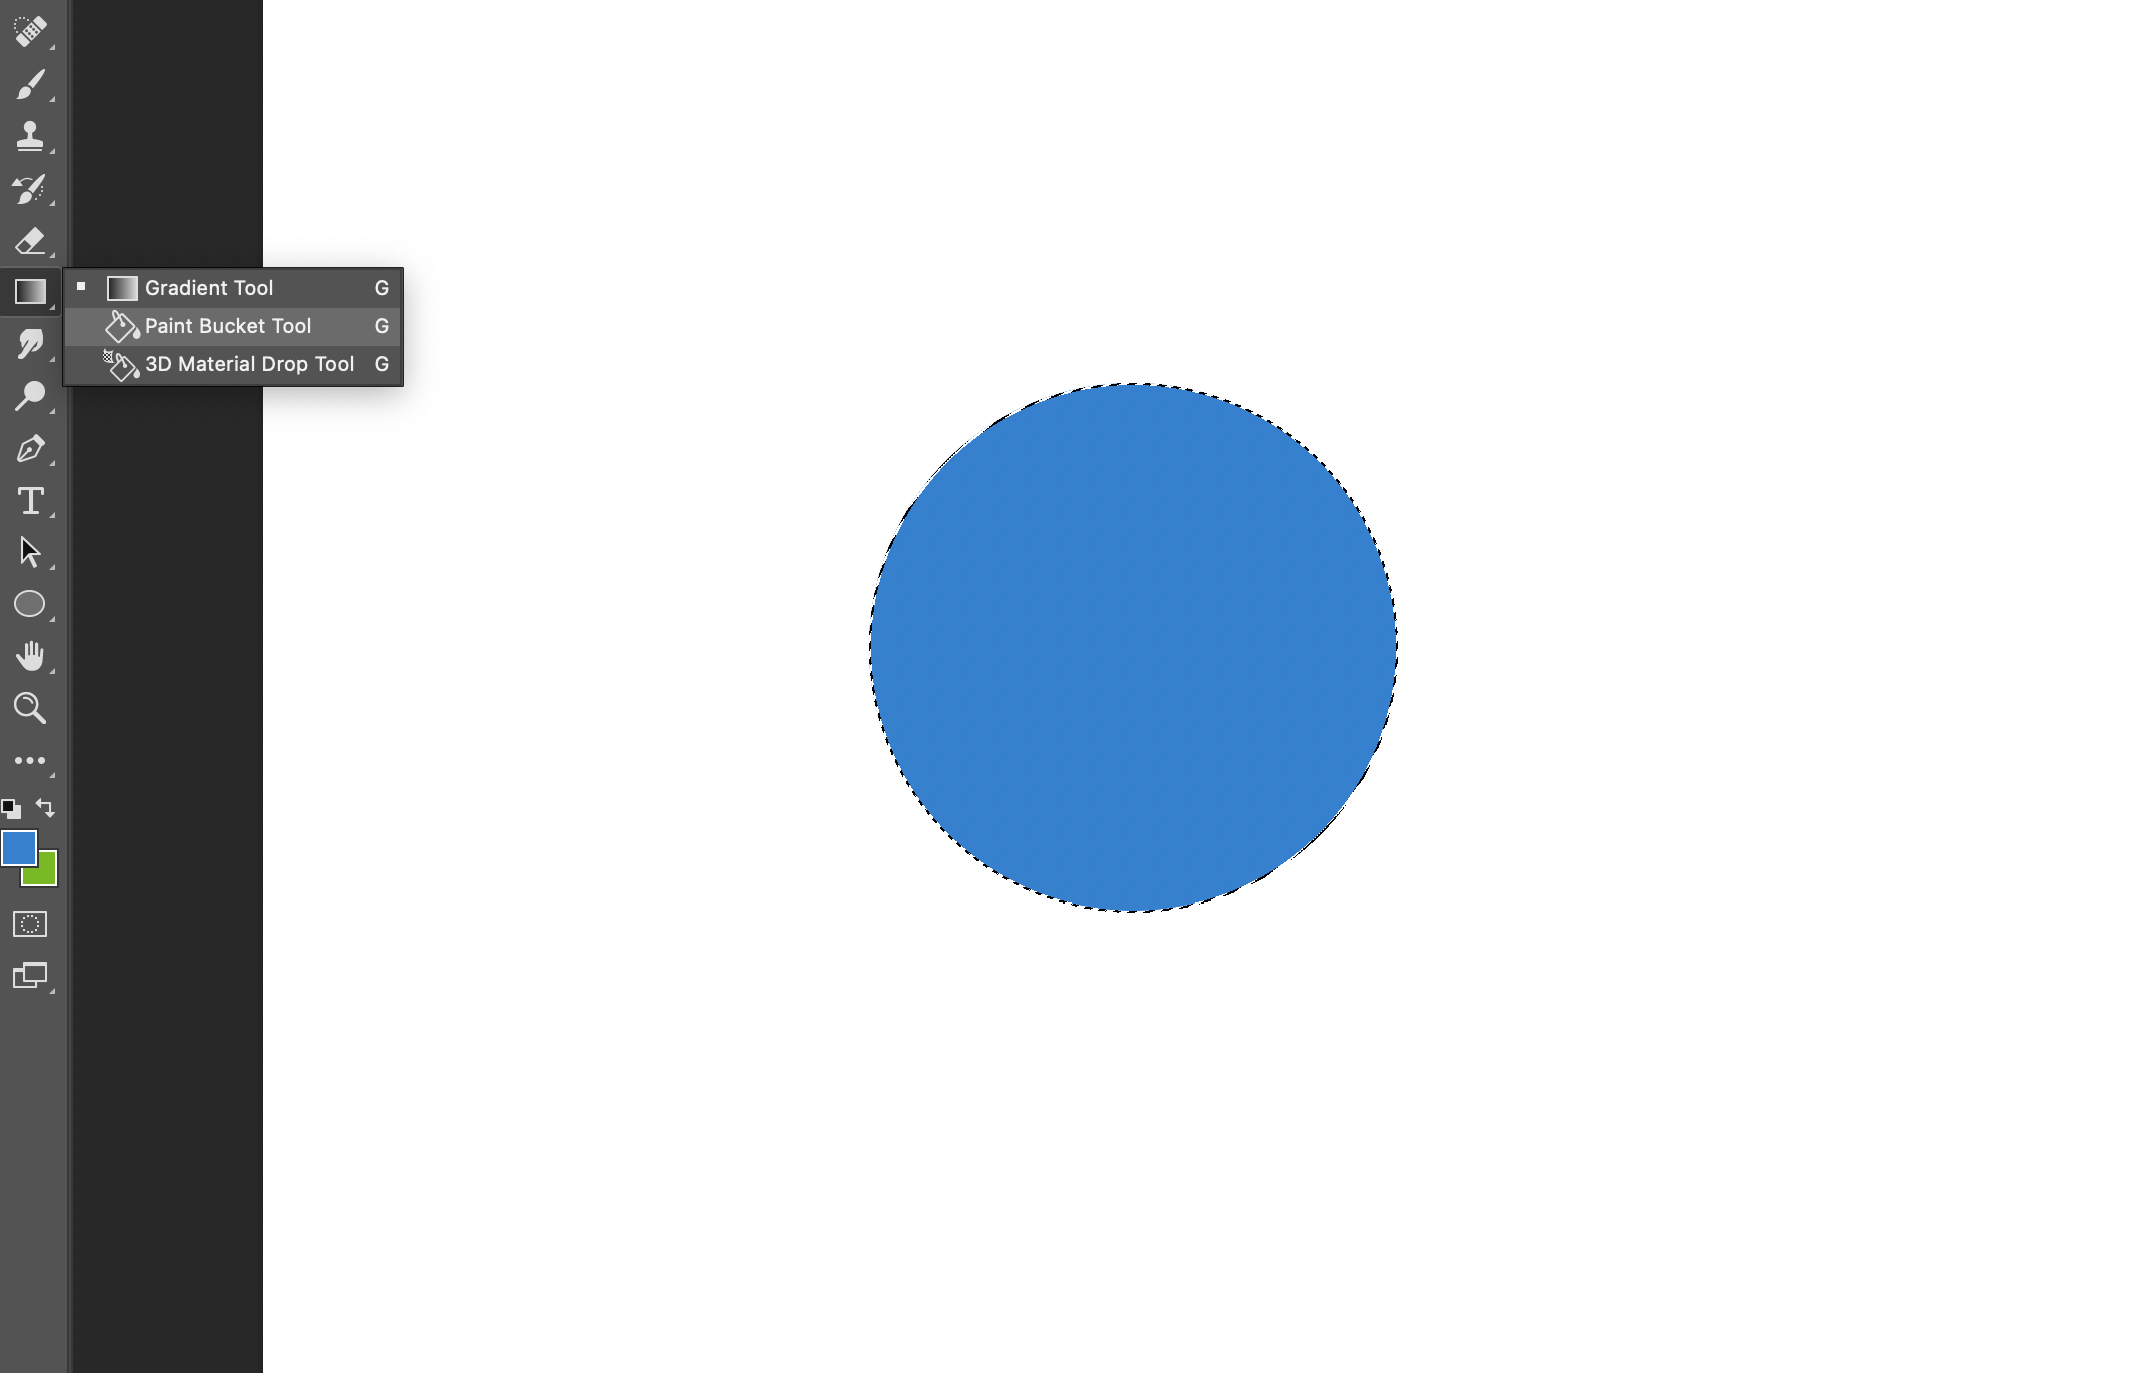
Right-click on the Gradient Tool and click on the Paint Bucket Tool. With a color selected from the color area in the right, click inside the selected circle.
Shading the object
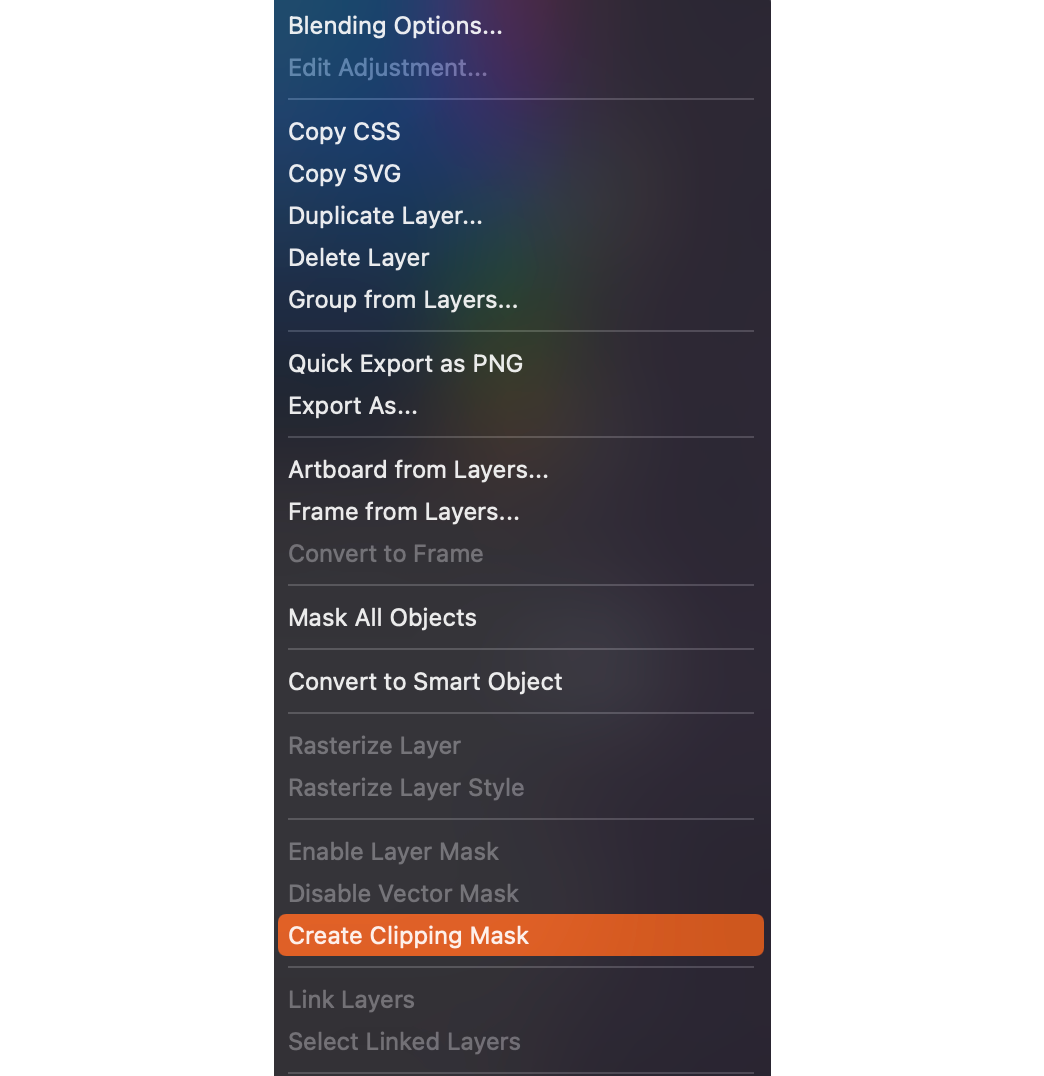
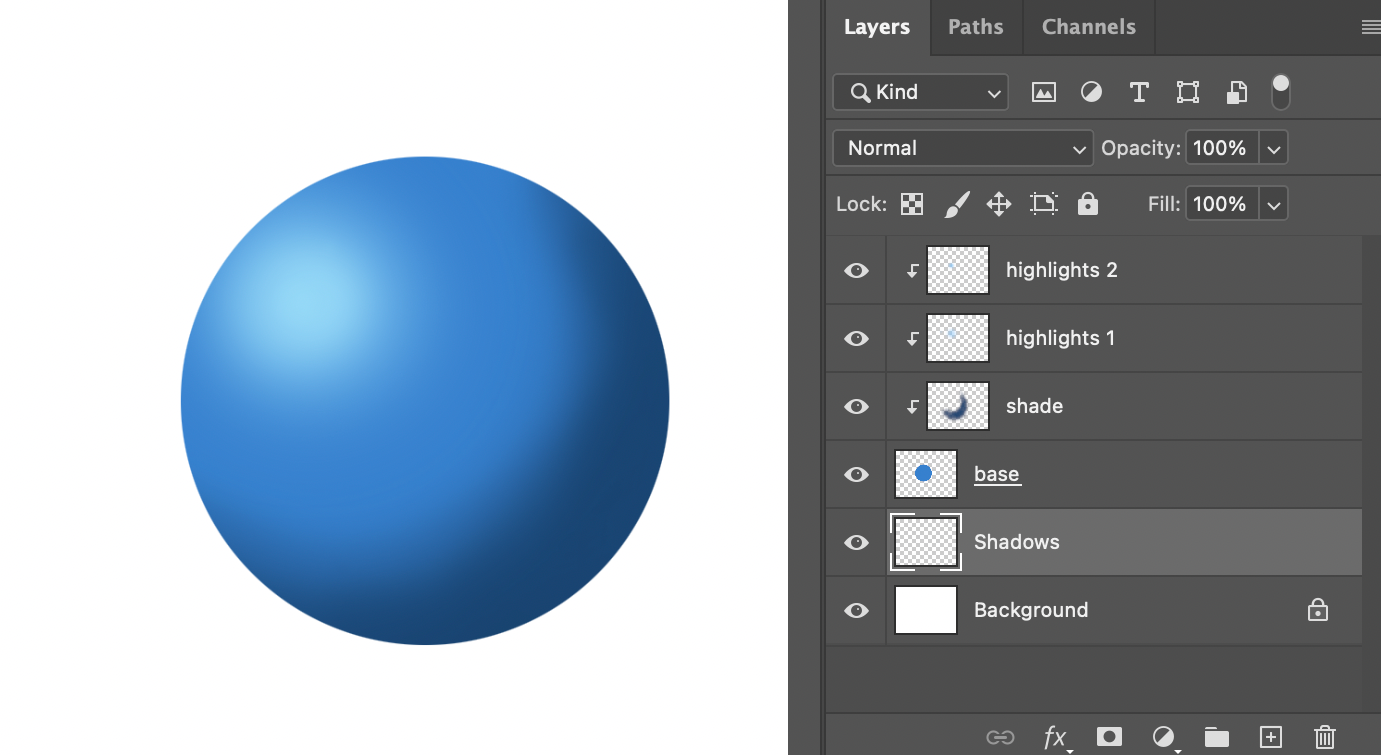
Now we will be adding shading, highlights and a shadow to this circle to make it look like a three-dimensional sphere. Create a new layer and right-click on that layer. Select Create Clipping Mask. A clipping mask uses the content and transparency of another layer. So when you draw or color something in the mask layer, it will only affect the area of layer it is clipped to.
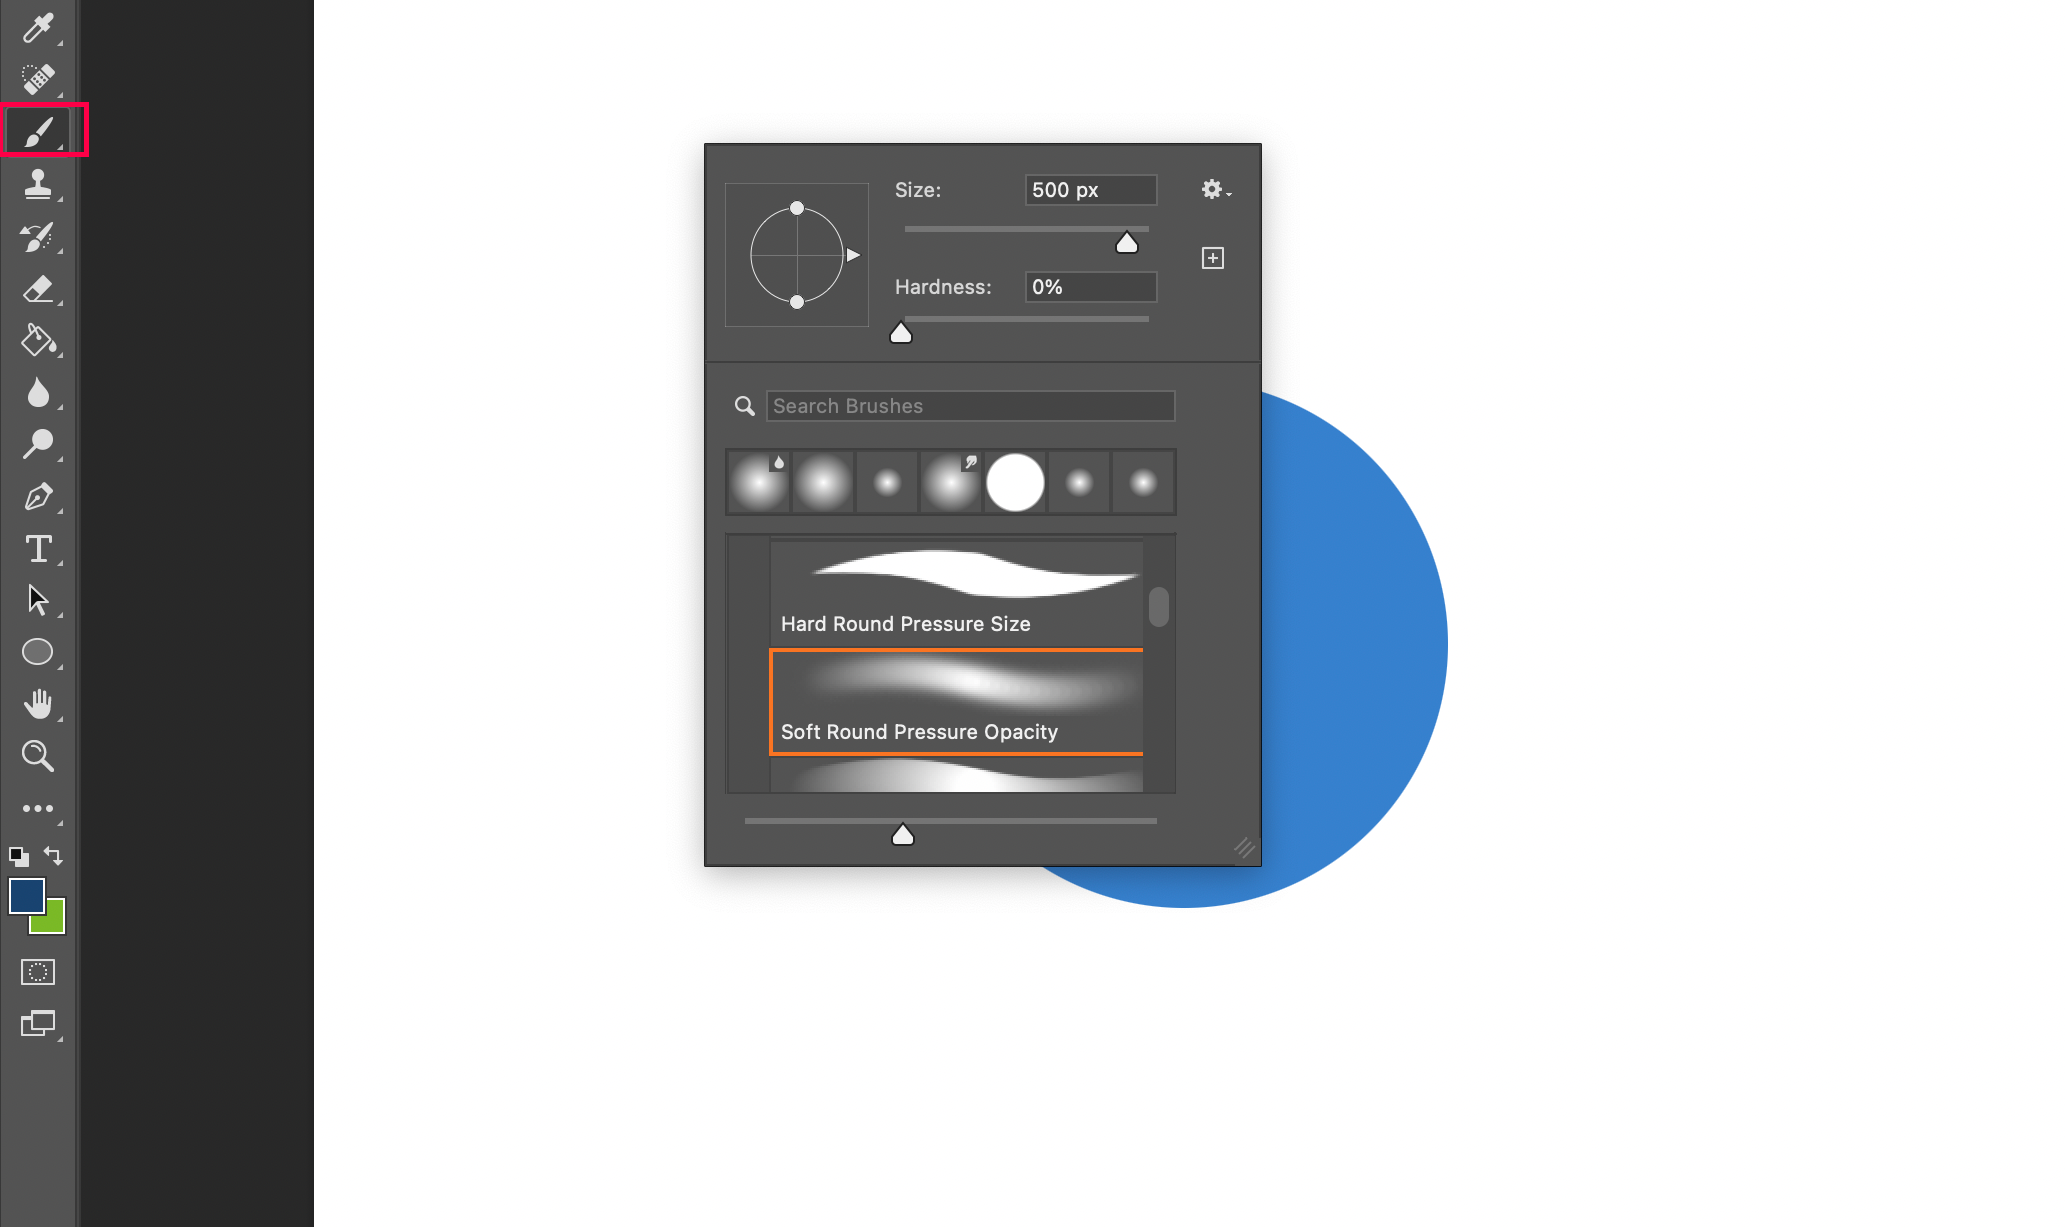
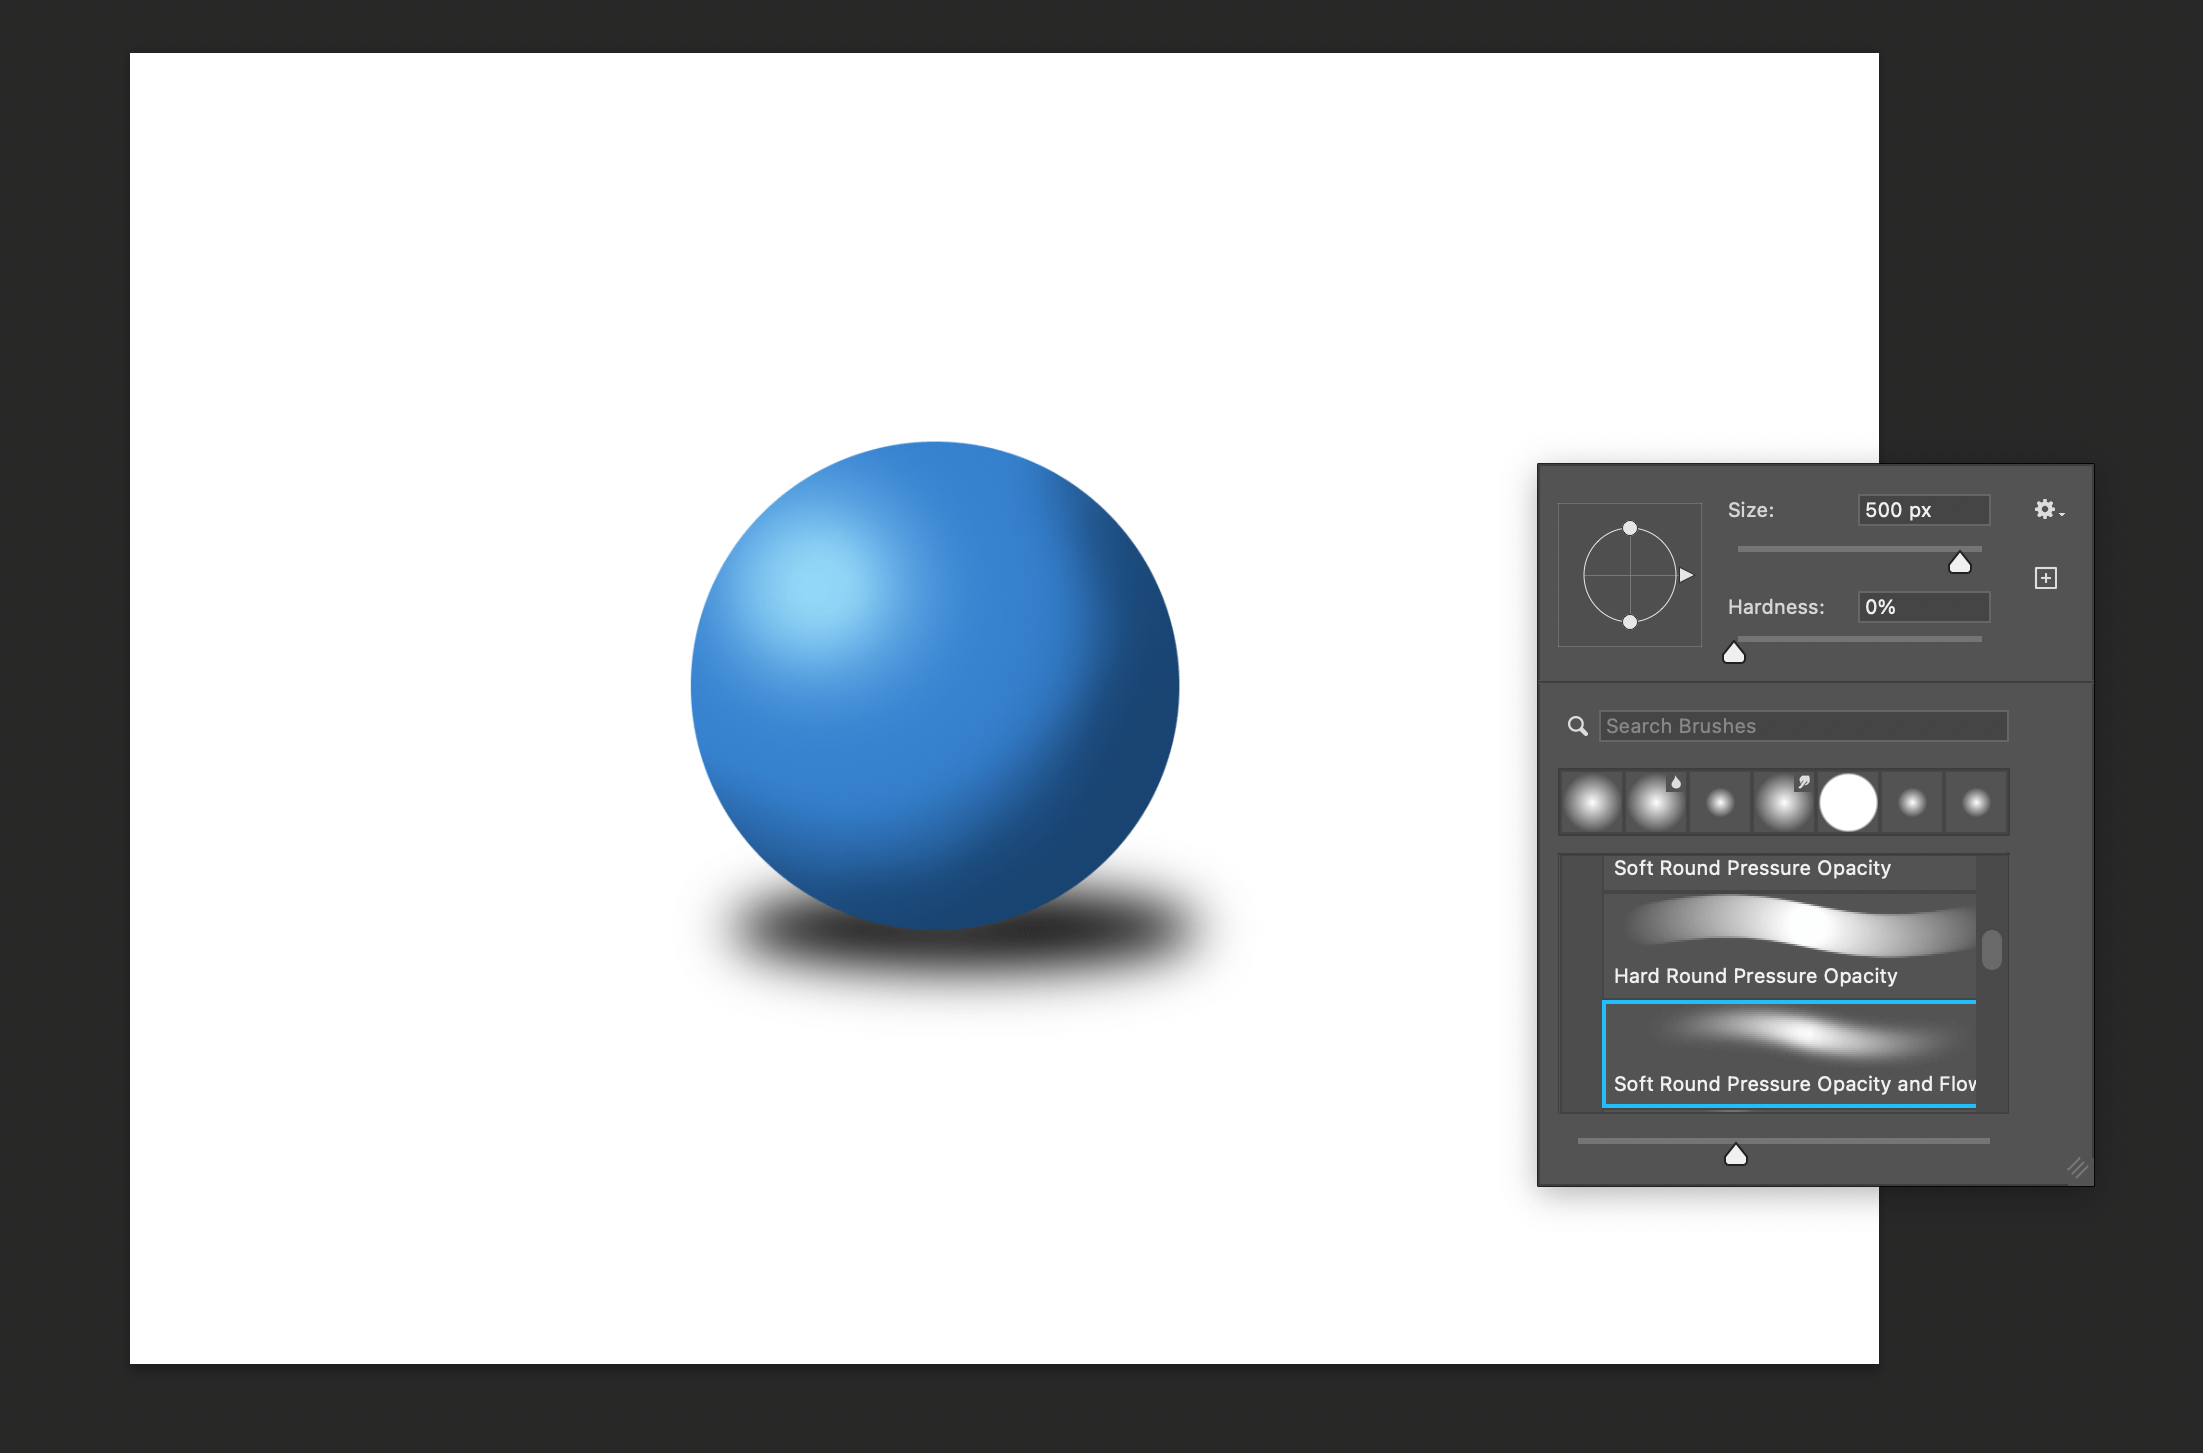
Click on the Brush Tool. Right-click on the white area inside the canvas. There is a wide variety of brush types with hard and soft pressure. For this tutorial, pick the Soft round pressure opacity.
Then select a darker shade of the same color you had filled the circle with and click on the mouse to paint inside the circle. Since the layer is clipped, you can paint outside the circle too but the painted area inside the circle will only be visible. We are trying to paint a darker area of the ball since the light will be hitting only one side of the ball.
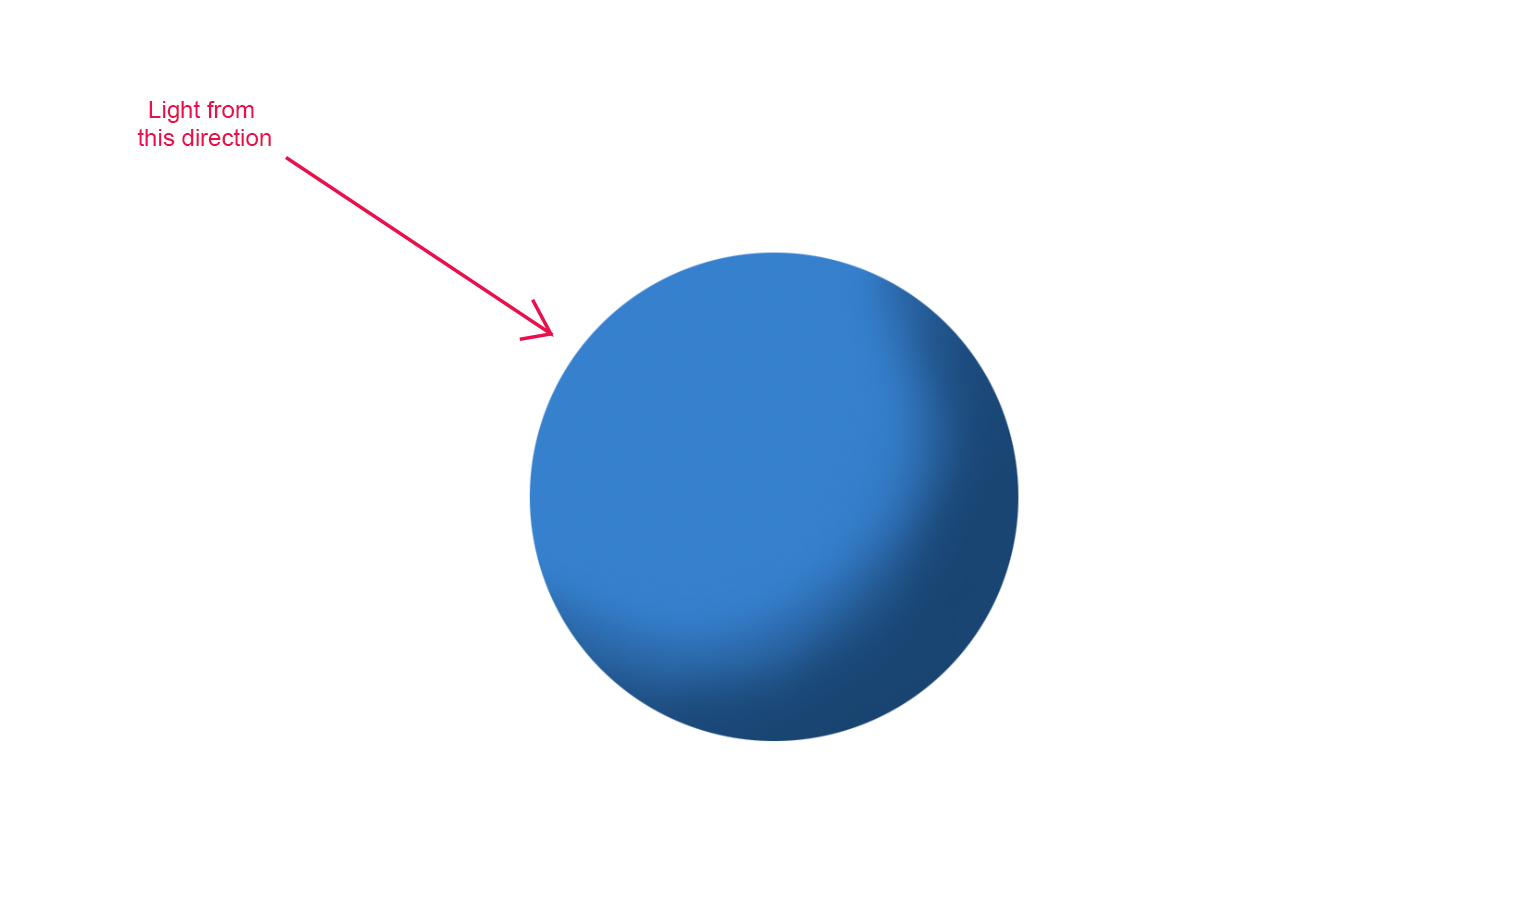
Similarly, create a new layer for highlights where the light will hit the ball. Pick a lighter shade of the same color. Paint over the top area. You can create more layers to add more light highlights or other effects. But that will be for another tutorial.
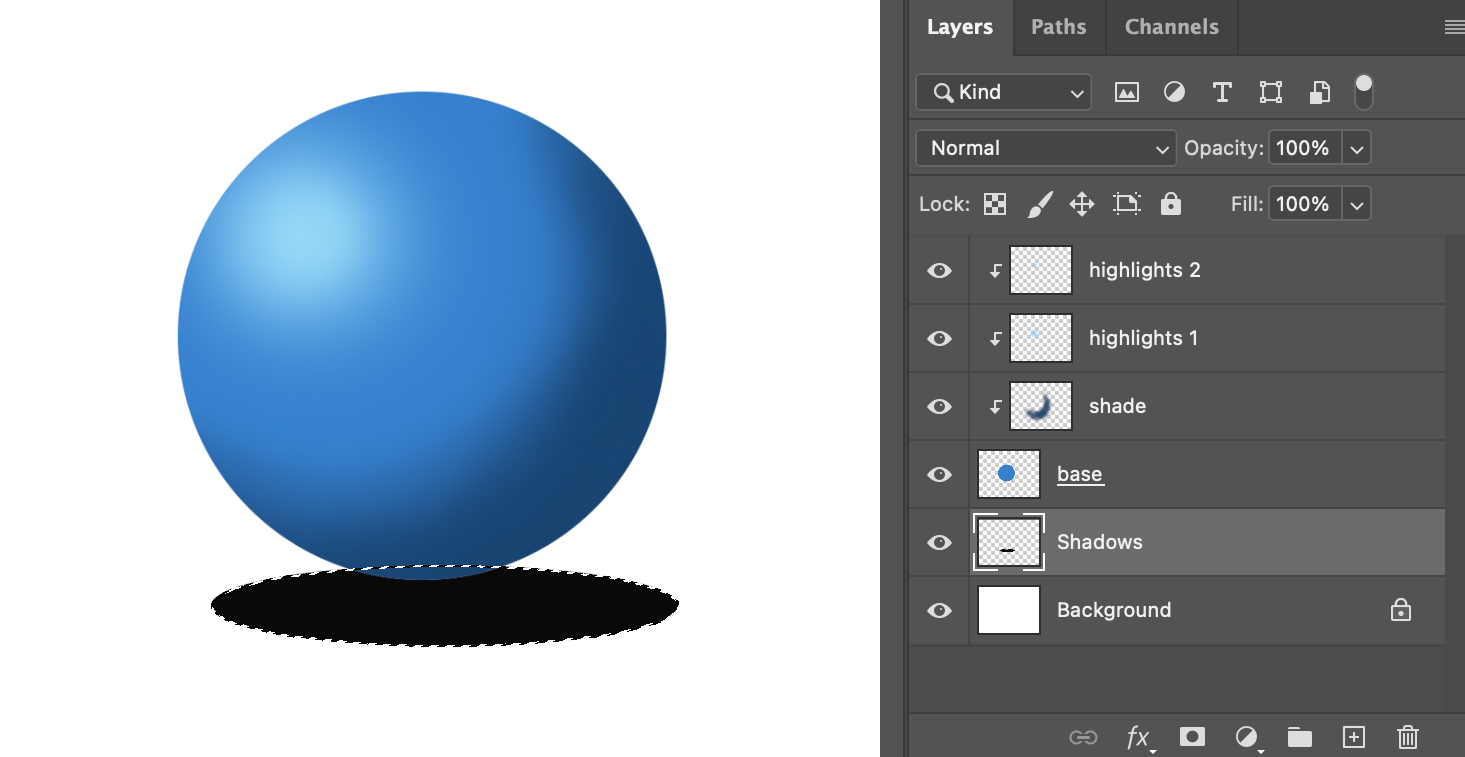
Now we need a shadow to be placed below the ball. Create a new layer for shadows and drag the layer below the base layer where you had colored the ball. Click on the Elliptical Marquee Tool again to create another circle below the colored circle. Pick black color and use the Paint bucket tool to fill it in. Since the shadow layer is below the colored layer, some part of the shadow will be blocked by the ball.
In real life, the shadow will not be so harsh with sharp edges so we need to blur it. On the menu bar at the top of Photoshop, click on Filter and then select Blur. There are many ways to blur an image. For this tutorial, we are picking Gaussian Blur. It will blur any type of sharp edge.
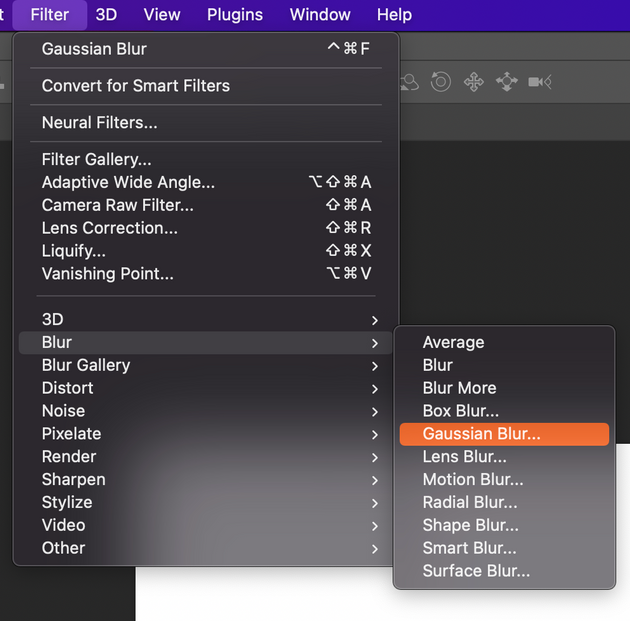
It will also give an option to select the strength of the blur effect. After clicking on Gaussian Blur, a new window will pop up. Move the slider to increase the radius to increase the blurriness. You can also type a number on the box to get a specific amount of blur.

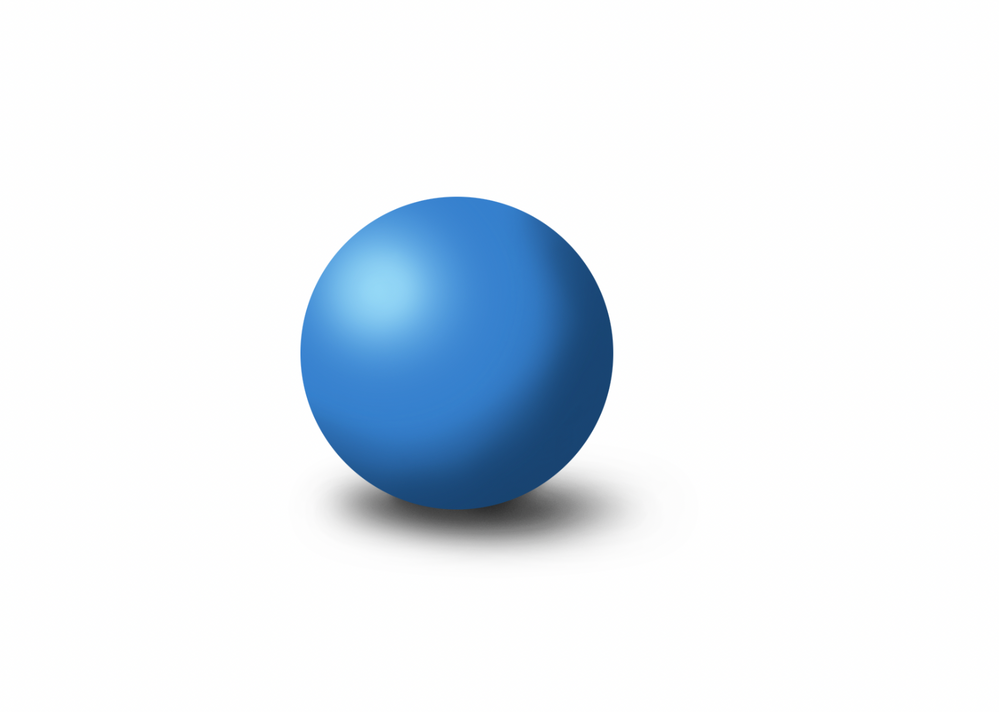
Click on Eraser Tool. Right-click on the white area of the canvas again and select Soft Round Pressure Opacity and Flow to get a soft eraser. The shadow should get lighter towards the edges and dark right below the object. Erase the edges of the dark shadow by clicking and moving the mouse over the area.
And it's done. Congrats!
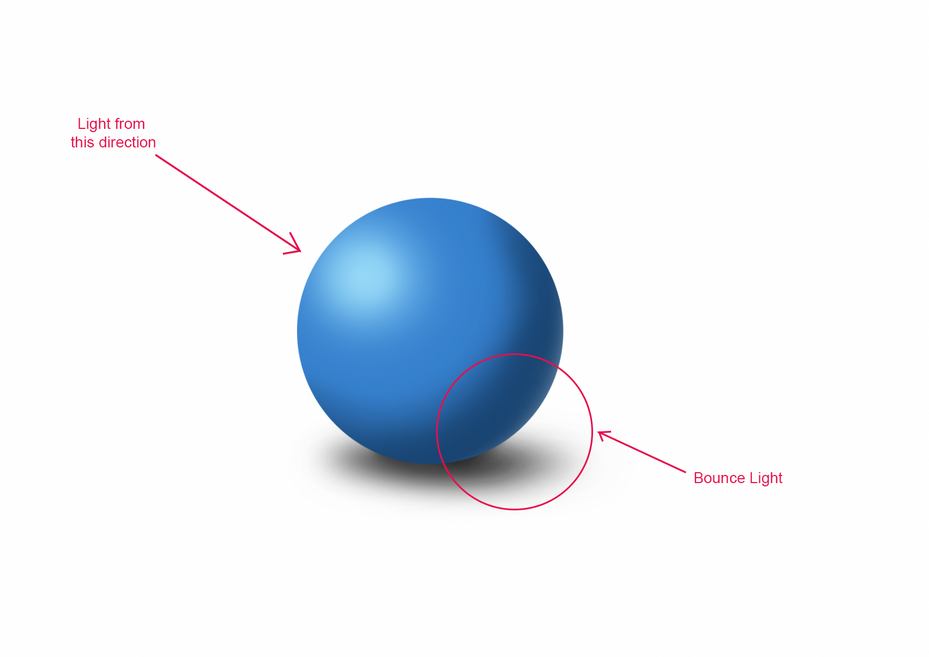
The next step is not necessary but will add a more realistic feel to the painting. For bounce light, create a new layer at the top and clip it to the colored layer again. Pick white color and use the Brush tool to color inside the ball on the opposite side of the light.
With this knowledge of basic shading, you will be able to color any type of simple objects like pots, apples, metal and many more to create assets for background art for games and illustrations.
Thank you reading this tutorial. If you have any questions, you can comment down below.